Are you a DIY enthusiast who’s been left hanging, waiting for Mod Podge to dry for a whole 24 hours?
Trust me, I’ve been there too. But before you throw your hands up in frustration, let’s take a closer look at why this waiting game is actually worth it.
In this blog post, we’ll dive into the world of Mod Podge and discover why this seemingly endless 24-hour period is essential for achieving stunning results. Whether it’s preserving your masterpiece or ensuring proper drying time, this wait time can truly make all the difference.
So, grab a cuppa and join me as we unravel the secrets behind this seemingly never-ending countdown.
Different Types of Mod Podge and Their Drying Times
Contents
- 1 Different Types of Mod Podge and Their Drying Times
- 2 How to Determine the Recommended Drying Time for Your Mod Podge
- 3 Why You Should Wait for Mod Podge to Dry Before Handling or Displaying Your Project
- 4 Tips for Applying Multiple Coats of Mod Podge
- 5 Techniques to Speed Up the Drying Process of Mod Podge
- 6 How to Handle Your Project While It’s Drying
- 6.1 The Importance of Proper Handling:
- 6.2 To ensure proper handling, start by preparing your workspace. Clear any clutter or debris that may accidentally come into contact with your project. Create a clean and organized environment where you can focus on the drying process without any distractions.
- 6.3 Allow Sufficient Drying Time:
- 6.4 While Mod Podge may feel dry to the touch in about 15-20 minutes, it takes longer for it to completely cure and become fully transparent. Waiting for at least 24 hours before handling your project is recommended. This gives ample time for the Mod Podge to dry and harden, ensuring a durable and long-lasting finish.
- 6.5 Create a Safe Drying Environment:
- 6.6 Use a Drying Rack or Elevated Surface:
- 6.7 Avoid Touching or Moving the Project:
- 7 Common Mistakes When Working with Mod Podge
- 8 Conclusion
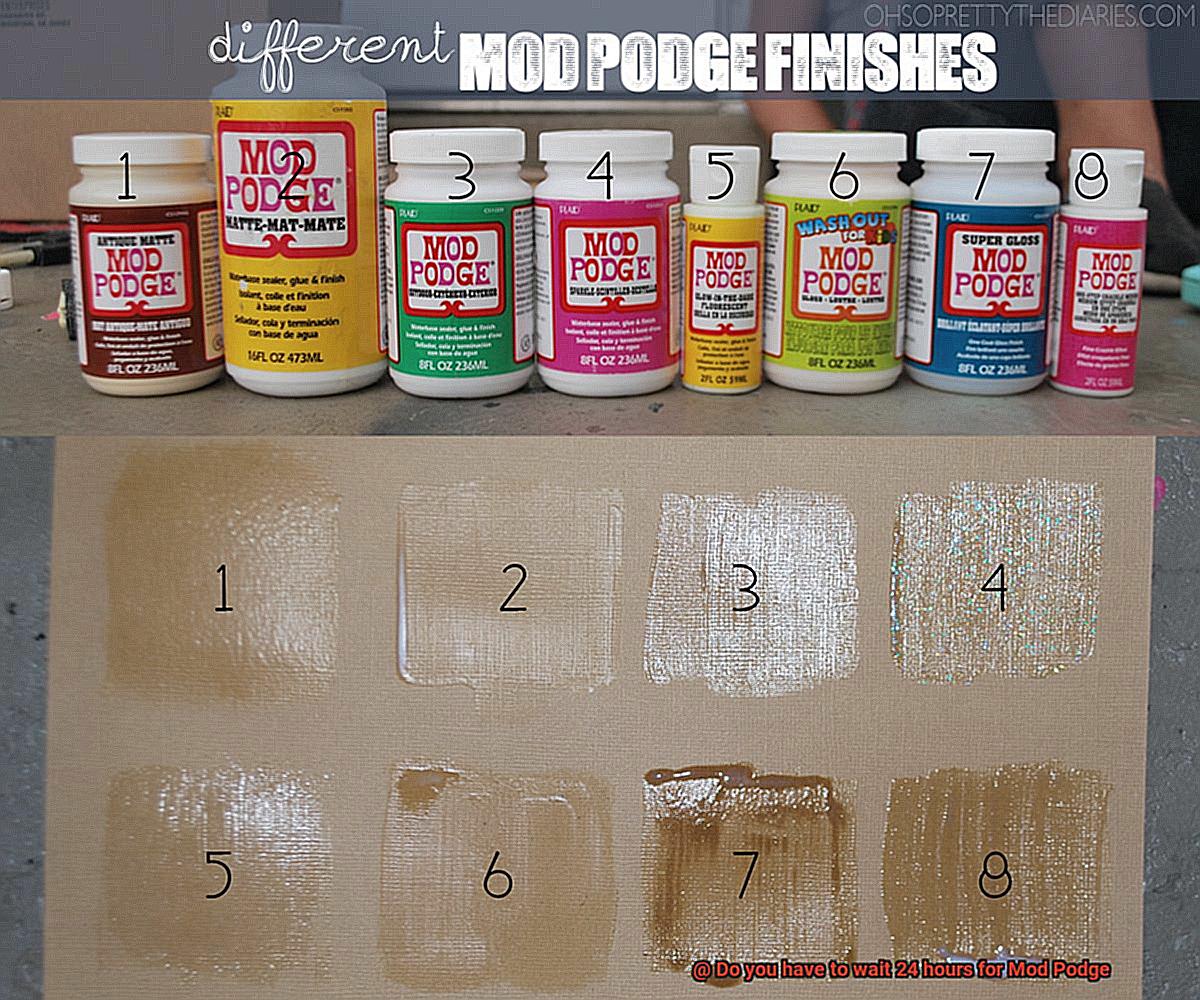
Prepare to be captivated by the wonders of Mod Podge. This enchanting crafting glue offers a plethora of types, each with its own distinctive qualities and drying times. In this illuminating essay, we will delve into the captivating world of Mod Podge, exploring the different types and their associated drying times. Let the adventure begin.
Gloss Mod Podge:
Imagine a lustrous finish that makes your crafts shine like a thousand stars. Enter Gloss Mod Podge. This tantalizing variant dries relatively quickly, typically within a mere 15-20 minutes. But here’s the secret: even though it may feel dry, exercising patience is paramount. Wait for a full 24 hours before adding more layers or caressing your creation. Trust me, patience breeds perfection.
Matte Mod Podge:
For those who prefer a subtler allure, Matte Mod Podge is your muse. It dries just as swiftly as its glossy counterpart, within a tantalizing 15-20 minutes. However, resist the urge to handle or apply additional coats until a full 24 hours have passed. Let it bask in the glory of complete curing.
Satin Mod Podge:
Satin Mod Podge bestows an air of elegance upon your crafts with its velvety smooth finish. Like its gloss and matte siblings, it dries within the same enchanting timeframe of 15-20 minutes. To ensure absolute mastery, exhibit patience for 24 hours before unveiling your masterpiece.
Outdoor Mod Podge:
Ready to venture into the great outdoors? Outdoor Mod Podge is your faithful companion, specially formulated to withstand nature’s whims. It takes a tad longer to dry, around 2-3 hours. But resist the temptation to hasten the process. Grant it a glorious 72 hours before exposing it to moisture or the whims of extreme weather for unparalleled durability.
Dishwasher-Safe Mod Podge:
Who doesn’t adore personalized plates or mugs? Dishwasher-Safe Mod Podge weaves its magic for these treasures. However, be prepared to exercise patience, for 28 days must pass before the dishwasher can embrace your creation. This extended curing time ensures that your designs remain intact and dishwasher-friendly, a testament to your craftsmanship.
Fabric Mod Podge:
Do you hold a deep affection for fabric crafts? Fabric Mod Podge is your devoted ally. It dries within the same mesmerizing timeframe of 15-20 minutes like its counterparts but demands a longer period of 72 hours for complete curing. Only then can you wash or wear your fabric creations with pride.
Conclusion:
Now that you have unlocked the secrets of the different types of Mod Podge and their drying times, you possess the power to choose the perfect one for your next creative odyssey. Whether you seek glossy radiance, subtle sophistication, outdoor resilience, dishwasher-safe marvels, or fabric finesse, understanding the drying times will guide your artistic endeavors.
How to Determine the Recommended Drying Time for Your Mod Podge
Mod Podge, the versatile adhesive used in various craft projects, often leaves crafters wondering how long it takes to dry. This article will explore the factors that influence drying time and provide tips on determining the recommended drying time for your Mod Podge project.
Conduct a Test:
Before applying Mod Podge to your entire project, conduct a test on a small area. Apply a thin layer of Mod Podge and note the time it takes to dry completely. This test will give you an estimate of the drying time for your specific project.
Consider the Thickness:
Thicker layers of Mod Podge require longer drying times compared to thin layers. Keep this in mind when applying Mod Podge to your project. If you use a thick layer, allow extra drying time to ensure it cures completely.
Environmental Factors:
Drying time is affected by temperature and humidity. Mod Podge dries faster in warmer, less humid conditions. If you work in cold or humid environments, expect extended drying times for your project.
Surface Material:
Different surfaces may require different drying times. Porous surfaces like wood or fabric absorb more moisture from Mod Podge, resulting in longer drying times. Be aware of the material you’re working with and adjust drying times accordingly.
Follow Manufacturer’s Instructions:
Always refer to the instructions on the Mod Podge bottle or packaging for recommended drying times. The manufacturer knows their product best and can provide specific guidelines for each type of Mod Podge.
Why You Should Wait for Mod Podge to Dry Before Handling or Displaying Your Project
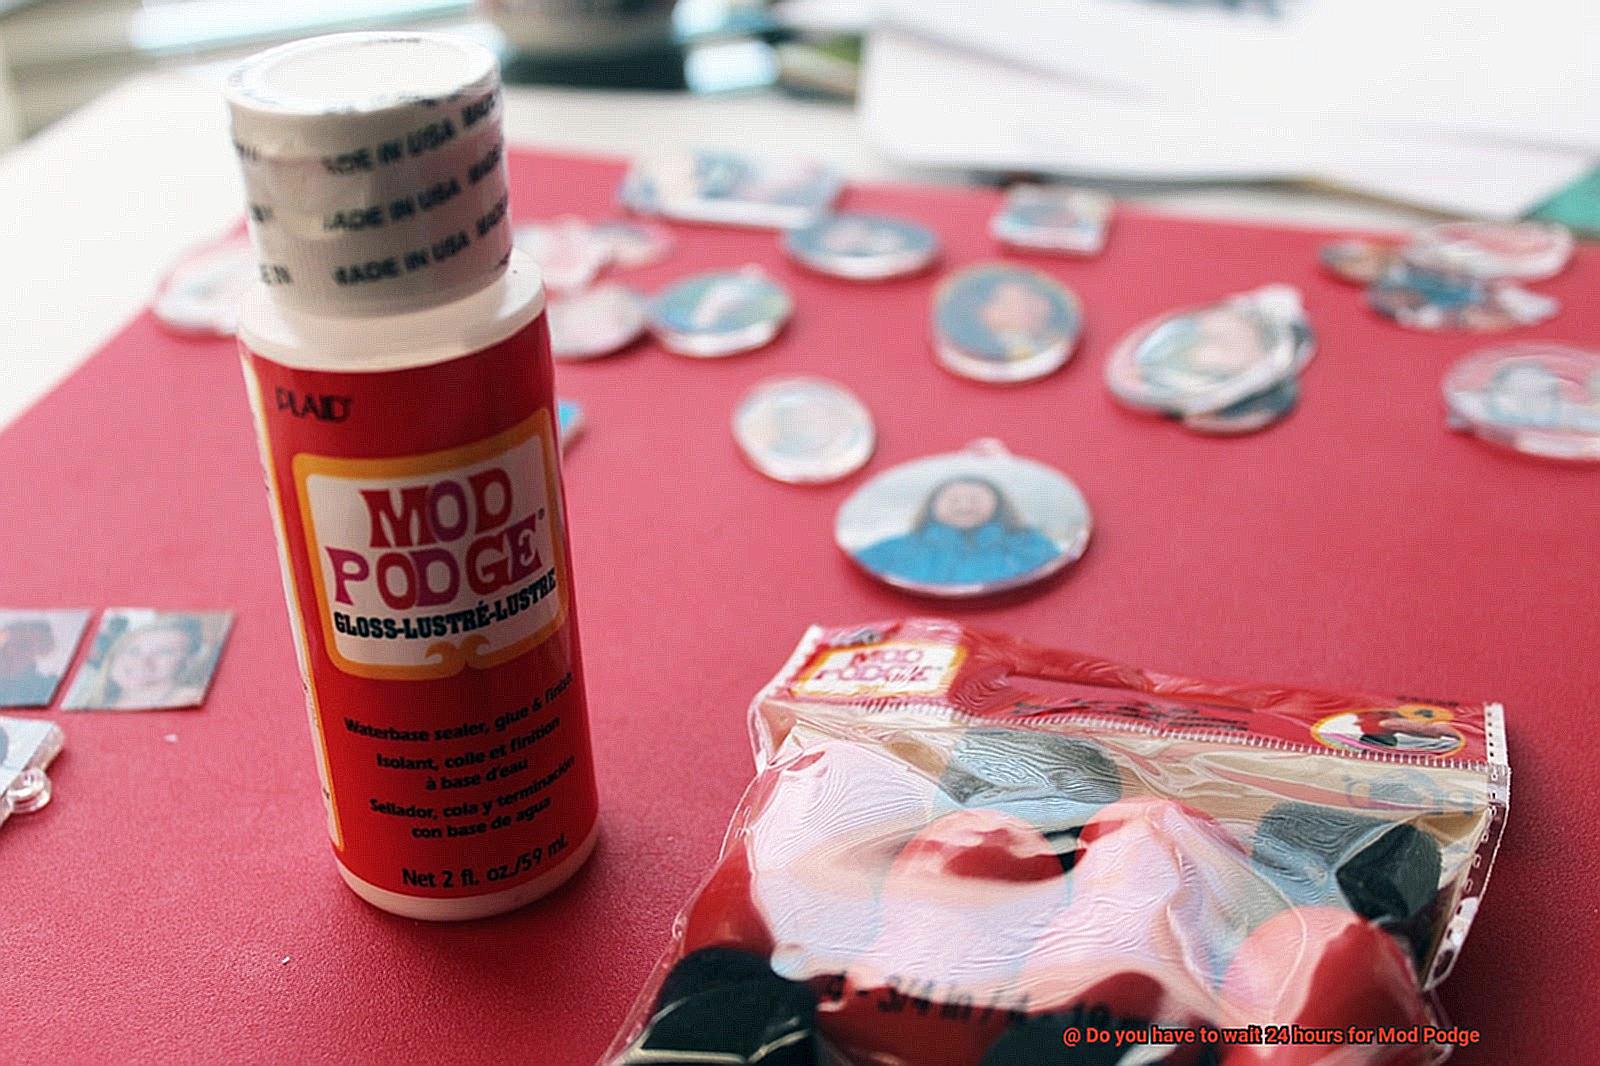
Mod Podge is a versatile crafting adhesive that can transform ordinary materials into beautiful works of art. Whether you’re decoupaging, collaging, or creating paper crafts, Mod Podge is a go-to glue for many crafters. However, one crucial step that should not be overlooked is allowing Mod Podge to dry completely before handling or displaying your project. In this article, we’ll explore why patience is key when it comes to Mod Podge drying time.
Proper Curing and Hardening:
- Waiting for Mod Podge to dry ensures that the adhesive has fully cured and hardened.
- When wet, Mod Podge appears milky and feels tacky to the touch.
- Handling or displaying your project prematurely can lead to smudging or damage.

Escaping Air Bubbles:
- Allowing sufficient drying time enables trapped air bubbles to escape naturally.
- Rushing the process may result in visible imperfections on the surface of your project.
Strong Bonding:
- Mod Podge needs time to adhere properly and securely to the materials it is applied to.
- Sufficient drying time ensures a strong bond between the adhesive and the surface of your project.
- A rushed process could weaken the bond, leading to peeling or lifting of the Mod Podge over time.

Drying Time Variations:
- Different types of Mod Podge may have varying drying times.
- The original formula usually takes longer to dry than faster-drying alternatives like Mod Podge Matte or Mod Podge Hard Coat.
- Checking the specific instructions on your Mod Podge bottle will provide accurate drying times for your chosen formula.
Multiple Layers:
- Waiting for each layer of Mod Podge to dry completely before applying the next one is essential for a smooth and professional-looking finish.
- Premature handling or display can cause smudging or mixing of the layers.
Tips for Applying Multiple Coats of Mod Podge
Look no further. In this blog post, we will share some expert tips that will help you achieve a flawless and professional finish when applying multiple coats of Mod Podge. Get ready to take your projects to the next level.
Patience is Key: Allow each layer to dry completely.
To achieve that picture-perfect finish, it’s vital to exercise patience and let each coat of Mod Podge dry fully before applying the next one. This prevents unsightly smudging or streaking and ensures that your project exudes polished finesse. So, take a deep breath, relax, and allow the magic to happen.
Thin is In: Apply thin, even layers.
When it comes to applying Mod Podge, remember that less is more. Using thin, even layers will result in a smooth and streak-free finish – the epitome of professionalism. Whether you opt for a foam brush or a soft-bristle brush, apply the Mod Podge evenly with a light touch.
Quick Dry Trick: Harness the power of a hairdryer.
If time is of the essence and you need to speed up the drying process between coats, grab your trusty hairdryer. Set it on low heat and hold it a few inches away from the surface. Gently move it back and forth until each layer is dry to the touch – voila.
Divide and Conquer: Tackle your project in small sections.
For larger projects, don’t overwhelm yourself by applying multiple coats all at once. Instead, divide your project into smaller sections. By focusing on one area at a time, you ensure that each coat dries properly before moving on, resulting in a flawlessly finished masterpiece.
Pop Those Bubbles: Smooth out imperfections.
As you apply Mod Podge, you may notice pesky bubbles forming on the surface. Fear not. Simply delicately pop them with a pin or needle, then smooth out the area with either a brush or your fingertips. This simple step guarantees a flawless finish that will leave you in awe.
Techniques to Speed Up the Drying Process of Mod Podge
We’ve all been there, in the middle of a crafting spree, anxiously waiting for our masterpiece to come together. But fear not. We have some expert techniques that will speed up the drying process of Mod Podge, allowing you to admire your finished projects in no time.

First and foremost, remember that less is more when it comes to applying Mod Podge. Thin, even coats are the key to a quick dry. Thick layers take longer to dry and can leave a tacky finish. By applying thin layers and allowing each one to dry before adding the next, you’ll significantly reduce the drying time.
Air circulation is also crucial for speeding up the drying process. Bring out the big guns – a fan or a hairdryer on low heat setting. Placing a fan near your project or using a hairdryer (remember to keep it on low heat) will help speed up the evaporation process. The circulating air will whisk away the moisture, leaving your Mod Podge to dry faster.
But that’s not all. Heat can be a game-changer when it comes to drying Mod Podge. Grab a heat gun or use your trusty blow dryer (again, on low heat) to gently warm the surface of your project. The heat will help evaporate the moisture, resulting in faster drying times. Just be careful not to overdo it, as excessive heat can cause bubbles or other unwanted effects on certain surfaces.
Choosing the right environment for drying is also crucial. Optimal conditions include low humidity and moderate temperature. High humidity can slow down the evaporation process, so pick a well-ventilated area with lower humidity levels for faster drying.
And don’t forget about using a drying rack or elevated surface. This will prevent sticking or smudging while your Mod Podge dries. A mesh drying rack or small supports like bottle caps or dowels will allow air to circulate around your project, promoting faster drying and avoiding any potential damage.
If you’re really in a rush, there are products available that are specifically designed to accelerate the drying time of Mod Podge. Look for options like Mod Podge Clear Acrylic Sealer, which dries faster than traditional Mod Podge. These can be used as a topcoat to speed up the overall drying process.
How to Handle Your Project While It’s Drying
Proper handling is crucial to achieve the best results and maintain the smooth, glossy finish. In this guide, we will explore the necessary steps to handle your project with care during the drying process.
The Importance of Proper Handling:
Handling your project with care while it’s drying is essential to preserve the finish and texture of Mod Podge. Any disturbance or mishandling can ruin the hard work you put into your project. The drying process is crucial for the adhesive to bond properly and create a beautiful, professional-looking surface.
To ensure proper handling, start by preparing your workspace. Clear any clutter or debris that may accidentally come into contact with your project. Create a clean and organized environment where you can focus on the drying process without any distractions.
Allow Sufficient Drying Time:
While Mod Podge may feel dry to the touch in about 15-20 minutes, it takes longer for it to completely cure and become fully transparent. Waiting for at least 24 hours before handling your project is recommended. This gives ample time for the Mod Podge to dry and harden, ensuring a durable and long-lasting finish.
During this waiting period, exercise patience and resist the temptation to touch or move your project prematurely. It’s important to remember that even slight movements can disrupt the drying process and lead to unwanted imperfections on the surface.
Create a Safe Drying Environment:
To avoid accidental damage or smudging, it’s important to create a safe drying environment for your project. Find a clean, dust-free area where your project can be left undisturbed for the required drying time. Avoid placing it near sources of heat or direct sunlight, as these can cause uneven drying or quick evaporation.
If you’re concerned about dust or debris settling on your project, consider covering it with a clean cloth or plastic wrap. This will provide an extra layer of protection while allowing air to circulate and promote proper drying.
Use a Drying Rack or Elevated Surface:
Using a drying rack or an elevated surface is beneficial to prevent sticking or smudging while your project dries. By providing ample space for drying, you minimize the chances of coming into contact with other surfaces or objects that could leave unwanted imprints.
A drying rack can be easily made using household items such as wire mesh or an old baking rack. Alternatively, you can place your project on a clean, elevated surface such as a table or countertop. Just make sure to protect the surface with a non-stick mat or wax paper to avoid any potential adhesion.
Avoid Touching or Moving the Project:
Once you’ve positioned your project in its designated drying area, refrain from touching or moving it until it has fully dried. Even the slightest movements can disrupt the drying process and lead to streaks or fingerprints on the surface. Practice patience and resist the temptation to check on your project too frequently.
If you need to transport your project before it’s fully dry, handle it with extreme caution. Use clean, dry hands and avoid gripping it too tightly. Consider using a clean piece of cardboard or foam board to support the project and minimize any potential damage.
Common Mistakes When Working with Mod Podge
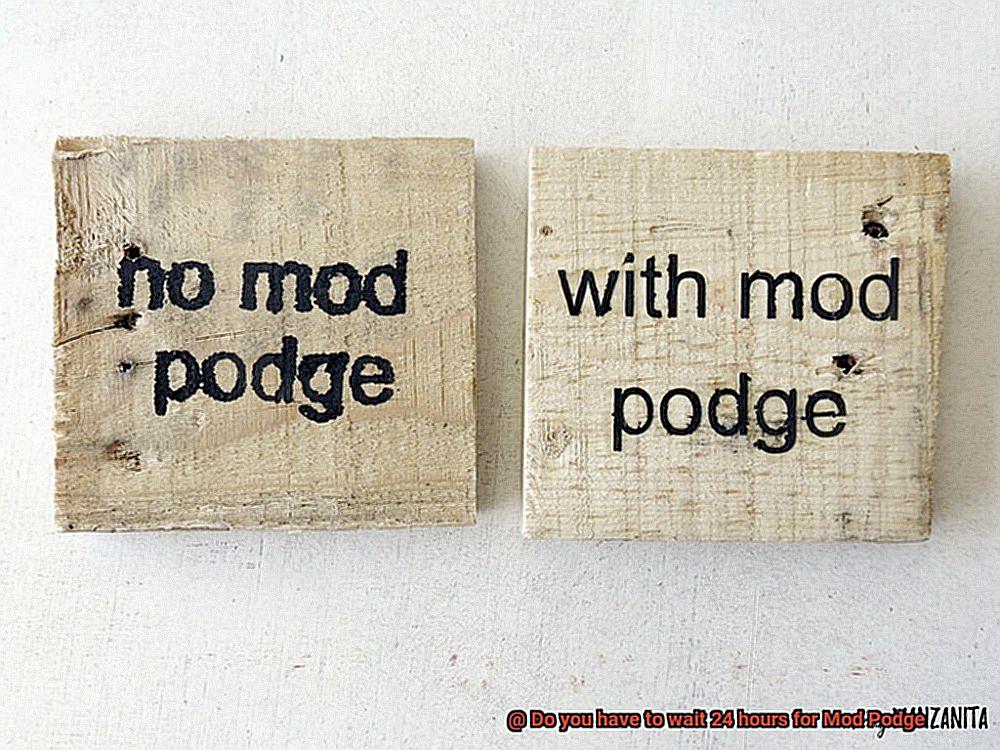
If you’re a fan of Mod Podge like me, then you know the transformative power it holds. This versatile glue can turn ordinary objects into extraordinary works of art. But let’s face it, we’ve all experienced our fair share of Mod Podge mishaps. Fear not, my fellow craft enthusiasts. In this guide, I’ll share my expertise on the common mistakes to avoid when working with Mod Podge, so you can achieve stunning results every time.
Mistake #1: Applying Too Much Mod Podge:
Picture this: you’ve painstakingly arranged your collage, and now it’s time to seal it with Mod Podge. But beware. Applying too much can lead to a gloopy mess that ruins your hard work. Instead, opt for thin, even layers using a brush or sponge applicator. Remember, less is more in this case.
Mistake #2: Using the Wrong Type of Mod Podge:
Did you know that Mod Podge has different formulas for various projects? Using the wrong type can result in yellowing, cracking, or poor adhesion. So before you dive in, read those labels. If it’s an outdoor project or one that may encounter moisture, opt for a waterproof or outdoor formula. Your masterpiece will thank you later.
Mistake #3: Not Allowing Enough Drying Time:
We live in a fast-paced world, but when it comes to Mod Podge, patience pays off. Rushing the drying process can lead to smudges and fingerprints on your precious creation. Be sure to wait at least 15-20 minutes between layers and a full 24 hours for the Mod Podge to cure completely. Trust me; it’s worth the wait.
Mistake #4: Skipping the Sealing Step:
You’ve spent hours crafting your masterpiece, but have you considered protecting it? Skipping the sealing step can leave your project vulnerable to damage from moisture, dust, or scratches. Take a moment to apply a clear acrylic sealer on top of the Mod Podge layers. Not only will it protect your creation, but it will also give it a beautiful, glossy finish.
Mistake #5: Not Properly Prepping the Surface:
You wouldn’t build a house on an unstable foundation, right? The same logic applies to Mod Podge projects. If you’re working on a porous surface like wood or fabric, prepping it properly is essential. Prime or seal the surface to prevent bleeding or warping. Plus, ensure it’s clean and free from any dust or debris that could ruin your adhesive magic.
Cwoi5CEQ9IU” >
Conclusion
Waiting 24 hours for Mod Podge might seem like an eternity, but it’s crucial for achieving the best results. Patience is key when working with this versatile crafting adhesive. While it may be tempting to rush through your project, allowing ample drying time will ensure a smooth and durable finish.
Why the long wait, you ask? Well, Mod Podge is not your ordinary glue. It’s a water-based sealer, glue, and finish all in one. Its unique formula requires time to dry and cure properly. This curing process allows the Mod Podge to bond with the surface and create a strong, long-lasting hold.
Imagine if you skipped the waiting period and moved on to the next step prematurely. Your carefully crafted masterpiece could end up with smudges, streaks, or even worse – peeling and flaking. All that hard work would go down the drain.
So resist the urge to rush ahead and give your Mod Podge project the time it deserves. Set it aside in a clean and dust-free area, away from any potential disturbances. Let it bask in its own glory as it transforms from a sticky mess into a beautiful work of art.
While 24 hours might sound like an eternity when you’re itching to show off your creation, think of it as an investment in quality craftsmanship. Take this opportunity to plan your next creative endeavor or catch up on other tasks while you wait.
Remember, good things come to those who wait – especially when it comes to Mod Podge. So embrace patience, enjoy the anticipation, and revel in the satisfaction of knowing that your finished project will be nothing short of perfection.
In conclusion, yes, you do have to wait 24 hours for Mod Podge. But trust me when I say that it’s worth every minute of waiting.