Welcome, fellow puzzle enthusiasts. You’ve spent countless hours piecing together a magnificent puzzle, and now it’s time to seal the deal. But here’s the million-dollar question: do you glue the front or back of a puzzle?
The answer is simple: glue the back, not the front. Why? Gluing the back ensures a seamless and flawless finish. No one wants unsightly glue stains ruining their masterpiece, right?
Now that we’ve settled that, let’s dive into some tried-and-true techniques for achieving a professional result. One popular option is using puzzle glue sheets or adhesive films made specifically for this purpose. These nifty self-adhesive sheets make gluing a breeze – just peel and stick them onto the back of your puzzle.
If you prefer more control over the process, liquid puzzle glue might be your jam. It requires a tad more effort, but trust me, it’s worth it. Start by protecting your work surface with wax paper or plastic wrap. Then, slowly pour the liquid glue onto the back of your puzzle and use a brush or spreader to evenly distribute it. Don’t forget those edges.
To prevent any wrinkling or warping during drying time, place something flat and heavy on top of your puzzle – think books or boards. Let it dry completely before removing the weight and carefully peeling off the protective covering.
Remember: patience is key. Take your time and avoid rushing through this meticulous process. The end result will be well worth it – a stunning piece of art ready to adorn your wall or make someone’s day as a thoughtful gift.
So whether you choose puzzle glue sheets or go for liquid glue, always remember to apply it to the back of your puzzle for that polished finish. Now go forth and preserve your hard work for years to come. Happy gluing.
Advantages of Gluing the Front of a Puzzle
Contents
- Preservation: Gluing the front of a puzzle is a crucial step in preserving its original condition. By creating a protective layer, the glue prevents damage or dislodgement of puzzle pieces. This is particularly important if you plan on framing or displaying the puzzle, as it helps maintain its pristine condition for a longer period.
- Stability: Gluing the front adds stability to the puzzle, creating a solid and firm surface once the glue dries. This ensures that accidental bumps or movements won’t cause the puzzle to fall apart. Whether you plan on storing the puzzle or showcasing it, gluing the front guarantees that it remains intact and secure.
- Display Options: Gluing the front opens up a world of display possibilities. The smooth and even finish allows for easy framing and hanging on a wall. Additionally, you can mount it on a backing board or attach it to a foam core for a three-dimensional effect. Gluing the front gives you the freedom to choose how you want to showcase your completed puzzle.
- Enhanced Aesthetics: Gluing the front enhances the overall aesthetics of the puzzle. The adhesive used adds a glossy finish, making colors appear more vibrant and captivating. It also eliminates glare from light sources, improving visibility and appreciation of the artwork or image depicted in the puzzle.
- Durability: Gluing the front increases the durability of the puzzle. The layer of glue acts as a protective barrier against dust, moisture, and other external factors that could potentially damage or fade the puzzle over time. It also makes cleaning and maintenance easier, ensuring that your puzzle remains in top-notch condition for years to come.
Types of Puzzle Glue
When it comes to preserving and displaying completed jigsaw puzzles, puzzle glue is a must-have. There are different types of puzzle glue available, each with its own unique characteristics and application methods. Let’s explore some of the most popular options.
Liquid Glue
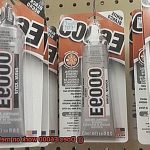
One common type of puzzle glue is the liquid glue. It comes in a bottle with a brush applicator attached to the cap. Applying this glue involves brushing it onto the front surface of the puzzle, allowing it to seep into the cracks between the pieces and creating a strong bond once it dries. Liquid glue provides a clear and glossy finish, enhancing the overall appearance of the puzzle.
Adhesive Sheets
Another option is adhesive sheets or film. These pre-cut sheets have an adhesive backing that sticks to the front surface of the puzzle. To use them, simply peel off the backing and carefully place the sheet on the puzzle. The adhesive secures the pieces together, ensuring they stay intact over time.
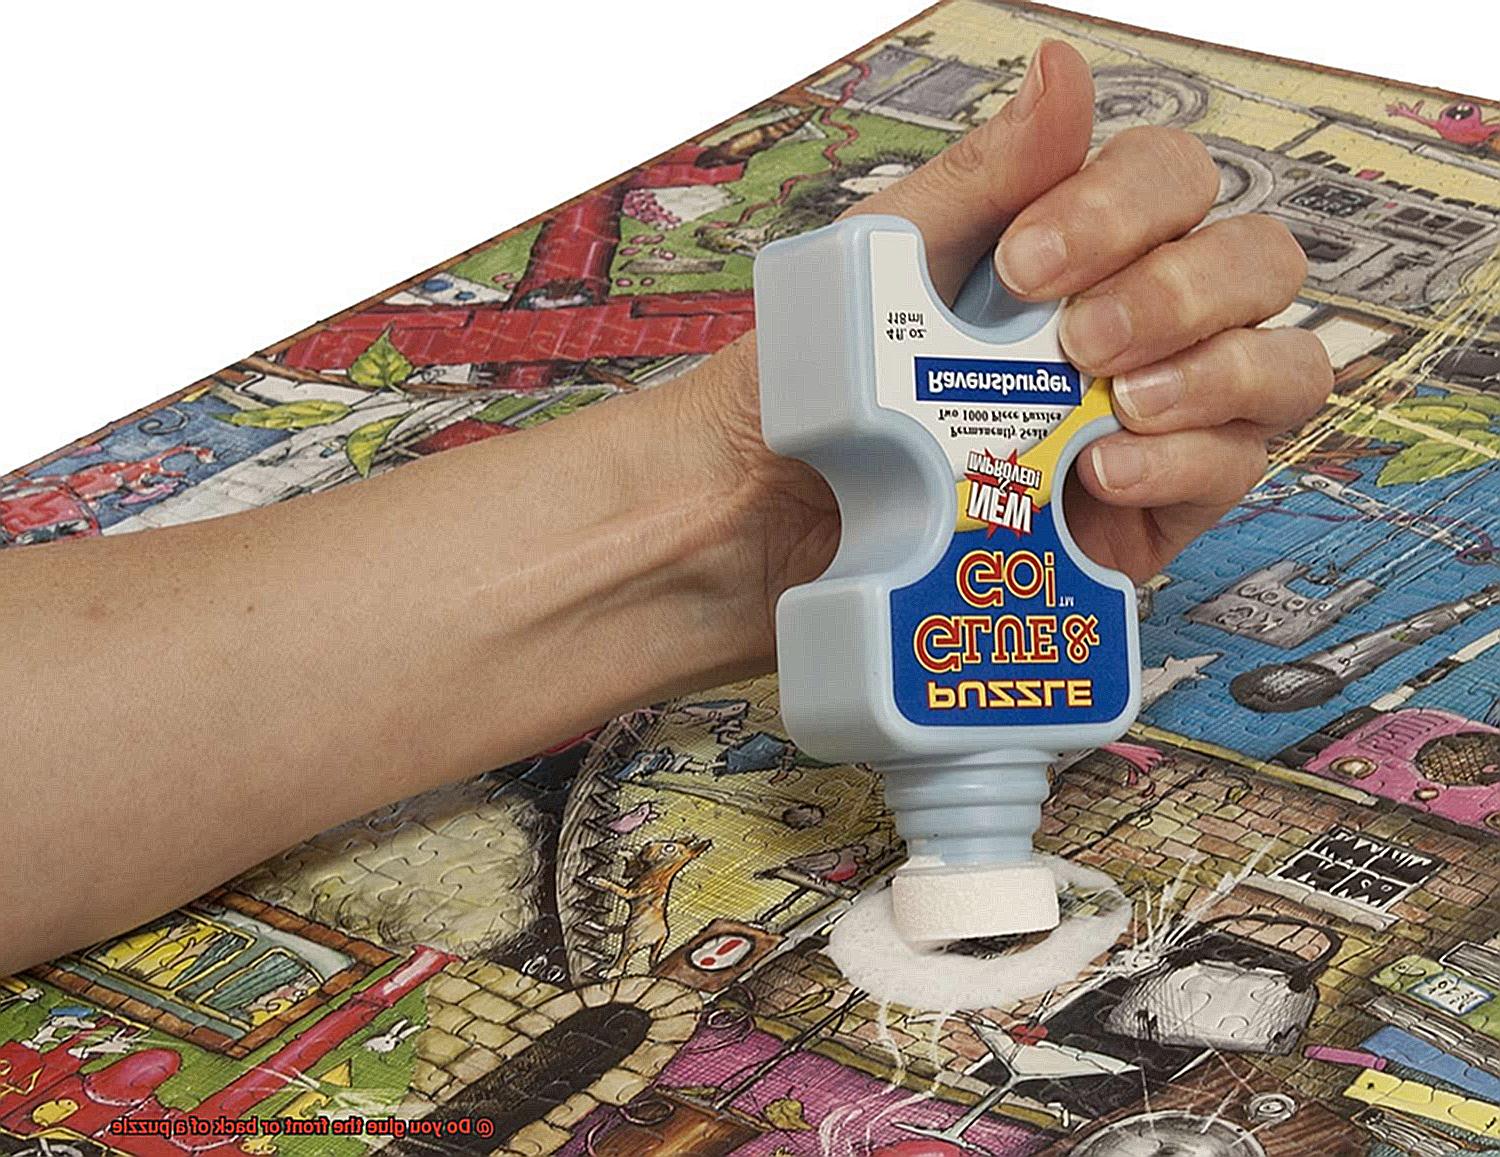
Puzzle Conserver
Puzzle conserver is a popular choice for gluing puzzles. It typically comes in a bottle with a sponge applicator. To use this type of glue, dab the sponge onto the front surface of the puzzle, spreading an even layer of glue across all the pieces. Puzzle conserver is known for its quick-drying properties, making it a convenient option for finishing your puzzles faster.
Spray Adhesive
Some puzzle glues come in spray form. These sprays provide a thin and even layer of glue when sprayed onto the front surface of the puzzle. They are great for covering large areas quickly and evenly. However, it’s important to use sprays in a well-ventilated area due to their fumes.
Alternative Options
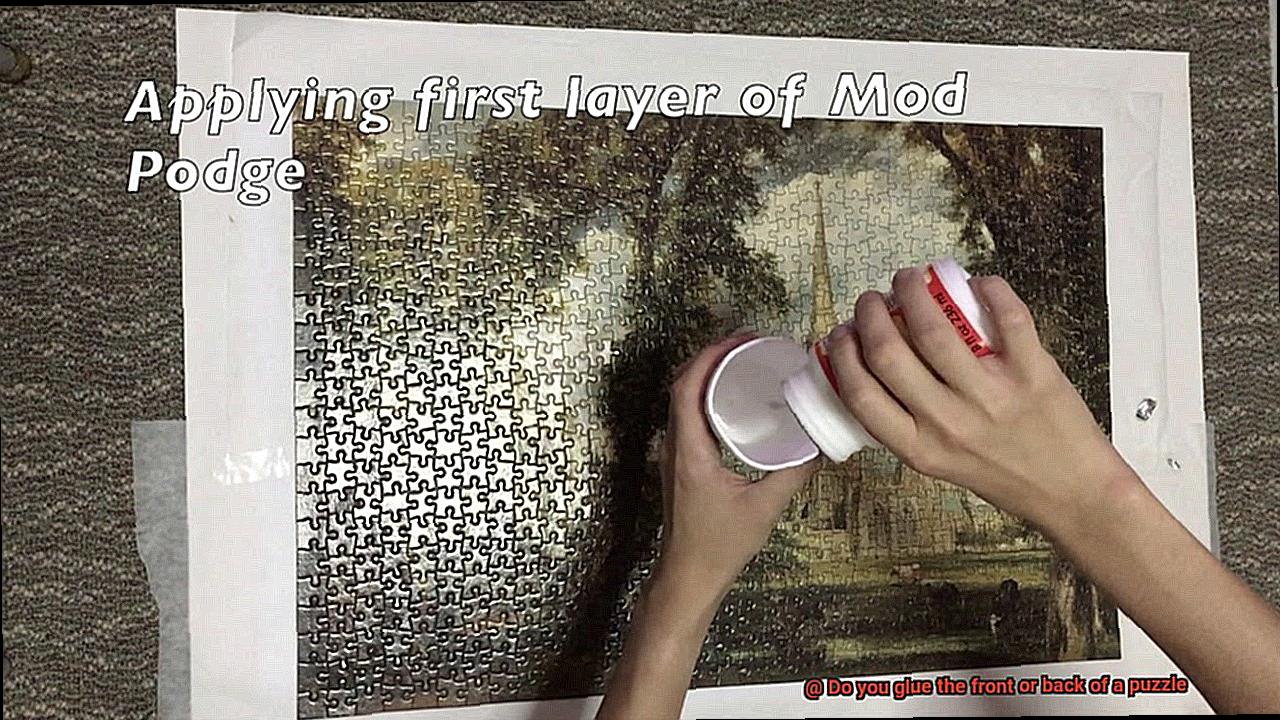
In addition to traditional puzzle glues, there are alternative options available. For example, Mod Podge, a popular crafting adhesive, can be used as puzzle glue as well. It is applied by brushing it onto the front surface of the puzzle, similar to liquid glue. Mod Podge dries clear and creates a glossy finish, adding an extra touch to the completed puzzle.
Applying Glue to the Front of a Puzzle
This process not only ensures that the puzzle pieces stay securely in place, but it also creates a resilient surface that can be handled and proudly displayed without the fear of any loose pieces ruining the image.
To begin, it is crucial to confirm that the puzzle is fully completed, with every piece accounted for and properly fitted. Any missing or loose pieces should be addressed before proceeding to the gluing process.
Next, create a protective layer by laying down wax paper or plastic wrap on your work surface. This will prevent any glue from seeping through and sticking to your table, allowing you to focus solely on preserving your puzzle.
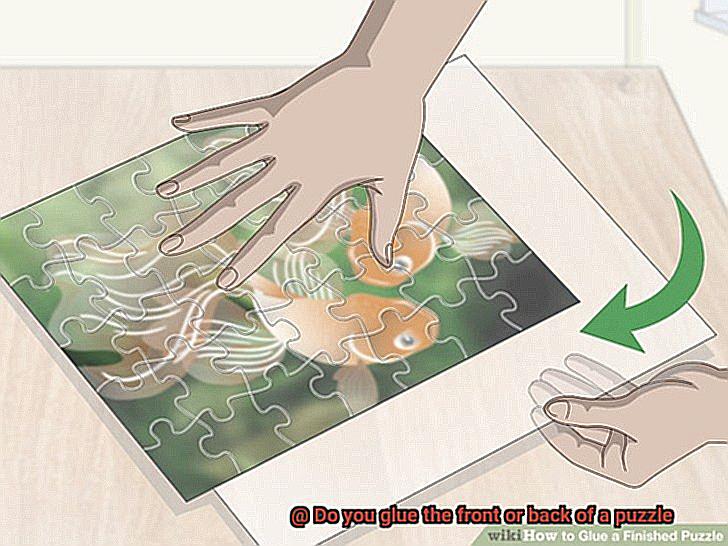
Gently flip the completed puzzle over onto the protective surface, ensuring that the front side is facing down. With a foam brush or a soft bristle brush, apply an even layer of glue to the back of the puzzle. Start from one edge and delicately work your way towards the opposite side, ensuring that every inch of the surface area is covered. Be careful not to apply too much pressure, as this may result in damage.
Wait for the glue to dry completely. The drying time will vary depending on the type of glue used, but generally ranges from a few hours to overnight. Once dry, carefully flip the puzzle back over onto a clean and flat surface, revealing its beautifully preserved image.
Smooth out any air bubbles or wrinkles that may have formed during the gluing process using your hands or a soft cloth. This final touch will give your puzzle a polished appearance.
If desired, you can opt to apply an additional layer of glue to the front of the puzzle for added protection and durability. Always refer to the manufacturer’s instructions regarding drying time for optimal results.
Now that your puzzle has been flawlessly glued and dried, it is ready to be displayed or framed. The glued surface provides the stability needed to handle and hang the puzzle without any dreaded pieces falling apart.
It’s important to note that gluing the front of a puzzle may slightly alter its appearance. Some puzzle enthusiasts enjoy the enhanced colors and glossy finish that the glue provides, while others may find that it creates a slightly cloudy or hazy effect on the surface. Ultimately, this is a matter of personal preference and may vary depending on the puzzle and glue used.
Advantages of Gluing the Back of a Puzzle
Gluing the back of a puzzle offers numerous advantages, making it a valuable technique for puzzle enthusiasts. Here are six reasons why gluing the back of a puzzle can be beneficial:
- Stability and Durability: Gluing the back of a puzzle provides stability by holding all the pieces together, preventing them from shifting or falling apart. This is especially important if you plan to display the puzzle or move it around frequently.
- Preservation: Gluing the back of a puzzle helps preserve the image and prevent any damage. The glue acts as a protective layer, shielding the puzzle from moisture, dust, and other external factors that could potentially ruin the artwork. It also prevents any pieces from getting lost or damaged over time.
- Easier Handling and Framing: Once the puzzle is glued, it becomes more rigid and can be easily lifted and moved without fear of it falling apart. This makes it easier to transport or hang on a wall as a decorative piece. Additionally, gluing the back of a puzzle ensures that it remains flat and doesn’t warp or bend, making it easier to frame without any gaps or misalignments.
- Enhanced Appearance: Gluing the back of a puzzle creates a smooth and uniform surface, enhancing the overall look of the finished product. It eliminates any gaps between pieces and gives the puzzle a polished and professional finish.
- Improved Framing: When the back of a puzzle is glued, it becomes more stable and less prone to shifting. This makes it easier to fit into a frame without any gaps or misalignments. It also helps to keep the puzzle in place within the frame, preventing any movement or displacement.
- Easy Storage: Once the puzzle is glued, it can be stored without fear of it falling apart or losing pieces. It can be stacked with other puzzles or stored in a box without any worries about damage or disintegration.
Applying Glue to the Back of a Puzzle
Applying glue to the back of a puzzle is a simple yet effective way to preserve and protect your completed masterpiece. By following a few key steps and using the right materials, you can ensure that your puzzle remains intact for years to come. So let’s dive into the process.
First, gather all the necessary materials. You’ll need puzzle glue, a brush or sponge for application, wax paper or plastic wrap to protect your work surface, and of course, your completed puzzle. Puzzle glue is specially formulated to dry clear and not damage your puzzle.
To start, lay down a protective surface such as wax paper or plastic wrap. This will catch any excess glue and prevent it from seeping through and making a mess. No one wants to deal with sticky fingers or ruined surfaces.
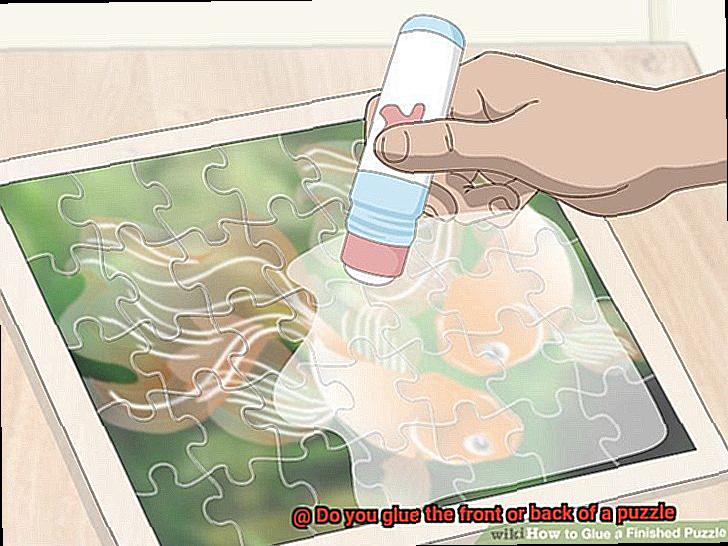
Now it’s time to apply the glue. Begin at one edge of the puzzle and use your brush or sponge to spread an even layer of glue across the entire back surface. Work in small sections to ensure thorough coverage. Remember, a thin and even layer is all you need – too much glue can create a mess and take longer to dry.
Once you’ve applied the glue, be patient and allow it to dry completely. The drying time will vary depending on the type of glue used, but it typically takes a few hours to overnight. Rushing this step may result in a less secure bond, so resist the temptation to touch or move the puzzle until it’s fully dry.
After the glue has dried, inspect the puzzle for any areas that might need additional glue. Apply a second coat if necessary, focusing on any loose or weak spots. This extra layer of glue will ensure that your puzzle stays intact over time, even if you decide to hang it up on a wall.
Now that your puzzle is fully dry and secure, it’s ready to be displayed or framed. You can proudly show off your completed work without worrying about pieces falling apart. It’s like turning a fragile masterpiece into a robust work of art.
It’s important to note that gluing the back of a puzzle may slightly alter its appearance. The glue can darken the colors and create a glossy finish. However, this can also enhance the overall durability and longevity of the puzzle. If you prefer to preserve the original look of the puzzle, there are other methods available, such as using puzzle preserver sheets or adhesive spray. These options allow you to glue the front of the puzzle while still maintaining its original appearance.
Considerations for Both Methods
When it comes to gluing a puzzle, there are two main methods to consider: gluing the front or gluing the back. Each method has its own set of considerations, and it ultimately depends on the desired outcome and personal preference.
Gluing the front of a puzzle is a popular choice for many puzzle enthusiasts. This method not only preserves the image but also gives it a glossy finish that enhances the overall appearance. The seamless display achieved by gluing the front ensures there are no visible seams or gaps between the puzzle pieces, making it perfect for showcasing the completed puzzle.
However, there are some important considerations when choosing this method. Firstly, using a puzzle-specific glue is crucial to prevent any damage to the cardboard surface. Regular craft glue may not provide the same level of adhesion and could potentially ruin the puzzle.
Additionally, applying glue to the front requires careful and even application to avoid drips or excess glue pooling in certain areas. Taking your time and using a small brush or sponge applicator can help achieve an even coat.
On the other hand, gluing the back of a puzzle offers added stability and is a more forgiving process. Any imperfections or excess glue on the back won’t be as visible once the puzzle is flipped back over, making it a great option for those who want to hide any mistakes. Moreover, gluing the back reinforces the puzzle and prevents pieces from shifting or falling out, providing peace of mind when displaying or handling the completed puzzle.
However, there are trade-offs with this method as well. The glossy finish achieved by gluing the front may not be as prominent when gluing the back, which may or may not be a concern depending on personal preference. Additionally, if you plan on framing the puzzle, gluing the back may result in a small gap between the puzzle and glass due to the added thickness of the glue layer.
xacygWYMQG8″ >
Conclusion
In conclusion, the age-old puzzle conundrum of whether to glue the front or back ultimately boils down to personal preference and desired outcomes. If you opt for gluing the back of your puzzle, you’ll be rewarded with a plethora of advantages. First and foremost, it provides stability, ensuring that your masterpiece stays intact even when faced with the most mischievous hands.
Moreover, gluing the back allows for easier handling and framing, making it a breeze to showcase your puzzling prowess. Plus, let’s not forget about the enhanced appearance and improved framing opportunities that come with this method. By securing all those tiny pieces from behind, you’re guaranteed a smooth and uniform surface that exudes polish.
However, don’t dismiss the front-gluing camp just yet. This alternative approach boasts its own set of perks. For starters, it helps preserve the original condition of your puzzle, safeguarding its pristine beauty for years to come. Additionally, gluing the front adds stability and opens up an array of display options that will make any art enthusiast swoon. Who can resist the allure of a glossy finish that enhances aesthetics while providing an extra layer of durability against pesky dust and moisture?
When it comes to choosing the right glue for your puzzle project, fear not. There are various options at your disposal: liquid glue, adhesive sheets or film, puzzle conserver, spray adhesive – oh my. And let’s not forget about alternative gems like Mod Podge. Each type boasts unique characteristics and application methods that cater to different preferences.
Ultimately, whether you decide to glue the front or back hinges on your personal taste for appearance and display possibilities.
Whichever path you choose to embark on in this sticky adventure (pun intended), remember to employ proper techniques and utilize high-quality puzzle glue for optimal results.