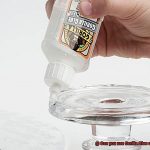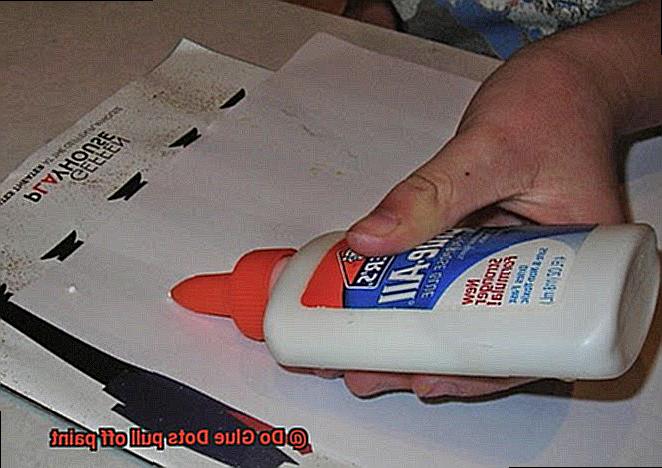
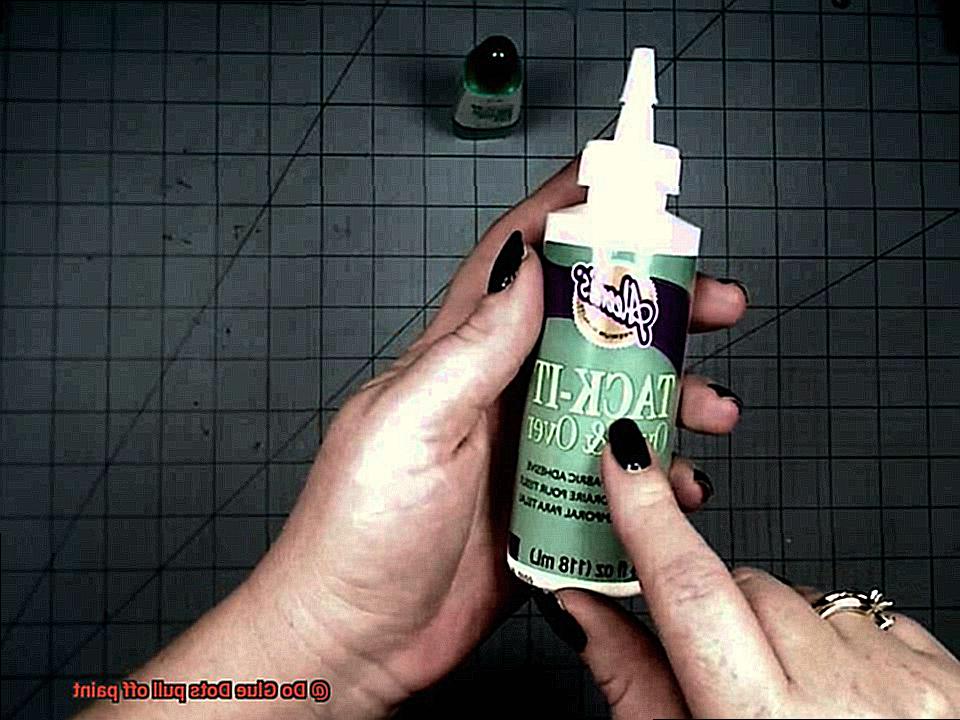
Looking for an adhesive that won’t wreck your paint job? Glue Dots are here to save the day. Say goodbye to sticky residue and unsightly marks. These little wonders stick like glue (pun intended) without pulling off paint or leaving a mess behind. Whether you’re a crafty DIY-er or just want an easy way to hang decorations, Glue Dots are the answer you’ve been searching for.
Traditional adhesives can be a nightmare – they stick too well or not well enough, and when you try to remove them, they take your precious paint with them. But fear not. Glue Dots have a secret formula that provides a strong bond without damaging surfaces. No more worrying about ruining your walls or furniture when you want to change things up.
In this blog post, we’ll dive into the science behind Glue Dots’ magical abilities and explore their many uses. From decorating to repairs, these little dots will become your new best friend. Plus, we’ll share some expert tips to make sure you get the most out of your Glue Dots experience.
So, say goodbye to paint damage and hello to stress-free sticking with Glue Dots. Your walls will thank you.
What are Glue Dots?
Contents
Imagine a world where you can stick materials together without the mess and hassle of traditional adhesives. Well, that world exists, and it’s called Glue Dots. These little circles of adhesive have become a favorite in crafting, packaging, and countless other applications where a temporary bond is desired. Let’s dive in and explore what Glue Dots are, why they’re so popular, and how you can use them.
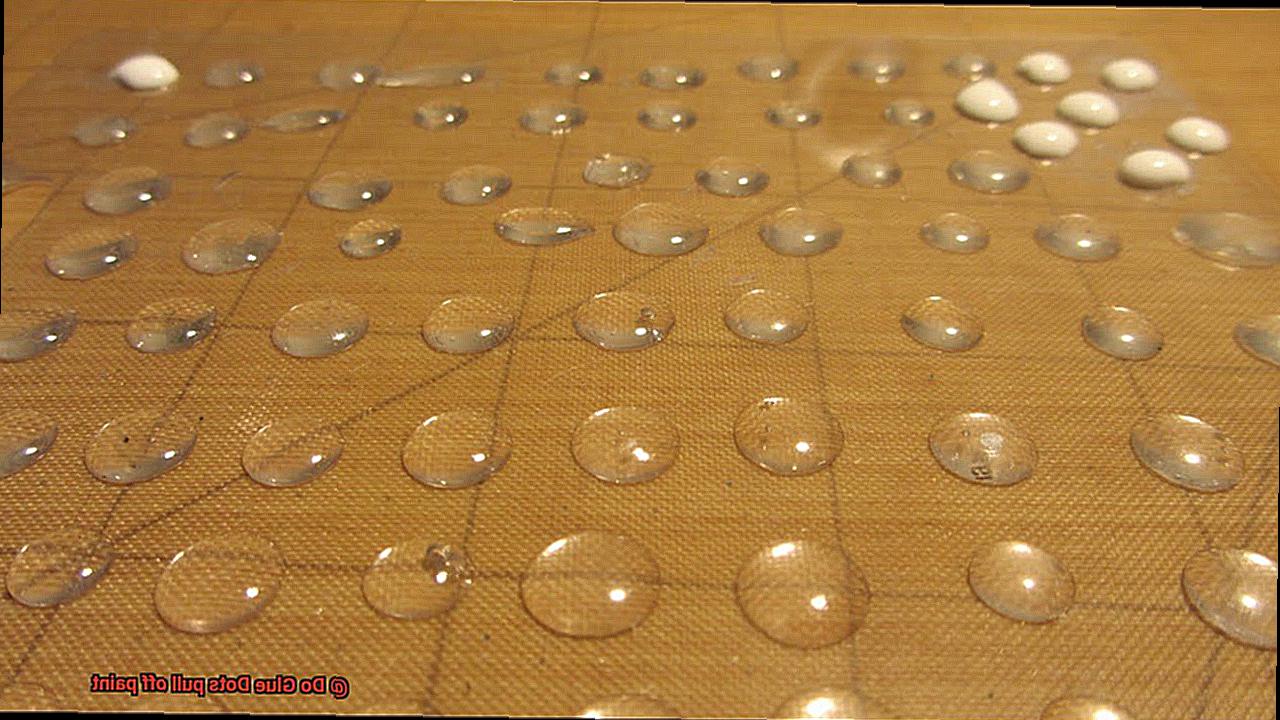
Glue Dots are made from a special pressure-sensitive adhesive that is applied to a release liner. What sets them apart is that they’re sticky on both sides. This means that you can easily adhere them to surfaces on one side and attach objects to the other side. With different sizes and strengths available, Glue Dots offer versatility for all your bonding needs.
What makes Glue Dots truly remarkable is their simplicity. Say goodbye to messy application and waiting for glue to dry. With Glue Dots, all you have to do is peel off the dot from the release liner and press it onto the desired surface. It’s quick, it’s clean, and it’s incredibly convenient for those times when you need a fast and temporary bond.
But convenience isn’t the only thing Glue Dots bring to the table. They also offer versatility in terms of strength. Whether you need a low-tack dot for a removable bond or a high-tack dot for a more permanent hold, Glue Dots have got you covered. You can choose the strength that suits your specific needs, giving you ultimate control over your projects.
Another key advantage of Glue Dots is their clean removal. No more sticky residue or damaged surfaces when it’s time to take things apart. Glue Dots can be easily lifted off without leaving any trace behind. This makes them perfect for delicate materials or attaching items to painted surfaces, where maintaining the integrity of the surface is crucial.
However, it’s important to exercise caution when using Glue Dots on painted surfaces. While Glue Dots are designed to have a low-tack adhesive, the strength can vary depending on the surface and conditions. Different types of paint, such as oil-based or latex, may have different levels of adhesion. To minimize any potential damage, make sure to clean and dry the surface before applying the adhesive dots. It’s always a good idea to test a small inconspicuous area first to assess the level of adhesion and avoid any unwanted surprises.
What Types of Paint Can Be Affected by Glue Dots?
Glue Dots, those handy adhesive dots used for crafting and DIY projects, can be a versatile tool for sticking things to various surfaces, including different types of paint. However, it’s important to understand that not all paints are created equal, and some may be more susceptible to damage from Glue Dots than others. In this section, we will explore the effects of Glue Dots on different types of paint, providing insights and precautions to help you make informed decisions when using them on painted surfaces.
Water-Based Paints:
Water-based paints, such as acrylics and latex, are generally more resistant to damage from Glue Dots. These paints are known for their flexibility and durability, making them less likely to peel or chip when adhesive is applied. However, it’s crucial to note that even water-based paints can be damaged if Glue Dots are applied with excessive force or if the paint has not fully cured. To avoid any potential issues, handle water-based painted surfaces with care when using Glue Dots.
Oil-Based Paints:
Oil-based paints have a harder and more brittle finish compared to their water-based counterparts. As a result, they are more prone to chipping or peeling when exposed to Glue Dots. When using Glue Dots on oil-based painted surfaces, it is essential to exercise caution and gentle application techniques to minimize the risk of damage. Taking extra care will help preserve the integrity of your paint job.
Specialty Paints:
Certain specialty paints, such as metallic or textured finishes, may also be more vulnerable to damage from Glue Dots. The unique properties of these paints can make them more delicate and prone to peeling or flaking when adhesive is applied. If you are working with specialty paints, it’s crucial to be particularly cautious when using Glue Dots. Consider exploring alternative adhesive options specifically designed for use on these types of paints to avoid any unwanted consequences.
Precautions and Testing:
Regardless of the type of paint you are working with, it is always recommended to test Glue Dots on a small, inconspicuous area before applying them to a larger surface. This simple precaution allows you to determine any potential damage or compatibility issues with the specific type of paint being used. By taking the time to test, you can avoid costly mistakes and ensure your project’s success.
Alternative Options:
If you have concerns about using Glue Dots on a painted surface or are unsure about the paint’s compatibility, consider exploring alternative adhesive options specifically designed for use on painted surfaces. Removable mounting putty or painter’s tape are excellent alternatives that offer a more secure hold while minimizing the risk of damage to the paint.
Adhesion Strength of Glue Dots
When it comes to the adhesion strength of glue dots, several factors come into play. Let’s dive deeper into these factors to better understand how they can affect the performance of glue dots.
- Type of Surface: The type of surface the glue dot is applied to can significantly impact its adhesion strength. Smooth and non-porous surfaces like glass or metal tend to provide a stronger bond compared to porous surfaces like fabric or paper. The texture and composition of the surface influence how well the glue dot adheres.
- Duration of Time: How long the glue dot is left in place can also affect its adhesion strength. Over time, environmental factors such as temperature changes and exposure to moisture can weaken the adhesive bond. It is important to consider the intended duration of use when selecting glue dots for a particular project.
- Quality of Paint: If you are using glue dots on painted surfaces, the quality and condition of the paint can impact their performance. Poor-quality or flaking paint may come off when removing the glue dot, leading to damage or unsightly marks on the surface. Similarly, new paint that hasn’t fully cured or bonded with the underlying material poses a risk of peeling off when removing a glue dot.
- Brand and Type of Glue Dot: Different brands and types of glue dots may vary in their adhesion strength. It is essential to follow the manufacturer’s instructions and recommendations when selecting and using glue dots for your project. Some brands offer specialized glue dots designed for specific surfaces or applications, providing enhanced adhesion strength.
To ensure the best adhesion strength with glue dots, it is advisable to test them on a small inconspicuous area before applying them to a larger surface. This way, you can assess their performance and minimize any potential damage or issues.
If there are concerns about the adhesion strength of glue dots on a particular surface, alternative methods of attachment should be considered. Hooks, clips, or other adhesive products specifically designed for surfaces like paint may provide a more secure and reliable solution.
Preparing the Surface Before Using Glue Dots
Preparing the surface before using Glue Dots is a crucial step to ensure optimal adhesion and prevent any damage to the paint or surface. By following these steps and taking into consideration the type of surface you are working with, you can ensure that your Glue Dots adhere properly and securely without causing any damage.
- Clean the surface: Start by thoroughly cleaning the surface to remove any dust, dirt, or grease. This can be done using a mild detergent and water solution or a suitable cleaning agent recommended for the specific surface. Cleaning the surface ensures that the glue dots adhere to a clean surface, providing a stronger bond.
- Dry the surface: After cleaning, make sure to dry the surface completely. Moisture can interfere with the adhesive properties of the Glue Dots, so it’s important to ensure that the surface is dry before applying them. Use a clean cloth or allow it to air dry.
- Remove loose paint: If there are any loose or flaking paint areas on the surface, gently remove them using a scraper or putty knife. Sanding the area lightly can also help create a smooth and even surface for better adhesion. Removing loose paint will prevent it from affecting the bond of the glue dots.
- Consider priming or sealing: Depending on the type of surface, it may be necessary to prime or seal it before using Glue Dots. This is especially important for porous surfaces like wood or fabric. Applying a primer or sealant will create a barrier between the adhesive and the surface, ensuring better adhesion and preventing any damage.
- Follow manufacturer’s instructions: Different surfaces may require different preparation methods, so it’s important to refer to the manufacturer’s instructions for specific guidance. They may provide additional recommendations or precautions based on their product’s specifications.
Testing a Small Area Before Extensive Use
Testing a small area before using glue dots on painted surfaces is a crucial step in ensuring the success and safety of your project. This precautionary measure is important for several reasons.
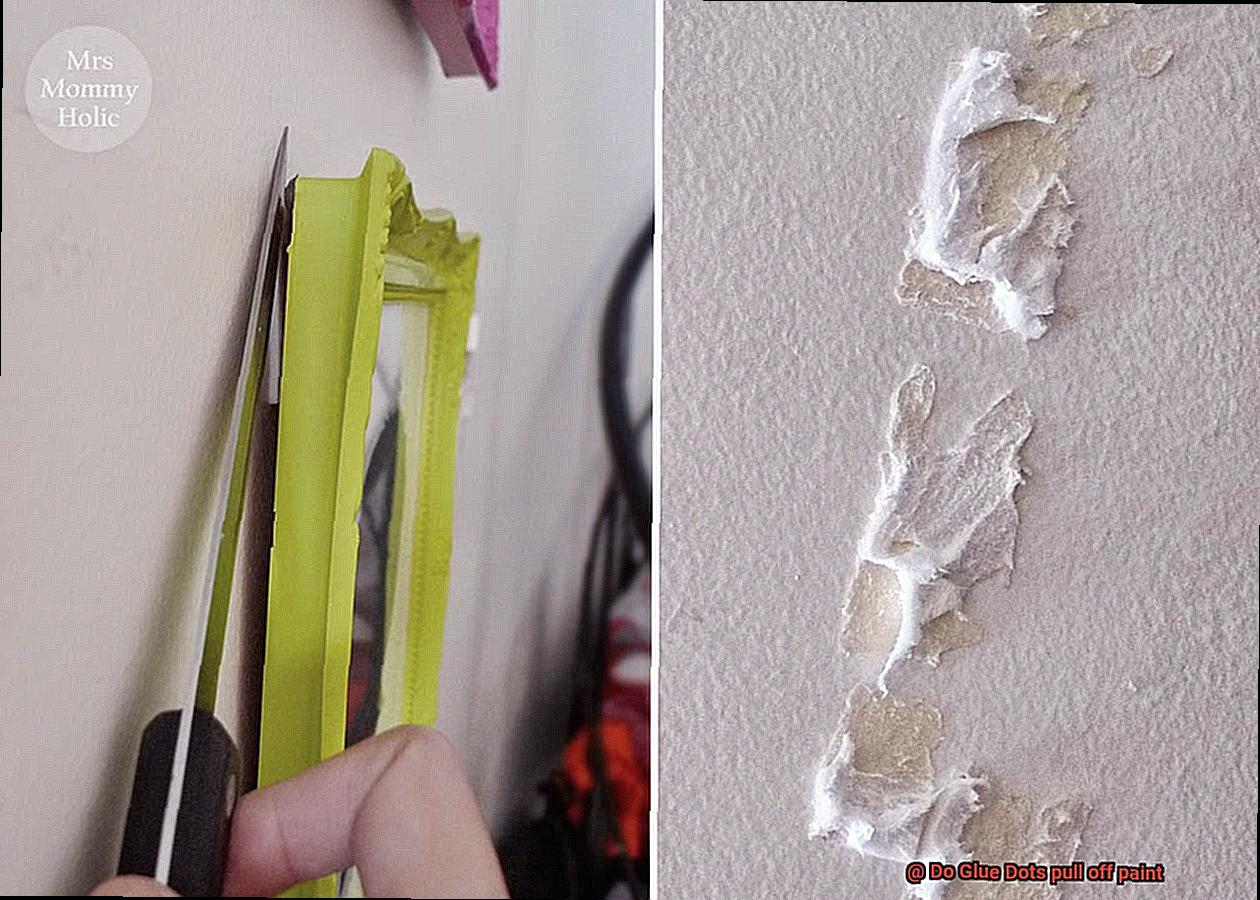
Firstly, different types of paint and finishes may react differently to adhesive products like glue dots. By testing a small area, you can determine if the glue dots will pull off paint or cause any damage to the surface. This way, you can avoid potential harm to your painted surfaces and maintain the integrity of your paint job.
When conducting the test, it is essential to choose a small and inconspicuous area on the painted surface. This ensures that any potential damage or paint peeling will not be easily noticeable. It’s always better to be safe than sorry, especially when it comes to preserving the appearance of your painted surfaces.
Before applying the glue dots, it is crucial to clean the surface and remove any dust, grease, or debris. Cleaning the area ensures better adhesion between the glue dots and the paint, resulting in a more accurate test. A clean surface also promotes stronger adhesion when using glue dots in your actual project.
Each adhesive product may have specific curing or drying times recommended by the manufacturer. By following these instructions, you can ensure that you are allowing enough time for the glue dots to set properly before testing their adhesion. This way, you can obtain accurate results and make an informed decision about using the glue dots on your painted surfaces.
If the glue dots do pull off paint or cause damage during the test, it is advisable not to use them on that particular painted surface. Instead, consider exploring alternative adhesive options that are specifically designed for use on painted surfaces. There are various adhesives available in the market that offer strong adhesion without causing any harm to your paint job.
Removing Glue Dots Carefully
Removing glue dots carefully from painted surfaces requires a methodical approach to avoid damaging the paint. Here are step-by-step instructions on how to safely remove glue dots without harming the paint:
- Gather the necessary tools: You will need a hairdryer or heat gun, a plastic scraper or your fingernail, adhesive remover or rubbing alcohol, a clean cloth, mild detergent or soap, warm water, and touch-up paint (if needed).
- Apply heat to soften the adhesive: Use the hairdryer or heat gun on a low setting and hold it a few inches away from the glue dot. Move it back and forth in a sweeping motion for about 30 seconds to soften the adhesive.
- Gently peel off the glue dot: Once the adhesive has been softened, use the plastic scraper or your fingernail to gently lift and peel off one edge of the glue dot. Be careful not to apply too much force or pull too hard to avoid damaging the paint.
- Use adhesive remover if necessary: If the glue dot does not come off easily, apply a small amount of adhesive remover or rubbing alcohol onto a clean cloth. Gently rub it in circular motions on the glue dot to help dissolve the adhesive. Give it some time to penetrate before attempting to peel it off again.
- Clean the area: Once the glue dot has been successfully removed, mix mild detergent or soap with warm water and use a soft cloth to gently wipe away any residue left behind. Avoid using harsh chemicals or abrasive materials that may damage the paint.
- Touch up if necessary: If removing the glue dot caused minor damage to the paint, such as small scratches or scuffs, you can touch up the affected area with matching touch-up paint or a small brush. Carefully apply the paint only to the damaged spot and blend it in with the surrounding area.
Touching Up Damaged Areas
Touching up damaged areas caused by Glue Dots requires a careful and strategic approach to ensure that the paint is not further damaged and that the repair is seamless.
Glue Dots, known for their strong adhesive properties, are commonly used for various crafting and household projects. However, there is a concern about whether they can pull off paint when removed, particularly on painted surfaces like walls or furniture.
To minimize the risk of paint damage, it is crucial to test Glue Dots on a small, inconspicuous area before applying them to a larger surface. This initial test will allow you to assess how well the adhesive adheres and whether it causes any damage when removed. If you find that the Glue Dots have caused paint damage, follow these steps to touch up the affected areas:
- Remove the Glue Dots: Gently heat the dots with a hairdryer on a low setting to soften the adhesive, making it easier to remove. Use a plastic scraper or your fingernail to carefully peel off the dots, taking care not to scrape or scratch the paint.
- Clean the surface: Once the Glue Dots are removed, clean the area with a mild soap and water solution to eliminate any adhesive residue or dirt. Pat dry with a soft cloth.
- Touch-up paint: If there is noticeable paint damage, use touch-up paint that matches the color of your wall or furniture. Apply a small amount using a fine brush or sponge applicator, following the manufacturer’s instructions for best results.
- Paint pen or marker: For smaller areas of paint damage, consider using a paint pen or marker that matches the color of the damaged area. These pens are specifically designed for touch-up work and can effectively cover up small spots of paint damage caused by Glue Dots.
- Repaint if necessary: In cases where the paint has peeled off in larger sections, touch-up methods may not provide a seamless repair. It may be necessary to repaint the entire surface for a more uniform finish.
To prevent future paint damage when using adhesive products, such as Glue Dots, consider using alternative options like removable adhesive hooks or tapes. These products are designed to be easily removed without causing damage to painted surfaces.
Professional Help for Repainting
When it comes to repainting a surface that has been previously glued with Glue Dots, hiring a professional contractor can make all the difference. While it may seem like a simple DIY project, there are several benefits to seeking professional help that can ensure optimal results.
First and foremost, professional painters bring expertise and experience to the table. They have the knowledge to assess the condition of the surface and determine the best course of action. They can identify any potential issues or challenges that may arise during the repainting process. With their experience, they know how to handle surfaces previously glued with Glue Dots and can effectively remove adhesive residue without damaging the surface.
Proper surface preparation is crucial for a successful repaint, and professionals excel at this. They have access to specialized tools and techniques that ensure a clean and smooth surface for painting. This means they can remove all adhesive residue, ensuring proper paint adhesion and preventing premature peeling.
Speaking of paint adhesion, professional painters have the skills and expertise to achieve a high-quality finish that is long-lasting and aesthetically pleasing. They know the right type of primer and paint to use for different surfaces, ensuring optimal adhesion and durability. With their attention to detail and knowledge of paint application techniques, they can deliver superior results that DIY attempts may struggle to achieve.
Another advantage of hiring professionals is the time-efficiency they bring to the table. Repainting a surface can be a time-consuming task, especially if you have limited experience. By hiring professionals, you can save time and focus on other important tasks while they handle the repainting job efficiently.
On the flip side, attempting to repaint a surface previously glued with Glue Dots on your own can come with risks. Inadequate surface preparation can lead to poor paint adhesion, causing the paint to peel off prematurely. DIY attempts may not address all the adhesive residue, resulting in an unsatisfactory finish. Without proper knowledge and experience, DIYers may not be aware of the best techniques, materials, or tools to use for repainting surfaces previously glued with Glue Dots. This can lead to subpar results or even damage to the surface.
To find a reliable contractor, ask for recommendations from friends, family, or neighbors who have had their surfaces repainted by professionals. Their personal experiences can help you find reliable contractors. Additionally, research and check reviews online to assess the reliability and quality of service of local painting contractors. Request detailed quotes and compare prices, services offered, and timelines to find the one that best suits your needs and budget. Finally, verify credentials such as licenses, insurance, and bonding to ensure you are protected in case of any accidents or damages during the project.
Conclusion
In conclusion, Glue Dots have the potential to pull off paint when used incorrectly.
It is essential to follow proper application techniques and consider the surface type before using Glue Dots. While they can be a convenient adhesive solution, it is crucial to be cautious and test them on a small, inconspicuous area first.
Ultimately, with proper care and attention, you can enjoy the benefits of Glue Dots without worrying about paint being pulled off.