Are you tired of dealing with those frustrating adhesives that promise to stick but always seem to let you down?
Trust me, I’ve been there too. But fear not, because today we’re going to tackle the burning question: Do Glue Dots peel off easily?
If you’re a fellow craft enthusiast, DIYer, or just someone who wants an adhesive that actually works, then this blog post is for you. So grab a cup of coffee, get cozy, and let’s embark on a journey into the world of Glue Dots.
Together, we’ll uncover whether these little wonders can finally put an end to all your adhesive woes.
What are Glue Dots?
Contents
- 1 What are Glue Dots?
- 2 Advantages of Using Glue Dots
- 3 Factors that Affect the Ease of Peeling Off Glue Dots
- 4 How to Peel Off Glue Dots from Smooth Surfaces
- 5 How to Peel Off Glue Dots from Porous or Textured Surfaces
- 6 Removing Difficult-to-Peel Glue Dots
- 7 Different Brands and Variations of Glue Dots
- 8 Tips for Applying and Removing Glue Dots
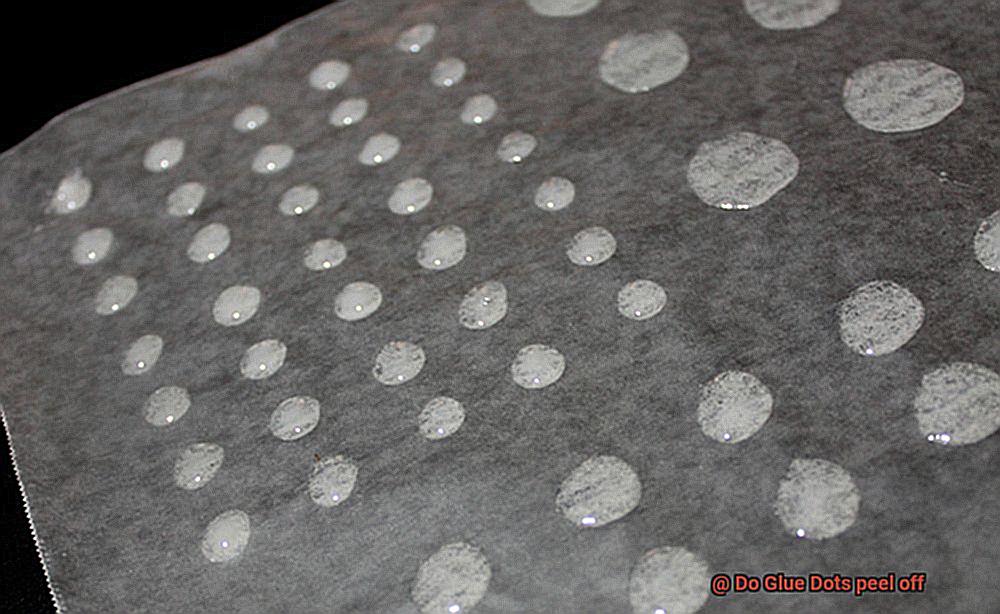
Glue Dots are not just your ordinary adhesive, they are a remarkable invention that has revolutionized the way we stick things together. These small, round dots of adhesive come on a roll or in sheets and are incredibly versatile and easy to use. Whether you’re a craft enthusiast, a packaging professional, or just someone who needs to stick something securely, Glue Dots are the answer you’ve been looking for.
What sets Glue Dots apart from other adhesives is their ability to adhere to a wide range of materials. From paper and plastic to glass and metal, Glue Dots can stick it all. They even work on fabric and wood, making them the perfect choice for all your crafting needs. Say goodbye to struggling with messy liquid glues or burning your fingers with hot glue guns. With Glue Dots, all you have to do is peel off the backing paper and press it onto the desired surface. The adhesive will stick firmly, providing an instant bond that holds strong.
But what happens when you no longer need the item to be stuck together? Fear not, because Glue Dots can be easily removed. Their repositionable nature allows you to remove and reposition them if needed. This feature is particularly useful when working on projects that require precise alignment or when you want to experiment with different design options.
Now, let’s talk about peeling off Glue Dots. On smooth surfaces like glass or plastic, they can be peeled off relatively easily. The adhesive usually comes off cleanly without leaving behind any residue or damage. However, on porous or textured surfaces like fabric or wood, a bit more effort may be required. It is recommended to gently lift one edge of the dot and slowly peel it away from the surface to minimize any potential damage. If the Glue Dot has been in place for a long time or exposed to heat or humidity, it may become more challenging to peel off. In these cases, using a mild adhesive remover or rubbing alcohol can help loosen the bond and facilitate removal.
It’s important to note that not all Glue Dots are created equal. Different brands or variations of Glue Dots may have different adhesive properties and therefore vary in terms of ease of peeling off. To ensure optimal peeling performance, it’s recommended to follow the manufacturer’s instructions and guidelines for application and removal of Glue Dots.
Advantages of Using Glue Dots
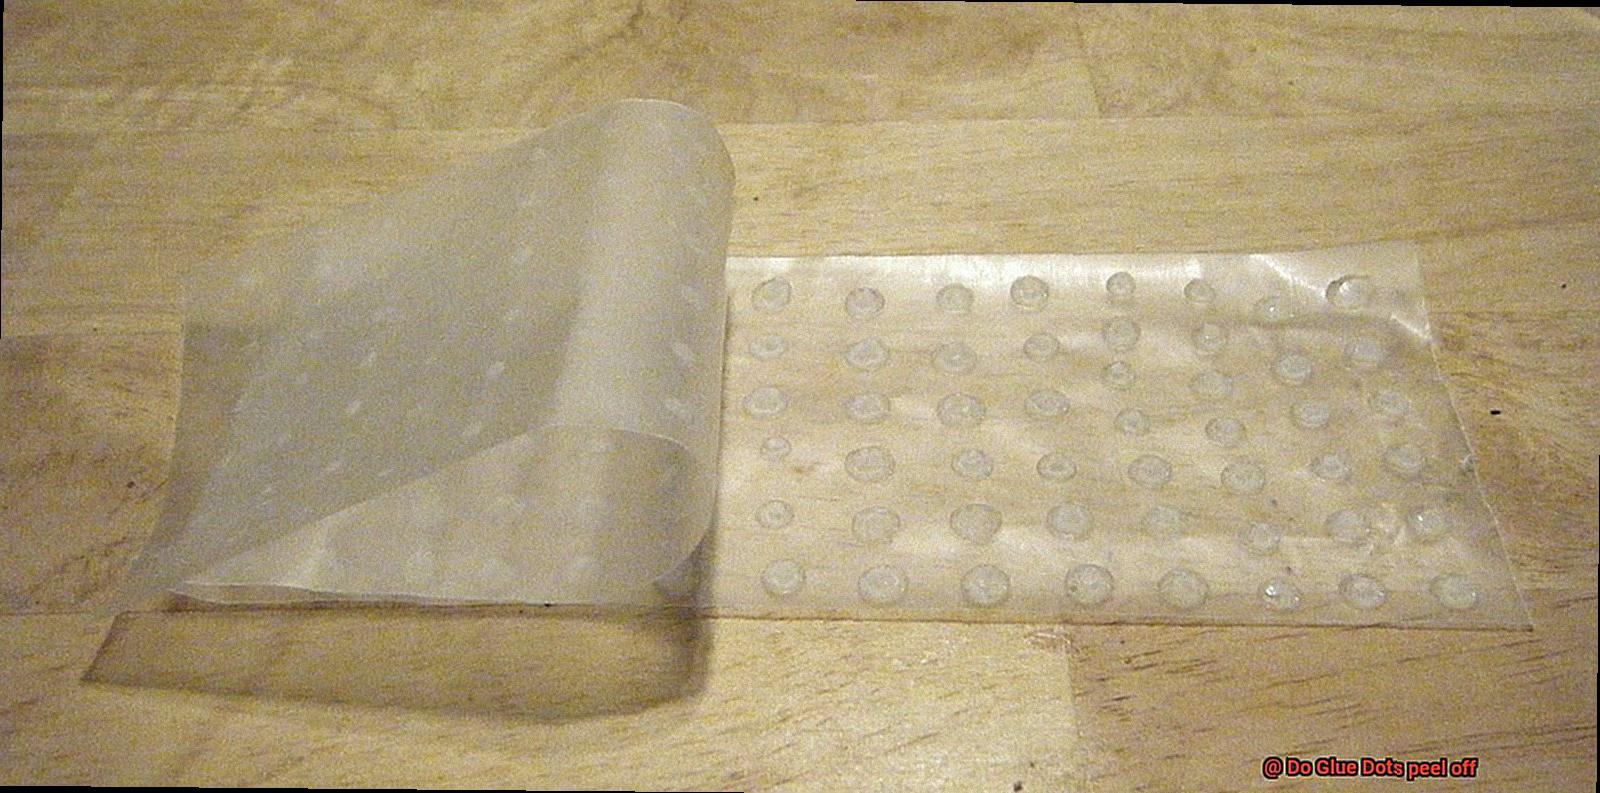
Crafting and DIY projects are a fantastic way to express creativity and personalize your home decor or gifts. However, dealing with messy and unreliable adhesives can quickly turn a fun project into a frustrating experience. Fortunately, there is a solution: glue dots. Let’s explore the advantages of using glue dots for all your crafting needs.
First and foremost, glue dots offer a mess-free application. Gone are the days of sticky fingers and cleaning up glue spills. Glue dots are pre-applied adhesive dots that are easy to handle and apply. Say goodbye to messy glue bottles, brushes, or other tools. With glue dots, you can focus on the enjoyable part of crafting without worrying about the sticky aftermath.
Another major advantage of glue dots is their instant bond. Once applied, they quickly adhere to the surface, allowing you to proceed with your project without waiting for the adhesive to dry. This is especially useful when working on time-sensitive projects or when you need to secure items quickly. With glue dots, you can maintain your creative momentum without any interruptions.
Versatility is another key benefit of using glue dots. They can be used on various materials such as paper, fabric, plastic, metal, wood, and more. Whether you’re scrapbooking, cardmaking, or creating home decor pieces, glue dots can securely bond different materials together. No need to worry about your creations falling apart.
When using liquid glue, it’s common to encounter wrinkles or bubbles on the surface of your project. Glue dots eliminate this problem by providing a flat and even application. This ensures a seamless finish without any unsightly imperfections. Your crafts will look professional and polished.
Glue dots also come in both permanent and temporary options. Depending on your needs, you can choose a glue dot that is either removable or repositionable. Removable glue dots allow you to easily remove or reposition items without leaving any residue behind. This is perfect for temporary displays or when working on projects that require adjustments.
Safety is always a concern, especially when crafting with children. Glue dots are safe to use for crafters of all ages. They do not require heat or harsh chemicals for activation, making them a safer alternative to hot glue guns or certain liquid glues. Parents can have peace of mind knowing that their children can engage in crafting activities without the risk of burns or exposure to toxic substances.
In addition to being safe, glue dots also help minimize waste. With traditional liquid glue, it’s easy to squeeze out more than you need, resulting in wasted adhesive and a messy work area. With glue dots, you can easily control the amount of adhesive you need by cutting or tearing the desired length of the dot. This not only reduces unnecessary waste but also saves you money in the long run.
Factors that Affect the Ease of Peeling Off Glue Dots
Crafting and DIY projects can be a messy and frustrating experience, but glue dots offer a mess-free solution that allows you to focus on the enjoyable part of crafting without worrying about sticky fingers or cleaning up spills. But have you ever wondered why some glue dots are easier to peel off than others? In this article, we’ll explore the various factors that affect the ease of peeling off glue dots, giving you the knowledge to choose the right glue dots for your projects.
Adhesive Strength:
The adhesive strength of glue dots is crucial in determining how easily they can be peeled off. Glue dots with higher adhesive strength stick more firmly, making them harder to remove. On the other hand, glue dots with lower adhesive strength may peel off more easily but may not provide sufficient bonding for certain applications. Finding the right balance between adhesive strength and ease of removal is essential.
Surface Texture:
The texture of the surface on which glue dots are applied can also impact their peeling off. Smooth and non-porous surfaces like glass or plastic provide less grip for glue dots, making them easier to peel off. However, rough or porous surfaces like fabric or cardboard create more friction, resulting in a stronger bond between the glue dots and the surface. Peeling off glue dots from such surfaces can become more challenging.
Temperature:
Temperature plays a significant role in the ease of peeling off glue dots. Low temperatures make glue dots more brittle and less flexible, making them easier to remove. Conversely, high temperatures can soften the adhesive, making it more difficult to peel off without leaving residues behind. Follow the manufacturer’s instructions regarding temperature ranges for optimal performance and ease of removal.
Dwell Time:
The length of time glue dots are left in place before attempting to peel them off also influences their ease of removal. Glue dots that have been left in place for an extended period may bond more strongly with the surface, requiring more effort to peel them off. Removing glue dots shortly after application increases the likelihood of easy removal without leaving residue or damaging the surface.
Material Compatibility:
Different types of glue dots are designed for specific materials and surfaces. Consider material compatibility when choosing glue dots for a particular application. Using glue dots specifically formulated for the intended material can enhance both their adhesive strength and ease of removal.
Application Technique:
The technique used to apply glue dots can impact how easily they can be peeled off later. Applying too much pressure during application may result in excessive adhesive transfer to the surface, making it more difficult to remove the glue dots cleanly. Ensure that the glue dots are evenly distributed and properly aligned for easier peeling without damaging the surface.
How to Peel Off Glue Dots from Smooth Surfaces
Glue dots are incredible adhesive dots that find their way into various crafts, decorations, and packaging projects. While they adhere remarkably well to smooth surfaces like glass or plastic, removing them without any residue or damage can be a challenge. But fear not. I’m here to guide you through the process of effortlessly peeling off glue dots from smooth surfaces. Let’s dive in.
Gather Your Supplies:
Before diving into the removal process, ensure that you have all the necessary tools at your disposal. These include a hairdryer, a plastic card or scraper (such as an old credit card), rubbing alcohol or adhesive remover, a soft cloth, and warm soapy water.
Heat it Up:
First and foremost, use the lowest setting on your hairdryer to gently heat the glue dot for a few seconds. This mild heat will soften the adhesive, making it easier to remove.
Lift and Peel:
Now comes the fun part. Take your plastic card or scraper and gently lift one edge of the glue dot. With deliberate care, slowly peel it off inch by inch, working your way around the dot. Remember, gentle is the key to success here.
Reheat if Necessary:
In case you encounter resistance and the glue dot doesn’t peel off easily, take a moment to step back and reapply heat with the hairdryer for a few more seconds. The additional heat will help loosen the adhesive further, facilitating its removal.
Remove Residual Adhesive:
Once you’ve successfully peeled off the glue dot, you may notice some sticky residue left behind. No need to fret. Dampen a soft cloth with rubbing alcohol or adhesive remover and gently dab the area. Witness how the residue dissolves under your skilled touch, making it easy to wipe away. If you don’t have these specialized products, fret not. Warm soapy water can work its magic too.
Rinse and Dry:
With the adhesive gone, rinse the surface with clean water and pat it dry with a soft cloth. Behold. You now have a smooth, glue-dot-free surface that’s ready for its next adventure.
How to Peel Off Glue Dots from Porous or Textured Surfaces
Fear not. In this comprehensive guide, we will explore effective techniques for safely and efficiently peeling off those pesky glue dots. Whether you’re dealing with a craft project mishap or a sticky situation at home, these tips will help you remove glue dots without causing any damage to the surface.
Assess the Surface:
Before diving into the removal process, closely examine the porous or textured surface. Look for any delicate or sensitive areas that require extra care during removal. Identifying these areas will help you choose the best approach for safe and successful glue dot removal.
Apply Heat:
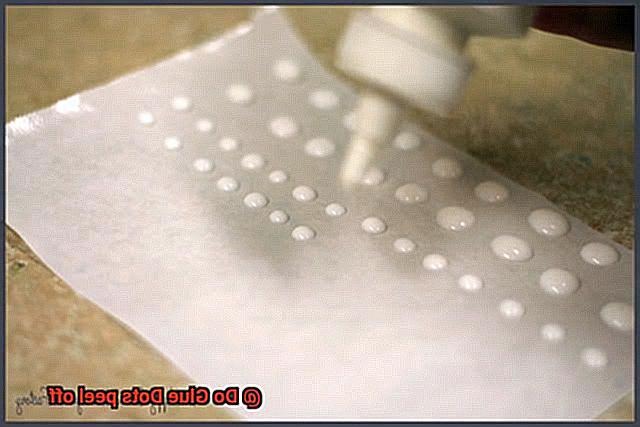
Heat can be your secret weapon in removing glue dots. Use a hairdryer on low heat or a heat gun on a low temperature setting to warm up the adhesive. Be cautious not to get too close to the surface, as excessive heat can cause damage. The application of heat softens the adhesive and makes it easier to peel off.
Use a Scraper:
Once the glue dots are heated, gently scrape them off using a plastic scraper or an old credit card. Take your time and work in small sections, applying light pressure until the glue dot loosens and can be lifted away. Avoid using sharp tools that may scratch or damage the surface.
Try Adhesive Removers:
If the above methods don’t completely remove the glue dots, don’t despair. There are adhesive removers specifically designed for tackling sticky residues. Apply a small amount of remover onto a clean cloth or cotton pad and rub it over the glue dot. Allow it to sit for a few minutes to penetrate the adhesive before attempting to peel it off.
Test a Hidden Area:
Before proceeding with larger sections, always test your chosen adhesive removal method on a small, inconspicuous area of the surface. This ensures that there are no adverse effects on the material or finish. If the test area shows any negative reaction, consider trying a different removal technique.
Clean the Surface:
Once you’ve successfully removed all the glue dots, it’s time to clean the surface to remove any remaining adhesive residue. Use a mild detergent or soap mixed with warm water to gently scrub the area with a soft cloth or sponge. This will restore the appearance of your porous or textured surface and leave it glue-dot-free.
Removing Difficult-to-Peel Glue Dots
Don’t fret. As an expert in the field, I’m here to share some proven methods for removing those pesky, difficult-to-peel glue dots. Get ready to bid farewell to the frustration and say hello to hassle-free crafting.
- Harness the Power of Heat: When it comes to softening adhesive, heat is your secret weapon. Grab your trusty hairdryer or heat gun and direct it towards the glue dot. The intense heat will melt the adhesive, making it pliable and easy to peel off. Just remember to keep a safe distance to avoid accidents or damage.
- Unleash the Solvent Magic: If heat doesn’t do the trick, it’s time to bring out the big guns – adhesive removers or solvents. These powerful products are specially formulated to dissolve stubborn adhesive residues. Apply the solvent to the glue dot and let it work its magic for a few minutes. Then, gently peel off the glue dot. Be sure to follow the manufacturer’s instructions and take necessary precautions when using these solvents.
- Gentle Solutions for Delicate Surfaces: Worried about delicate surfaces that can’t handle heat or solvents? Fear not. There are adhesive removers specifically designed for delicate materials. These gentle solutions won’t leave behind any residue or damage your precious surfaces.
- Freeze Away the Frustration: Sometimes, freezing can be your best friend when dealing with tenacious glue dots. Grab an ice pack or a bag of ice cubes and place it over the glue dot for a few minutes. The chilly temperature will harden the adhesive, making it less sticky and easier to peel off. However, exercise caution as this method may not be suitable for all surfaces or materials.
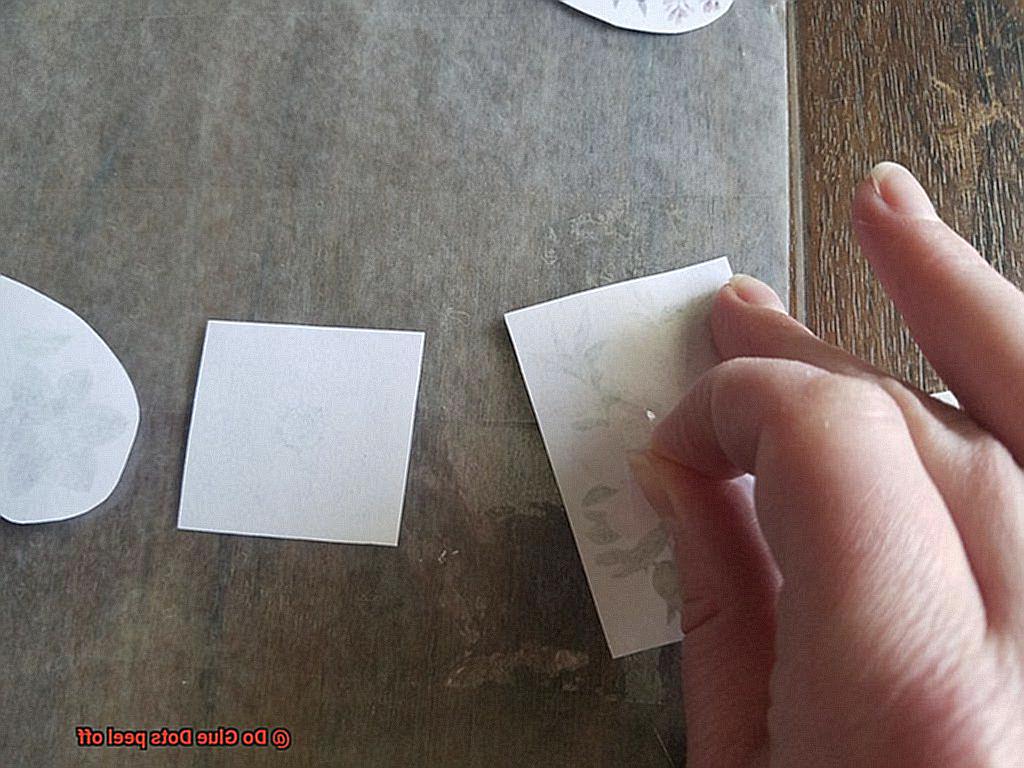
Remember, prevention is key. To avoid dealing with difficult-to-peel glue dots in the first place, apply them sparingly and make sure your surfaces are clean and dry before adhering. And as always, test any method or solvent on a small, inconspicuous area first to ensure it won’t cause any damage.
Different Brands and Variations of Glue Dots
Glue dots are a versatile and convenient adhesive option, and there are several different brands and variations available in the market to meet your specific bonding needs. Let’s explore some of the popular brands and their unique features.
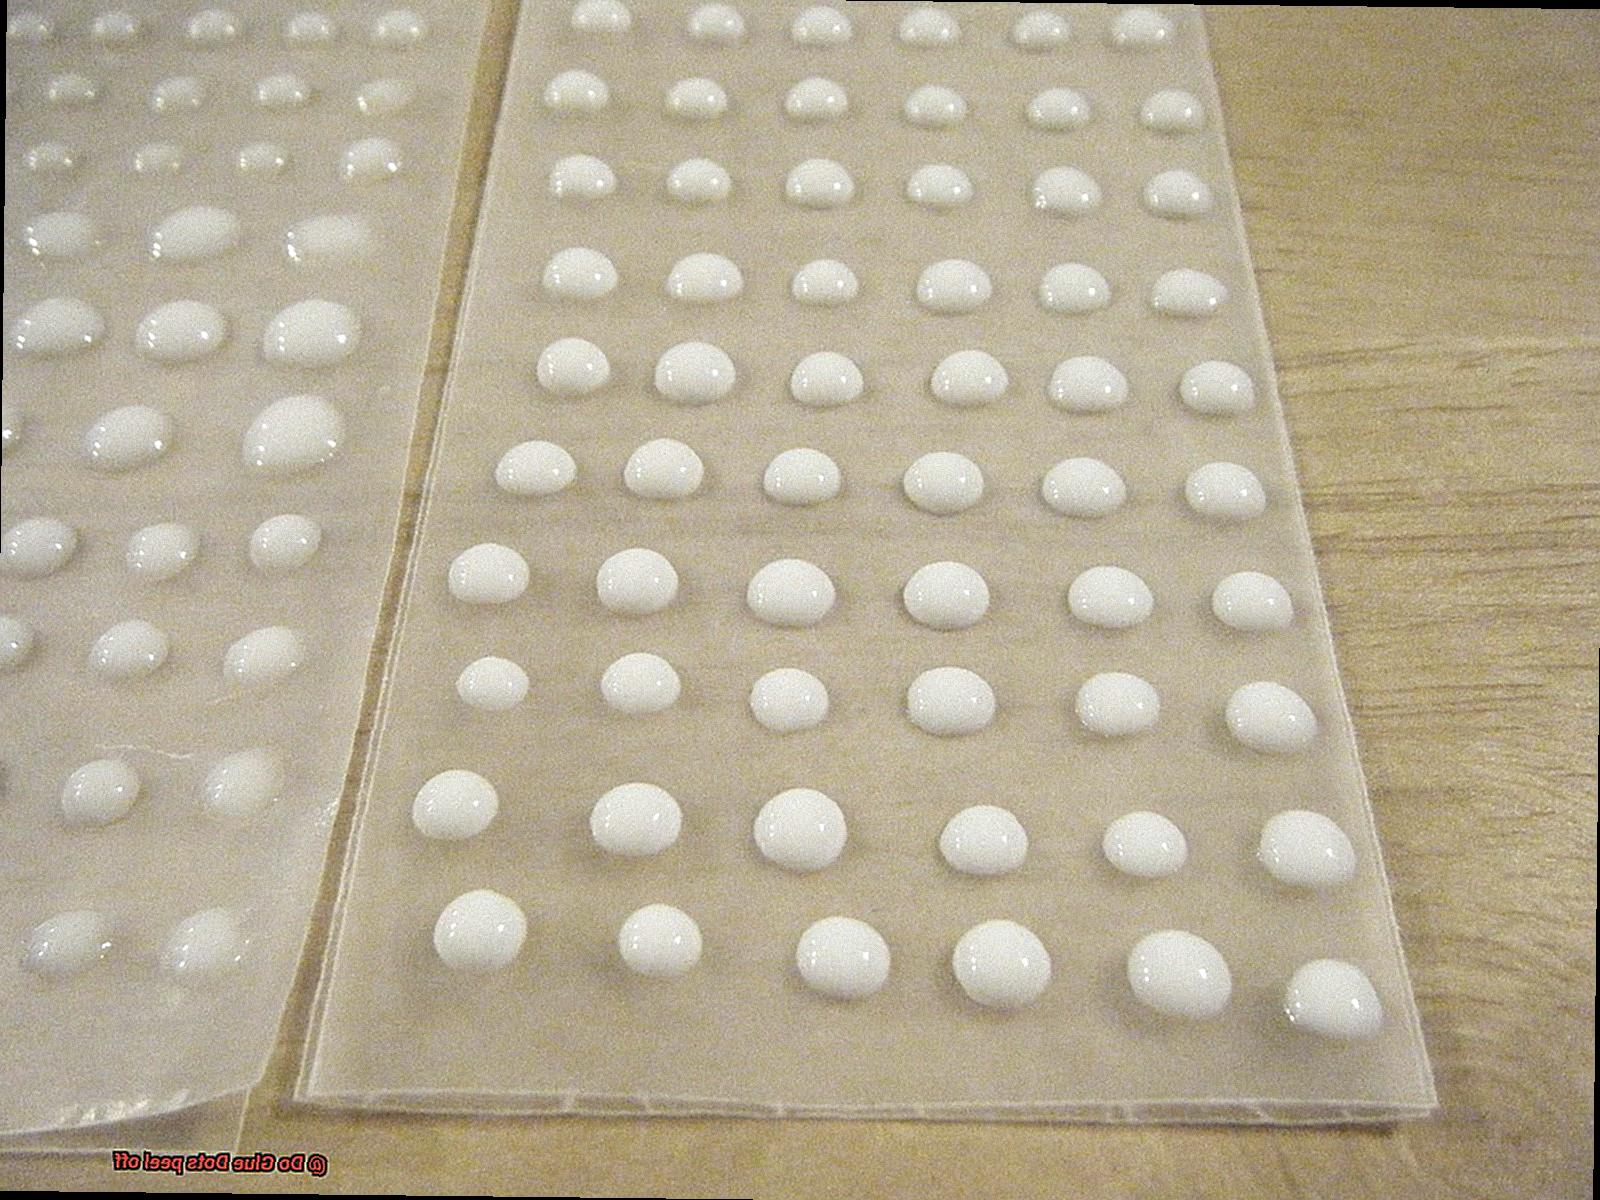
Glue Dots, one of the most well-known brands, offers a range of sizes and strengths. From standard to mini and micro dots, you can choose the perfect dot for your project. Whether you need to bond lightweight items or require a strong hold for heavy-duty applications, Glue Dots has got you covered.
If strong adhesion is what you’re after, Scotch glue dots are the way to go. These dots bond instantly and securely to various surfaces, making them ideal for heavy-duty projects that require a strong hold.
Aleene’s glue dots are known for their versatility. They offer different adhesive strengths, catering to a wide range of materials and project needs. Whether you’re working with paper, fabric, or other surfaces, Aleene’s has a glue dot that will meet your requirements.
For crafters and DIY enthusiasts, Tombow glue dots are a popular choice. They are easy to apply and offer mess-free properties, making them perfect for precise applications. With variations like permanent and removable dots, you have the flexibility to choose the right bonding option for your project.
Elmer’s glue dots are well-known for their reliability and durability. They provide a strong hold and are commonly used for bonding lightweight items such as paper, cardboard, and fabrics.
When choosing a brand of glue dots, it’s important to consider factors like surface type, weight of objects being bonded, and desired permanence. Always read the product labels or manufacturer’s guidelines to ensure proper usage.
Now, let’s talk about removing those stubborn glue dots. While most glue dots are designed to provide a secure bond, some variations offer removable properties. This allows for temporary bonding and easy removal without leaving residue or damaging the surface. If you’re dealing with permanent glue dots, there are a few techniques you can try. Applying heat, using solvents, or gently peeling off the dot from the edge can help in removing glue dots without causing any damage.
Tips for Applying and Removing Glue Dots
Preparing the Surface
Before sticking your Glue Dots onto any surface, ensure it’s clean and dry. Dust, dirt, or moisture can hinder the adhesive’s ability to stick. Give the surface a thorough cleaning with a mild detergent or rubbing alcohol, ensuring it’s completely dry before applying the Glue Dots.
Applying Glue Dots
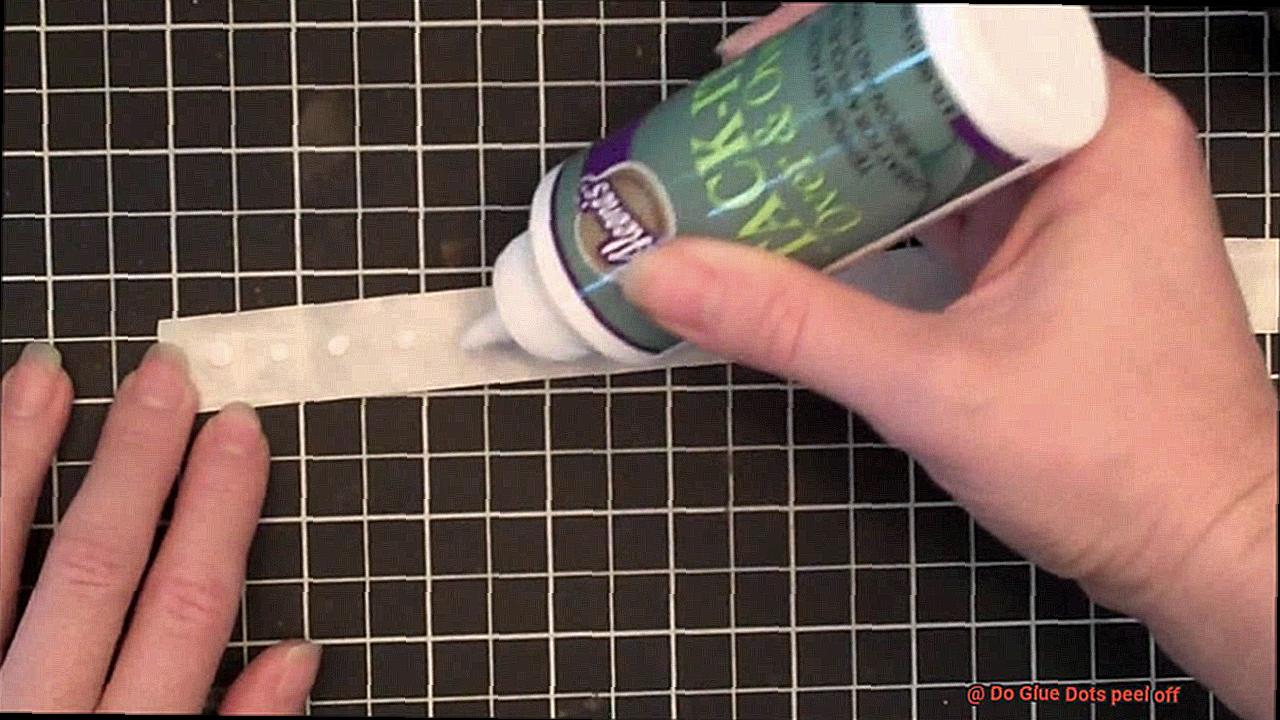
To apply Glue Dots, simply peel them off the backing sheet and press them firmly onto the desired surface. Apply enough pressure for a strong bond. For larger Glue Dots, multiple dots may be necessary to provide sufficient adhesive strength. On uneven or textured surfaces, try stretching and flattening the dot slightly before applying it – this will help it conform better and provide a stronger bond.
Removing Glue Dots
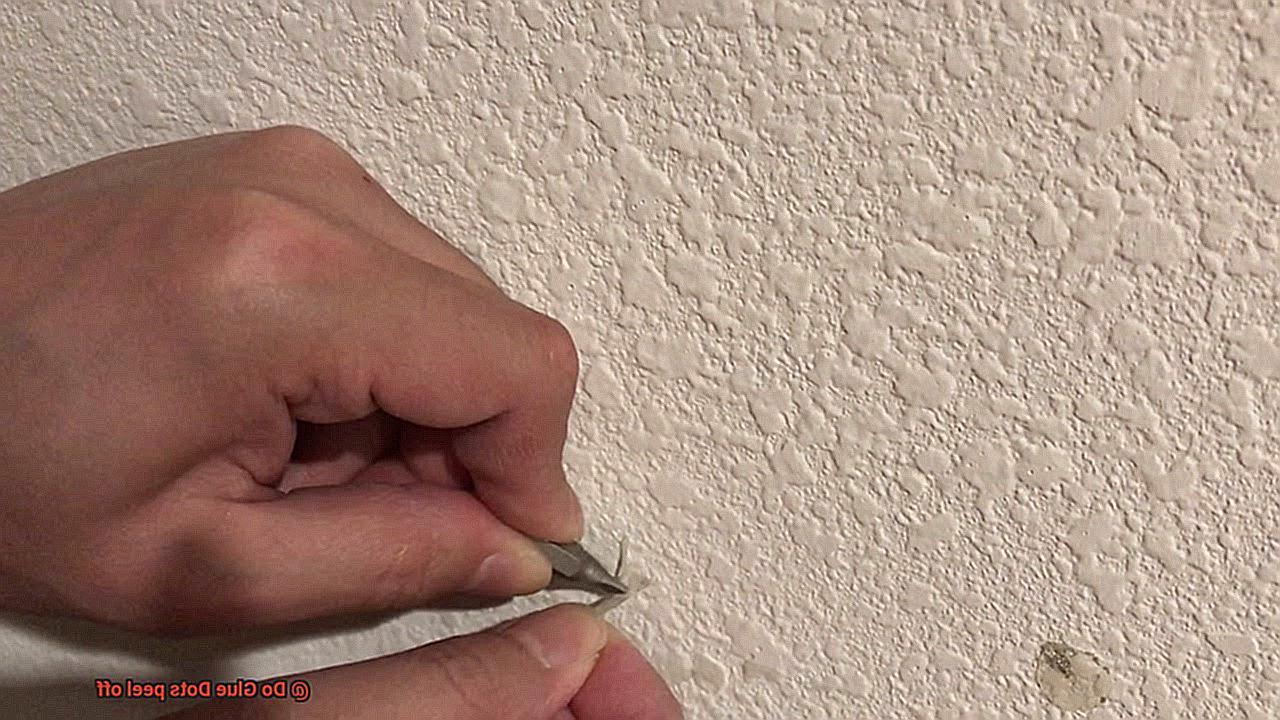
If you need to reposition or remove a Glue Dot after application, act swiftly. The longer the dot stays in place, the stronger its bond becomes. Carefully lift one edge of the dot with your fingernail or a flat tool like a plastic scraper or credit card, and slowly peel it off. If resistance is encountered, apply gentle heat from a hairdryer to soften the adhesive and facilitate removal.
Dealing with Residue
Sometimes, removing a Glue Dot may leave behind residue. Gently rub it with your finger or use an adhesive remover specifically designed for this purpose. Avoid harsh chemicals or solvents that may damage the surface.
Remember that Glue Dots are intended for temporary bonding. For a more permanent hold, consider using a different adhesive option. Store Glue Dots in a cool and dry place to maintain their performance.

