Sick and tired of dealing with those pesky glue stains ruining your precious papers?
Say goodbye to that sticky mess and say hello to Glue Dots – the adhesive superhero that promises to bond your documents without leaving a trace. Whether you’re a student getting crafty or a professional prepping for a big presentation, the last thing you need is adhesive marks cramping your style.
In this blog post, we’ll dig into the nitty-gritty of using Glue Dots on paper and uncover why they’re the ultimate go-to for all your mark-free sticking needs.
What are Glue Dots?
Contents
- 1 What are Glue Dots?
- 2 Can Glue Dots Leave Marks on Paper?
- 3 Cleaning the Surface Before Applying Glue Dots
- 4 Applying Glue Dots Evenly and Avoiding Excessive Pressure
- 5 Are Glue Dots Designed to be Removable Without Leaving Marks?
- 6 Solutions if Glue Dots Leave Marks on Paper
- 7 Alternative Adhesive Options for Paper Projects
- 8 Conclusion
When it comes to adhesive solutions, Glue Dots are a game-changer. These small and versatile adhesive dots offer a clean and efficient way to bond various materials together. Whether you’re an avid crafter, a student working on a school project, or simply need to secure items in place, Glue Dots are the answer to your adhesive needs.
Benefits of Glue Dots:
- Mess-Free Application: Say goodbye to spreading or smearing adhesives across surfaces. Glue Dots eliminate the mess and provide a precise application, making them ideal for precision work on small or delicate items.
- Instant Bonding: No more waiting for glue to dry or set. Glue Dots create an immediate bond between surfaces, ensuring a secure attachment. This feature is especially useful for time-sensitive projects.
- Strength and Durability: Designed to withstand temperature changes and humidity, Glue Dots offer reliable strength and durability. They can handle long-lasting applications that require a secure bond over time.
- Safe to Use: Glue Dots are non-toxic and emit no harmful fumes, making them safe for children and individuals with sensitivities. Always read the product instructions and safety guidelines before use.
Addressing Concerns:
Some may wonder if Glue Dots leave marks or residue on paper. While they are generally designed to be removable without leaving marks, it’s recommended to test a small area before applying them to the entire project. If marks do appear, gentle cleaning techniques can often remove them.
Can Glue Dots Leave Marks on Paper?
Glue dots are a beloved adhesive solution in the crafting world, offering a mess-free and reliable way to stick things together. But what about their impact on paper? Can glue dots leave unsightly marks or residue behind?
Here, we will delve into the effects of glue dots on paper and explore the factors that can influence whether or not they leave marks. So, grab your glue dots and let’s uncover the truth.
The Paper Factor:
When it comes to glue dots and paper, the type of paper you use plays a crucial role. Thicker and more porous papers, like cardstock or watercolor paper, are more prone to showing marks from glue dots. Their texture allows the adhesive to seep into the fibers, potentially leaving behind unwanted marks. Conversely, smoother and thinner papers, such as printer or notebook paper, are less likely to show marks.
Adhesive Strength Matters:
Another vital factor to consider is the adhesive strength of glue dots. Some glue dots have a stronger bond, making them ideal for heavier materials but potentially increasing the chances of leaving marks on paper when removed. Opting for low-tack or removable glue dots can help minimize this risk, ensuring mark-free adhesion.
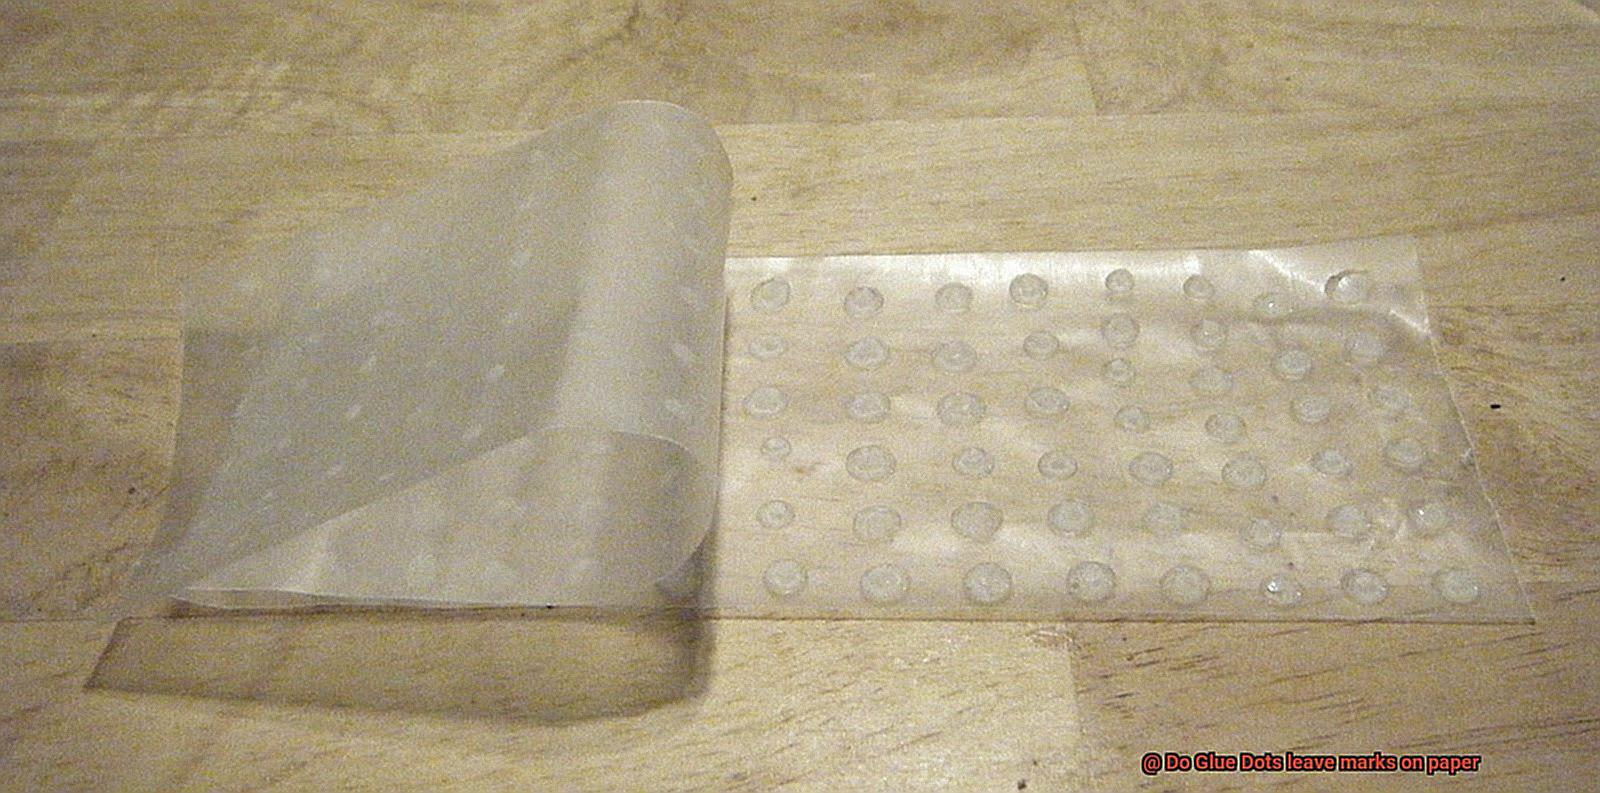
Precautions for Mark-Free Magic:
To minimize the risk of leaving marks when using glue dots on paper, follow these precautions:
- Gentle Touch: Apply and remove glue dots with a delicate touch. Forceful removal can increase the likelihood of leaving marks.
- Test a Small Area: Before applying glue dots to the entire surface, test a small area of the paper first. This allows you to assess how the paper reacts to the adhesive and make any necessary adjustments.
- Clean Removal Techniques: If marks do occur, fear not. Gently rubbing the affected area with an eraser or using a damp cloth can often lift off any residue left by the glue dots. Just remember to be gentle to avoid damaging the paper.
While glue dots are designed to be removable without leaving marks, it’s important to consider the type of paper and adhesive strength to minimize any potential risks.
By choosing the right glue dots and taking precautions during application and removal, you can enjoy mess-free bonding without worrying about unsightly marks on your precious paper projects.
So, unleash your creativity with confidence.
Cleaning the Surface Before Applying Glue Dots
Cleaning the surface before applying glue dots is essential for achieving a secure and mark-free bond. Whether you are working on a crafting project or using glue dots for professional purposes, ensuring a clean surface is crucial.
Starting with a surface free from dust, dirt, or debris is important because these particles can interfere with the adhesion of the glue dots. If the surface is not properly cleaned, the glue dots may peel off or leave unsightly marks on the paper. To avoid this, it is necessary to clean the surface beforehand.
To clean the surface, begin by gently wiping it with a soft cloth or tissue to remove any loose particles. Avoid using abrasive materials or harsh chemicals as they can damage the surface or leave residue that may interfere with the adhesion of the glue dots. Instead, opt for mild cleaning solutions.
If the surface is particularly dirty or greasy, prepare a mixture of warm water and a small amount of gentle dish soap. Dip a clean cloth or sponge into the soapy water and gently wipe the surface, making sure to remove any stains or grime. After cleaning, rinse the surface thoroughly with clean water to eliminate any soap residue. Pat dry with a soft cloth to ensure no moisture remains on the surface.
It is important to consider the type of surface you are working with when cleaning before applying glue dots. For glossy or coated papers, wiping them with a gentle glass cleaner or alcohol-based solution can help remove fingerprints or oily residues. Textured surfaces like cardboard or fabric may require extra attention and may need to be cleaned using a brush or vacuum cleaner to remove embedded dirt or fibers.
Applying Glue Dots Evenly and Avoiding Excessive Pressure
Whether you’re creating cards, scrapbooking, or making paper art, these adhesive wonders offer convenience and mess-free application. But how do you apply them evenly without applying too much pressure?
In this guide, we’ll unlock the secrets to applying Glue Dots on paper like a pro.
Choose the right size:
Just like a painter selects the perfect brush, you need to choose the appropriate size of Glue Dots for your project. Mini dots work best for delicate tasks, while larger dots suit heavier materials. Matching the size ensures an even distribution of adhesive without any excess or insufficient coverage.
Handle with care:
Glue Dots may seem innocent, but they can be sensitive. Avoid touching their sticky surface as much as possible, as oils from your fingers can affect their adhesion. Instead, hold them by the edges or non-sticky parts while placing them onto the paper.
Gentle pressure is key:
When attaching Glue Dots to your paper, remember to be gentle. Applying excessive pressure can cause the adhesive to spread beyond the dot’s boundaries, leaving visible marks or residue on your creation. Use just enough pressure to ensure proper adhesion without excessive spreading.
Oops. Excess glue remedy:
If you accidentally applied too much pressure and find yourself dealing with glue that’s gone rogue, don’t panic. Grab a clean cotton swab or tissue and gently blot away the excess adhesive before it dries. Be careful not to smudge or smear it further.
Work smart in sections:
To ensure precise application and avoid overwhelming yourself, break your project into smaller sections. Instead of placing all the Glue Dots at once, focus on one area at a time. This approach allows for better control over placement and pressure for each dot.
Paper matters:
Just like a chef considers the ingredients, keep in mind the type and thickness of your paper. Thinner, delicate papers are more likely to show adhesive marks, while thicker, textured papers can be more forgiving. Adjust your pressure accordingly.
Delicate surface saviors:
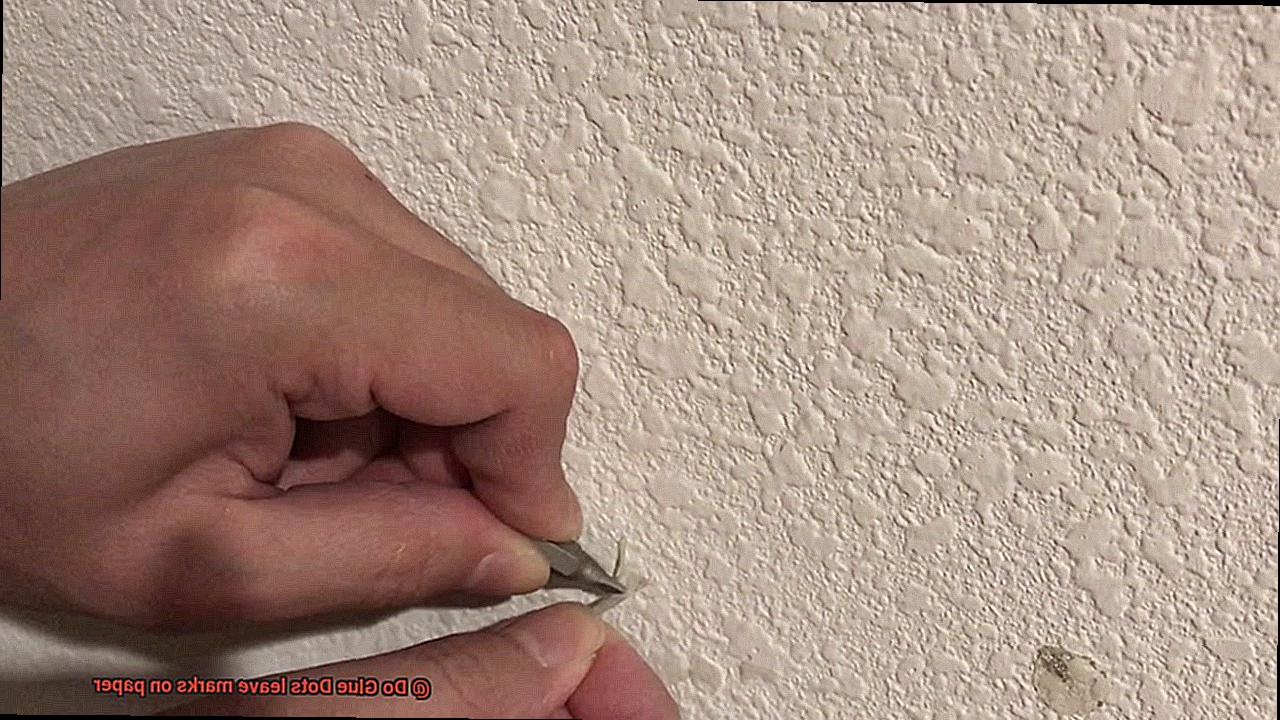
For those extra special projects on delicate surfaces, consider using specialized Glue Dots designed to be gentle yet effective. These dots have a lower tack adhesive, minimizing the chances of leaving visible marks or residue.
Test before you commit:
Before going all Picasso with your Glue Dots, take a moment to test them on a small and inconspicuous area of your paper. This helps evaluate how the adhesive interacts with the specific surface and make any necessary adjustments or precautions.
Are Glue Dots Designed to be Removable Without Leaving Marks?
Glue Dots, those marvelous little adhesive wonders, have been specifically designed to be the perfect companion for your paper crafting needs. Whether you’re scrapbooking, card making, or creating stunning artwork, Glue Dots are here to save the day. But what sets them apart from other adhesives is their ability to be removable without leaving any unsightly marks or residue behind.
At the heart of Glue Dots is a pressure-sensitive adhesive that has been carefully formulated to adhere to surfaces without causing any damage. This means you can confidently apply these dots of adhesive to your precious paper creations, knowing that they won’t leave a trace behind. The secret lies in the low-tack, non-permanent adhesive used in Glue Dots, allowing for effortless removal without the need for additional tools or solvents.
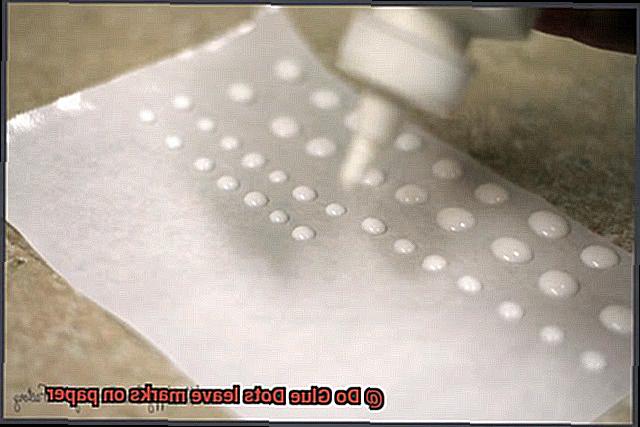
The unique dot form of Glue Dots is another reason why they excel at preventing marks and residue. Unlike traditional glue sticks or liquid adhesives, Glue Dots are applied in small dots. This clever design ensures an even distribution of adhesive, minimizing the chances of leaving any unwanted marks or residue on your paper. So not only do they provide a strong bond, but they also make removal a breeze.
However, it’s important to keep in mind that the results may vary depending on factors such as the type of paper being used and the duration of time the Glue Dots have been applied. If you’re working with delicate or sensitive paper, it’s always a good idea to test a small area before committing to widespread application.
In summary, Glue Dots are a safe and reliable choice for your paper crafts. They offer a strong bond while being easily removable without leaving any marks or residue behind. So unleash your creativity with confidence, knowing that Glue Dots have got your back.
To ensure a mess-free experience when using Glue Dots on paper, here are some tips to follow:
- Choose the right size of Glue Dots for your project.
- Handle them with care to avoid unnecessary squishing or deformation.
- Apply gentle pressure when adhering to prevent excess glue mishaps.
- Work in sections, especially with larger projects, to maintain control and avoid any accidental messes.
- Consider the type of paper you’re working with and use delicate surface saviors such as tissue paper or wax paper to protect your creations.
- Always remember to test a small area before committing to widespread application, especially when dealing with particularly delicate or sensitive paper.
Solutions if Glue Dots Leave Marks on Paper
Glue dots are every crafter’s dream when it comes to tidy and hassle-free adhesive solutions. However, these handy dots can sometimes leave pesky marks on delicate paper surfaces, causing frustration for craft enthusiasts. But fret not. In this blog post, we’ll delve into a myriad of solutions that will help you banish those glue dot marks from your beloved projects, ensuring a flawless finish every time.
Gently Rubbing:
Let’s start with a gentle touch. Begin by softly rubbing the affected area with a soft cloth or eraser. This simple yet effective technique helps eliminate residual adhesive and diminishes the visibility of those unwelcome marks. Remember, a delicate approach is key here, so tread lightly to prevent any further harm to the paper.
Blotting with Alcohol:
Time to bring out the secret weapon – alcohol. Dab a cotton swab in rubbing alcohol and carefully blot the glue dot marks. The alcohol acts as a dissolving agent that effectively removes the adhesive residue from the paper. Just remember to use the alcohol sparingly to avoid saturating the paper, as excessive moisture can cause additional damage.
Adhesive Removers:
For those stubborn glue dot marks that refuse to budge, fear not – adhesive removers are here to save the day. Commercial adhesive removers designed specifically for removing sticky residue from various surfaces, including paper, can be your ultimate savior. Simply follow the manufacturer’s instructions to expertly apply these products without causing any harm to your precious paper.
Hiding the Marks Creatively:
When all else fails, it’s time to unleash your creative prowess. Conceal those unsightly marks by cleverly covering them with decorative tape, stickers, or embellishments that perfectly complement your project’s theme or design. This ingenious trick effortlessly diverts attention away from any visible marks while adding a unique touch to your masterpiece.
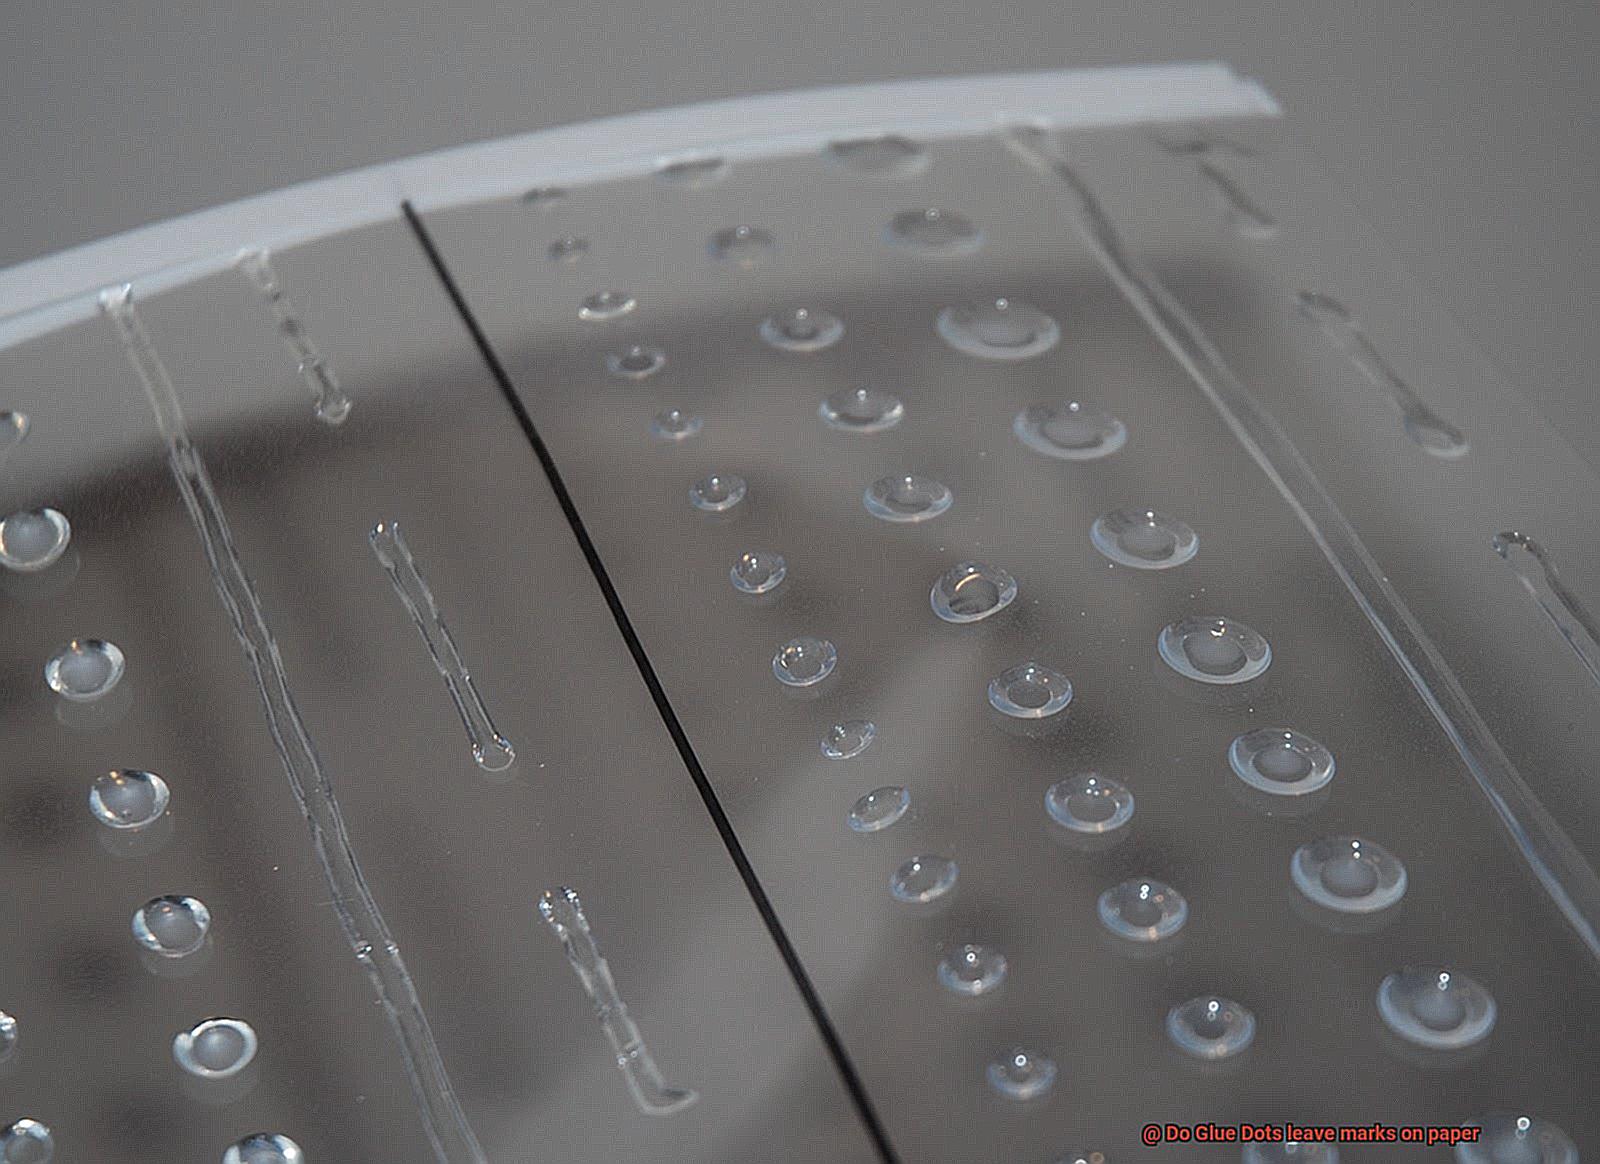
Prevention is Key:
To minimize the chances of glue dot marks tarnishing your paper creations, use them sparingly and strategically apply them to less conspicuous areas whenever feasible. Opting for dots with lower adhesive strength or exploring alternative adhesives specifically designed for paper crafts can also help steer clear of unwanted marks from the get-go.
Alternative Adhesive Options for Paper Projects
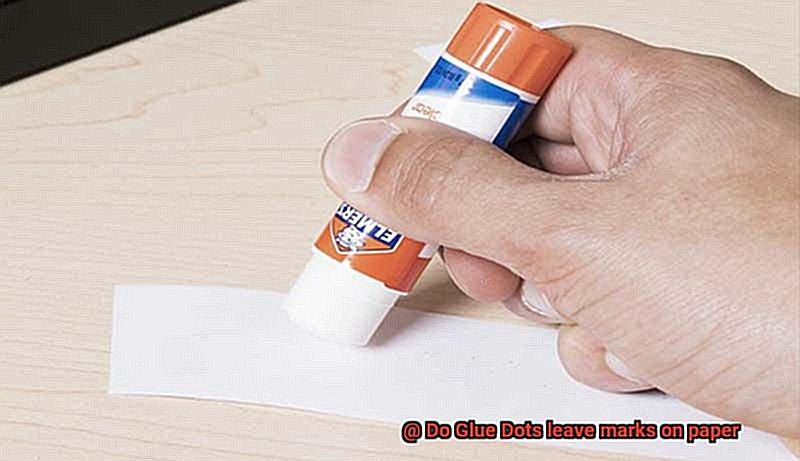
When it comes to paper crafts, finding the perfect adhesive is crucial. Glue dots have long been a popular choice, but their tendency to leave marks on your beautiful creations can be frustrating. Fear not. In this post, we’ll explore alternative adhesive options that will ensure a flawless finish without any visible residue or marks. Let’s dive in.
Double-Sided Tape:
Versatile and user-friendly, double-sided tape is a fantastic alternative to glue dots. Available in various widths and lengths, it provides a strong bond without leaving any marks or residue on your paper projects. Whether you’re securing paper cutouts or embellishments, double-sided tape is a reliable choice.
Liquid Glue:
Liquid glue comes in different forms, such as clear-drying glue or convenient glue pens. With a brush or pen applicator, you can achieve precise application for even the most delicate paper projects. Opt for a glue that dries clear to avoid any visible marks on your masterpiece.
Adhesive Rollers or Tape Runners:
For larger projects or delicate papers prone to tearing, adhesive rollers or tape runners are excellent alternatives. These tools dispense a thin strip of adhesive as you roll them across the paper surface, providing clean and precise application without any marks or residue left behind.
Foam Tape/Foam Squares:
To add dimension and depth to your scrapbooking or cardmaking projects, foam tape or foam squares are perfect alternatives. These double-sided adhesives have a layer of foam in between and securely adhere items without leaving any visible marks on the paper.
Adhesive Sprays:
For larger projects or materials that don’t adhere well with other adhesives, adhesive sprays come to the rescue. These sprays provide an even and thin layer of adhesive when applied to the back of your paper or cardstock. Remember to follow the manufacturer’s instructions and use them in a well-ventilated area.
nH1g0WKXAMI” >
Conclusion
In conclusion, Glue Dots are the ultimate adhesive solution for your paper crafting endeavors. They offer a multitude of advantages, including their mess-free application, instant bonding capabilities, remarkable strength and durability, and overall safety. However, it is important to take certain factors into account when considering whether or not Glue Dots will leave marks on your precious paper creations.
The type of paper you choose to use plays a pivotal role in determining whether or not Glue Dots will leave their mark. Thicker and more porous papers tend to be more susceptible to showcasing remnants of the glue dots, while smoother and thinner papers are less likely to bear any evidence.
Another crucial aspect to consider is the adhesive strength of the glue dots themselves. Opting for low-tack or removable glue dots can significantly reduce the risk of leaving unwanted marks behind when removing them from your masterpiece.
To ensure a completely blemish-free experience with Glue Dots on paper, it is highly recommended to apply them with a gentle touch. Testing a small area before committing to applying them on your entire project can also provide valuable insights into potential marking issues. In the unfortunate event that marks do appear, employing gentle cleaning techniques can help alleviate any concerns.
If you prefer to steer clear of any potential risks altogether or if you simply crave alternative adhesive options for your paper projects, fear not. There is an abundance of alternatives available at your disposal. From double-sided tape and liquid glue to adhesive rollers or tape runners, foam tape/foam squares, and even adhesive sprays – the possibilities are endless.
By adhering diligently to these tips and taking into consideration both the type of paper used and the adhesive strength employed, you can confidently unleash your creativity without fretting about unsightly marks marring your precious paper projects.

