Ever wondered if you can strut your stuff on flooring glue? It’s a burning question that may have crossed your mind during those home improvement adventures or DIY projects. As someone who’s knee-deep in flooring installations, I’ve encountered this curiosity more times than you can imagine.
In this blog post, we’ll embark on an exciting journey into the captivating world of flooring glue and uncover whether it’s safe to take a leisurely stroll on it. We’ll explore the different types of adhesive concoctions, their unique properties, and consider the crucial factors that determine whether walking on glue is a brilliant idea or a sticky mess waiting to happen.
So, if you’re itching to find out if gliding across freshly glued floors is a daring feat or just an accident waiting to stick, let’s dive right in and unveil the truth together.
What is Flooring Glue?
Contents
Flooring glue, a.k.a. adhesive or mastic, is the unsung hero behind successful flooring installations. It acts as the invisible force that bonds various flooring materials to the subfloor, ensuring stability and durability. But what about walking on flooring glue? In this article, we will delve into the depths of this sticky topic, providing valuable insights and best practices for a seamless flooring installation experience.
Understanding Flooring Glue:
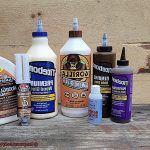
Flooring glue is a masterfully crafted blend of polymers, resins, solvents, and additives. This powerful combination creates an adhesive bond that can withstand the tests of time and foot traffic. Each type of flooring material requires a specific formulation to achieve optimal strength and longevity.
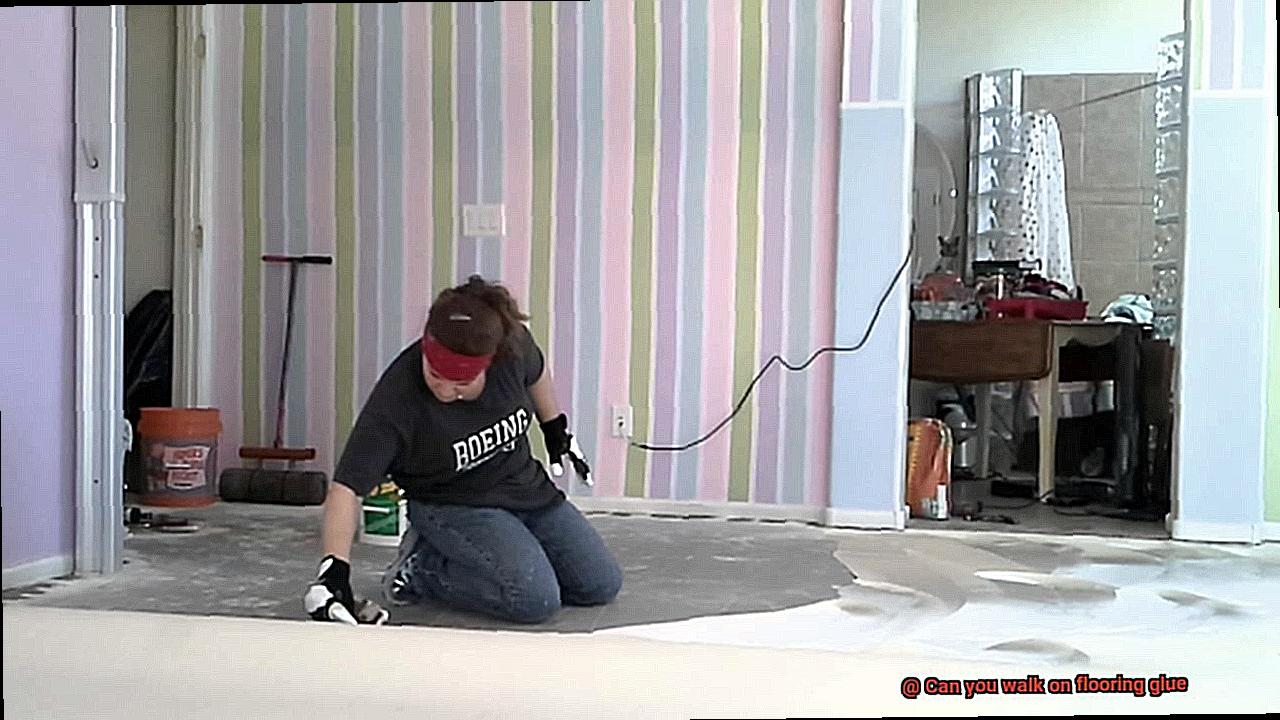
Walking on Flooring Glue During Installation:
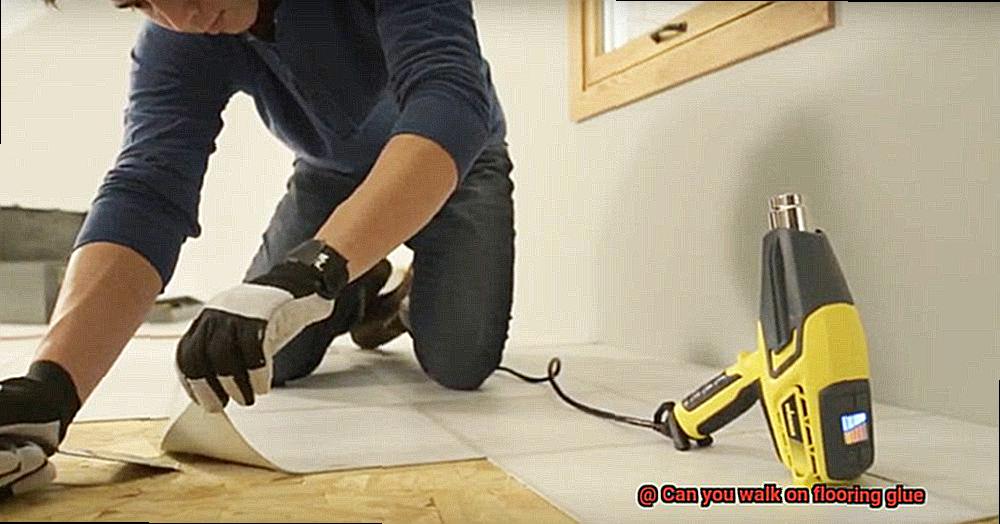
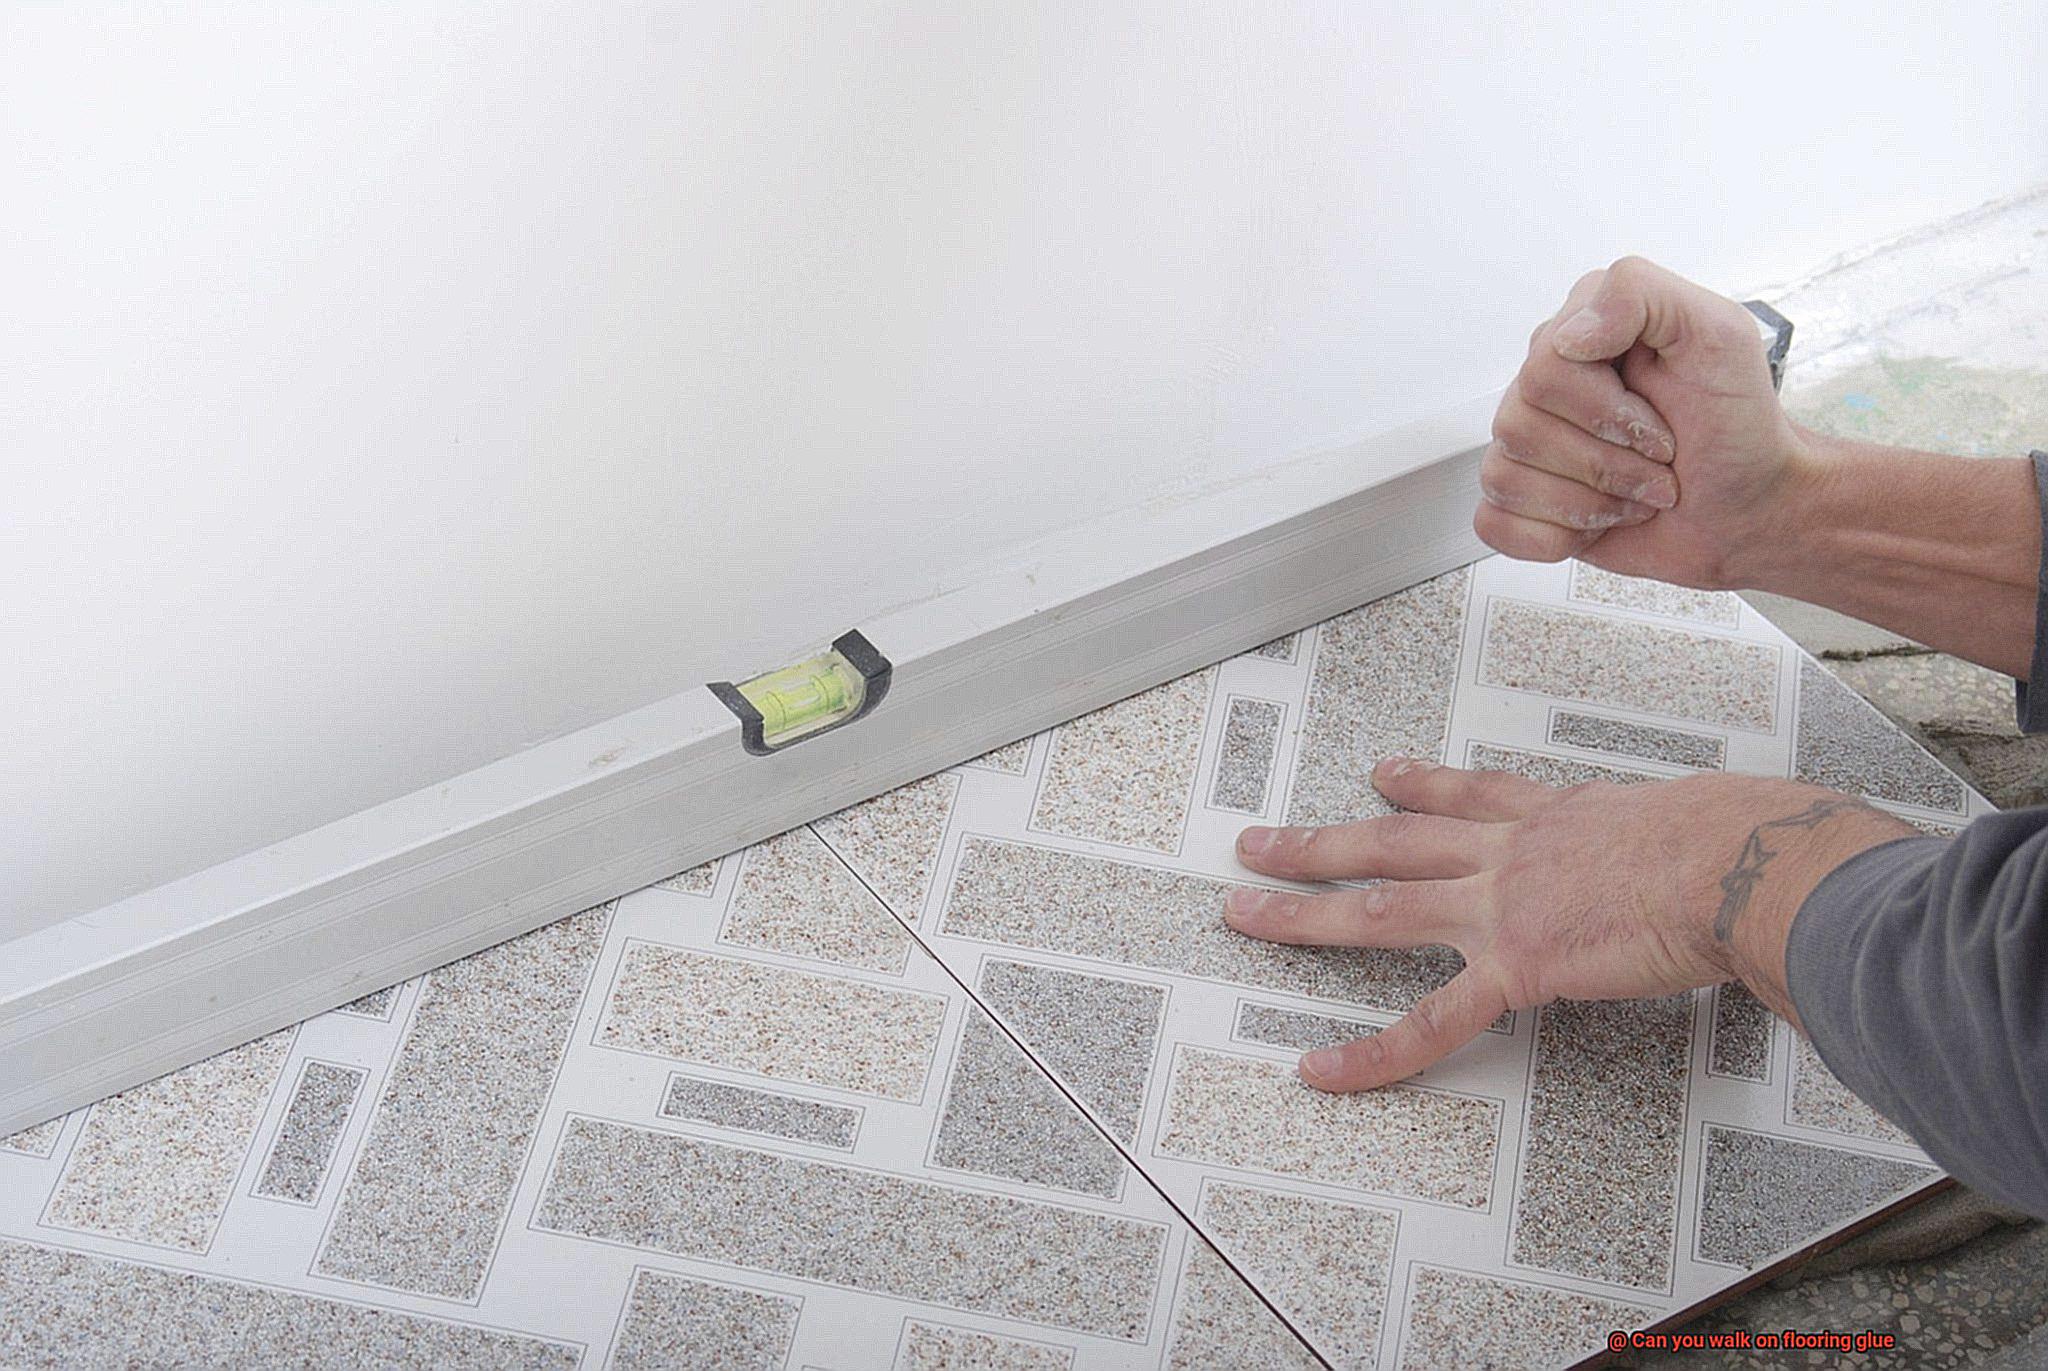
As daring as it may sound, walking on flooring glue during installation is not entirely taboo. However, it’s crucial to exercise caution and adopt proper safety measures. Donning protective shoe covers or utilizing designated walkways can prevent accidental damage to both the adhesive and the freshly laid floor. Keep in mind that certain flooring materials may call for additional precautions during and after installation.
Drying Time and Curing Process:
Flooring glue needs time to dry or cure before reaching its full strength. Factors such as temperature, humidity, and product type affect drying time. To ensure optimal results, adhering to the manufacturer’s instructions regarding drying time and curing process is essential.
Avoiding Damage to Flooring Glue:
To protect the adhesive bond and maintain a pristine surface, it’s generally recommended to wait until the flooring glue has fully cured before subjecting it to weight or traffic. The waiting period can span from a few hours to several days, depending on product specifications and environmental conditions. Always consult the manufacturer’s guidelines for specific recommendations on when it’s safe to walk on flooring glue after installation.
Additional Precautions:
Even after the adhesive has fully cured, it’s wise to take precautions to safeguard the floor. Avoid dragging heavy objects or using sharp tools that could mar the surface. Employ furniture pads or protective mats in high-traffic areas to prevent potential damage.
The Importance of Following Manufacturer Instructions
Today, we delve into a topic that may not be the most thrilling but is undeniably essential: the importance of following manufacturer instructions when working with flooring glue. Paying attention to these instructions can make all the difference, and here’s why:
- Achieve the best results: Think of manufacturer instructions as a secret recipe for success. They are meticulously crafted to ensure proper application and help you achieve optimal adhesion and durability. Who wouldn’t want their flooring to stand the test of time?
- Avoid costly mistakes: Ignoring the instructions can lead to a host of issues, my friends. We’re talking about poor adhesion, compromised durability, and even safety hazards. Trust me, you don’t want to end up with a failed installation that demands expensive fixes or replacements.
- Protect your warranty: Ah, warranties – those precious pieces of paper that grant us peace of mind. But here’s the catch: disregarding the manufacturer’s instructions could actually void your warranty or guarantee. That’s right – by investing a few minutes to read those instructions, you’ll save yourself potential headaches down the road.
- Specific requirements matter: Different types of flooring glues may have specific instructions that must be followed. Some may demand a precise mixing ratio or require application at a certain thickness. By adhering to these guidelines, you ensure correct glue application and the desired results.
- Safety first: Lastly, but certainly not least, let’s talk about safety. Certain glues may contain harmful chemicals or necessitate proper ventilation during application. Following the manufacturer’s instructions safeguards your health and well-being throughout the process.
Drying Time and Curing Process
Today, we delve into a topic that may not exude glamour, but is absolutely vital for the success of your flooring project – drying time and the curing process of flooring glue. Paying attention to these two elements will save you from future headaches and protect your precious flooring material.
Let’s start with drying time. This refers to the period it takes for the glue to dry completely, reaching a state where it is no longer wet or tacky to the touch. Walking on flooring glue before it’s fully dry can lead to disastrous consequences – smudging, shifting, or even damaging your beautiful flooring. We definitely want to avoid that.
Several factors influence the drying time of flooring glue. The type of glue used, temperature and humidity levels in your environment, and the type of flooring material all play a role. To ensure accuracy, follow the manufacturer’s instructions on drying time. They know their product best and will provide accurate information on how long you need to wait before strutting around on your newly glued floor.
Typically, most flooring glues require at least 24 hours of drying time before they’re ready for foot traffic. However, some glues may take longer to dry completely. Always check the instructions for the specific product you’re using.
Now, let’s dive into the intriguing world of the curing process. This is where things get really interesting. Curing refers to the chemical reaction that occurs after the glue has dried. During this process, the glue undergoes further changes like hardening and developing its maximum strength.
Curing can take several days or even weeks depending on the type of glue and environmental conditions. So, even if your glue appears dry to the touch, it’s crucial to wait until it has fully cured before subjecting it to foot traffic. Walking on the surface prematurely can disrupt the curing process and compromise the adhesive bond. And we definitely don’t want all our hard work to go to waste.
To ensure proper curing, follow any specific instructions provided by the glue manufacturer. They may have recommendations for maintaining the right temperature and humidity levels during the curing period. These guidelines exist for a reason, so don’t skip them.
One important note: certain flooring materials may require additional time before they can handle foot traffic, even after the glue has cured. For example, hardwood floors may need a longer acclimation period. So be patient and give your floors the time they need to settle in.
Walking on Wet or Un-Cured Flooring Glue
Today, we will unravel the mystery behind an often overlooked but crucial aspect of flooring installation: letting the glue dry and cure. Join me as we explore the importance of patience and safety, timing considerations, precautions during installation, manufacturer’s guidelines, and expedited drying techniques.
The Importance of Patience:
Walking on wet or un-cured flooring glue can:
- Lead to damage and compromise the installation.
- Disrupt the bonding process, resulting in loose or uneven flooring.
- Leave hard-to-remove footprints and imprints, requiring additional work to fix.
Timing is Everything:
Drying time depends on:
- Glue type, temperature, humidity, and adhesive layer thickness.
- Generally recommended to wait 24 to 48 hours before walking on glued flooring.
Safety First:
- Wet glue surfaces can be slippery, posing risks of accidents or falls.
- Prioritize safety and avoid walking on wet glue whenever possible.
Precautions During Installation:
If walking on wet glue is unavoidable:
- Use protective shoe covers or temporary walkways/boards to distribute weight evenly.
- Minimize potential damage to the adhesive and ensure a smoother installation process.
Following Manufacturer’s Guidelines:
- Manufacturer’s instructions provide specific recommendations for drying times and curing processes.
- Adhering to these guidelines guarantees a successful and long-lasting installation.
Expedite the Process (with Caution):
Consult professionals/experts for suitability of accelerated drying techniques or specialized products.
Allowing Time for the Glue to Cure
Today, we’re delving into the fascinating world of glue curing and uncovering why it’s absolutely crucial when it comes to installing flooring. Patience truly becomes a virtue in this process, but fret not, because we have all the information you need to ensure an installation that’s nothing short of perfection. So, let’s dive right in.
The Science Behind Curing:
Curing is like the hidden magician that brings adhesive to life, transforming it from a sticky substance into a formidable bond between your subfloor and your stunning flooring material. It’s the secret ingredient that holds everything together. But here’s the million-dollar question: how long does it take? Well, my friend, that depends on a few key factors.
Factors Affecting Curing Time:
- Type of glue: Just like humans, different glues have different personalities and quirks. Each one has its unique curing time, so consulting the manufacturer’s instructions is an absolute must.
- Temperature and humidity: These sneaky culprits can significantly influence curing time. A stable environment is the key to speeding up the process and ensuring optimal bonding.
- Flooring material: Every type of flooring material has its own set of demands when it comes to curing time. From luxurious hardwood to resilient vinyl, each one requires its own slice of patience.
The Waiting Game:
And now we arrive at the moment where patience becomes paramount. Most adhesives demand a minimum of 24 to 48 hours of curing time before any foot traffic should dare grace your newly installed floor. Rushing this critical process could result in weak bonding, leading to unsightly peeling or shifting down the line. Trust us, you don’t want that.
Preventing Mishaps:
During this delicate curing period, it’s best to give your freshly installed flooring some space to breathe. Keep heavy objects and furniture at a distance, as their weight can interfere with the adhesive’s ability to create a solid bond. Let the glue work its magic undisturbed.
Creating the Perfect Environment:
Maintaining a stable temperature and humidity level will help expedite the curing process, allowing your adhesive to flex its muscles. Avoid exposing your newly installed floor to extreme temperatures or excessive moisture, as these can hinder proper bonding and throw off the whole installation party.
Safety First:
In certain cases, it may be necessary to restrict access to the area until the glue has fully cured. Think of it as creating a VIP section for your floor. Caution tape or signage can serve as a friendly reminder to avoid accidental strolls on the adhesive and protect its integrity.
Fast-Drying Adhesives for Immediate Access
In today’s fast-paced world, time is a precious commodity. Waiting for traditional adhesives to cure during flooring installations can be a major inconvenience, especially in situations where immediate access is required. Luckily, fast-drying adhesives provide a solution to this problem. This article will delve into the advantages of using these adhesives and offer practical tips for achieving optimal results.
Speeding up the Installation Process:
Fast-drying adhesives revolutionize flooring installations by significantly reducing curing time. Traditional adhesives can take hours or even days to cure before any weight or foot traffic can be applied. With fast-drying adhesives, this waiting time is slashed to just a few hours or even minutes. Installers can complete projects more swiftly, and customers can enjoy their new floors sooner.
Chemical Composition and Rapid Drying:
The secret behind the rapid drying time of these adhesives lies in their unique chemical composition. They typically contain solvents or additives that facilitate faster evaporation, enabling the adhesive to dry and set rapidly. For instance, some fast-drying adhesives utilize cyanoacrylate technology, which reacts with air moisture, forming a strong bond within seconds. Consequently, immediate access to the flooring after installation becomes possible.
Compatibility Considerations:
While fast-drying adhesives offer convenience and efficiency, it is crucial to ensure their compatibility with the specific flooring material being used. Different adhesives are designed for various types of flooring, such as hardwood, vinyl, or tile. Selecting the appropriate adhesive guarantees a secure bond and prevents potential damage or failure.
Factors Affecting Drying Time:
Several factors influence the drying time of fast-drying adhesives. Temperature, humidity levels, and surface preparation all play crucial roles in how quickly the adhesive cures. Adhering to the manufacturer’s instructions diligently and creating an optimal environment for drying are essential. Adequate ventilation is also vital to ensure proper curing and prevent any fume-related issues.
Best Practices for Application:
To attain the best results with fast-drying adhesives, working in smaller sections is recommended. This approach allows installers to maintain control over the adhesive, ensuring a secure bond between the flooring and subfloor. Furthermore, following proper application techniques and adhering to the guidelines provided by the manufacturer is paramount for optimal outcomes.
Avoid Dragging Heavy Objects on the Surface
Proper care and maintenance are essential for the longevity and effectiveness of your flooring glue. One common mistake that can result in significant damage is dragging heavy objects across the surface. In this blog post, we will explore the potential risks associated with this action and discuss various ways to reduce or eliminate them.
Understand the Risks:
Dragging heavy objects on a floor with flooring glue can have disastrous consequences. Scratches, dents, tears, and dislodgment of the flooring material are just some of the risks involved. The adhesive properties of the glue may weaken or break under excessive force, compromising its ability to hold the flooring in place. Additionally, this action can also damage the flooring material itself, leading to an uneven or unstable surface.
Precautions to Take:
To protect your investment and avoid costly repairs, here are some precautions you can take:
- Use Furniture Sliders or Gliders: These nifty devices minimize friction and allow for easy movement without directly dragging heavy objects across the floor.
- Lift Instead of Dragging: Whenever possible, lift heavy objects instead of dragging them. Proper lifting techniques and enlisting the help of others distribute the weight evenly and reduce strain on the floor and glue.
- Allow Proper Curing Time: Ensure that the flooring glue has fully cured before subjecting it to any heavy loads. Always follow manufacturer recommendations as curing times can vary depending on the type of glue used.
- Maintain a Clean Surface: Regularly clean your floor to remove dirt, dust, and debris. This minimizes abrasion and reduces the risk of scratching or tearing the glue during heavy object movements.
cq_V6AZP77Y” >
Conclusion
In conclusion, walking on flooring glue is not a complete no-no, but it demands carefulness and adherence to safety measures. When installing flooring, it’s crucial to protect the adhesive and the freshly laid floor by wearing shoe covers or using designated walkways. Keep in mind that different types of flooring may have specific precautions during and after installation.
Remember that flooring glue needs time to dry and reach its full strength. Drying time depends on factors like temperature, humidity, and product type. To achieve optimal results, it’s essential to strictly follow the manufacturer’s instructions regarding drying time and curing process.
To maintain a flawless surface and preserve the adhesive bond, it’s generally advised to wait until the flooring glue has fully cured before subjecting it to weight or traffic. The waiting period can range from a few hours to several days, depending on product specifications and environmental conditions. By following these guidelines, you’ll ensure a successful installation that stands the test of time.
Moreover, don’t underestimate the importance of following manufacturer instructions when working with flooring glue. These instructions are there for a reason: they guarantee top-notch results, prevent costly mistakes, safeguard warranties or guarantees, address unique requirements of different glues, and prioritize safety above all else.
Dragging heavy objects across flooring glue is a recipe for disaster. It can result in unsightly scratches, dents, tears, or even dislodgment of the flooring material itself. To avoid such damage, make use of furniture sliders or gliders for smooth movement without directly dragging heavy items across the floor. Whenever possible, lift heavy objects instead of dragging them and always allow sufficient curing time before subjecting the floor to any substantial loads.