Picture this: you’re getting ready for a big night out, and your nails are looking more tragic than trendy. Desperate times call for desperate measures, and without proper nail adhesives in sight, you eye that familiar bottle of school glue sitting innocently on your desk. Could it be the secret weapon to achieving flawless fake nails? Before you embark on this daring experiment, let’s dive into the truth behind using school glue as a substitute adhesive. We’ll explore its effectiveness, safety implications, and potential risks involved. So if you’re curious to find out whether school glue can save your nail game or lead to a major faux pas, buckle up as we venture into the world of unconventional nail artistry.
What is School Glue?
Contents
- 1 What is School Glue?
- 2 What are Fake Nails?
- 3 Why School Glue Is Not Recommended for Applying Fake Nails
- 4 Alternative Adhesives for Applying Fake Nails
- 5 How to Apply Fake Nails with Professional Results
- 6 Safety Precautions When Using Adhesives on Fake Nails
- 7 Tips for Removing Artificial Nails Safely and Easily
- 8 Conclusion
Whether you’re a student working on a school project or an avid crafter, school glue is likely a familiar sight in your art supplies. But what exactly is school glue, and why is it so popular? In this article, we will explore the wonders of school glue, its uses, and why it has become a staple in classrooms and craft rooms alike.
Chapter 1: What makes school glue special?
School glue, also known as white glue or craft glue, is an adhesive that revolutionized the world of arts and crafts. Its water-based and non-toxic formulation ensures safe usage for all ages. The main ingredient responsible for its impressive bonding capabilities is polyvinyl acetate (PVA), a flexible plastic that forms a strong bond when dry. Packaged in convenient squeeze bottles with pointed nozzles, school glue allows for precise application without any mess.
Chapter 2: Endless possibilities with school glue
From paper to fabric, school glue can bond a wide range of porous materials together. It has become an indispensable tool for art projects, scrapbooking, and crafting ventures. The clear drying feature adds an extra touch of magic to visible applications like collages or attaching embellishments. With relatively fast drying times, projects can be completed efficiently without worrying about smudging or smearing. And when it comes to cleanup, school glue’s washability shines through – simply use water to effortlessly remove it while still wet.
Chapter 3: Limitations to keep in mind
While school glue works wonders for most projects, it does have its limitations. It is not suitable for heavy-duty bonding or non-porous surfaces. Once dried, it becomes permanent and cannot be washed off. Additionally, using school glue as a substitute for nail adhesives may damage natural nails.
What are Fake Nails?
Fake nails, also known as artificial nails, are the secret weapon for achieving those perfect, long, and polished nails that seem impossible to achieve naturally. These bad boys are made from various materials like acrylic, gel, and silk, and they come in all shapes, sizes, and designs to suit your personal style.
Let’s dive into the different types of fake nails. Acrylic nails take the crown as the most popular option. They’re created by combining a liquid monomer with a powdered polymer to form a thick paste that can be shaped onto your natural nails. Once applied and hardened, these babies are durable and long-lasting.
Gel nails are another fantastic choice. They’re made using a gel substance that’s cured under a UV or LED lamp. This process creates a strong and flexible nail that looks and feels natural. Say goodbye to chipping or breaking – gel nails can last for weeks without losing their shine.
For those with weak or damaged natural nails, silk nails are here to save the day. A layer of silk fabric is applied over your natural nails using a special adhesive, creating a smooth surface that can be painted or decorated however you please.
If you’re looking for a quick fix or love changing up your nail styles frequently, press-on nails are your go-to option. These pre-designed nails come with adhesive tabs or glue already applied to them, making them super easy to apply and remove without any professional help.
Now that you know all about the different types of fake nails, let’s talk about maintenance and care. Regular refills or touch-ups are essential to maintain their longevity and prevent any lifting or breakage. And remember, proper nail hygiene is key – keep those nails clean, moisturized, and avoid exposing them to harsh chemicals.
So whether you’re looking to lengthen your short nails, fix some broken ones, or simply want to rock a polished look for a special occasion, fake nails are here to save the day. Just remember to give them the TLC they deserve, and you’ll be rocking fabulous nails in no time.
Why School Glue Is Not Recommended for Applying Fake Nails
When it comes to applying fake nails, school glue is definitely not the hero we need. Let’s dive into why this adhesive is a big no-no for your fabulous fakes.
First and foremost, school glue lacks the strength and durability required for fake nails. It’s designed for lightweight materials like paper, not for holding up under the pressure of daily activities. Think about it – typing, washing dishes, and all those routine tasks we tackle can easily dislodge nails secured with school glue. We need an adhesive that can handle the hustle and bustle of our lives.
Not only does school glue fall short in terms of strength, but it also doesn’t deliver on aesthetics. We all want our fake nails to look natural and flawless, right? Well, using school glue instead of a proper nail adhesive can compromise the overall appearance. It may dry with a visible residue or create an uneven surface – definitely not the look we’re going for.
But wait, there’s more. Our skin around the nail beds deserves some extra TLC. Unfortunately, school glue may contain ingredients that can irritate or cause allergic reactions when in contact with these delicate areas. Ouch. It’s always better to be safe than sorry, so stick to products specifically formulated for nail application.
In conclusion, school glue may be great for arts and crafts, but when it comes to applying fake nails, it’s a definite “no.” Opt for a proper nail adhesive that is designed to give you long-lasting hold, a natural-looking finish, and most importantly, keeps your skin safe.
Alternative Adhesives for Applying Fake Nails
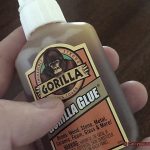
When it comes to applying fake nails, there are a variety of alternative adhesives that can elevate your nail game and ensure a long-lasting hold. One popular option is nail glue, specifically formulated for attaching artificial nails. This adhesive is known for its strength and durability, making it perfect for those who want their manicure to withstand any activity.
Another alternative is adhesive tabs or stickers. These pre-cut and pre-shaped strips provide a temporary hold for your fake nails and can be easily removed without damaging your natural nails. They are ideal for those who enjoy changing up their manicure frequently, without the commitment of a long-lasting adhesive.
For a quick fix, double-sided tape can come in handy. While it may not provide as strong of a hold as other adhesives, it can be a convenient option for temporary wear. Just keep some extra tape on hand for any touch-ups that may be needed throughout the day.
Believe it or not, certain gel nail polishes can also be used as an alternative adhesive for fake nails. These polishes have a sticky consistency when uncured, allowing them to bond with the fake nails. Once cured under a UV or LED lamp, they provide a strong hold that will last for weeks.
Last but not least, specialty nail adhesives are specifically formulated for attaching fake nails and offer a secure hold that can withstand even the most demanding activities. These adhesives come in various formats such as brush-on or squeeze tubes, providing versatility and ease of application.
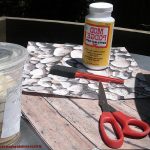
How to Apply Fake Nails with Professional Results
Achieving professional results when applying fake nails is all about attention to detail and using the right techniques. From prepping your natural nails to selecting the perfect size and applying the adhesive correctly, every step plays a crucial role in the overall appearance and longevity of your fake nails. In this guide, we will take you through the step-by-step process of applying fake nails with professional results.
Prepping Your Natural Nails:
To start, remove any old nail polish and gently file your nails into your desired shape. Push back your cuticles to create a clean canvas for the application of fake nails.
Cleanse Your Nails:
Cleanse your nails with rubbing alcohol or a nail cleanser to remove any oil or residue. This step ensures better adhesion of the fake nails to your natural nails, creating a clean surface for the adhesive to bond effectively.
Choose the Right Size:
Select fake nails that fit your natural nails best. If needed, file and shape them to match your desired length and shape. Finding the right size is crucial for comfort and achieving a natural look.
Apply Adhesive:
Use nail glue specifically designed for applying fake nails. Apply a small amount of glue onto the back of the fake nail and spread it evenly. Avoid using too much glue as it can cause lifting or unevenness. The adhesive creates a strong bond between the fake nail and your natural nail.
Place the Fake Nail:
Align the fake nail with your natural nail, starting from the cuticle area and pressing it down firmly. Hold it in place for a few seconds to allow the glue to set. This step ensures proper adhesion and longevity.
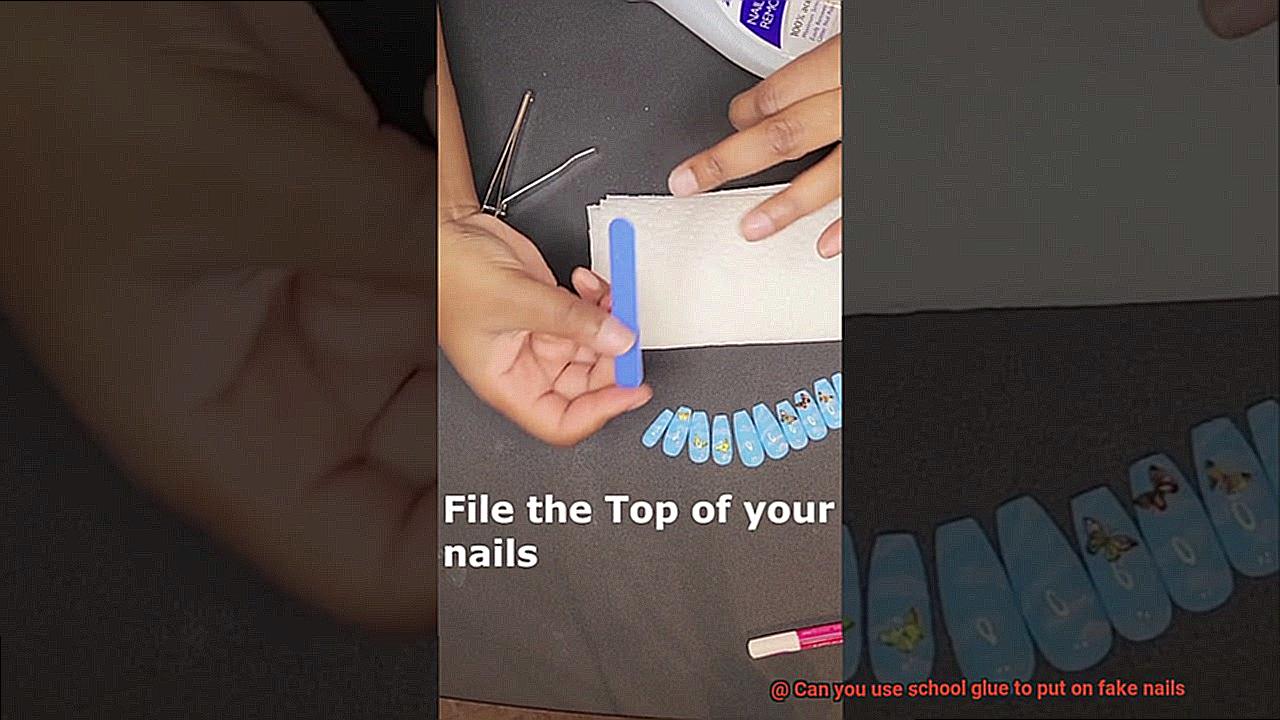
File and Shape:
Once all the fake nails are applied, use a nail file to shape and smooth out any rough edges. This step creates a seamless transition between your natural nails and the fake ones. Take your time to achieve the desired length and shape, ensuring a polished and professional finish.
Safety Precautions When Using Adhesives on Fake Nails
When it comes to using adhesives on fake nails, safety should be your top priority. Here are some essential precautions to keep in mind:
- Use the Right Adhesive: Make sure to use adhesives specifically designed for attaching fake nails. Regular school glue won’t cut it and can potentially damage your natural nails. Stick with the adhesive made for the job.
- Follow Instructions: Always read and follow the instructions provided by the adhesive manufacturer. They know their product best, and following their guidance will minimize any risks.
- Clean and Dry Your Nails: Before applying the adhesive, clean and dry your nails thoroughly. Remove any existing nail polish and use a gentle nail polish remover if needed. This step ensures that dirt, oils, or residue won’t interfere with the adhesive’s bonding ability.
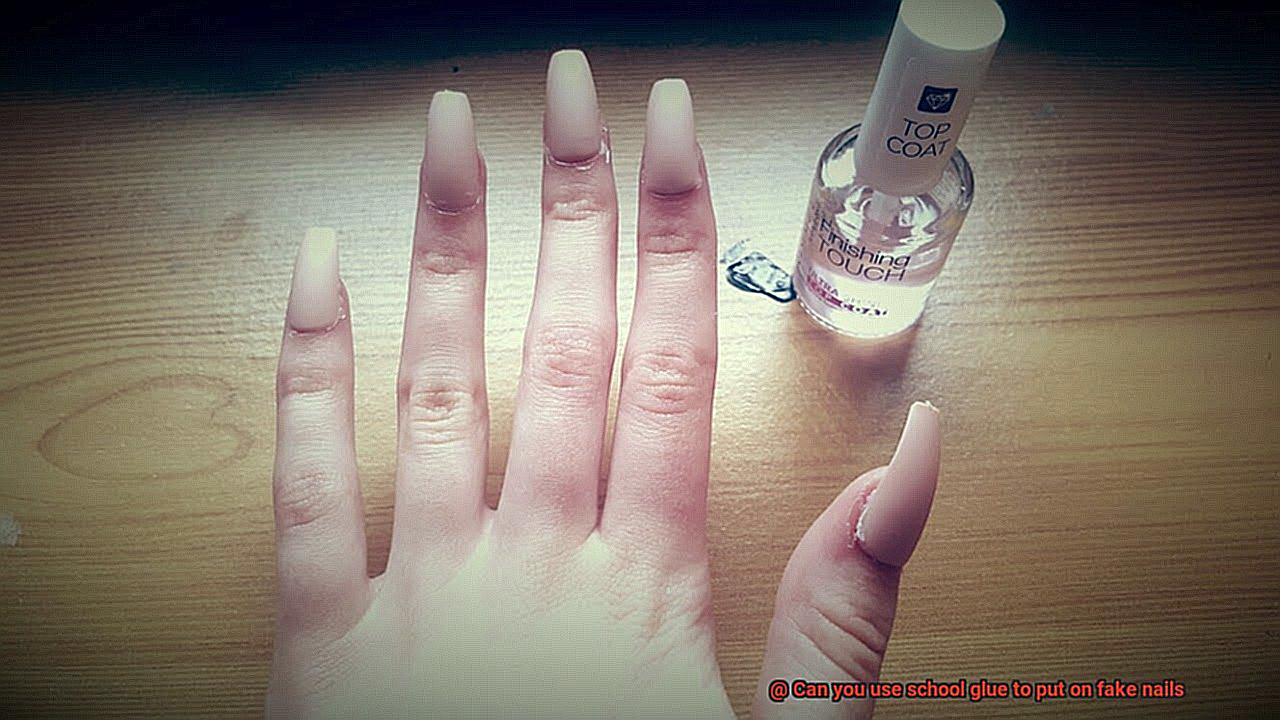
- Apply a Base Coat: To protect your natural nails, apply a base coat before attaching fake nails. This acts as a barrier between your nails and the adhesive, reducing the risk of damage.
- Don’t Overdo It: Apply a thin layer of adhesive to secure your fake nails properly. Applying too much can create a mess and increase the chance of it seeping onto your skin or cuticles.
- Avoid Sensitive Areas: Be careful to avoid contact with sensitive areas like your eyes or mouth when handling adhesives. If accidental contact occurs, rinse thoroughly with water and seek medical advice if needed.
- Work in a Well-Ventilated Area: Adhesives can emit fumes that may be irritating or harmful if inhaled excessively. Make sure you’re working in a well-ventilated area to minimize exposure. If you start feeling uncomfortable or experience any respiratory symptoms, step outside for some fresh air.
- Keep Adhesives out of Reach: Keep adhesives out of reach from children and pets to prevent accidental ingestion or misuse. Store them safely away from heat or flames to avoid any potential fire hazards.
- Perform a Patch Test: If you have allergies or sensitivities to adhesives or their ingredients, perform a patch test before using them on your nails. Apply a small amount on a small area of your skin and observe for any adverse reactions. If redness, itching, or irritation occurs, skip the adhesive and find an alternative solution.
- 10. Seek Professional Help if Needed: If you encounter difficulties or have concerns during the application process, don’t hesitate to seek professional help from a nail technician or beauty expert. They can guide you and ensure a safe and fabulous application.
Tips for Removing Artificial Nails Safely and Easily
Removing artificial nails safely and easily is essential to protect the health and integrity of your natural nails. Improper removal techniques can lead to damage, infections, and weakening of the nail bed. In this article, we will explore the steps for safely removing artificial nails using glue as the main method.
Prepare Your Nails:
Before starting the removal process, it’s crucial to prepare your nails properly. Begin by trimming them down to a comfortable length. Next, gently file the surface of the artificial nails to break the seal and make removal easier. Lastly, use a cuticle pusher to gently push back your cuticles, ensuring that they are not sticking to the artificial nails.
Choose Your Removal Method:
There are several methods for removing artificial nails, but we will focus on using glue as the main method. To start, gently file down the top layer of the artificial nails using a nail file. This will help break the seal and loosen the glue.
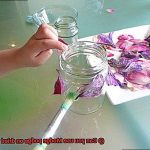
Soak Your Nails:
Next, fill a bowl with warm water and add a few drops of gentle liquid soap or cuticle oil. Soak your nails in this solution for about 10-15 minutes. The warm water will help soften the adhesive, making it easier to remove.
Gently Remove the Nails:
After soaking, use a cuticle pusher or orangewood stick to gently push back the cuticles and loosen any remaining adhesive. Be careful not to apply too much pressure or force, as this can damage your natural nails. If there is still some adhesive left on your nails, you can use a non-acetone nail polish remover to gently wipe it away.
Moisturize Your Nails:
Once all the adhesive is removed, it’s essential to moisturize your nails and cuticles. Apply a nourishing oil or cream to replenish moisture and prevent dryness. Massaging the oil or cream into your nails and cuticles will help improve blood circulation and promote healthy nail growth.
Give Your Nails a Break:
After removing artificial nails, it’s crucial to give your natural nails a break. Avoid applying any new nail enhancements for at least a few days to allow them to breathe and recover fully. This break will help prevent further damage and promote healthy nail growth.
Conclusion
To conclude, using school glue to apply fake nails is not advisable. While it may work wonders for arts and crafts, it lacks the necessary strength and durability for fake nails. School glue is intended for lightweight materials like paper, not for enduring the demands of everyday activities. Moreover, it can leave behind a noticeable residue or create an uneven surface when it dries, resulting in an unnatural appearance.
Furthermore, substituting school glue as an adhesive for fake nails can also pose safety concerns. The ingredients in school glue have the potential to irritate or trigger allergic reactions when they come into contact with the sensitive skin surrounding the nail beds.
Instead of relying on school glue, there are alternative adhesives specifically formulated for attaching fake nails that offer both a secure hold and a seamless finish. Options such as nail glue, adhesive tabs or stickers, double-sided tape, certain gel nail polishes, and specialty nail adhesives are all viable alternatives.
When applying fake nails with any adhesive product, it is essential to follow proper techniques and prioritize safety precautions. This entails preparing your natural nails properly, selecting the appropriate size of fake nails, applying the adhesive correctly, and taking care during removal to safeguard the health and integrity of your natural nails.
Keep in mind that your safety should always be paramount.