Today, we’re here to tackle a burning question that has been on the minds of craft enthusiasts everywhere – can you use good ol’ PVA glue to whip up your own version of Mod Podge? Ah, Mod Podge, that magical concoction that can transform any project into a work of art.
From decoupage masterpieces to stunning collages, this crafting superstar has captured the hearts of DIYers worldwide. But what if you’re itching to get creative and don’t have Mod Podge on hand?
Is PVA glue a worthy substitute? Well, my friend, in this post, we’re going to dig deep and uncover the truth behind this crafty conundrum.
So, grab your glue gun and let’s get started on this crafting adventure.
What is Mod Podge?
Contents
- 1 What is Mod Podge?
- 2 What is PVA glue?
- 3 Differences between Mod Podge and PVA glue
- 4 Can you make your own Mod Podge using PVA glue?
- 5 What ingredients are needed to make homemade Mod Podge?
- 6 How to mix the ingredients for homemade Mod Podge?
- 6.1 Gather Your Supplies:
- 6.2 Measure the Glue:
- 6.3 Add Water Gradually:
- 6.4 Mix Thoroughly:
- 6.5 Optional: Add a Sealant:
- 6.6 Test the Consistency:
- 6.7 Conclusion:
- 6.8 By following these simple steps, you can easily mix the ingredients for homemade Mod Podge using PVA glue. Whether you’re working on scrapbooking, decoupage, or any other craft project, this DIY adhesive will come in handy. Plus, it’s a great way to save money and customize the consistency of your Mod Podge to suit your needs.
- 7 Advantages of using commercially available Mod Podge
- 8 Disadvantages of making homemade Mod Podge with PVA glue
- 9 Tips on how to use and store Mod Podge and/or homemade version
- 10 Examples of projects that can be done with either product
- 11 Conclusion
Prepare to be amazed by the wonder that is Mod Podge. This extraordinary adhesive has captured the hearts of artists and DIY-ers everywhere. In this article, we will explore the world of Mod Podge, uncovering its unique composition, limitless uses, and stunning finishes. Get ready to embark on a crafting adventure like no other.
Unveiling the Magic:
Mod Podge, a brand name for a remarkable decoupage medium, is more than just glue. It’s a glue and sealer rolled into one spectacular product. With its ingenious combination of water, polyvinyl acetate (PVA) glue, and special additives, Mod Podge possesses unmatched adhesive properties. It effortlessly bonds paper, fabric, wood, and countless other materials together.
The Power of Protection:
But Mod Podge doesn’t stop at adhesive prowess; it also serves as an exceptional sealer. By creating a protective layer upon application, it shields your masterpieces from moisture, dirt, and other external elements. Bid farewell to worries about damage or deterioration.
A Finish for Every Style:
Prepare to be dazzled by Mod Podge’s vast array of finishes. Whether you crave a matte look for rustic charm or desire a glossy finish for a touch of elegance, Mod Podge has got you covered. And let’s not forget the satin and glitter options that add even more pizzazz to your creations. With Mod Podge, your artistic visions can truly come to life.
Endless Possibilities:
Mod Podge’s versatility knows no bounds. It adheres flawlessly to wood, glass, plastic, fabric – you name it. This makes it perfect for decoupage projects, where you can create breathtaking designs by affixing paper or fabric to surfaces. But don’t stop there. Mod Podge is also a star in collage art, scrapbooking, and a myriad of other creative endeavors. Let your imagination soar.
Can You Make Your Own Mod Podge?
Now, you may be wondering if you can concoct your own Mod Podge using PVA glue. While it’s technically possible, the homemade version may not possess the same consistency, durability, and finish as the original product. Commercially available Mod Podge has been specially formulated to provide optimal adhesion and longevity. Trust the experts and go for the real deal.
What is PVA glue?
PVA glue, short for polyvinyl acetate glue, is a remarkable adhesive that has earned its place as a must-have in every artist’s toolbox. This white, liquid-like substance dries to form a clear and flexible bond, making it a reliable and trustworthy companion for all your creative endeavors.
One of the standout features of PVA glue is its water-soluble nature. Unlike other adhesives, if you accidentally spill some glue or have excess on your project, you can simply wipe it away with water. No need for harsh chemicals or scrubbing until your arms ache. PVA glue is all about convenience and ease of use.
- But that’s not all – PVA glue is a true superhero when it comes to versatility. It can bond a wide range of materials, including paper, cardboard, fabric, wood, and certain plastics. It’s like having a sidekick with superpowers that never lets you down. So whether you’re crafting, creating school projects, or tackling DIY repairs, PVA glue will be there to save the day.
- And here’s the best part – PVA glue doesn’t make you wait around. Unlike other adhesives that take forever to dry, PVA glue has a relatively fast drying time. In just 15-30 minutes, depending on factors like temperature and humidity, your project will be ready for the next step. No more twiddling your thumbs or impatiently tapping your foot. With PVA glue, you’ll be able to keep up the momentum and unleash your creativity in no time.
It’s important to note that not all PVA glues are created equal. Some variations have different additives or modifications to enhance specific characteristics. For example, there are PVA glues designed for high strength bonding, while others are formulated for easy repositioning or flexible bonds. So make sure to read the label or product description to choose the right PVA glue for your specific needs.
Differences between Mod Podge and PVA glue
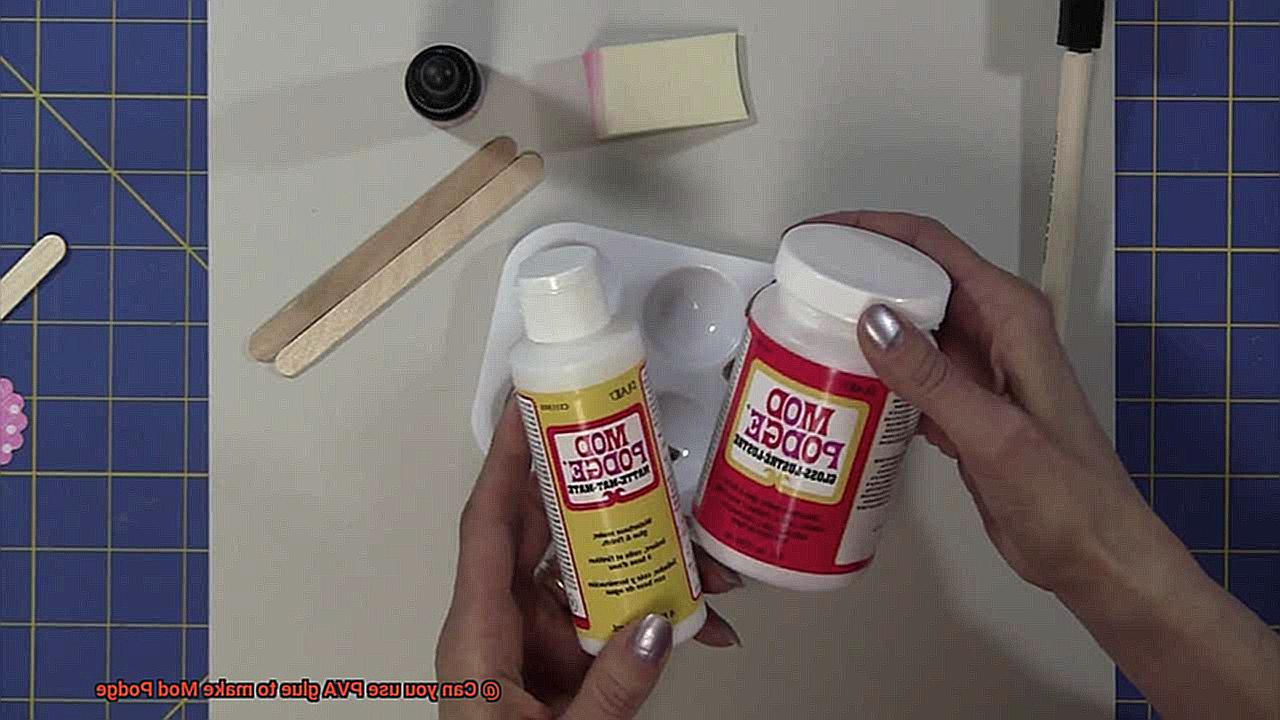
Embarking on an arts and crafts project requires the right adhesive to ensure success. Two contenders that often take center stage in this arena are Mod Podge and PVA glue. Though they may appear similar, these versatile adhesives possess distinctive qualities that can greatly impact your creative endeavors. In this article, we shall dive into the depths of their properties, applications, and uses to help you make an informed decision.
Composition:
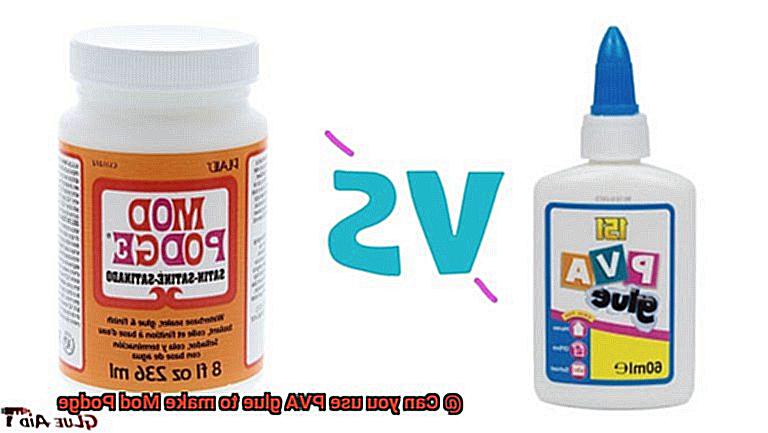
Mod Podge takes the spotlight as a decoupage medium, blending water, polyvinyl acetate (PVA) resin, and a medley of additives like solvents, stabilizers, and preservatives. PVA glue, on the other hand, stands as a purer adhesive, consisting mainly of PVA resin and water with minimal additives.
Versatility:
Mod Podge dons many hats, not only serving as an adhesive but also sealing and finishing various surfaces. Its transparent drying prowess makes it a coveted choice for projects yearning for a see-through finish, such as decoupage. However, be wary of PVA glue’s slight tendency to dry with a yellowish tint that can subtly alter the appearance of certain projects.
Consistency:
In the ring of consistency, Mod Podge packs a punch with its slightly thicker texture compared to most PVA glues. This advantage allows for easier application on surfaces and layering multiple coats. PVA glue, though reliable in its adhesive power, bears a more runny nature, necessitating additional coats or extended drying time to achieve desired effects.
Specialized Formulas:
Stepping into the spotlight once more, Mod Podge flaunts a range of specialized formulas tailored to specific needs. From outdoor to dishwasher-safe and fabric Mod Podge, each formula is meticulously crafted and tested to ensure durability and lasting results. While PVA glue can occasionally stand in as a Mod Podge substitute, it may not deliver the same level of resilience or finish.
Cost:
In the realm of cost, PVA glue reigns supreme with its budget-friendly nature. This financial advantage makes it an ideal choice for large-scale projects or those requiring a substantial amount of adhesive.
Can you make your own Mod Podge using PVA glue?
Mod Podge, the decoupage medium extraordinaire, is renowned for its versatility and ability to seal and finish projects. But if you’re wondering whether you can create your own version using PVA glue, also known as white glue or school glue, then read on.
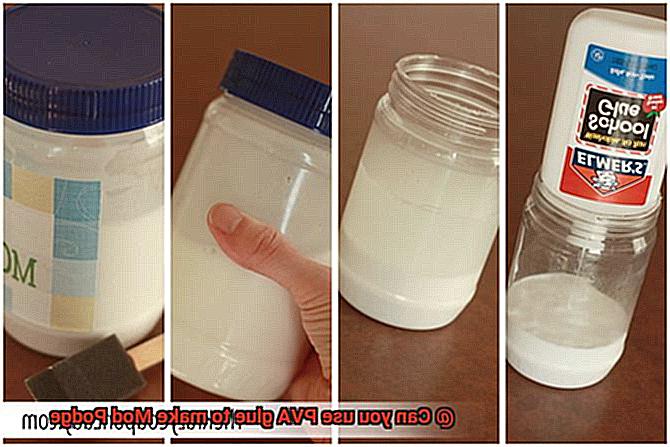
To embark on this DIY adventure, you’ll need a few additional ingredients. Gather equal parts of PVA glue and water, along with a few drops of water-based varnish or clear acrylic sealer to enhance durability and finish.
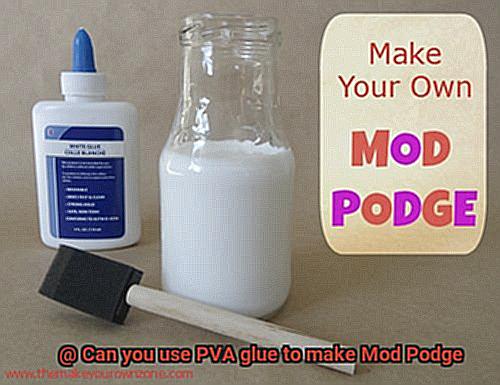
Now it’s time to mix things up. Combine the PVA glue, water, and varnish in a container. Mix slowly and thoroughly, ensuring no bubbles form. Your goal is a smooth blend that’s ready to work its magic.
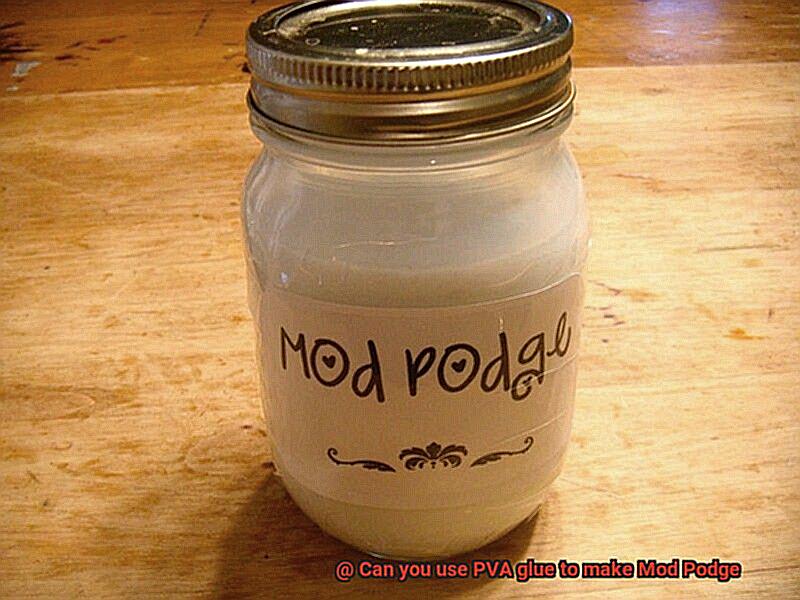
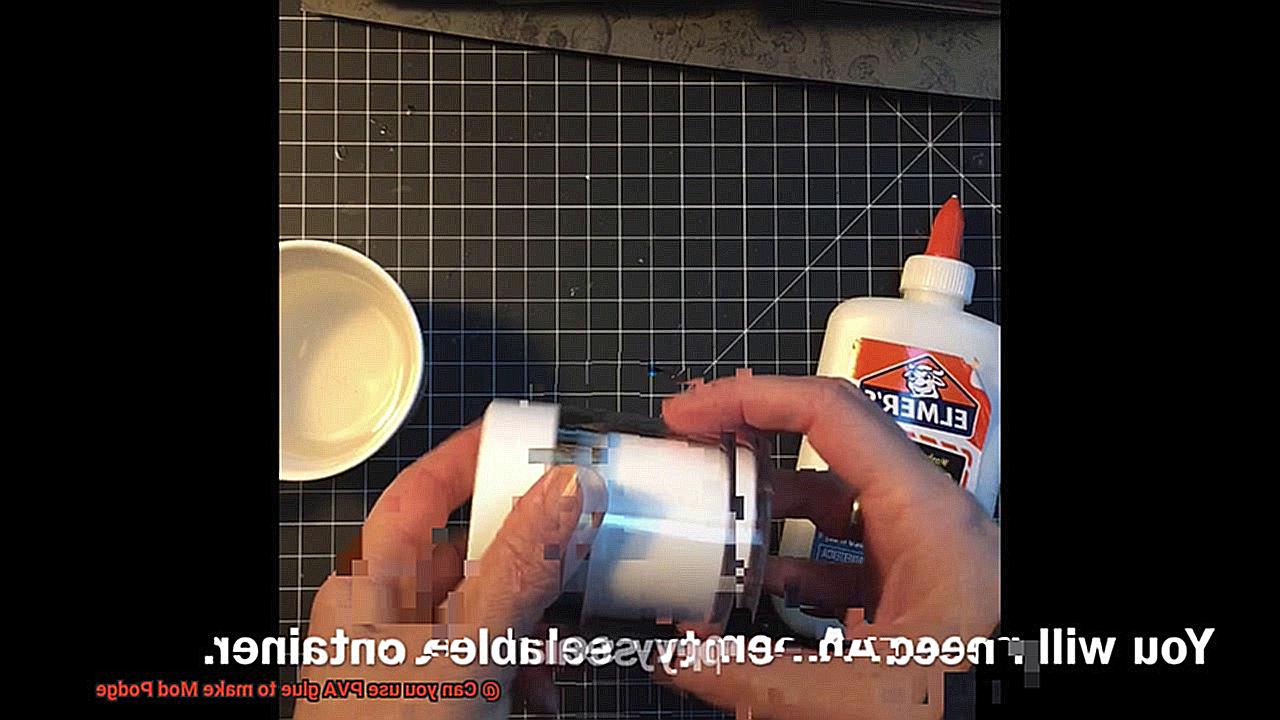
Pour your homemade Mod Podge into a clean, sealable container for future use. And voila. You’ve created your very own Mod Podge using PVA glue.
However, before you embark on your crafting journey with homemade Mod Podge, there are some important factors to consider. Commercial Mod Podge has specific formulations tailored for strong adhesion, durability, and various finishes like matte, glossy, and satin. Homemade versions may not offer the same level of performance or achieve the exact finish you desire.
Additionally, commercial Mod Podge undergoes extensive testing for archival properties, meaning it’s designed to withstand the test of time without yellowing or deteriorating. Homemade Mod Podge may work well for temporary or less demanding projects but may not have the same longevity.
So while making your own Mod Podge using PVA glue can be a cost-effective alternative, it’s crucial to weigh the pros and cons. For long-lasting results or specific finishes, investing in commercially available Mod Podge might be your best bet. However, for temporary or less demanding projects, making your own Mod Podge can be a budget-friendly option that utilizes materials you may already have on hand.
What ingredients are needed to make homemade Mod Podge?
With just a few readily available ingredients, you can create your very own adhesive wonder that will elevate your crafts to new heights. Prepare to dive into the world of DIY Mod Podge as we explore the essential ingredients that bring this magical concoction to life.
PVA Glue – The Versatile Foundation:
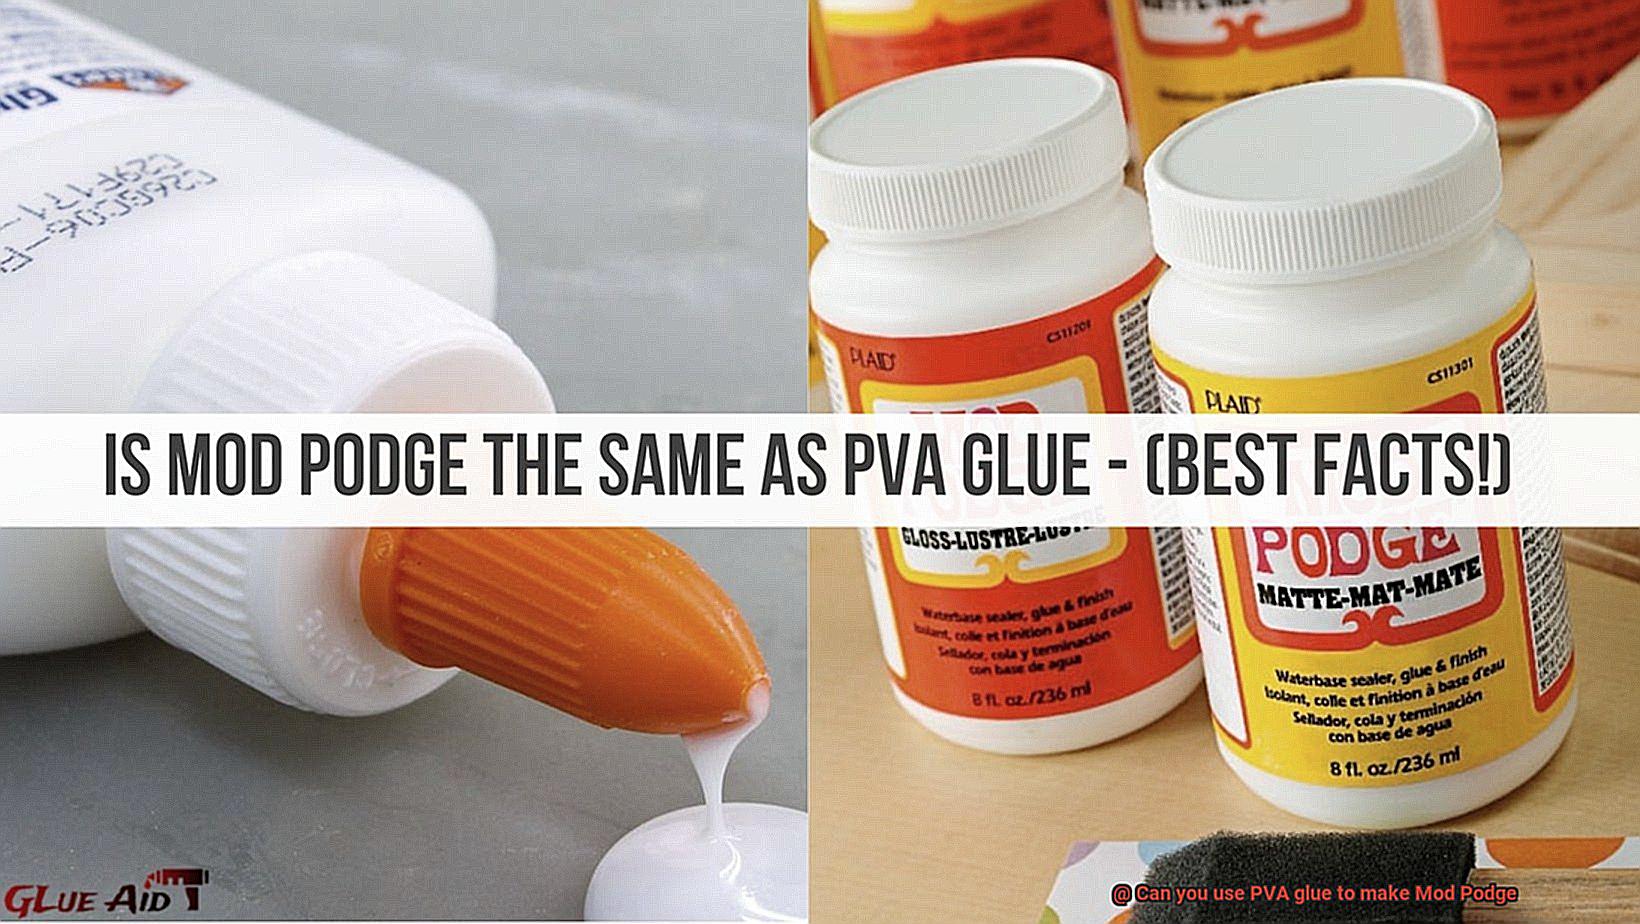
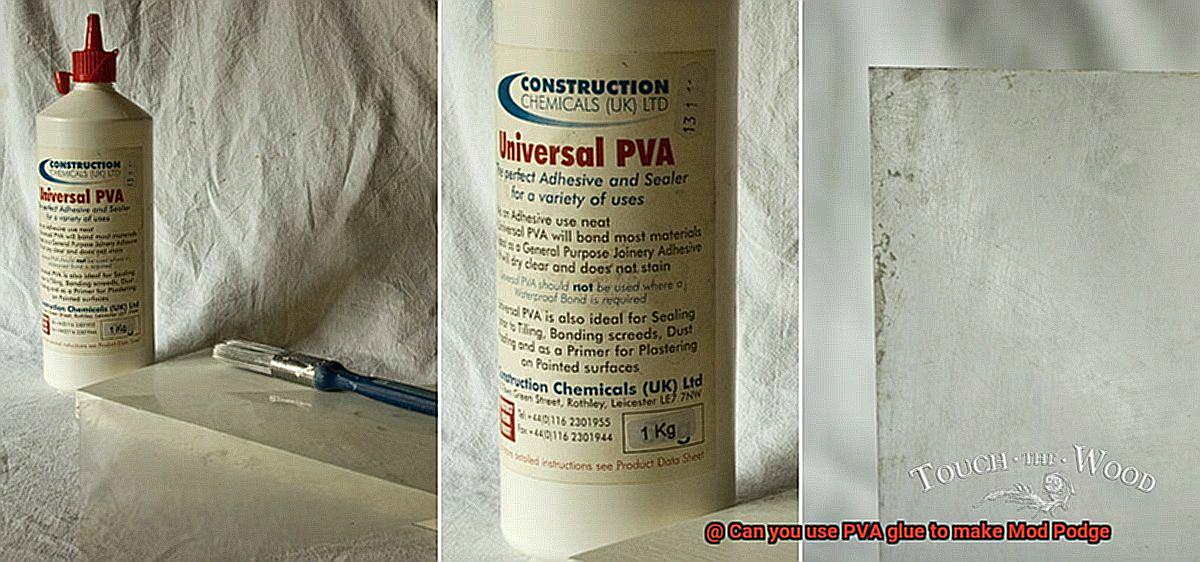
At the heart of homemade Mod Podge lies PVA glue, also known as white glue or school glue. Its water-based formula and ability to dry clear make it the ideal base for this adhesive masterpiece. You can easily find PVA glue in any craft store or even among your child’s school supplies.
Water – The Secret Consistency Enhancer:
To achieve the perfect texture for your Mod Podge, water is key. Start by adding a small amount and gradually increase it until you reach the desired consistency. Experimentation is key here, so feel free to play around with different ratios until you discover what works best for you.
Optional: White Vinegar – Strengthening Bonds:
If you desire an extra boost of adhesive power, consider adding a few drops of white vinegar to your mixture. This secret ingredient works wonders in strengthening the glue, ensuring that your crafts remain intact for years to come.
Optional: Glycerin – Achieving Glossy Perfection:
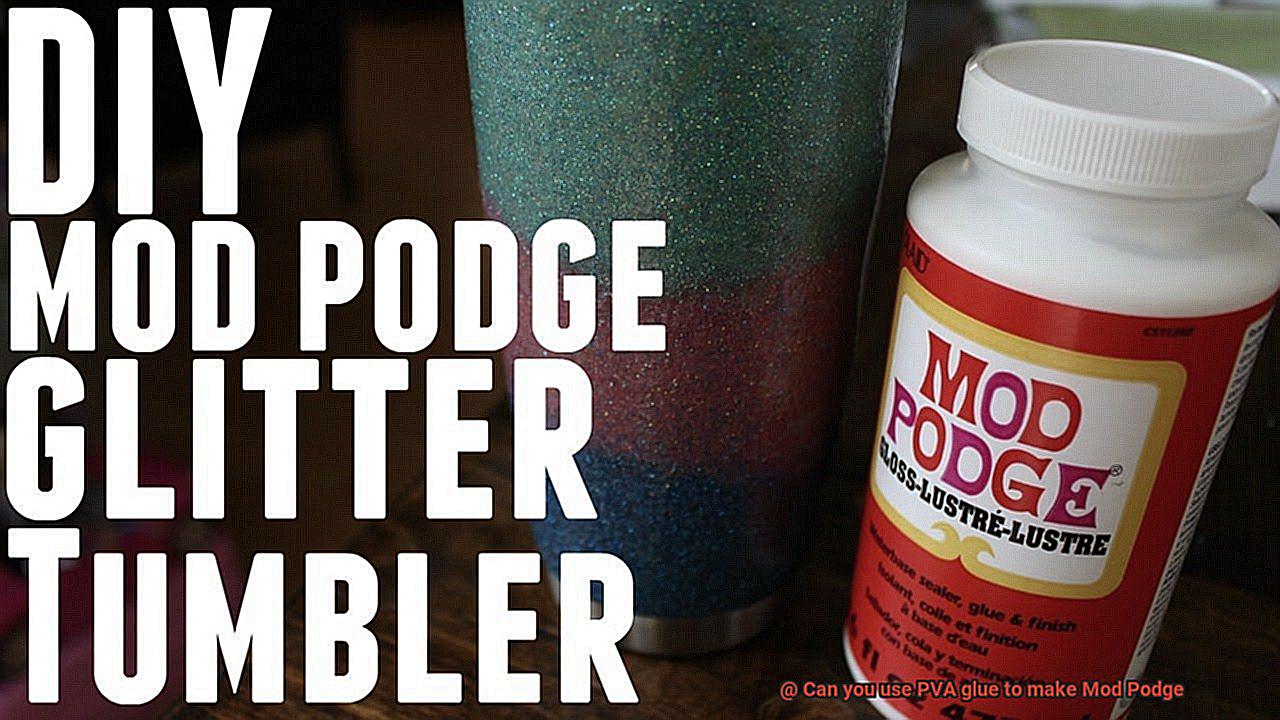
To give your Mod Podge a glossy finish and prevent it from becoming overly sticky upon drying, consider adding a small amount of glycerin. This magical ingredient imparts a professional touch to your projects that is sure to impress.
Optional: Acrylic Paint or Glitter – Personalizing Your Creation:
Now comes the fun part. Unleash your creativity and add a splash of color or sparkle to your Mod Podge by mixing in acrylic paint or glitter. The possibilities are endless, allowing you to create custom-colored Mod Podge that perfectly complements your artistic vision.
How to mix the ingredients for homemade Mod Podge?
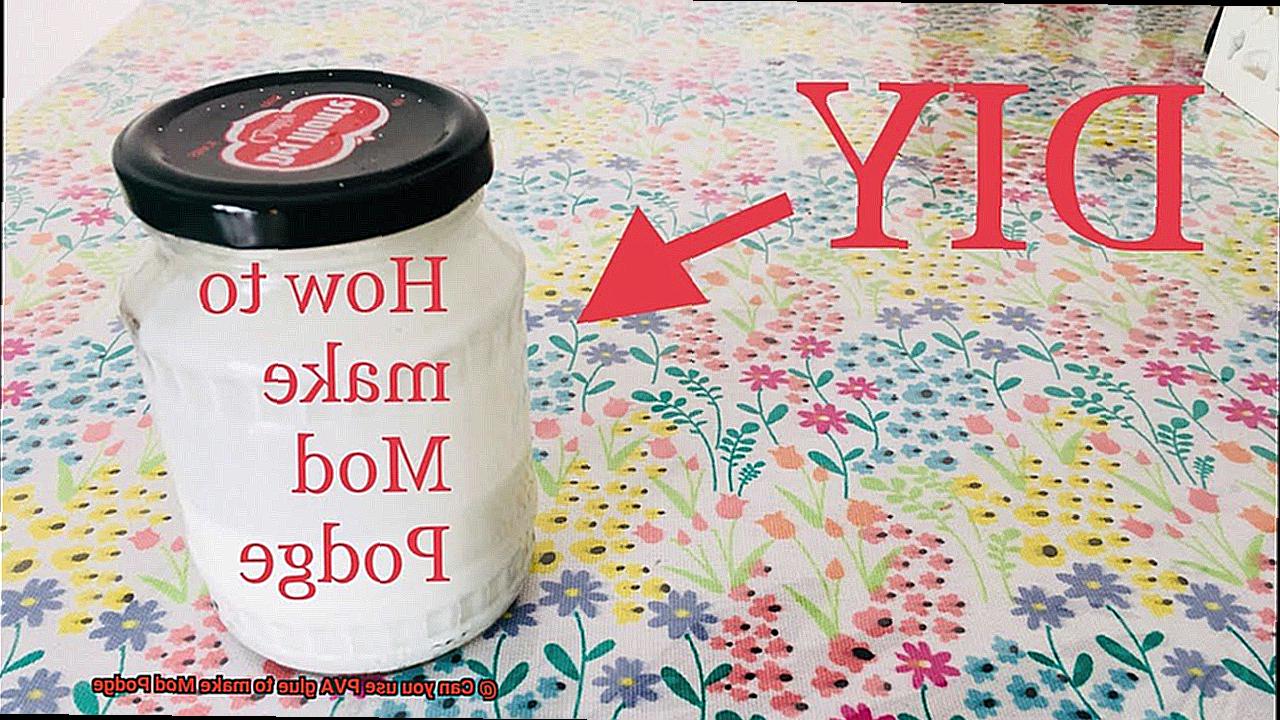
Here, we’ll show you how to mix the ingredients for homemade Mod Podge using PVA glue. Get ready to dive into exciting craft projects with your very own DIY Mod Podge.
Gather Your Supplies:
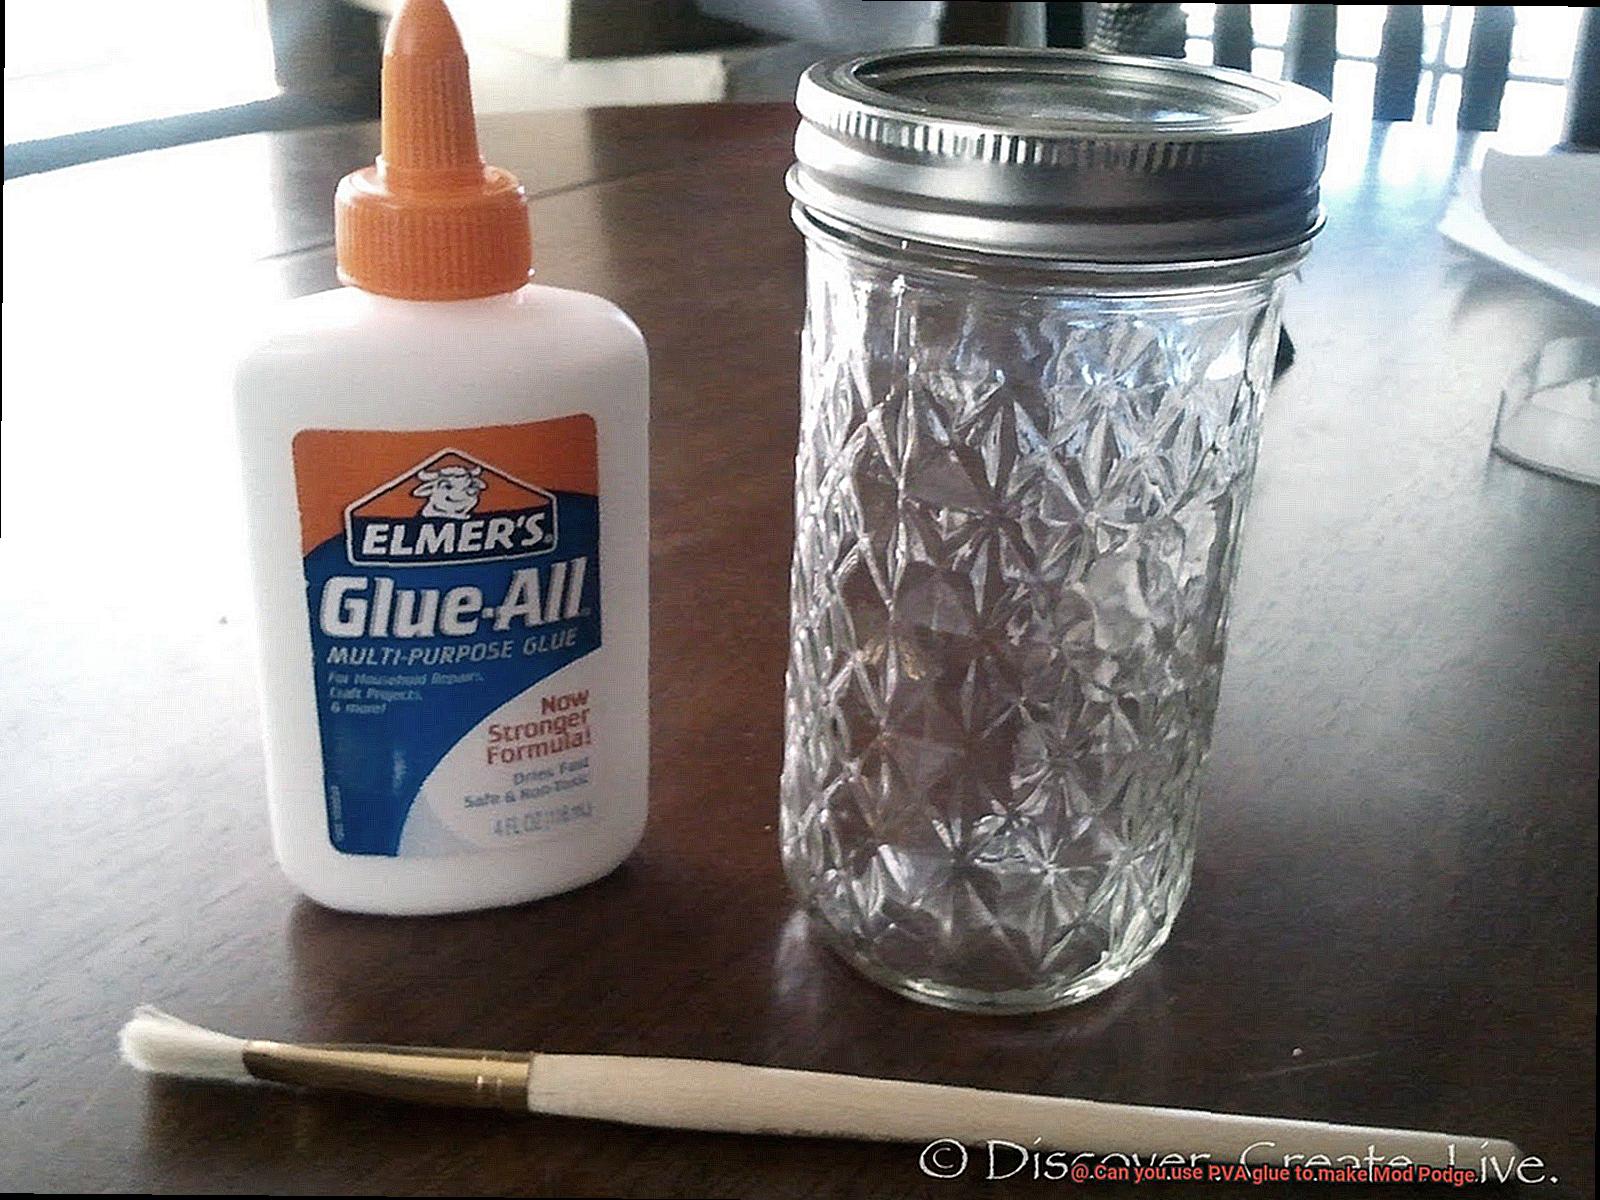
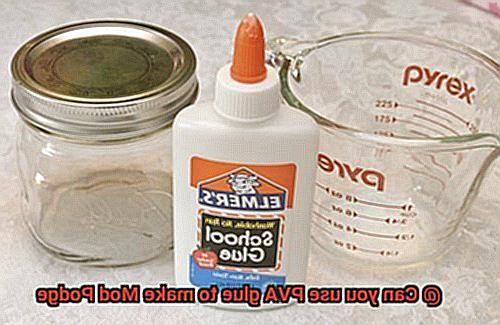
Before we start mixing, let’s gather all the ingredients and tools you’ll need. Grab a bottle of PVA glue, some water, and a clean container with an airtight lid. For added durability and protection, you can also grab a clear acrylic sealer or varnish.
Measure the Glue:
Pour your desired amount of PVA glue into the container. As a starting point, a 1:1 ratio of glue to water works well. But feel free to adjust the amounts based on your preferences and project needs.
Add Water Gradually:
Now it’s time to add water. Pour water into the container gradually while stirring continuously. Add small amounts at a time until you reach the desired thickness. Take your time and stir well to avoid any lumps or clumps in the mixture.
Mix Thoroughly:
Use a stir stick or spoon to mix the glue and water together thoroughly. Make sure there are no lumps or clumps in the mixture. This step is crucial for achieving a smooth finish on your craft projects.
Optional: Add a Sealant:
For extra durability and protection, consider adding a clear acrylic sealer or varnish to your homemade Mod Podge mixture. Pour a small amount into the mixture and stir well.
Test the Consistency:
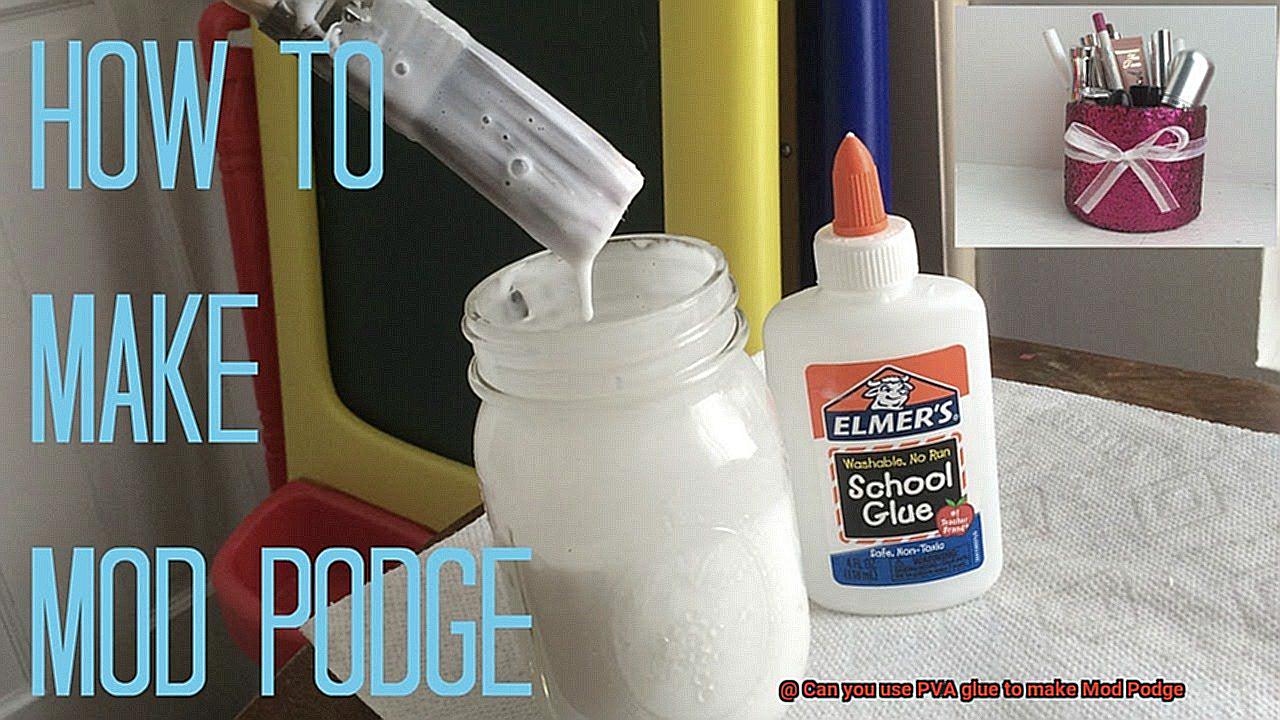
To ensure that your homemade Mod Podge is just right, take a small amount on your stir stick or spoon and let it drip back into the container. It should have a smooth, flowing consistency without being too thick or runny. Adjust the water or glue accordingly to achieve the desired consistency.
Conclusion:
Congratulations. You’ve successfully mixed the ingredients for homemade Mod Podge. Now you can enjoy the endless possibilities of this versatile craft adhesive. Remember to secure the lid tightly on your container to keep the mixture fresh for future use. Get ready to dive into exciting craft projects with your very own DIY Mod Podge.
By following these simple steps, you can easily mix the ingredients for homemade Mod Podge using PVA glue. Whether you’re working on scrapbooking, decoupage, or any other craft project, this DIY adhesive will come in handy. Plus, it’s a great way to save money and customize the consistency of your Mod Podge to suit your needs.
So go ahead and gather your supplies, measure out your glue and water, and mix them together thoroughly. Don’t forget to add a sealant if you want extra protection for your finished projects. And always test the consistency before using your homemade Mod Podge to ensure optimal results.
Advantages of using commercially available Mod Podge
This incredible glue offers a multitude of advantages that will take your DIY projects to the next level.
First and foremost, the consistent quality of commercially available Mod Podge sets it apart from homemade mixtures. Unlike those unpredictable concoctions, Mod Podge is specifically formulated to have the perfect consistency. This means you can count on a smooth and even finish every single time, resulting in professional-looking results that will impress anyone who lays eyes on your creations.
Durability is another key advantage of commercial Mod Podge. Acting as both a glue and a sealant, it creates a strong bond between layers and provides a protective coating over your finished piece. This means your creations can withstand regular use and even light wear and tear, giving you peace of mind that your hard work will stand the test of time.
Versatility is also a huge plus when it comes to commercially available Mod Podge. It can be used on various surfaces, including paper, fabric, wood, ceramic, glass, and more. No need to worry about compatibility issues – Mod Podge has got you covered. Whether you’re working on a mixed-media masterpiece or adding a decorative touch to a plain wooden frame, Mod Podge is the versatile adhesive that can handle it all.
In addition to its versatility, commercial Mod Podge also boasts a quick drying time. Say goodbye to long waiting periods between layers – Mod Podge dries relatively quickly, allowing you to complete your projects in no time. This efficiency is especially valuable when working on time-sensitive projects or when multiple layers need to be applied.
But wait, there’s more. Commercially available Mod Podge comes in a variety of formulas to suit different crafting needs and preferences. Whether you’re into decoupage, fabric projects, outdoor crafts, or even dishwasher-safe creations, there’s a formula specifically designed for you. This variety ensures that you can choose the perfect Mod Podge formula for your specific project requirements, further enhancing the quality and durability of your finished pieces.
And the best part? You can easily find commercially available Mod Podge in most craft stores, online retailers, and even some general stores. No need to go through the hassle of making your own mixture – just grab a bottle and get started on your next project. The accessibility of Mod Podge makes it a convenient option for crafters everywhere, saving you time and effort.
Disadvantages of making homemade Mod Podge with PVA glue
Imagine yourself in the middle of an exciting DIY project, ready to unleash your creative genius. You grab your trusty Mod Podge, only to discover that you’ve run out. Panic sets in. But wait. You remember you have some PVA glue lying around. Could this be the perfect substitute for Mod Podge? Before diving into your crafting adventure, it’s crucial to understand the disadvantages of making homemade Mod Podge with PVA glue.
Inferior adhesive properties:
Mod Podge is meticulously formulated to provide a strong and durable bond on various surfaces. However, homemade Mod Podge using PVA glue may not offer the same level of adhesion. This can lead to potential issues like peeling or lifting of glued materials over time.
Lack of versatility:
Mod Podge offers a wide range of formulations, allowing for different aesthetic effects on crafts. Homemade versions using PVA glue lack this versatility and may limit the desired outcome of your project.
Durability concerns:
Commercial Mod Podge is designed to withstand wear and tear, moisture, and UV exposure, making it suitable for projects that require long-lasting results. Homemade versions may not offer the same level of protection and could be more susceptible to damage over time.
Inconsistent quality:
The texture and smoothness of homemade Mod Podge can vary depending on the specific recipe used and the brand of PVA glue chosen. It can be challenging to replicate the exact consistency and quality of commercially made Mod Podge, affecting the overall appearance and finish of your craft project.
Time-consuming and messy preparation:
Creating homemade Mod Podge with PVA glue can be a time-consuming process that involves measuring and mixing ingredients. It may also require additional steps like adding water or adjusting the consistency. This extra effort can be tedious and may not be worth the time and energy, especially when commercial Mod Podge is readily available.
Limited availability of ingredients:
Some homemade Mod Podge recipes call for additional ingredients that may not be easily accessible to everyone, especially in areas with limited craft supplies. This limitation can make it more convenient to purchase ready-made Mod Podge instead.
Tips on how to use and store Mod Podge and/or homemade version
Look no further than Mod Podge, the ultimate crafting glue. Whether you’re a beginner or a seasoned crafter, these tips and tricks will help you use and store Mod Podge (or even make your own homemade version) like a pro. Get ready to create stunning decoupage projects, collage art, and more with ease.
Header 1: Applying with Finesse
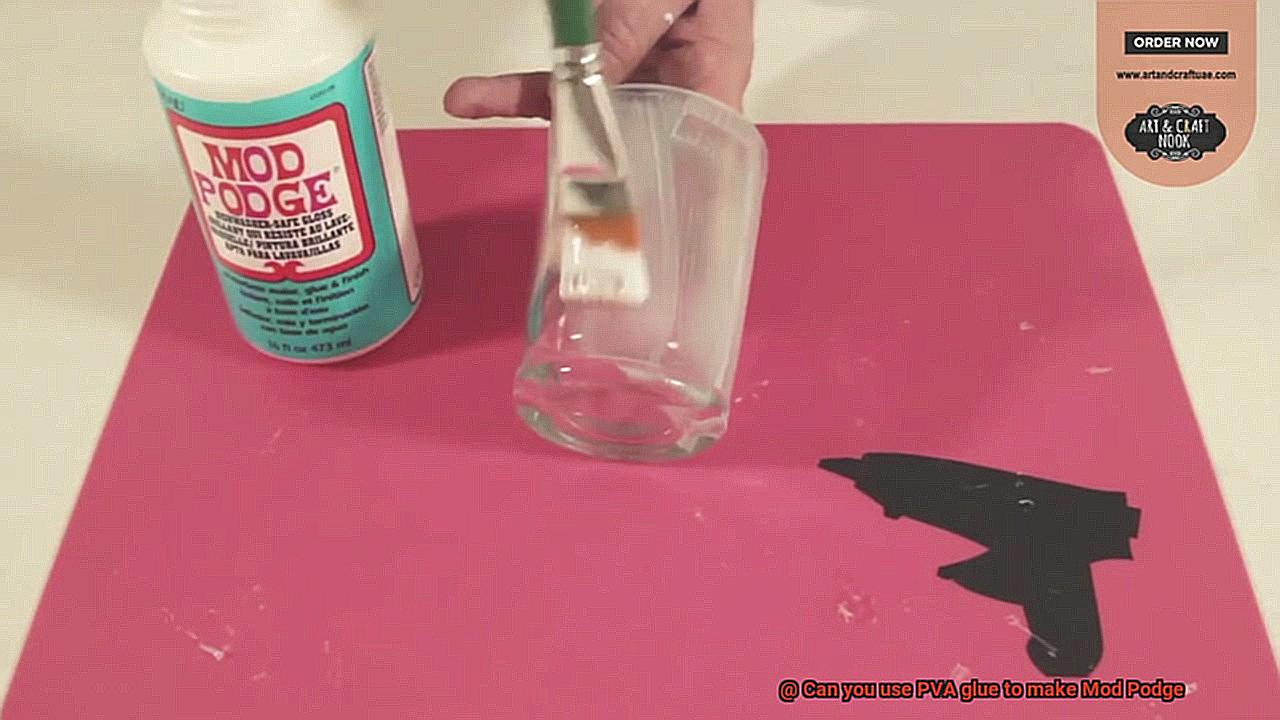
To achieve a flawless finish, it’s crucial to apply Mod Podge or a homemade version with finesse. Start by using a clean, dry brush or sponge applicator for a smooth and even application. Remember, less is more – start with a thin layer to avoid wrinkles and excess moisture. When applying the adhesive, always go in one direction to achieve that professional finish.
Header 2: Drying and Curing Magic
Patience is key when it comes to drying and curing your Mod Podge masterpiece. Although it may dry to the touch within minutes, complete curing can take up to 24 hours or more. So resist the urge to touch or move your project. Let it sit undisturbed for at least 24 hours after applying the final layer of Mod Podge. This ensures a smudge-free and bubble-free finish that will last.
Header 3: Sealing for Perfection
Protect your hard work by sealing it with an additional layer of Mod Podge or a clear acrylic sealer. This extra step will shield your project against moisture, UV rays, and general wear and tear. Apply the sealing layer evenly, making sure to cover the entire surface. Let it dry according to instructions for a perfect finish that will stand the test of time.
Header 4: Storing Secrets
Proper storage is essential to keep your Mod Podge or homemade version fresh and ready for action. Store it in a cool, dry place away from direct sunlight or extreme temperatures. Seal the container tightly after each use to prevent drying out or contamination. And don’t forget to label your homemade version clearly to avoid any mix-ups.
Examples of projects that can be done with either product
These versatile adhesives are essential tools in any crafter’s arsenal, and the best part is, they can be used interchangeably for a variety of projects. Let’s explore some examples of the endless possibilities that can be accomplished with either PVA glue or Mod Podge.
First, let’s dive into the world of decoupage. Whether you’re transforming an old piece of furniture or creating unique artwork, both PVA glue and Mod Podge are perfect for this technique. Adhere paper or fabric to various surfaces and watch as your projects come to life with a decorative effect that will make them stand out.
Next up, collage projects. Get ready to unleash your creativity as you securely hold together photographs, magazine cutouts, or any other materials you choose to use. Both PVA glue and Mod Podge are perfect for creating personalized photo collages, wall art, or even greeting cards that will leave a lasting impression.
Looking for a way to protect your crafts from the elements? Look no further. Both PVA glue and Mod Podge can be used as sealants for various projects. From wood to paper and other porous materials, applying a layer of either adhesive will not only give your creations a professional finish but also make them more durable against moisture, dust, and wear.
If you’re a fan of paper mache, you’ll be delighted to know that both PVA glue and Mod Podge can be used for this technique. Say goodbye to the traditional flour and water mixture. These adhesives offer better adhesion and quicker drying times, making your paper mache projects easier than ever.
Let your creativity shine with homemade ornaments. Whether it’s Christmas decorations or decorative items for other occasions, both PVA glue and Mod Podge are perfect for creating beautiful homemade ornaments. From glitter-covered masterpieces to personalized photo keepsakes, these adhesives will bring your ideas to life in a way that will make your creations truly special.
And let’s not forget about the little ones. PVA glue and Mod Podge are both child-friendly adhesives that are easy to use and clean up with water. Let your little ones create paper collages, decorate picture frames, or even make their own slime with these versatile products. The possibilities for fun and safe craft activities for kids are endless.
AJ0k6Ngcu6s” >
Also Read: Is there a Mod Podge Alternative? – Glue Things
Conclusion
Yes, it is possible to make a DIY version of Mod Podge using PVA glue.
The key ingredient in Mod Podge is polyvinyl acetate (PVA) glue, which is commonly found in white craft glue. By diluting the PVA glue with water and adding a few drops of varnish or clear acrylic sealer, you can create a homemade version of Mod Podge.
It’s a cost-effective solution that allows you to customize your crafting supplies while achieving similar results.

