Are you a beach lover like me? If so, I bet you’ve collected seashells during your seaside adventures. And if you enjoy getting crafty, then I have some exciting news for you. Today, we’re diving into the captivating world of seashell crafts with a twist – Mod Podge.
Now, you might be wondering, “Can you use Mod Podge on seashells?” Well, my friend, let me tell you that the possibilities are truly endless. Whether you want to make stunning seashell jewelry, decorate a picture frame with a beachy vibe, or spruce up your home decor projects, Mod Podge is like a magical elixir that turns ordinary shells into extraordinary works of art.
Mod Podge is a beloved decoupage medium that has stolen the hearts of DIY enthusiasts everywhere. It’s an adhesive and sealant all in one. Its water-based formula is perfect for adding a protective layer to your seashells while enhancing their natural beauty and ensuring they last.
But here’s a pro tip: before slathering Mod Podge on your cherished seashells, it’s crucial to prepare them properly. Give them a good rinse to remove any lingering saltwater or debris. Let them dry thoroughly and gently sand any rough edges to guarantee a smooth and flawless application of Mod Podge.
So whether you’re an experienced crafter or just starting out on your DIY journey, grab your seashell collection, grab a bottle of Mod Podge, and get ready for an adventure. Together, we’ll explore the enchanting world of Mod Podge and discover how it can transform your seashells into exquisite pieces of art. Get ready to unleash your inner beachcombing artist.
Is Mod Podge Suitable for Use on Seashells?
Contents
- 1 Is Mod Podge Suitable for Use on Seashells?
- 2 Preparing Seashells for Decoupage with Mod Podge
- 3 Applying Mod Podge to Seashells
- 4 Enhancing the Look of Seashells with Mod Podge
- 5 Finishing Touches: Glossy vs Matte Finish
- 6 Curing Process and Handling Tips
- 7 Common Mistakes to Avoid When Using Mod Podge on Seashells
- 8 Creative Ideas for Decorating with Seashells and Mod Podge
- 9 Conclusion
Seashells are oceanic treasures that can be transformed into stunning crafts. If you want to add a glossy finish or enhance the durability of your seashell creations, Mod Podge may be just the right tool for the job. However, it’s crucial to understand the process and consider certain factors to achieve the best results. In this comprehensive guide, we will explore whether Mod Podge is suitable for use on seashells and provide you with expert tips to create long-lasting, visually appealing crafts.
Shell Material:
Seashells are delicate and porous, made of calcium carbonate. Before applying Mod Podge, ensure you clean them thoroughly by rinsing with warm water and mild soap. This step removes dirt and debris, providing a clean surface for the glue to adhere to.
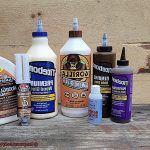
Choosing the Right Mod Podge Formula:
Select a clear-drying Mod Podge formula designed specifically for decoupage or paper crafts. These formulas provide a strong bond while maintaining the natural appearance of the seashells.
Application Technique:
Apply a thin and even layer of Mod Podge onto the shell’s surface using a foam brush or small paintbrush. Avoid applying excess Mod Podge, as it may cause sogginess or loss of shape. Remember, less is more.
Adding Decorative Elements:
Once Mod Podge is applied, unleash your creativity by adding glitter, beads, or paper cutouts. Press them firmly onto the surface, smoothing out any air bubbles for a seamless finish.
Drying Time:

Allow the Mod Podge to dry completely before handling the seashells. This can take several hours or overnight, depending on the thickness of the layer and environmental conditions. Exercise patience.
Optional Additional Coat:
For added protection against moisture and wear, consider applying an extra coat of Mod Podge over the decorations. This creates a protective barrier, ensuring your seashells remain intact for longer.
Preparing Seashells for Decoupage with Mod Podge
Transforming seashells into stunning decoupage crafts using Mod Podge is an exciting and creative endeavor. In this guide, we will take you through the step-by-step process of preparing seashells for decoupage with Mod Podge, ensuring beautiful and long-lasting results.
- Clean the seashells: Begin by rinsing the seashells under running water to remove any loose particles. Then, use a mild detergent or dish soap to gently scrub away dirt and debris using a soft brush or sponge. Rinse them again to ensure all soap residue is gone. Allow the shells to air dry completely or use a clean cloth to pat them dry.
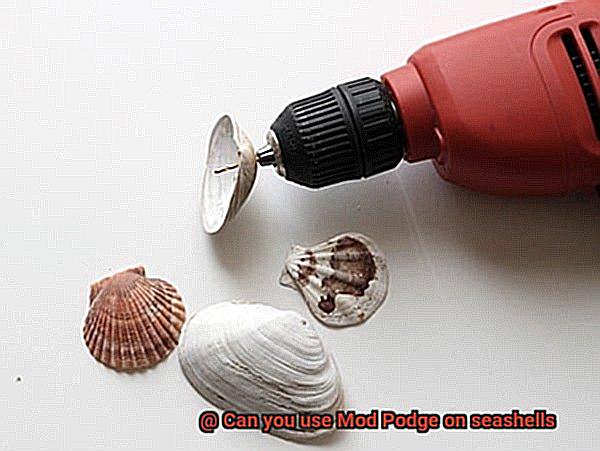
- Smooth out rough edges: Some seashells may have sharp edges or rough surfaces that need to be smoothed out before decoupaging. Use fine-grit sandpaper or a nail file to gently sand down any rough areas, being careful not to damage the shell.
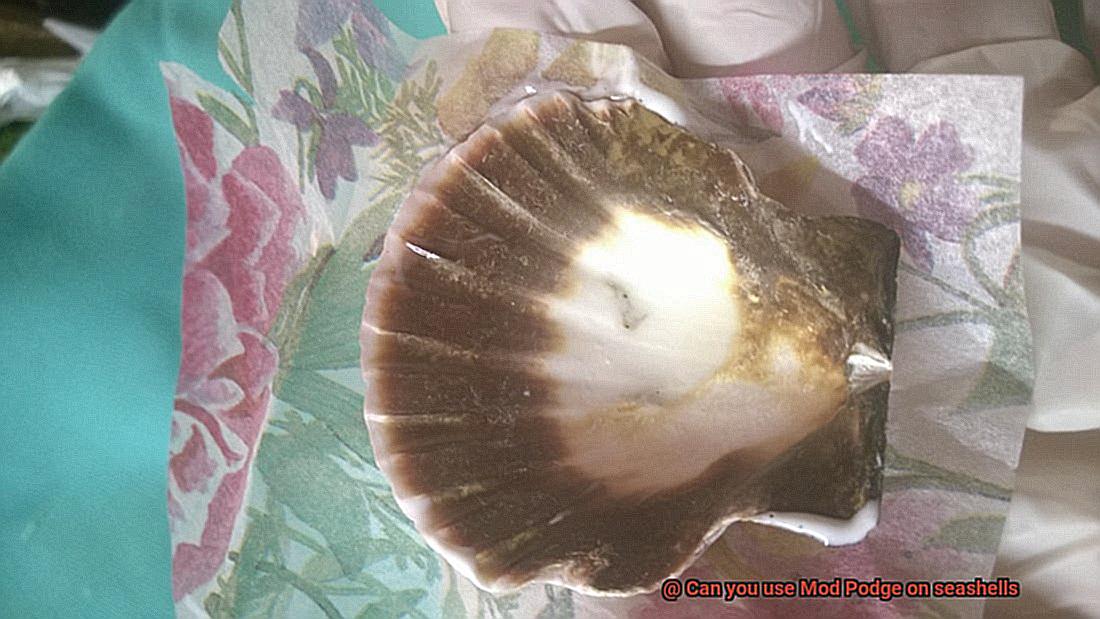
- Apply a base coat of Mod Podge: Once the shells are cleaned and smoothed, apply a thin and even layer of Mod Podge onto the entire surface of each shell using a foam brush or soft bristle brush. Let it dry completely before moving on.
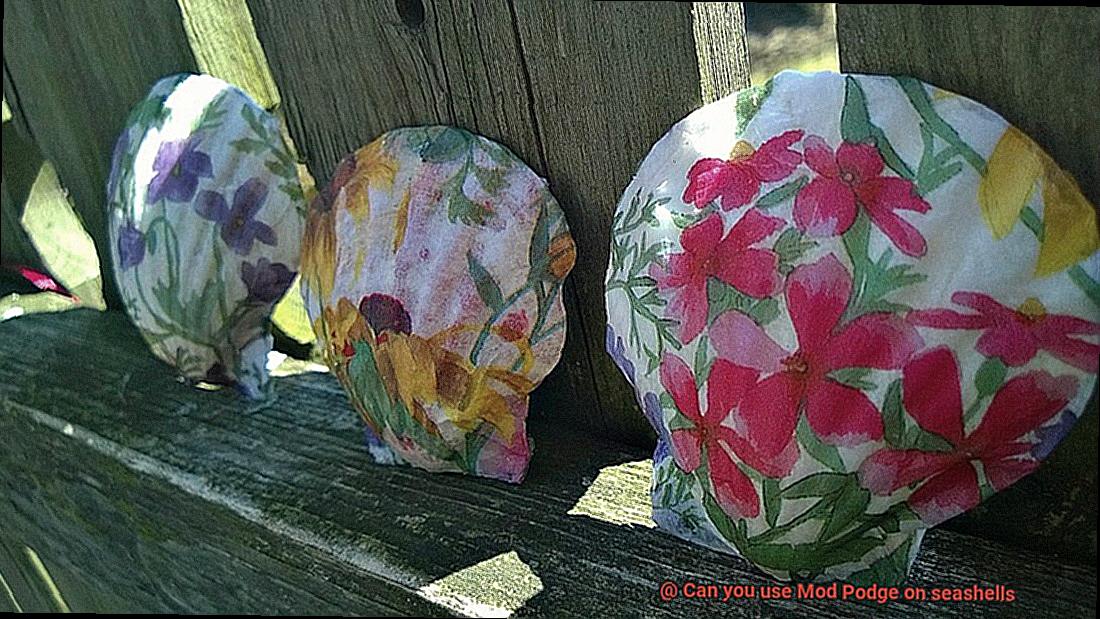
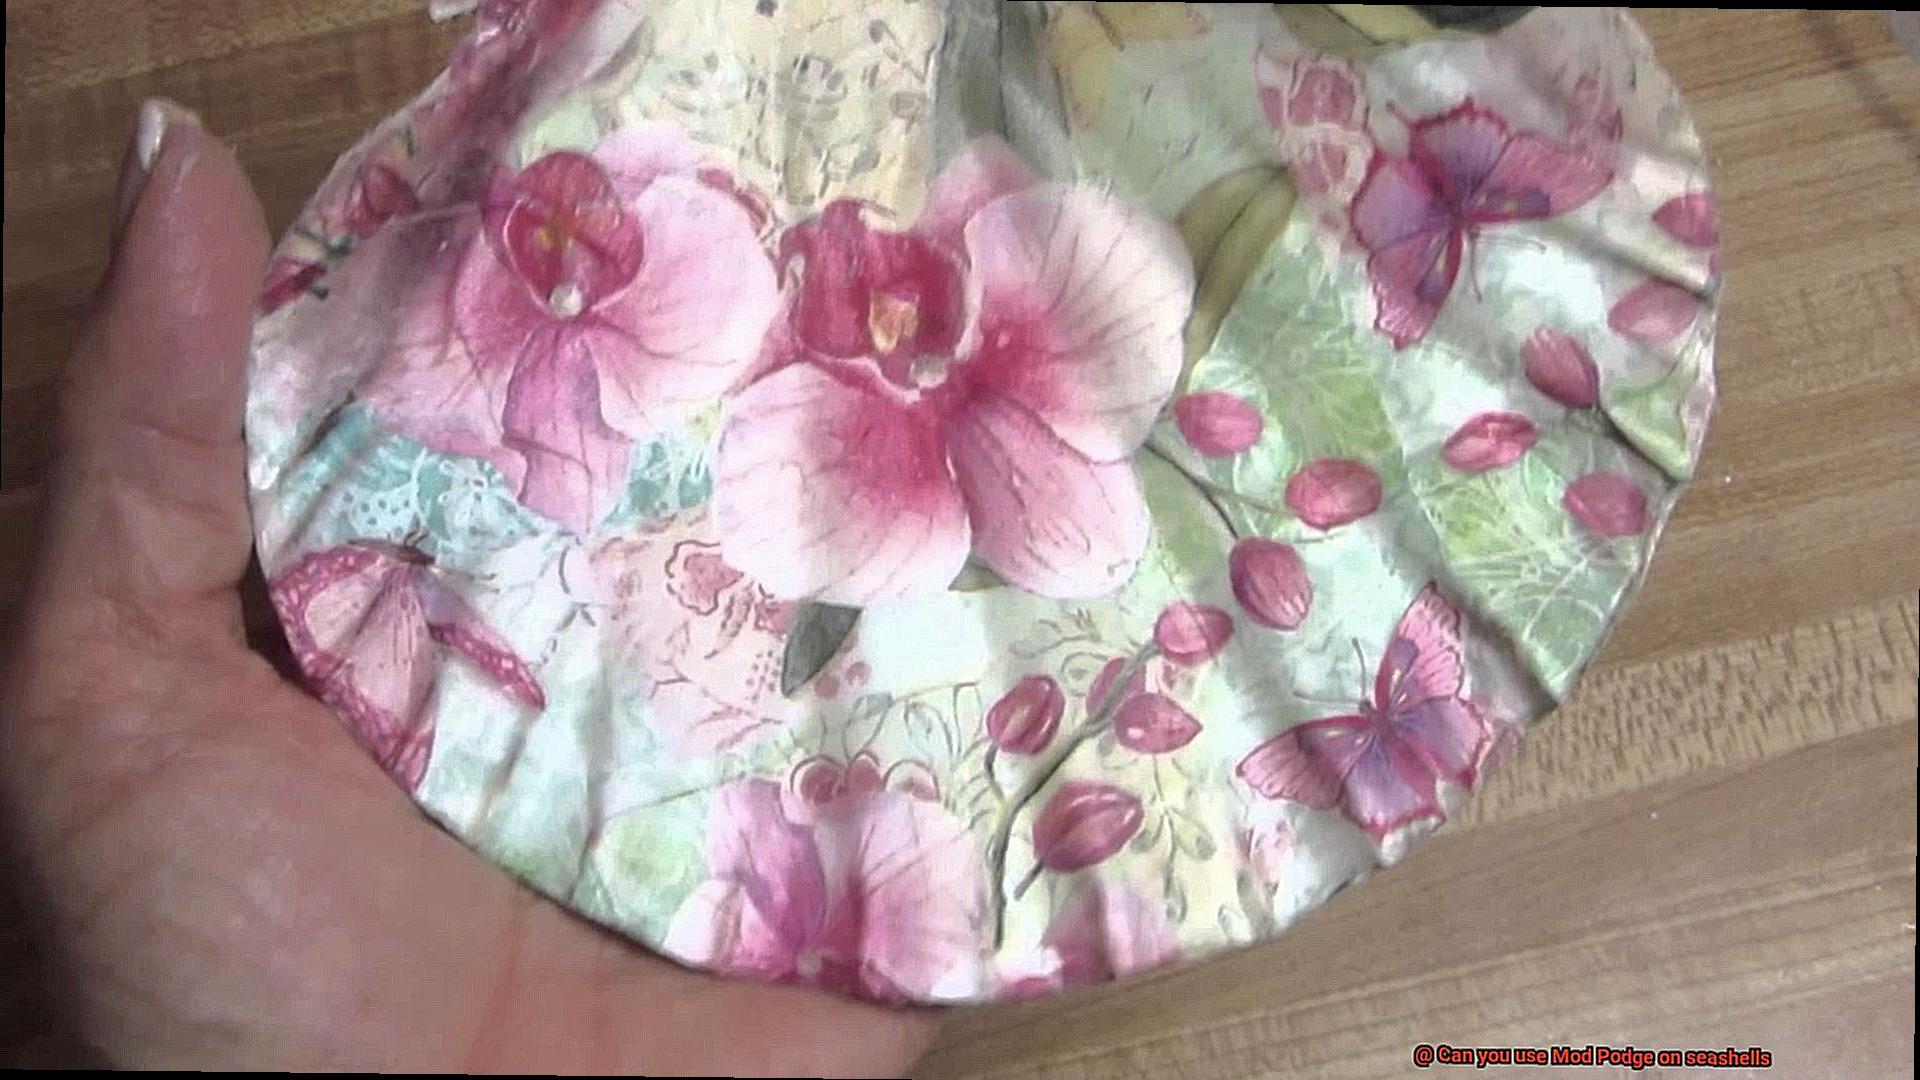
- Decoupage time: Cut or tear your desired decoupage material into small pieces or shapes. This can include paper, fabric, tissue, or anything that sparks your creative imagination. Apply a thin layer of Mod Podge onto the shell, carefully place the decoupage material onto the wet glue, and then seal it with another layer of Mod Podge on top. Repeat this process until you achieve your desired design or pattern.
- Multiple coats for durability: To ensure the longevity of your decoupage, apply multiple coats of Mod Podge. Allow each layer to dry completely before applying the next one. This creates a protective barrier and enhances the durability of the decoupage on the seashells. Patience is crucial in this step.
- Final touch: Once all the layers of Mod Podge have dried, you can add a final coat of clear acrylic sealer for added protection and a glossy finish. Follow the instructions on the sealer product for proper application.
Applying Mod Podge to Seashells
Imagine the beach: the warm sun, the soft sand between your toes, and the glistening seashells scattered along the shore. These treasures beckon you to pick them up, but what if I told you that you could take their natural beauty to a whole new level? With the magical powers of Mod Podge, ordinary seashells can be transformed into extraordinary works of art.
Cleaning and Preparing the Shells:
Before diving into the enchanting world of Mod Podge, it’s crucial to give your seashells a proper cleaning. Gently rinse them with water and a mild soap to remove any lingering dirt or debris. Once they’re pristine, allow them to dry completely. Remember, patience is key here – wet shells and Mod Podge don’t mix well.
Applying Mod Podge:
Now that your shells are fresh and ready for their makeover, it’s time to unleash the power of Mod Podge. There are two delightful techniques you can use: the brushing method or the dipping method.
Brushing Method:
Take a soft paintbrush or foam brush and dip it into your jar of Mod Podge. With gentle strokes, apply a thin and even layer of Mod Podge onto the surface of each shell. Remember to cover every nook and cranny, including the edges. Less is more in this case; too much Mod Podge can lead to unsightly clumps and drips.
Dipping Method:
For those seeking a quicker approach, create a dipping mixture by combining equal parts Mod Podge and water in a bowl. Submerge each shell into the mixture, ensuring it is fully coated. Allow any excess mixture to gracefully drip off before placing them on a drying rack or wax paper.
Drying Time and Additional Layers:
Once you’ve worked your Mod Podge magic, exercise your patience once more and let the shells dry completely. This may take several hours or even overnight, depending on the humidity. Refrain from touching or moving the shells until they have fully dried to avoid smudging or damage.
For a more durable finish, feel free to apply additional layers of Mod Podge once the first layer is dry. This will provide extra protection and create a stunning glossy finish that will make your seashells truly shine.
Unleash Your Creativity:
Now that your seashells are adorned with the brilliance of Mod Podge, it’s time to let your creativity soar. Sprinkle some glitter or delicate beads onto the wet Mod Podge for an enchanting and sparkly effect. Get crafty and use your Mod Podge-adorned seashells as captivating centerpieces, unique jewelry pieces, or even as decorative accents for picture frames.
Enhancing the Look of Seashells with Mod Podge
Are you ready to take your seashell collection to the next level and transform them into extraordinary works of art? Look no further than Mod Podge, the versatile adhesive and sealant that can enhance the natural beauty of your seashells and turn them into stunning pieces that will captivate anyone who lays eyes on them.
To begin, it is crucial to clean your seashells thoroughly, removing any dirt or debris that may hinder the Mod Podge from adhering properly. Soak them in warm soapy water and gently scrub away any stubborn particles with a soft brush. Once they are clean and dry, you can embark on the process of enhancing their look with Mod Podge.
When applying Mod Podge to your seashells, choose a foam brush or paintbrush to ensure an even and smooth application. Start with a thin layer, allowing it to dry completely before adding additional coats. This step is crucial as it will help build up a thicker, more durable finish on your seashells, ensuring they maintain their allure for years to come.
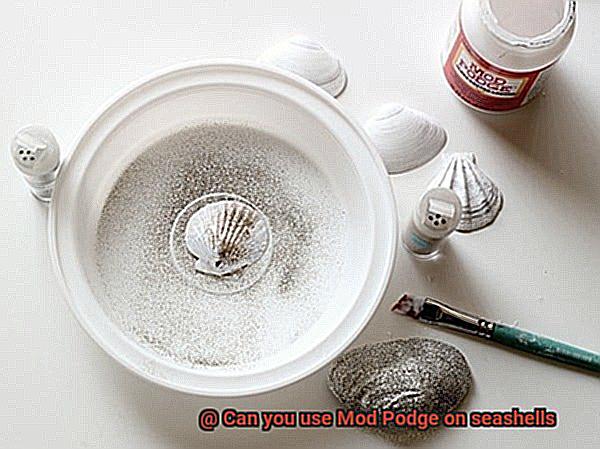
But why stop at just a glossy finish? If you want to infuse your seashells with a little extra pizzazz, consider incorporating decorative elements while the Mod Podge is still wet. Sprinkle glitter or delicately place tiny beads onto the surface of the shell, allowing them to become one with the Mod Podge. This will give your seashells a unique and personalized touch, elevating them from ordinary to extraordinary.
Once all the layers of Mod Podge have dried and your seashells have been transformed into mesmerizing works of art, you can further enhance their look by adding additional embellishments. Attach ribbons or string for hanging, creating a whimsical display that will draw attention and admiration.
However, it is important to note that while Mod Podge can enhance the look of your seashells, it may not provide long-lasting protection if exposed to water or extreme weather conditions. It is best to display Mod Podge-coated seashells indoors or in protected areas. To maintain their beauty, gently clean them with a soft cloth and avoid using harsh chemicals or abrasive materials.
Finishing Touches: Glossy vs Matte Finish
Each finish offers its own distinct benefits, creating entirely different looks for your seashells. Let’s explore the possibilities.
Let’s start with the glossy finish. If you want your seashells to shine and reflect light, this is the perfect choice for you. The glossy Mod Podge will give your seashells a smooth and lustrous appearance, enhancing their natural colors and textures. Picture it: vibrant shells catching the sunlight, exuding elegance and sophistication. Achieving this look is simple – just apply a layer of glossy Mod Podge onto your seashells using a brush or sponge. Allow it to dry completely before adding additional coats if desired.
On the other hand, if you prefer a more subdued and velvety appearance, the matte finish might be your muse. This finish creates a softer and more subtle look, perfect for cultivating a calming and serene atmosphere. To achieve this effect, you have two options: either use matte Mod Podge or apply a matte sealer on top of the glossy Mod Podge. The sealer will reduce the shine, transforming it into a matte masterpiece.
It’s crucial to consider the type of shell you’re working with when using Mod Podge. Some shells may possess a more porous surface, which can impact how well the Mod Podge sticks and dries. Before applying Mod Podge, ensure that your shells are squeaky clean to guarantee optimal adhesion and a seamless finish.
To take your seashell crafts to the next level, don’t be afraid to experiment with different techniques. Create texture by using multiple layers of Mod Podge in various directions or add glitter or other embellishments for that extra sparkle factor.
Once you’ve applied Mod Podge and allowed it to dry, consider adding a protective topcoat for an additional layer of security. This will help seal and safeguard your seashells, preventing any potential damage or discoloration over time. With this added measure, your seashell crafts will remain breathtaking for years to come.
Curing Process and Handling Tips
Embarking on a creative journey with seashells requires a deep understanding of the curing process and proper handling tips when using Mod Podge. Are you prepared to dive into the mesmerizing world of seashell crafts? Let’s explore the secrets that will make your creations shine with the magic of Mod Podge.
The Magical Curing Process:
The curing process is a captivating transformation that turns ordinary glue into a robust, enduring finish. When working with Mod Podge on seashells, patience is paramount. Seashells, being porous, have an innate ability to retain moisture, which demands extra time for proper curing. Allow the glue to dry completely, and witness the enchantment unfold before your eyes.
Gentle Handling for Perfect Results:
As you await the miracle of curing, resist the urge to touch or move your delicate seashells. Premature handling can mar their pristine surface with unsightly smudges or fingerprints. Treat each seashell like a precious gem, patiently awaiting its moment to dazzle the world.
Air Circulation: A Key Ingredient:
Seashells crave fresh air to dry gracefully. To ensure even drying and prevent any sticky mishaps, provide them with a drying rack or tray. This simple act allows air to circulate freely around each shell, bestowing upon them an even and resplendent finish.
Beware of Moisture:
Just as cats disdain water, seashells abhor moisture. Shield your Mod Podge-coated seashells from any encounters with water or humid environments during the curing process. Such encounters can weaken the adhesive properties of Mod Podge and jeopardize the luminosity of your masterpiece.
Storage: A Safe Haven for Your Creations:
Once your seashell crafts have fully cured, grant them a secure sanctuary where they are sheltered from excessive heat, humidity, or accidental damage. Safeguard these treasures with utmost care and exhibit them proudly, showcasing the beauty you have crafted with passion.
Common Mistakes to Avoid When Using Mod Podge on Seashells
Seashells possess an enchanting beauty that can be preserved and enhanced with the use of Mod Podge. This versatile glue allows you to create stunning seashell crafts, but it’s important to steer clear of common mistakes that can mar your final product. In this article, we will delve into these mistakes and provide essential tips to help you achieve exquisite results when using Mod Podge on seashells.
Neglecting Proper Cleaning and Preparation:
To ensure optimal adhesion of Mod Podge, it is crucial to clean seashells thoroughly. Debris, dirt, or even tiny organisms may be present, hindering the glue’s effectiveness. Rinse the shells in warm water and gently scrub them with a soft brush to remove any residue. Allow the shells to dry completely before proceeding with Mod Podge.
Applying Thick Layers:
In the realm of Mod Podge and seashells, less is more. Applying thick layers can result in poor adhesion and an unappealing gloopy finish. Instead, opt for thin layers using a foam brush or paintbrush, ensuring complete coverage of each shell’s surface. Allow each layer to dry completely before adding another.
Choosing the Wrong Mod Podge Formula:
Different Mod Podge formulas exist, including gloss, matte, and outdoor. It is vital to select the appropriate formula for your project. If you desire a shiny finish, go for the gloss formula. For a more natural look, choose matte. If your seashell creation will be displayed outdoors, opt for the outdoor formula, which boasts durability and weather resistance.
Insufficient Drying Time Between Layers:
Patience is paramount when utilizing Mod Podge on seashells. Hastening the drying process can result in a tacky or sticky finish that won’t fully dry. Allow each layer to dry for at least 15-20 minutes, adjusting according to thickness and humidity levels. To err on the side of caution, leave the seashells to dry overnight before handling or displaying them.
Forgetting to Seal the Mod Podge:
To safeguard your seashell masterpieces and prolong their lifespan, it is crucial to seal the Mod Podge after it has dried. Utilize a clear acrylic sealer spray or brush-on varnish to provide an additional protective layer. Apply a thin coat of sealer, ensuring complete coverage of all surfaces. Allow it to dry completely before handling or displaying the shells.
Creative Ideas for Decorating with Seashells and Mod Podge
Together, they have the power to turn ordinary shells into extraordinary works of art. In this blog post, we will explore some vibrant and imaginative ideas that will inspire you to decorate with seashells using the versatile Mod Podge. So, grab your glue and let’s dive in.
Seashell Collage:
Channel the beauty of the ocean by crafting a captivating seashell collage. Arrange an assortment of shells on a canvas or wooden surface, experimenting with different shapes and sizes. Once satisfied with your arrangement, secure the shells in place with Mod Podge. Behold a textured masterpiece that will transport you to serene beaches whenever you gaze upon it.
Seashell Coasters:
Protect your furniture in style by creating stunning seashell coasters. Affix small seashells onto plain wooden or ceramic coasters using Mod Podge. After the glue dries, add a layer of clear varnish or resin for a glossy finish. These coasters not only shield your tables from unsightly stains but also infuse your living space with a coastal vibe.
Seashell Jewelry:
Unleash your inner mermaid by fashioning unique seashell jewelry using Mod Podge. Attach small shells to earring posts, pendant bails, or bracelet bases with Mod Podge as your adhesive. For added sparkle and allure, embellish with glitter or rhinestones. Once dry, revel in one-of-a-kind jewelry pieces that capture the essence of the beach.
Seashell Picture Frames and Mirrors:
Elevate your home decor by incorporating seashells into picture frames or mirrors. Use Mod Podge to adhere shells around the edges, allowing for visually captivating designs. To ensure longevity, apply a protective layer of clear varnish or resin. These decorative pieces will infuse any room with coastal charm and become cherished focal points.
Seashell Vase or Candle Holder:
Transform plain glass or ceramic vases and candle holders into mesmerizing centerpieces. Apply Mod Podge to the surface and affix seashells in your desired pattern or arrangement. Once the glue dries, bask in the beauty of a captivating focal point that captures the serenity of the ocean.
vumq1wHMemU” >
Conclusion
Yes, you can absolutely use Mod Podge on seashells.
Mod Podge is a versatile crafting adhesive that works well on a variety of surfaces, including seashells. It can help preserve the natural beauty of the shells and give them a glossy finish.
Whether you want to create stunning shell jewelry or unique home decor, Mod Podge can be your go-to solution. Just imagine the possibilities – transforming dull shells into shimmering works of art that capture the essence of the ocean.
With Mod Podge, you can unleash your creativity and bring your seashell crafts to life.