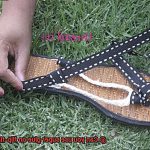
Picture this: you’re strolling along the sandy shores, feeling like a beach goddess in your trusty sandals. But then, disaster strikes – a strap snaps, and your heart sinks faster than a sandcastle at high tide. We’ve all experienced that gut-wrenching moment when our favorite footwear faces an untimely demise.
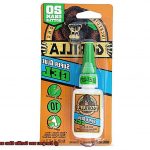
In this guide, we’re about to embark on a rescue mission using the mighty Gorilla Glue – the superhero adhesive that can mend just about anything. Brace yourself for a journey filled with sticky situations, quick fixes, and newfound hope for your cherished summer companions
So, grab your sandals (broken or not), because we’re about to dive headfirst into the world of Gorilla Glue magic. Let’s get ready to save some soles.
Understanding the Material of Sandals
Contents
- 1 Understanding the Material of Sandals
- 2 Is Gorilla Glue Suitable for Sandals?
- 3 Preparing the Surface for Adhesion
- 4 Applying Gorilla Glue to Sandals
- 5 Securely Bonding the Two Surfaces Together
- 6 Drying and Checking the Bond
- 7 Pros and Cons of Using Gorilla Glue on Sandals
- 8 Alternatives to Gorilla Glue for Sandals
- 9 Conclusion
Sandals, the go-to footwear for comfort and versatility, can sometimes lose their charm due to wear and tear. But fear not. This blog post will take you on a journey through the materials used in making sandals and explore whether Gorilla glue can be the hero that saves your beloved pair.
Leather Sandals:
Leather, known for its durability, flexibility, and breathability, is a common choice for sandals. However, repairing leather sandals with Gorilla glue requires caution. Although this adhesive has strong bonding properties, it may leave visible marks or stains on the leather surface. Therefore, it’s recommended to consider alternative adhesives specifically designed for leather repairs.
Rubber Sandals:
If your sandals are made of rubber, rejoice. Gorilla glue can be your savior. Rubber sandals offer water resistance and slip-resistant properties, and with Gorilla glue’s ability to bond well with rubber surfaces, you can ensure your trusty pair stays intact even after extensive use.
Synthetic Material Sandals:
Lightweightness, quick-drying properties, and resistance to stretching or shrinking make synthetic materials like polyester or nylon popular choices for sandals. The good news is that Gorilla glue works wonders with synthetic surfaces. Its strong bond ensures effective repairs for synthetic material sandals.
Other Materials:
Sandals come in various other materials too. Cork sandals provide shock absorption and natural insulation. Fabric sandals offer comfort and breathability through woven fabrics. Plastic sandals are affordable and waterproof. When it comes to repairing these materials with Gorilla glue, it’s essential to assess compatibility. While Gorilla glue may work well in some cases, alternative adhesives may be the better choice for others.
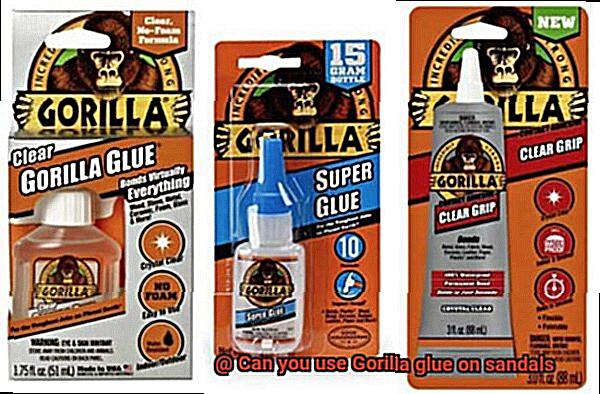
Is Gorilla Glue Suitable for Sandals?
When it comes to the age-old question of whether Gorilla Glue can save your beloved sandals, the answer is not as straightforward as we might hope. But fear not. I am here to guide you through the intricate world of adhesives and help you make an informed decision.
Let’s start by breaking down the materials. Leather sandals, those timeless classics that make us feel like we’re walking on sunshine, may not be the best match for Gorilla Glue. You see, leather is a porous material that requires a more flexible and breathable adhesive. Gorilla Glue, on the other hand, has a tendency to expand and foam up when it cures. This can lead to stiffness and discomfort when applied to our beloved leathery companions.
But don’t despair just yet. If your sandals are made of rubber or synthetic materials, Gorilla Glue can come to the rescue. These materials are often more forgiving and can handle the expanding properties of the glue without causing any major issues. Just remember to clean and prepare the surfaces properly before applying the adhesive. Nobody wants their glue bonding with dirt instead of their sandals.
Now, here’s an important caveat: while Gorilla Glue can provide a strong bond, it might not be a permanent solution for your sandals’ woes. The constant wear and tear on our trusty footwear can cause the glue to deteriorate over time. So, consider Gorilla Glue as a temporary fix rather than a long-term solution.
But wait. Before you embark on your DIY sandal-saving adventure, let me share a word of wisdom: when in doubt, seek professional help. If your sandals are in dire straits or made of delicate materials, it’s best to consult a cobbler or shoe repair specialist. They have the expertise and tools necessary to work their magic and ensure your sandals’ longevity.
Preparing the Surface for Adhesion
Preparing the surface for adhesion is a vital step in achieving a strong and long-lasting bond when using Gorilla glue on your sandals. Taking the time to properly clean, roughen, and dry the surface will ensure that the adhesive can do its job effectively.
First and foremost, cleanliness is key. Just as you wouldn’t apply makeup to a dirty face, you shouldn’t apply glue to a dirty surface. So, grab a mild detergent or soap and water solution and give those sandals a good scrub. Remove any dirt, dust, or debris that could hinder the bonding process. Trust me, you want that adhesive to have a clean canvas to work its magic on.
Once your sandals are squeaky clean, it’s time to roughen things up a bit. No, I’m not suggesting starting a sandal fight club (although that does sound intriguing). I’m talking about using sandpaper or an abrasive material to create a slightly rough texture on the surface you want to glue. This roughened surface provides more grip for the adhesive and enhances the bond strength. It’s like giving your glue superhero a superpower boost.
But wait, there’s more. If you’re dealing with smooth surfaces, creating small indentations or scratches can be a game-changer. These little imperfections provide more surface area for the adhesive to grab onto, making for an even stronger hold. So grab a sharp object like a knife or needle and make those tiny punctures or scratches.
Now that your sandals are clean and roughened up, it’s time to let them dry. Moisture can be the arch-nemesis of adhesion, so make sure those sandals are bone dry before applying the glue. Give them some time to air out and do their thing.
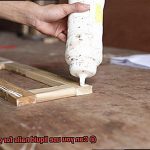
Alright, it’s showtime. Follow the instructions provided by Gorilla Glue on how to apply their particular product. Apply an even layer of glue onto one surface of the sandals that you want to bond together. Make sure to align everything properly and then press those surfaces together with some good old-fashioned elbow grease.
Apply steady pressure for the recommended curing time specified by Gorilla Glue to achieve optimal adhesion. And whatever you do, resist the urge to wiggle or move the glued surfaces during this time. We don’t want any weak spots in our bond.
After the recommended curing time has passed, give your glued sandals a thorough inspection. If you spot any areas that seem weak or gaps in the adhesive, don’t fret. Just apply some additional glue and repeat the pressing process. It’s important to address these weak spots right away.
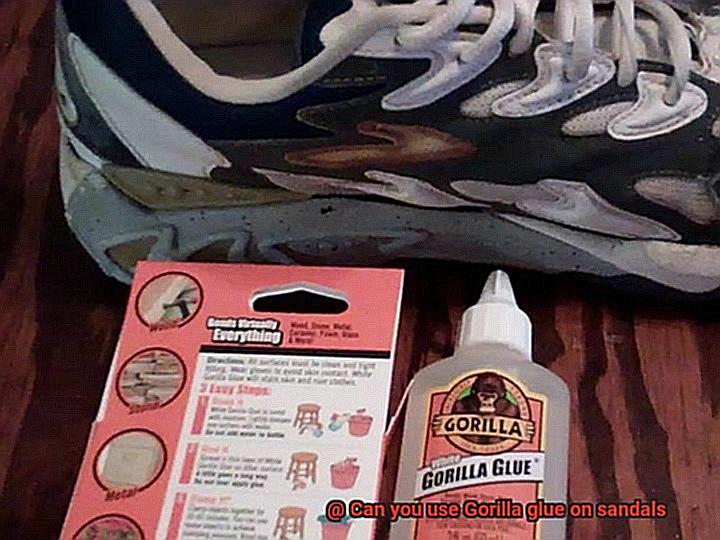
Applying Gorilla Glue to Sandals
I’m here to share some expert tips on how to revitalize your sandals by applying Gorilla Glue. Get ready to give your footwear a new lease on life.
First and foremost, let’s talk about the material of your sandals. Gorilla Glue works best on porous surfaces like wood, fabric, and certain types of rubber. If your sandals fall into this category, you’re in luck.
Now, before you dive into the gluing process, it’s crucial to properly prepare your sandals. Grab some mild soap and water and give them a thorough cleaning. We don’t want any dirt or oil interfering with that strong bond. Ensure they are completely dry before moving forward.
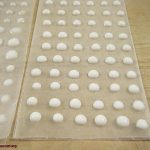
Now, let’s talk about the glue itself. Remember, a little goes a long way with Gorilla Glue. This powerful adhesive expands as it dries, so exercise caution and avoid going overboard. Apply a thin layer of glue on both surfaces that need to be bonded and press them firmly together. You want that bond to be rock solid.
Once everything is glued together, it’s time to hold it all in place while the magic happens. Use clamps or heavy objects to keep the surfaces securely pressed together while the glue cures. Be sure to follow the instructions on the bottle for drying time – usually around 24 hours is recommended.
Now here’s an important tip: Gorilla Glue may not be suitable for all types of sandals. If your sandals have delicate embellishments or intricate straps, consider using a flexible adhesive like E6000 instead. It dries clear and won’t harm the appearance of your sandals.
Lastly, keep in mind that although Gorilla Glue will resurrect your sandals, the repaired area may not be as flexible as before. Depending on the damage, it might be slightly stiffer or less comfortable to wear. But hey, at least your sandals won’t be falling apart anymore.
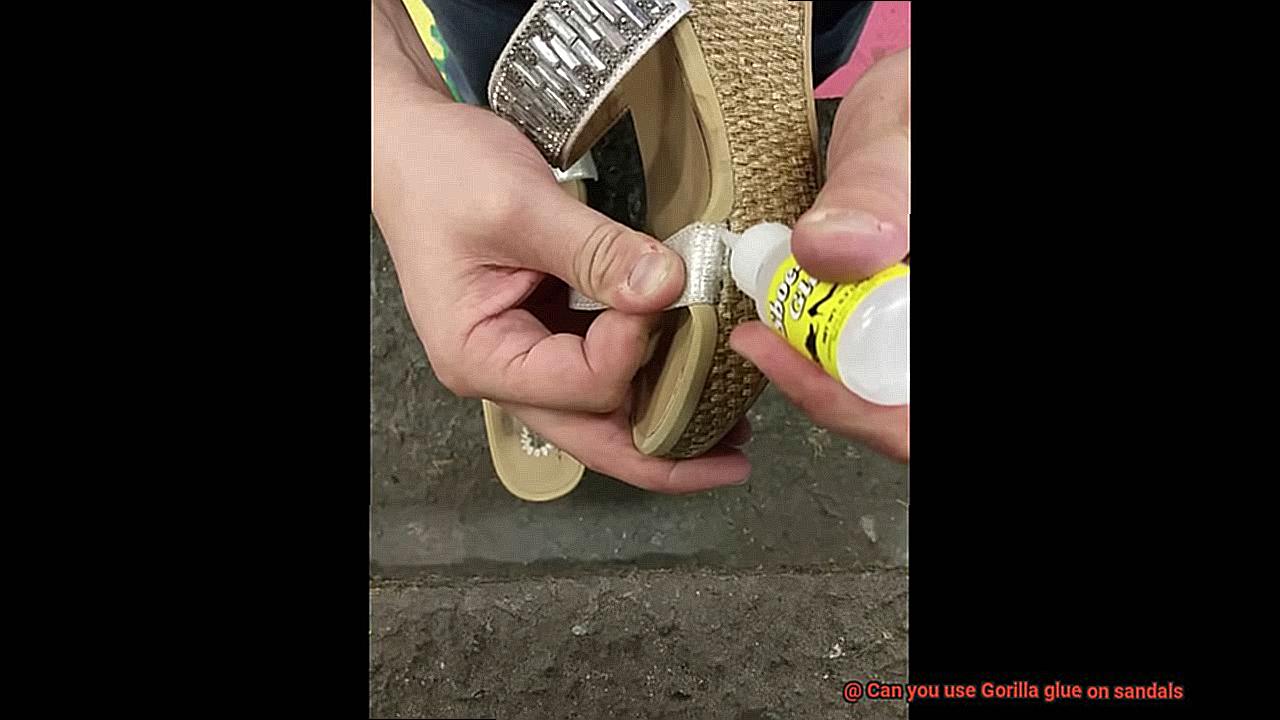
Securely Bonding the Two Surfaces Together
Securely bonding two surfaces together requires the right adhesive and proper application techniques. Gorilla glue is a powerful and versatile adhesive that is perfect for this task. Here are the steps to ensure a rock-solid bond:
- Cleanliness: Before applying Gorilla glue, ensure that the surfaces are clean and free from dirt, debris, or oils. Use a mild detergent or rubbing alcohol to wipe away any impurities. This step is crucial for the glue to adhere properly and create a secure bond.
- Thin Layer Application: Apply a thin layer of Gorilla glue to one of the surfaces. Remember, a little goes a long way. Use a brush or applicator to spread the glue evenly, covering the entire surface. Avoid using too much glue as it can lead to messy and uneven bonding.
- Firm Pressure: Press the two surfaces firmly together, ensuring they are aligned correctly. Hold them in place for a few minutes to allow the glue to set. Applying pressure during this time will help create a stronger bond. If necessary, use clamps or heavy objects to keep the surfaces pressed together.
- Curing Time: Let the glued surfaces sit undisturbed for at least 24 hours. This gives the glue enough time to fully cure and establish a secure bond. Avoid wearing or using the bonded item during this period to prevent any stress on the bond.
- Reinforcement (if needed): For an extra-strong bond, consider reinforcing it with an additional layer of Gorilla glue along the edges or areas that experience more stress. Follow the manufacturer’s instructions for application and curing times when applying multiple layers.
- Proper Usage: Keep in mind that Gorilla glue expands as it cures, so use it sparingly and avoid applying excessive pressure during the bonding process. Additionally, Gorilla glue is waterproof and resistant to extreme temperatures, making it ideal for various weather conditions.
Drying and Checking the Bond
If you’re embarking on a mission to rescue your cherished sandals with the mighty Gorilla glue, you’ve landed in the perfect spot. But hold your horses. Before you dive headfirst into this bonding adventure, let’s unveil the secrets behind the critical steps of drying and checking the bond. Trust me, you wouldn’t want your beloved sandals to crumble on a sunny beach day.
Drying Time: The Power of Patience
Once you’ve coated your sandals with Gorilla glue, it’s time to exercise the art of patience. Different Gorilla glue types and materials demand varying drying times. To play it safe, let the adhesive work its magic undisturbed for a minimum of 24 hours. Picture it as an opportunity for your bond to solidify and fortify itself. Remember, like in friendships, patience is the key that unlocks greatness.
Keeping Stability: A Steady Grip
While the glue does its drying dance, it’s paramount to keep your sandals firmly in place. We can’t afford any shifting or movement that might jeopardize the bond, can we? Employ clamps or weights to provide unwavering support during this critical phase. Think of it as having a steadfast friend who keeps you anchored when life gets a bit wobbly.
Checking the Bond: Give it a Twist.
The moment of truth has arrived. Once the drying time elapses, put your bond to the ultimate test. Gently flex or twist the glued area of your sandals to gauge its strength. If any sign of weakness or separation appears, don’t panic just yet. It might simply mean that your bond needs an extra dose of TLC. Reapply Gorilla glue and give it another shot.
Material Matters: Not All Sandals Are Created Equal
Before you fully commit to Gorilla glue, take a moment to evaluate your sandals’ composition. If you’re dealing with flexible or porous materials like foam or fabric, Gorilla glue might not be the ideal choice. Consult the manufacturer’s recommendations or explore specialized shoe repair adhesives tailored for your specific sandal material. It’s like finding that perfect friend who understands your unique needs.
External Factors: Safeguarding Your Bond
Even with proper drying and checking, external forces can influence the longevity of your bond. Moisture, temperature fluctuations, and usage can all play a role. To ensure your bond stands strong against these challenges, adhere to any additional care instructions provided by the adhesive manufacturer. Treat it as you would a cherished friendship – nurture it, protect it, and watch it thrive.
Pros and Cons of Using Gorilla Glue on Sandals
If you’re looking to revive your favorite sandals and give them a new lease on life, Gorilla Glue might be the solution you’re looking for. This powerful adhesive is known for its strong bond and durability. However, before you rush to apply it to your sandals, it’s important to consider the pros and cons.
One of the biggest advantages of using Gorilla Glue on sandals is its exceptional bonding strength. It can create a long-lasting bond that can withstand regular wear and tear. Whether you have loose straps or a detached sole, Gorilla Glue can come to the rescue.
Another pro is the versatility of Gorilla Glue. It works well on various materials commonly used in sandals, such as leather, rubber, fabric, and synthetic materials. This means you can use it on different parts of your sandals, including the straps, soles, and even decorative elements.
Moreover, Gorilla Glue is water-resistant once cured. This makes it suitable for wearing your repaired sandals to the beach or during rainy weather without worrying about them falling apart.
When it comes to application, Gorilla Glue is relatively easy to use. It comes in a convenient squeeze bottle or tube, making it simple to apply to the desired areas of your sandals. You don’t need to be an expert or have professional experience to use it effectively.
However, there are some downsides to consider. One potential drawback is the aesthetics of the repair. While Gorilla Glue provides a strong bond, it may not always result in a visually appealing repair. The glue can be thick and may leave visible residue or marks on the sandals, affecting their overall appearance.
Additionally, once Gorilla Glue cures, it becomes rigid and less flexible compared to the original materials of the sandals. This lack of flexibility can potentially impact the comfort and fit of the repaired area, causing discomfort or restricting natural foot movements.
Another con is that Gorilla Glue’s strong adhesive properties may not be suitable for delicate or highly porous materials used in some sandals. It could potentially damage or discolor these materials when applied, leading to irreversible harm.
Lastly, Gorilla Glue is difficult to reverse once fully cured. If you make a mistake during the application or decide to change the repair method later on, it can be challenging to undo the glued parts without causing further damage to your sandals.
Alternatives to Gorilla Glue for Sandals
Get ready to discover some options that could be perfect for your sandal repair adventures.
- E6000 Craft Adhesive: This adhesive is like a superhero in your toolbox. Specifically designed for crafts, E6000 provides a strong bond on various materials, including leather, rubber, and fabric. With its flexibility and waterproof properties, it’s an excellent choice for sandal repairs. Say hello to a durable fix that can withstand all of your summer adventures.
- Shoe Goo: Step aside, Gorilla Glue. Shoe Goo is here to save the day. Specially formulated for repairing shoes, it’s fantastic for fixing worn-out soles, loose straps, and detached parts of your beloved sandals. The best part? It dries clear, seamlessly blending with the shoe material. Say goodbye to those unsightly repairs and hello to sandals that look good as new.
- Double-sided adhesive tape: Need a quick fix or temporary solution? Look no further than double-sided adhesive tape. It’s like magic on a roll. Easy to apply and remove, this tape is perfect for those situations where you need a quick fix until you can get a proper repair done. So go ahead and strut your stuff with confidence while your sandals stay securely in place.
- Sewing or stitching: Sometimes, sewing or stitching may be the way to go for repairing sandals. It may take a bit more time and effort than using an adhesive, but the results are worth it. This method can be particularly useful for reattaching loose straps or securing loose ends of fabric sandals. With a reliable and long-lasting fix, you’ll be stepping out in style once again.
Remember, the choice of adhesive or repair method may depend on the specific material of your sandals. Always read the instructions provided by the manufacturer of the adhesive or consult with a professional before attempting any repairs. And if the damage to your sandals is extensive or beyond repair, it might be time to consider investing in a new pair. Sometimes, a fresh start is the best option.
6irO_IN27rU” >
Conclusion
Yes, you can definitely use Gorilla glue on sandals.
It is a strong adhesive that can bond different materials together, including rubber and leather. Whether your sandals have a broken strap or a detached sole, Gorilla glue can come to the rescue.
Just make sure to clean the surfaces thoroughly before applying the glue and allow it to cure for at least 24 hours for optimal results.