Get ready for a DIY revolution that could change the game forever.
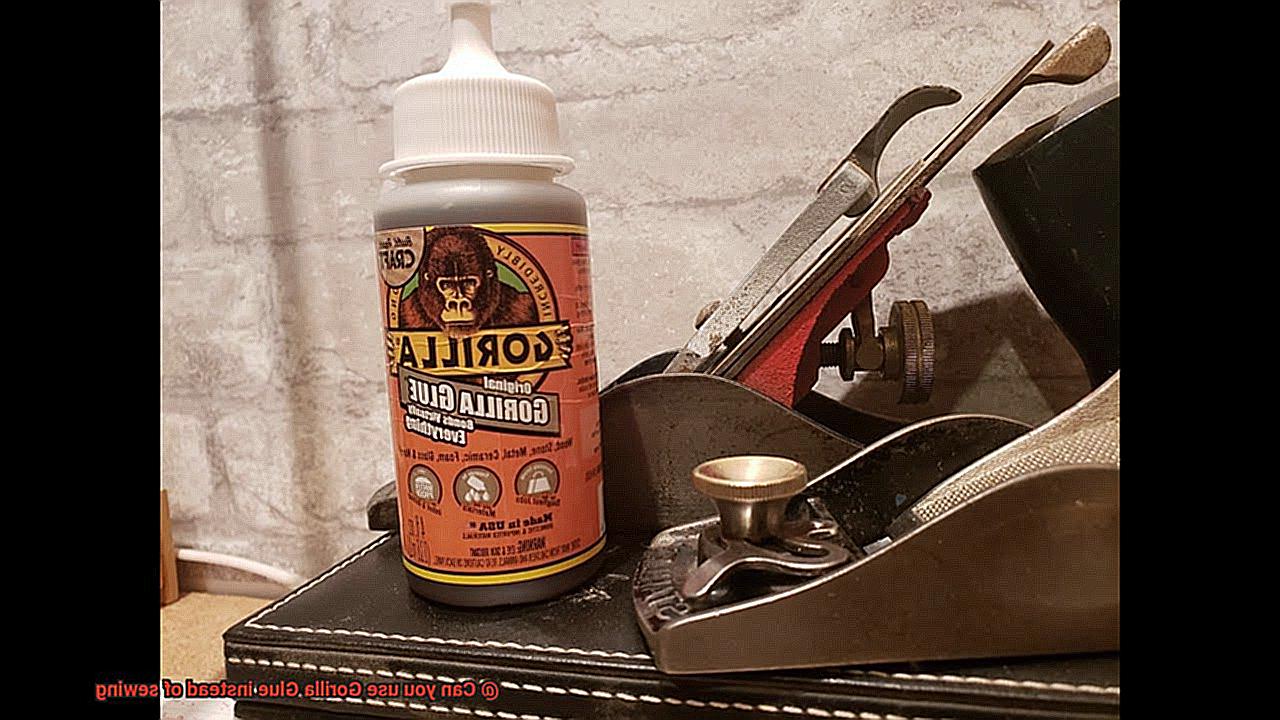
Picture this: a product so powerful and versatile that it might just replace the tedious task of sewing. Enter Gorilla Glue, the superhero adhesive that has become a household staple.
Known for its incredible strength, this glue can fix broken ceramics and secure heavy-duty materials with ease. But here’s the burning question: can it really step up to the plate as a substitute for sewing?
In this blog post, we’re going to dive deep into the potential of using Gorilla Glue instead of sewing. We’ll explore the pros and cons, unraveling all the possibilities along the way.
So if you’re ready to take your DIY game to a whole new level and maybe even bid farewell to your trusty sewing kit, let’s get started.
Advantages of Using Gorilla Glue Instead of Sewing
Contents
- 1 Advantages of Using Gorilla Glue Instead of Sewing
- 2 Limitations of Using Gorilla Glue Instead of Sewing
- 3 Preparing the Materials for Bonding with Gorilla Glue
- 4 Applying Gorilla Glue to Create a Strong Bond
- 5 Considerations When Using Gorilla Glue Instead of Sewing
- 6 Professional Results With Traditional Stitching Methods vs. Gorilla Glue
- 7 The Pros and Cons of Using Gorilla Glue Instead of Sewing
- 8 Tips for Successfully Using Gorilla Glue in Place of Sewing
Crafting and repairs often involve sewing as the primary method for joining fabrics and materials. However, there is a revolutionary alternative that offers a host of advantages: Gorilla Glue. This versatile adhesive provides a range of benefits for those seeking quick, strong, and waterproof bonding solutions. In this article, we will explore the numerous advantages of using Gorilla Glue instead of sewing.
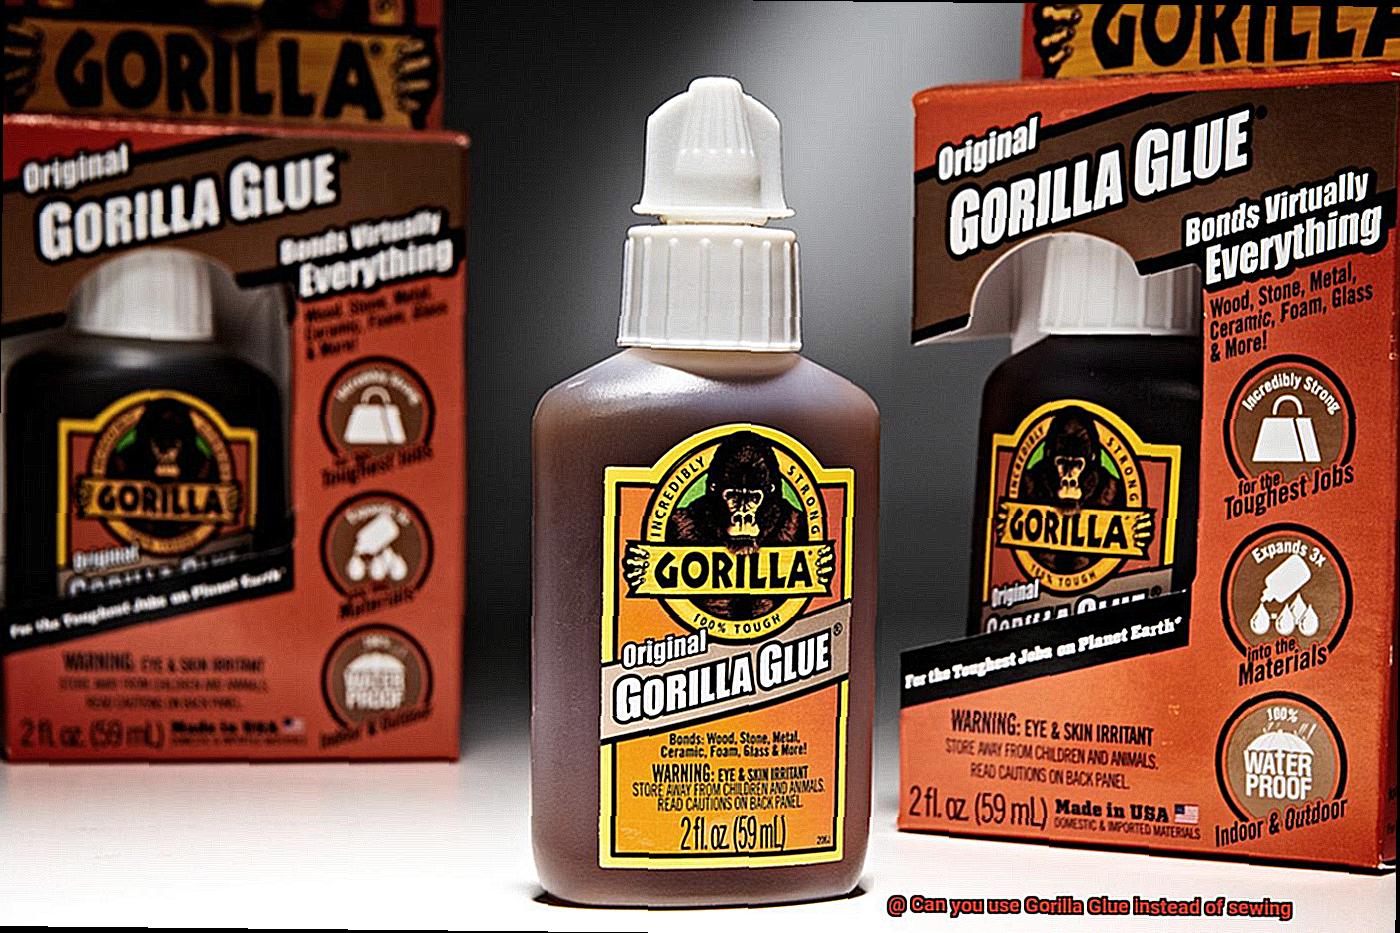
Versatility:
Gorilla Glue is a true multitasker, capable of bonding a wide variety of materials such as fabric, leather, plastic, metal, and wood. With this all-in-one adhesive, you can tackle any crafting or repair project without the need for different adhesives or sewing supplies. Save time and money while enjoying the convenience of a single product.
Strong Bond:
The standout feature of Gorilla Glue is its exceptional bonding strength. When applied correctly, it forms a durable and resilient bond that can withstand heavy use and stress. This makes it perfect for repairing items like bags, shoes, or clothing seams that experience frequent strain or tension.
Quick and Easy Application:
Using Gorilla Glue is a breeze compared to sewing. Simply apply a small amount of glue to the desired area, press the materials together firmly, and let it dry. No needles, thread, or complicated stitching techniques required. This makes it a convenient option for those who are not proficient in sewing or need a fast solution.
Waterproof and Weather-Resistant:
Gorilla Glue is renowned for its water-resistant properties. Once dried, it forms a waterproof seal that can withstand exposure to moisture. This makes it perfect for repairing raincoats, umbrellas, or even waterproofing seams on tents or camping gear.
Invisible Repairs:
Unlike traditional sewing methods that leave visible stitches or thread lines, Gorilla Glue creates seamless and invisible repairs. This is particularly beneficial when working with delicate fabrics or items with intricate patterns, where visible stitches would detract from their appearance.
Time-Saving Solution:
For minor repairs or quick fixes, Gorilla Glue can be a time-saving solution. Sewing can be a time-consuming task, requiring precision and patience. In contrast, Gorilla Glue allows for fast and efficient repairs, getting you back to using your item sooner.
Cost-Effective Option:
Sewing supplies can add up in terms of cost, especially if you don’t already have the necessary tools and materials. In comparison, Gorilla Glue is a cost-effective option as it requires minimal supplies. A small bottle of glue can go a long way, making it a budget-friendly choice for repairs or crafting projects.
Limitations of Using Gorilla Glue Instead of Sewing
Today, we’re going to dive into an exciting topic: the limitations of using Gorilla Glue instead of sewing when joining fabrics together. While Gorilla Glue may seem like a tempting alternative to traditional sewing, it’s essential to understand its drawbacks before you swap your trusty needle and thread for this powerful adhesive.
Flexibility Fiasco:
When it comes to garments or items that need to stretch or bend, flexibility is key. Unfortunately, Gorilla Glue falls flat in this department. Unlike sewing, which allows fabrics to dance with freedom, Gorilla Glue dries hard and rigid, shackling the natural flex and flow of fabrics.
Bonding Blunders:
While Gorilla Glue excels at bonding materials like wood, metal, and plastic, it may struggle to form a strong bond with fabrics or delicate materials. Fabrics require a steadfast and unwavering union that can withstand the trials of everyday wear and tear, making sewing the go-to choice.
Ventilation Vexations:
Safety first. When using Gorilla Glue, proper ventilation is crucial due to the potent fumes it emits. This limitation confines its use indoors or in poorly ventilated areas. Sewing, on the other hand, poses no health risks and can be done safely anywhere.
Durability Dilemma:
Sure, Gorilla Glue provides an impressive initial adhesion, but can it endure repeated use or washing? Fabrics sewn together have proven to withstand the test of time better than those solely joined with glue. If you want your creations to stand strong against the ravages of time, stitching is the way to go.
Aesthetic Awe:
Let’s face it – aesthetics matter. With sewing, you have precise stitching and neat seams that contribute to a professional and polished finish. Gluing fabrics together often results in a haphazard and less refined appearance. If you value the visual allure of your creations, sewing is the clear winner.
Removing Regrets:
Oops. Made a mistake or need to make alterations? Removing Gorilla Glue from fabrics is no easy feat. Once it sets, it forms an unyielding bond that can be as stubborn as an old grudge. Sewing allows for easy stitch removal and adjustments, giving you more flexibility in your projects.
Purposeful Possibilities:
Consider the purpose of your creation. While Gorilla Glue may be suitable for crafts or temporary fixes, it’s not the ideal choice for items that require long-term durability and reliability. For high-quality garments or essential items, sewing is undoubtedly the way to go.
Preparing the Materials for Bonding with Gorilla Glue
Achieving a strong and durable bond with Gorilla Glue requires proper preparation of the materials. In this step-by-step guide, we will walk you through the essential steps to ensure your materials are clean, dry, and ready for bonding.
Step 1: Clean the surfaces
Before applying Gorilla Glue, it’s crucial to clean the surfaces that will be bonded together. Remove any dirt, dust, or grease using a mild detergent or soap and water. Rinse thoroughly to ensure a clean surface free from contaminants that can hinder the bonding process.
Step 2: Ensure surfaces are dry
Moisture is the enemy of a strong bond. After cleaning, make sure the surfaces are completely dry. Use a clean cloth or paper towel to dry them and allow them to air-dry for a few minutes if needed. This step ensures that the glue adheres properly without any interference from moisture.
Step 3: Roughen smooth surfaces
Smooth or non-porous materials like plastic or metal can be challenging for Gorilla Glue to grip. To overcome this, gently scuff the surfaces using sandpaper or a rough cloth. This creates a textured surface that enhances the bond strength by providing more surface area for the glue to adhere to.
Step 4: Consider priming
For certain materials with low surface energy, such as plastics or metals, priming may be necessary. Applying a suitable primer improves adhesion by promoting better wetting and spreading of the glue on these materials. Follow the manufacturer’s instructions for the recommended primer and application method.
Step 5: Clamp or secure during curing
To ensure an even pressure distribution and prevent gaps from forming during curing, consider using clamps or weights. Gorilla Glue expands as it cures, so following the recommended clamp time and pressure provided by Gorilla Glue is crucial. This step guarantees a tight bond by keeping the materials firmly in place during the curing process.
Step 6: Read and follow instructions
Lastly, always read and follow the instructions provided by Gorilla Glue. These instructions provide specific recommendations regarding temperature requirements, curing times, and any additional steps or precautions. Following the instructions ensures that you achieve the best possible bond and maximize the effectiveness of Gorilla Glue as an alternative to sewing.
Applying Gorilla Glue to Create a Strong Bond
In need of a bond that can withstand the test of time? Look no further than Gorilla Glue. This versatile adhesive is here to save the day, providing a bond so strong that your projects will stick together like never before. In this article, we will guide you through the steps to correctly apply Gorilla Glue, ensuring a formidable bond that won’t let you down.
Step 1: Prepare Your Surfaces
Before diving into the gluing process, take a moment to ensure your surfaces are immaculate. Bid adieu to dirt, dust, and grease by giving your materials a thorough cleaning. A clean surface is paramount for a successful bond.
Step 2: Roughen Up Porous Surfaces
Gorilla Glue thrives on porous surfaces like fabric or leather. Enhance its effectiveness by gently roughening these materials using sandpaper or a file. This simple step provides a better grip for the glue, amplifying the overall strength of your bond.
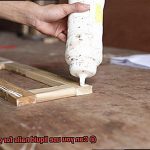
Step 3: Applying Gorilla Glue
Remember, less is more when it comes to Gorilla Glue. Apply a small amount onto one of the surfaces, avoiding overapplication as the glue expands while drying. A thin layer will suffice.
Step 4: Firmly Press Surfaces Together
To ensure an unbreakable fusion between your materials, firmly press the two surfaces together with conviction. Employ clamps or heavy objects to hold them in place while the glue cures. This step is critical for achieving a bond that can withstand anything.
Step 5: Allow Sufficient Drying Time
Patience is key. The drying time for Gorilla Glue varies with factors like temperature and humidity. To be safe, leave the bonded materials undisturbed for at least 24 hours. This allows the glue to fully cure and reach its maximum strength. The wait will be well worth it.
Step 6: Test Your Bond
Once the glue has dried, put your bond to the test. Give it a gentle tug or pull to check its strength. If it holds firm and feels secure, congratulations. You have successfully harnessed the power of Gorilla Glue to create an unyielding bond.
Considerations When Using Gorilla Glue Instead of Sewing
Are you tired of fumbling with a needle and thread? Do you want a quick and easy alternative to sewing? Look no further than Gorilla Glue. This incredible adhesive is known for its strength and durability, making it a great option for bonding fabrics together. However, before you dive headfirst into the world of glue, there are a few considerations you should keep in mind.
Material Compatibility:
- Gorilla Glue works wonders on porous surfaces like wood and ceramics, but it may struggle to adhere to smooth or non-porous materials like nylon or polyester.
- Always test the glue on a small, inconspicuous area of the fabric before committing to the entire project.
Permanent Bond:
- Unlike sewing, which allows for alterations and adjustments, using Gorilla Glue creates a permanent bond between fabric pieces.
- Carefully plan and position the fabric before applying the glue. Once it dries, there’s no going back.
Application Technique:
- Applying Gorilla Glue requires finesse.
- Start by applying a thin layer of glue to one fabric edge and press the other firmly against it.
- Avoid using excessive amounts of glue, as it can seep through the fabric and leave visible residue.
- Clean the fabric surfaces before gluing to ensure a strong bond.
Drying Time:
- Patience is key when using Gorilla Glue.
- Follow the manufacturer’s instructions and give it ample time to dry before handling or wearing your glued creation.
Flexibility and Durability:
- Gorilla Glue may not provide the same level of flexibility as sewing.
- Reserve it for projects that don’t require much stretching or movement.
Longevity and Washing:
- Consider the longevity and washability of your glued fabric.
- Gorilla Glue is water-resistant once fully cured, but it may not withstand frequent washing or exposure to harsh detergents.
- The adhesive bond may weaken over time due to factors like heat, humidity, or regular wear and tear.

Professional Results With Traditional Stitching Methods vs. Gorilla Glue
While both traditional stitching methods and Gorilla Glue can achieve excellent outcomes, they have distinct advantages and disadvantages that set them apart.
Traditional stitching methods, such as sewing by hand or using a machine, have been used for centuries and are known for their durability and professional finish. With sewing, you have precise control over each stitch, ensuring secure and even seams every time. This technique allows for more flexibility in terms of fabric movement and stretching, which means your garment or item will maintain its shape and functionality over time. The appearance of the finished product is also top-notch, with neat and clean seams that are often invisible from the outside.
On the other hand, Gorilla Glue is a versatile adhesive superhero that offers strong bonding capabilities and ease of use. It is a tempting option for those who may lack sewing skills or don’t have access to a sewing machine. Simply apply the glue and let it dry – no intricate stitching required. However, Gorilla Glue may not always provide the same level of professional results as traditional stitching methods. Delicate or stretchy fabrics may not be suitable for bonding with Gorilla Glue, as its strong adhesive properties can cause stiffness or damage.
Another aspect to consider is the longevity of the bond created by Gorilla Glue. While sewn seams are known for their durability and ability to withstand repeated use without compromising fabric integrity, glue bonds can weaken over time, especially when exposed to moisture or extreme temperatures. Additionally, glue bonds may leave visible residue or uneven edges, which can detract from the overall aesthetic.
In certain situations, combining traditional stitching methods with Gorilla Glue can be the best approach. For example, you can sew the majority of a project and then reinforce specific areas with Gorilla Glue for added strength. This combination allows you to benefit from the durability and professional finish of traditional stitching while taking advantage of the convenience and bonding capabilities of Gorilla Glue.
The Pros and Cons of Using Gorilla Glue Instead of Sewing
It is essential to evaluate the advantages and disadvantages before deciding whether this adhesive is a suitable replacement for traditional stitching methods. This article will delve into the pros and cons of using Gorilla Glue, enabling you to make an informed decision for your projects.
Advantages of Using Gorilla Glue:
- Versatility: Gorilla Glue can bond an array of materials, including fabric, making it ideal for challenging fabrics like leather, vinyl, or heavy-duty textiles that are troublesome or impossible to sew.
- Durability: Once cured, Gorilla Glue establishes a permanent bond that withstands significant stress and strain. It ensures a robust and secure connection that endures over time.
- Ease of Use: Unlike sewing, which demands skill and technique, employing Gorilla Glue is as easy as applying the adhesive and allowing it to dry. This convenience makes it an excellent choice for beginners or those lacking sewing experience or equipment.
- Time-saving: Gluing is a swift process when compared to sewing, making it advantageous for projects with tight deadlines or immediate repairs.
- Cost-effective: Gorilla Glue is reasonably priced and readily available in hardware stores, eliminating the need for specialized sewing equipment.
Disadvantages of Using Gorilla Glue:
- Potential Fabric Damage: The expanding nature of Gorilla Glue as it dries can leave behind unsightly residue or discoloration on delicate fabrics. Testing the glue on a small area before full application is crucial to avoid damage.
- Lack of Adjustments: Unlike sewing, where stitches can be altered or modified if needed, Gorilla Glue does not allow for adjustments once it sets. This limitation poses challenges for intricate designs or precise measurements.
- Not Suitable for Frequent Washing: Gorilla Glue’s bond may weaken over time with prolonged exposure to water, making it less reliable for garments requiring frequent washing or exposure to moisture.
- Health Hazards: The adhesive contains chemicals that may cause skin irritation or allergic reactions. Using Gorilla Glue in a well-ventilated area and taking necessary precautions is vital.
Tips for Successfully Using Gorilla Glue in Place of Sewing
This strong adhesive can be used in place of sewing in certain situations. In this article, we will explore some tips to help you successfully use Gorilla Glue for your projects.
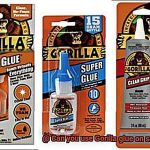
Choose the Right Type of Gorilla Glue:
To ensure the best results, it’s important to select the right type of Gorilla Glue for your project. There are different varieties available, such as the original formula, clear formula, and fast-curing formula. Consider the materials you are working with and the specific requirements of your project to determine which type of Gorilla Glue will work best.
The original formula is suitable for most applications, while the clear formula is ideal for transparent or light-colored materials. The fast-curing formula is perfect for projects that require quick adhesion.
Prepare the Surfaces:
Before applying Gorilla Glue, it’s essential to prepare the surfaces you plan to bond. Cleanliness is key to achieving a strong and long-lasting bond. Remove any dirt, dust, or grease from the surfaces by using a damp cloth or alcohol wipe. This step ensures that the glue adheres properly and forms a secure bond.
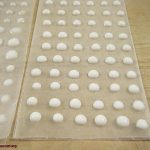
Apply Thin Layers:
Remember, a little goes a long way when using Gorilla Glue. Apply a thin layer of glue to one of the surfaces using a small brush or toothpick. Avoid using too much glue as it can expand and create a messy result. Spread the glue evenly over the surface to ensure consistent bonding. If you’re working with porous materials, apply a second coat after the first layer has dried.
Firmly Press and Hold:
Once you’ve applied the glue, carefully press the two surfaces together. Apply firm and even pressure for several minutes to ensure a strong bond. You can use clamps or heavy objects to hold the surfaces in place while the glue dries. This step is crucial for achieving optimal adhesion and preventing any gaps or weak spots in the bond.
Give It Time to Dry:
Patience is key when using Gorilla Glue. Allow the glued item to dry completely before handling or using it. This typically takes about 24 hours, but check the instructions on the Gorilla Glue packaging for specific drying times. During this time, avoid moving or stressing the glued area to maintain the bond’s strength. Once the glue has dried, it forms a durable and reliable bond that can withstand regular use.
mORL1jJSdlk” >