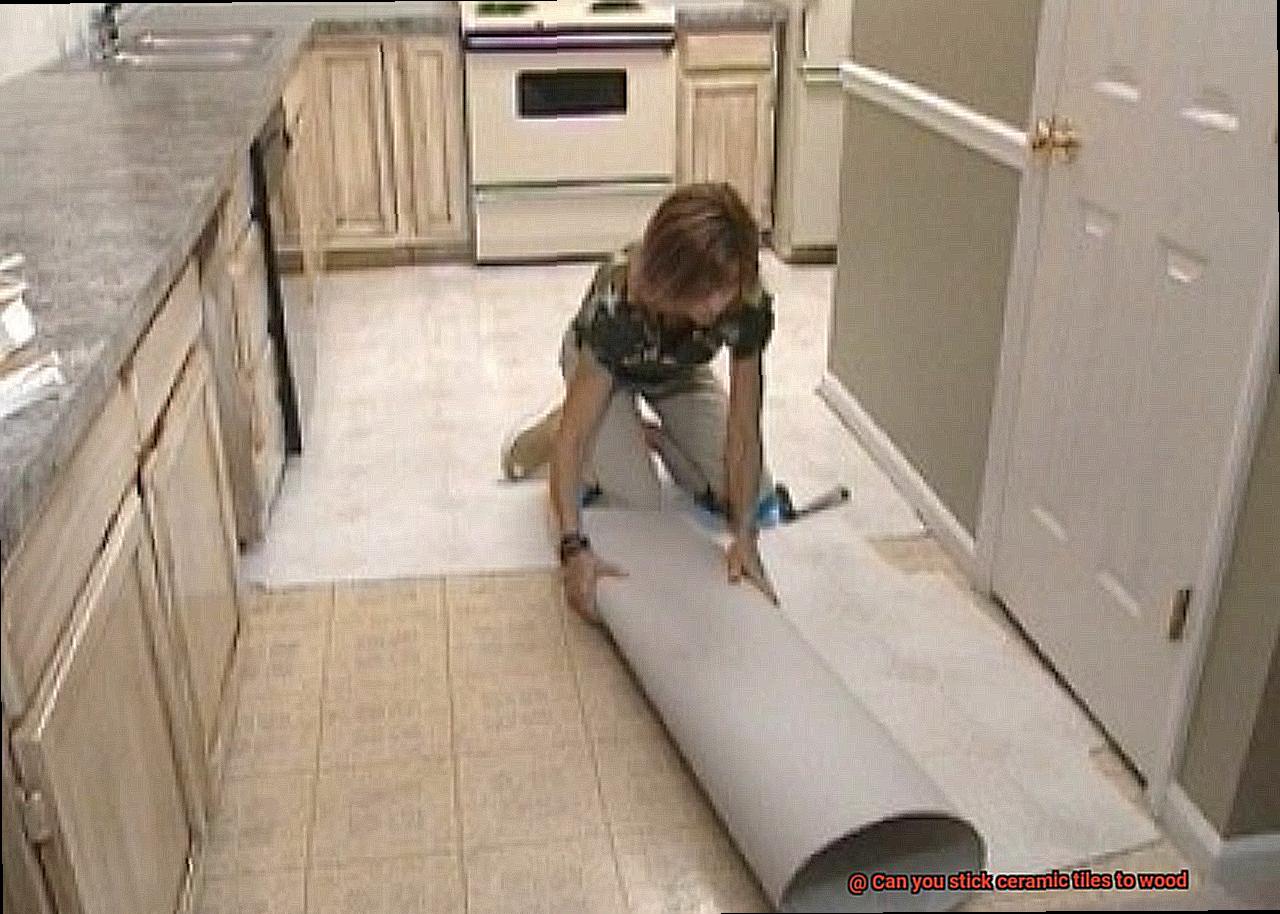
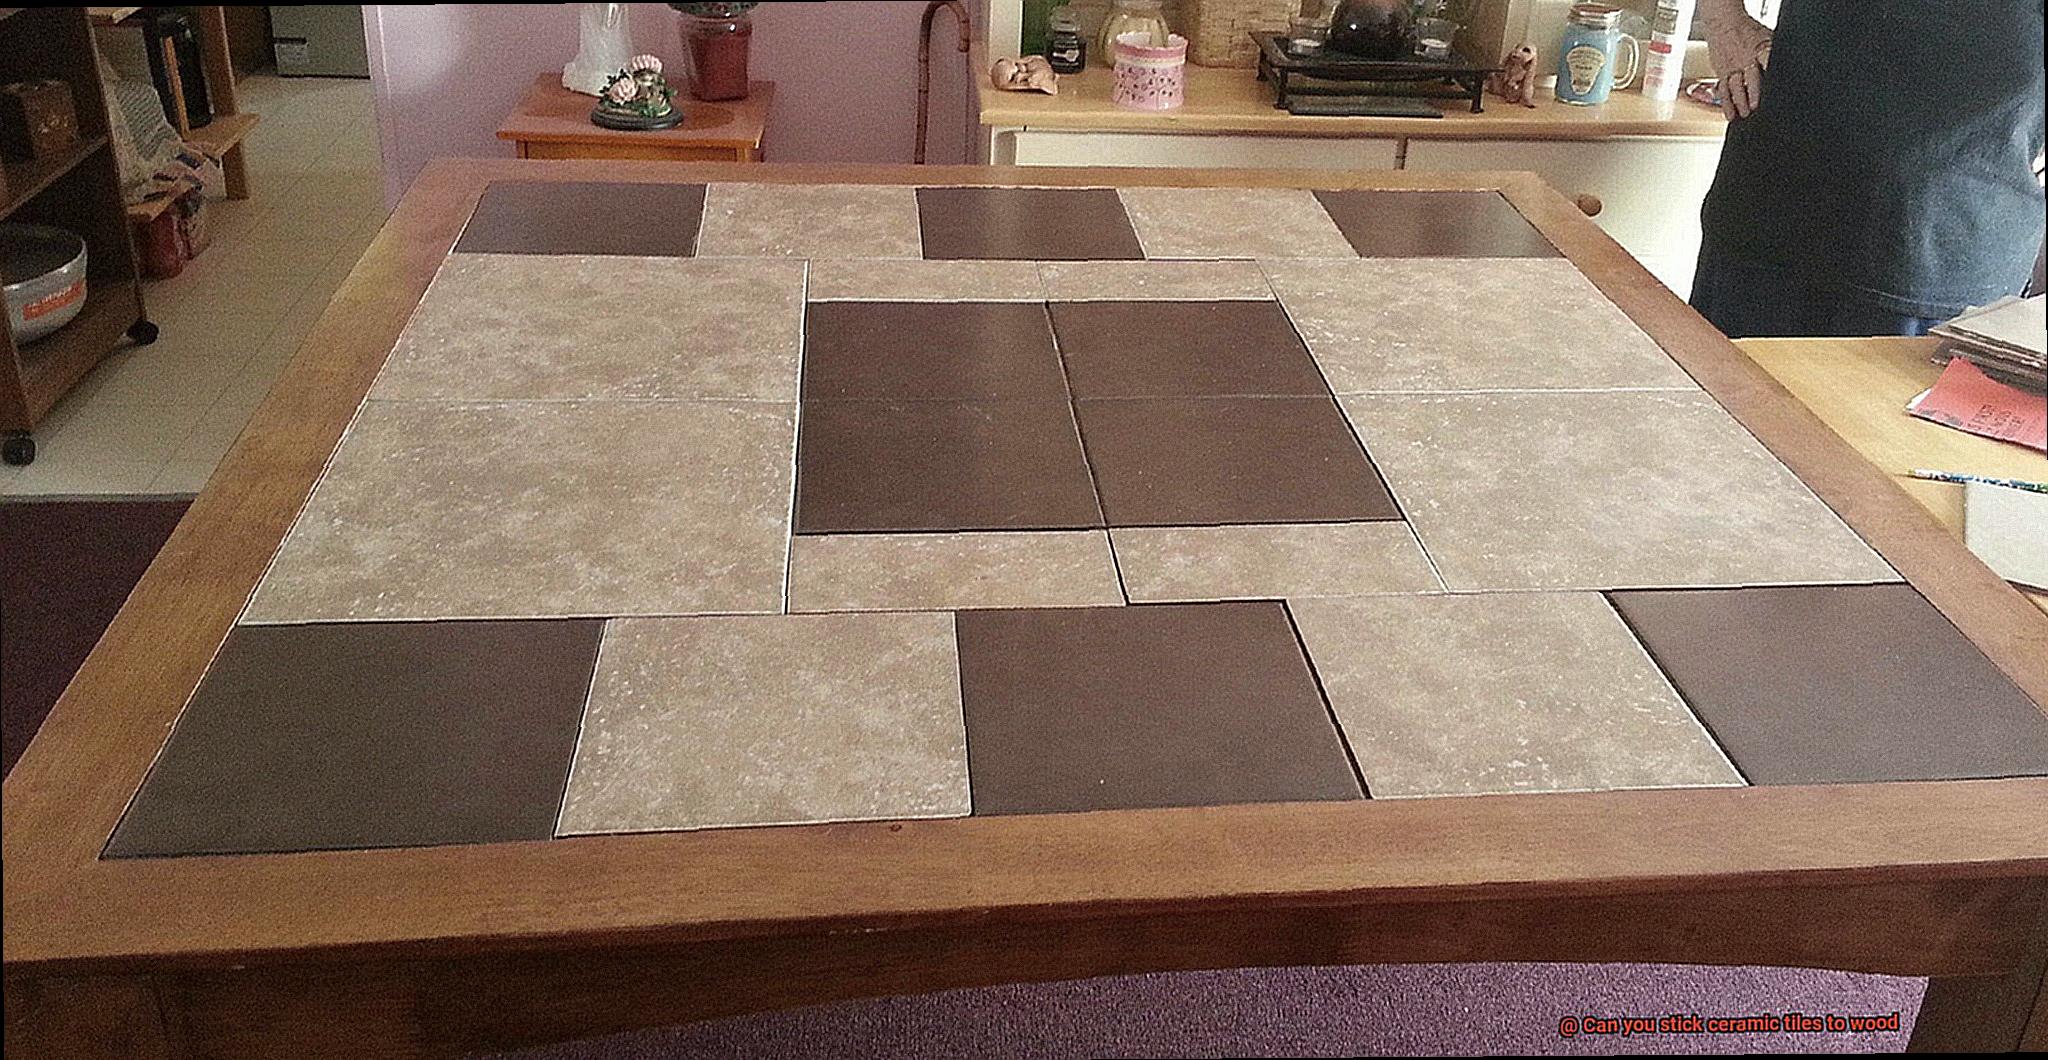
Ready to take your home decor game to the next level? Imagine transforming your wooden surfaces into stunning tiled masterpieces. While it may sound unconventional, sticking ceramic tiles to wood is not only possible but can also add a unique aesthetic appeal to your space. Whether you want to revamp your kitchen floor or give a wooden tabletop a decorative touch, this unexpected method will leave you amazed at the possibilities.
But before we dive into the process, let’s gather our materials. You’ll need ceramic tiles that speak to your style, wood-specific tile adhesive for that perfect bond, a trusty trowel or putty knife, a tile cutter or scorer for those precise cuts, a measuring tape to ensure accuracy, and don’t forget a sponge or cloth for any cleanup duty. Oh, and make sure your wood surface is clean, dry, and free from any loose particles – we want that foundation rock-solid.
Now, sticking ceramic tiles to wood might raise an eyebrow or two. So let’s address some potential challenges. Prep work is key. Get that wood surface prepared and primed like it’s going on the red carpet. This step ensures better adhesion and protects against moisture damage – no soggy surprises here. And remember, wood might not be as structurally supportive as concrete or other traditional substrates. So opt for smaller, lighter tiles that won’t stress out our beloved wooden friend.
Ready for success? Here are some tips for sticking ceramic tiles to wood like a pro. Start by applying a thin and even coat of wood-specific tile adhesive directly onto your prepped surface using either a trowel or putty knife – smooth operator style. Carefully attach those beautiful ceramic tiles while maintaining proper spacing between them. And don’t worry about little mishaps; just keep that sponge or cloth handy for a clean finish. Once your tiles are in place, give them the drying time recommended by the adhesive manufacturer before adding grout to those satisfying gaps between the tiles.
So, why stick ceramic tiles to wood? Because it’s all about injecting your unique style into your home decor. With the right materials, preparation, and a little creative flair, you can achieve jaw-dropping results. So don’t be afraid to explore this surprising option and let your imagination run wild as you transform your wooden surfaces into vibrant tiled showcases. Get ready for a whole new level of wow.
Advantages of Sticking Ceramic Tiles to Wood
Contents
- 1 Advantages of Sticking Ceramic Tiles to Wood
- 2 Preparing the Wood Surface for Tile Installation
- 3 Choosing the Right Adhesive for Ceramic Tile Installation
- 4 Applying Primer or Sealer to the Wood Surface
- 5 Applying the Adhesive to the Wood Surface
- 6 Placing the Tiles on the Wood Surface
- 7 Grouting Between Tiles After Installation
- 8 Regular Maintenance for Ceramic Tile Installations on Wood
- 9 Conclusion
If you’re considering adding ceramic tiles to your wood surfaces but are unsure of the benefits it provides, look no further. In this comprehensive exploration, we will delve into the advantages of sticking ceramic tiles to wood. From enhancing durability and moisture resistance to providing easy maintenance and design versatility, this simple method can transform your wooden surfaces into stylish and long-lasting features that elevate any space.
Durability:

Wood surfaces are prone to wear and tear, especially in high-traffic areas. By adhering ceramic tiles, you add an extra layer of protection to the wood, significantly enhancing its durability.
Ceramic tiles are renowned for their strength and longevity, making them an excellent option for safeguarding wooden surfaces against scratches, stains, and general damage. With ceramic tiles in place, your wood surfaces can withstand the demands of daily use while maintaining their original beauty.
Moisture Resistance:
Wood is vulnerable to moisture damage such as warping or rotting when exposed to water or excessive humidity. However, ceramic tiles offer exceptional moisture resistance properties, creating a waterproof barrier on the wood surface.
This added protection ensures the longevity of your wood and minimizes the risk of moisture-related issues. Whether in bathrooms, kitchens, or laundry rooms where water exposure is common, sticking ceramic tiles to wood provides peace of mind and maintains the structural integrity of your surfaces.
Easy Maintenance:
Maintaining wood surfaces can be challenging as they tend to absorb stains and spills. However, by adding ceramic tiles on top of the wood, you create a smooth and non-porous surface that is easy to clean. Regular sweeping and occasional mopping with mild detergent are usually sufficient to keep ceramic tile surfaces looking pristine.
The hassle-free maintenance of ceramic tiles on wood saves you time and effort while ensuring a consistently beautiful appearance.
Design Versatility:
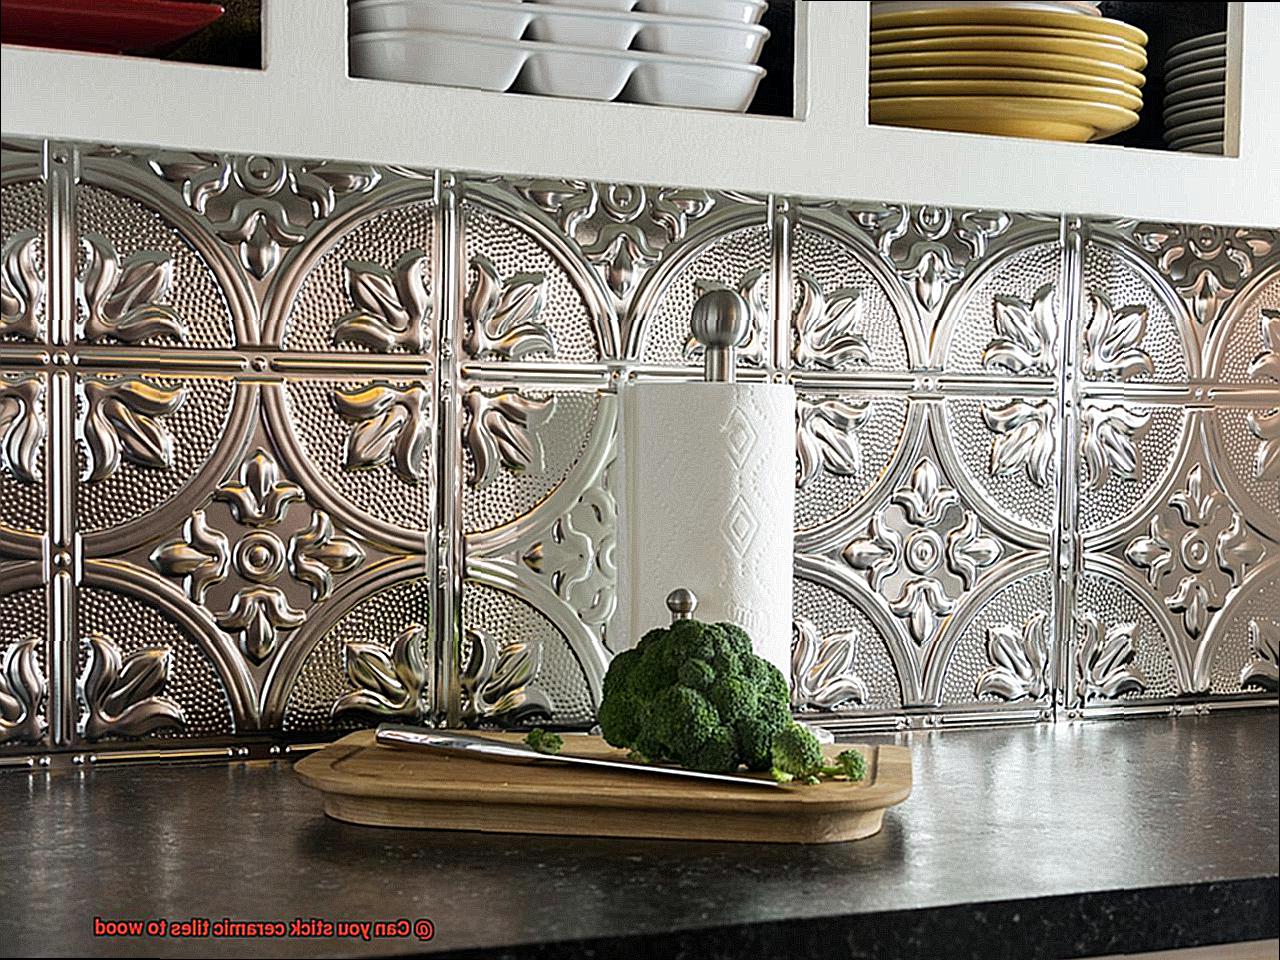
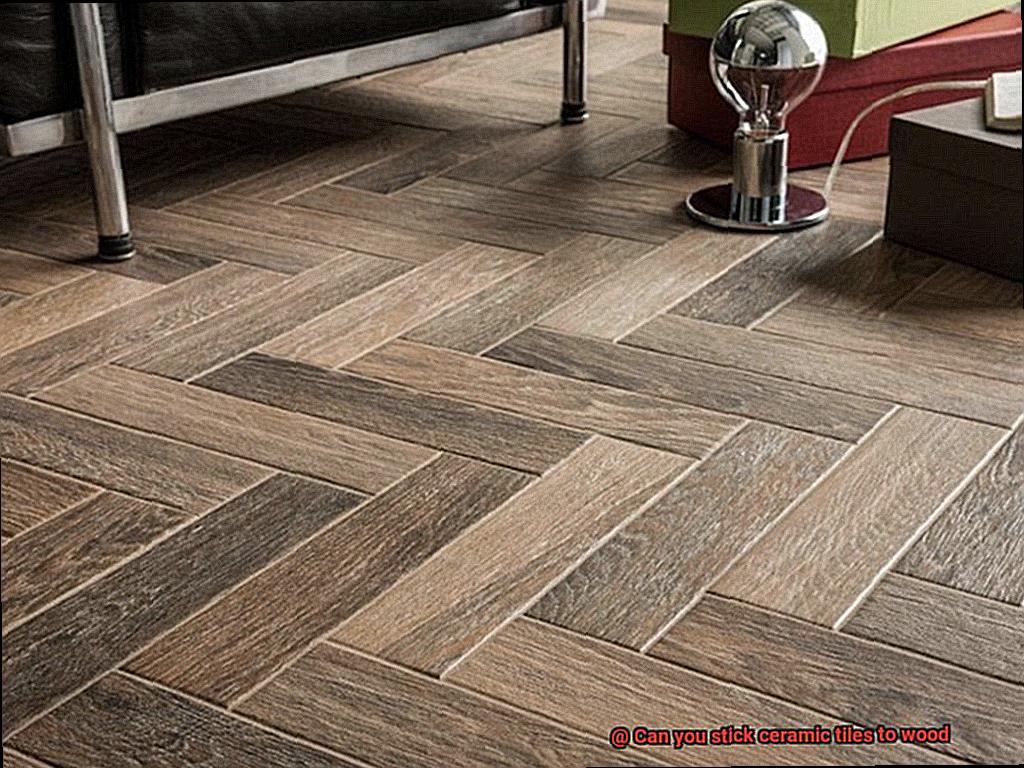
Sticking ceramic tiles to wood opens up a world of design possibilities. With a wide range of colors, patterns, sizes, and textures available, you can create unique and visually appealing surfaces that suit your taste and style. Whether you prefer a rustic look with wood-like ceramic tiles or a more modern and vibrant pattern, the options are virtually endless. By combining the natural beauty of wood with ceramic tiles, you can transform any space into a visually stunning area that reflects your personal aesthetic.
Temperature Stability:
Wood surfaces can be sensitive to temperature changes, resulting in expansion or contraction that leads to gaps or cracks. However, by adhering ceramic tiles to wood, you provide stability and minimize the effects of temperature variations.
Ceramic tiles have a low coefficient of thermal expansion, meaning they are less likely to expand or contract significantly with temperature changes. This advantage ensures that the wood remains intact and visually appealing over time, even in locations with extreme temperatures.
Preparing the Wood Surface for Tile Installation
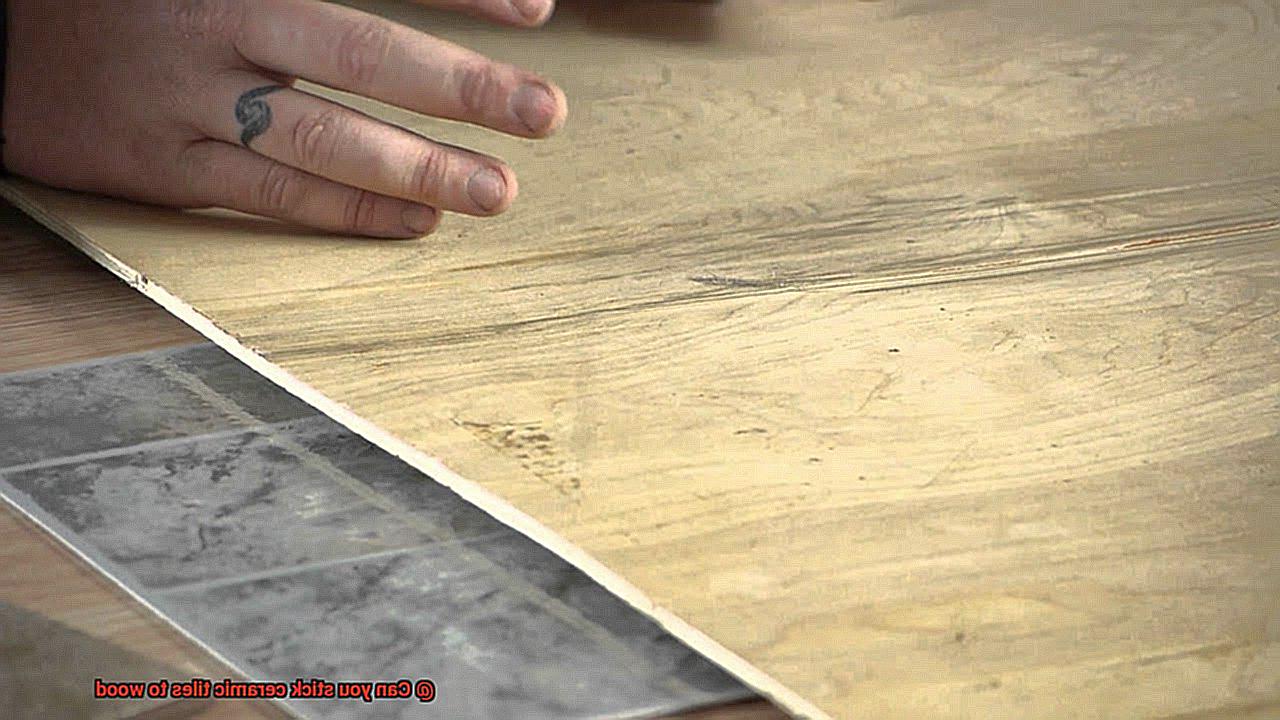
Are you ready to transform your wood surfaces with beautiful ceramic tiles? Before embarking on this exciting project, it is crucial to properly prepare the wood surface. This will ensure a successful and long-lasting installation that can withstand the test of time. So, let’s dive into the process of preparing the wood surface for tile installation and ensure that your project starts off on the right foot.
Step 1: Clean the Surface
The first step is to thoroughly clean the wood surface. Remove any dirt, dust, or debris that may have accumulated over time. A clean surface is essential for proper adhesion and a flawless tile installation.
Step 2: Inspect and Repair
Next, carefully inspect the wood surface for any cracks, holes, or uneven areas. These imperfections should be repaired or filled before proceeding with the installation. Use wood filler or an appropriate patching compound to smooth out these blemishes and create a level and even surface for your tiles.
Step 3: Sanding for Smoothness
To create an optimal bonding surface, sand the wood after repairs have been made. Use a medium-grit sandpaper and sand in the direction of the wood grain. This will create a smooth and even surface that helps the tile adhesive adhere better to the wood.
Step 4: Remove Dust
After sanding, it is crucial to remove any dust created during this process. Use a vacuum cleaner or a tack cloth to thoroughly clean the wood surface. By doing so, you ensure that no lingering dust particles interfere with the adhesion of the tile adhesive.
Step 5: Apply Primer or Sealer
Now it’s time to apply a primer or sealer to the wood surface. This step improves adhesion and prevents moisture from penetrating the wood. Choose a primer or sealer specifically designed for use on wood surfaces and compatible with tile adhesives. Follow the manufacturer’s instructions for application and drying times.
Step 6: Time to Install Tiles
Once the primer or sealer has dried according to its instructions, your wood surface is ready for tile installation. Follow the manufacturer’s instructions for applying the tile adhesive and setting the tiles on the prepared wood surface. Take your time and ensure proper alignment and spacing between the tiles for a flawless finish.
Bonus Tip: Consider Flexibility
Wood surfaces tend to expand and contract with changes in temperature and humidity. To accommodate this movement, consider using a flexible or uncoupling membrane between the wood surface and the tile installation. This membrane will absorb any stress and prevent cracks or loose tiles over time.
Remember, regular maintenance and care of your tiled wood surface are essential for its longevity. Clean the tiles regularly using a mild detergent and a soft brush or mop. Avoid harsh chemicals or abrasive materials that can damage the tiles or the wood surface.
Choosing the Right Adhesive for Ceramic Tile Installation
Embarking on a ceramic tile installation project to elevate the beauty and functionality of your wood surfaces is an exciting endeavor. However, before diving into this transformative process, it is vital to make a crucial decision – selecting the right adhesive. In this comprehensive guide, we will explore the immense importance of choosing the perfect glue for ceramic tile installation on wood. By doing so, you can ensure a durable and long-lasting bond that withstands the test of time.
Flexibility: A Paramount Factor
Flexibility reigns supreme when it comes to bonding ceramic tiles to wood. The natural expansion and contraction of wood due to temperature and humidity changes can wreak havoc if a rigid adhesive is used. To prevent cracked or popped tiles, opt for flexible adhesives designed specifically for this purpose. Modified thin-set mortars, enriched with additives to enhance flexibility and bonding strength, serve as an excellent choice.
Moisture Resistance: A Key Concern
Areas prone to moisture exposure, such as bathrooms and kitchens, demand special consideration. High-quality epoxy resin adhesives offer exceptional strength and moisture resistance, ensuring your tiles remain firmly in place even in humid conditions.
Tailoring to Environmental Factors
Before deciding on an adhesive, carefully evaluate the environmental conditions of your installation area. Factors like humidity levels, temperature fluctuations, and the type of wood utilized can significantly impact adhesive performance. Seek professional advice or adhere to manufacturer recommendations to guarantee the ideal adhesive for your project’s unique requirements.
Surface Preparation: A Vital Step
Achieving a robust bond necessitates meticulous surface preparation. Thoroughly clean the wood surface, eliminating any dirt or loose particles that could impede adhesion. Repair imperfections, sand for smoothness, and eradicate dust for optimal results. Consider priming the wood surface as well; doing so enhances the bond between the wood and adhesive, ultimately increasing longevity.
Following Instructions: A Recipe for Success
To achieve optimal results, diligently follow the manufacturer’s instructions regarding mixing ratios, application techniques, and curing times for the chosen adhesive. By adhering to these guidelines, you can ensure a long-lasting bond between your ceramic tiles and wood surface.
Applying Primer or Sealer to the Wood Surface
Today, we’re delving into the critical process of applying primer or sealer to wood surfaces before installing ceramic tiles. This step should never be underestimated. In this article, we’ll explore why it’s essential to prime or seal your wood surface, ensuring a flawless ceramic tile installation.
Sealing Out Moisture:
Wood is a fantastic material, but its porous nature makes it susceptible to moisture absorption. To avoid any unwanted consequences, such as warping, swelling, or rotting, it’s crucial to apply a primer or sealer. These products create a protective barrier that shields the wood from moisture infiltration. Bid farewell to potential wood damage.
Creating a Smooth Canvas:
Ever tried placing tiles on a rough or uneven surface? It’s like solving a puzzle with mismatched pieces. Primer or sealer comes to the rescue by leveling the playing field (or surface). It fills in gaps and imperfections, creating a smooth and even canvas for your tiles to adhere flawlessly. No more wobbly tiles or unsightly bumps.
Choosing the Right Products:
Not all primers and sealers are created equal. Select one specifically designed for wood surfaces to ensure optimal results. These products are specially formulated to penetrate and bond effectively with wood fibers. They provide the perfect base for your adhesive and guarantee long-lasting adherence of your tiles.
Preparation is Key:
Before diving into the priming and sealing process, ensure your wood surface is squeaky clean. Dirt, dust, or debris can hinder proper adhesion. Grab a mild detergent and scrub brush to give your wood a thorough cleaning. Afterward, allow it ample time to dry completely before proceeding.
Application Techniques:
With your prepped wood surface ready, it’s time to apply your primer or sealer. Follow the manufacturer’s instructions carefully, using a paintbrush or roller to apply a thin coat. Take your time and allow it to dry completely before moving forward.
Achieving a Lasting Bond:
Congratulations. You’ve successfully primed and sealed your wood surface. Now it’s time to apply the adhesive and firmly stick those ceramic tiles in place. Thanks to your thorough preparation, you can be confident that your tiles will stay put for years to come.
Applying the Adhesive to the Wood Surface
Look no further. This comprehensive guide will walk you through the process of applying adhesive to ensure a rock-solid bond between your tiles and wood. Say goodbye to loose tiles and hello to a flawless, long-lasting installation.
Step 1: Prepare the Wood Surface
Before diving into adhesive application, prepare your wood surface properly. Brush away dust and debris using a soft brush or vacuum cleaner. Then, wipe the surface with a damp cloth to leave it squeaky clean and ready for action.
Step 2: Choose the Perfect Adhesive
Now that your wood surface is prepped, select an adhesive specifically designed for bonding ceramic tiles to wood. Opting for the right adhesive guarantees maximum adhesion and durability, ensuring your tiles stay securely in place for years to come.
Step 3: Spread the Adhesive
Using a trusty trowel or suitable tool, spread a thin, even layer of adhesive onto the wood surface. Apply it across the entire tile area, avoiding excessive adhesive that can lead to uneven installations or unsightly oozing between the tiles.
Step 4: Allow the Adhesive to Set
After applying the adhesive, give it a few minutes to set. This “tack up” time allows the adhesive to become slightly sticky, creating a stronger bond when you lay down your tiles.
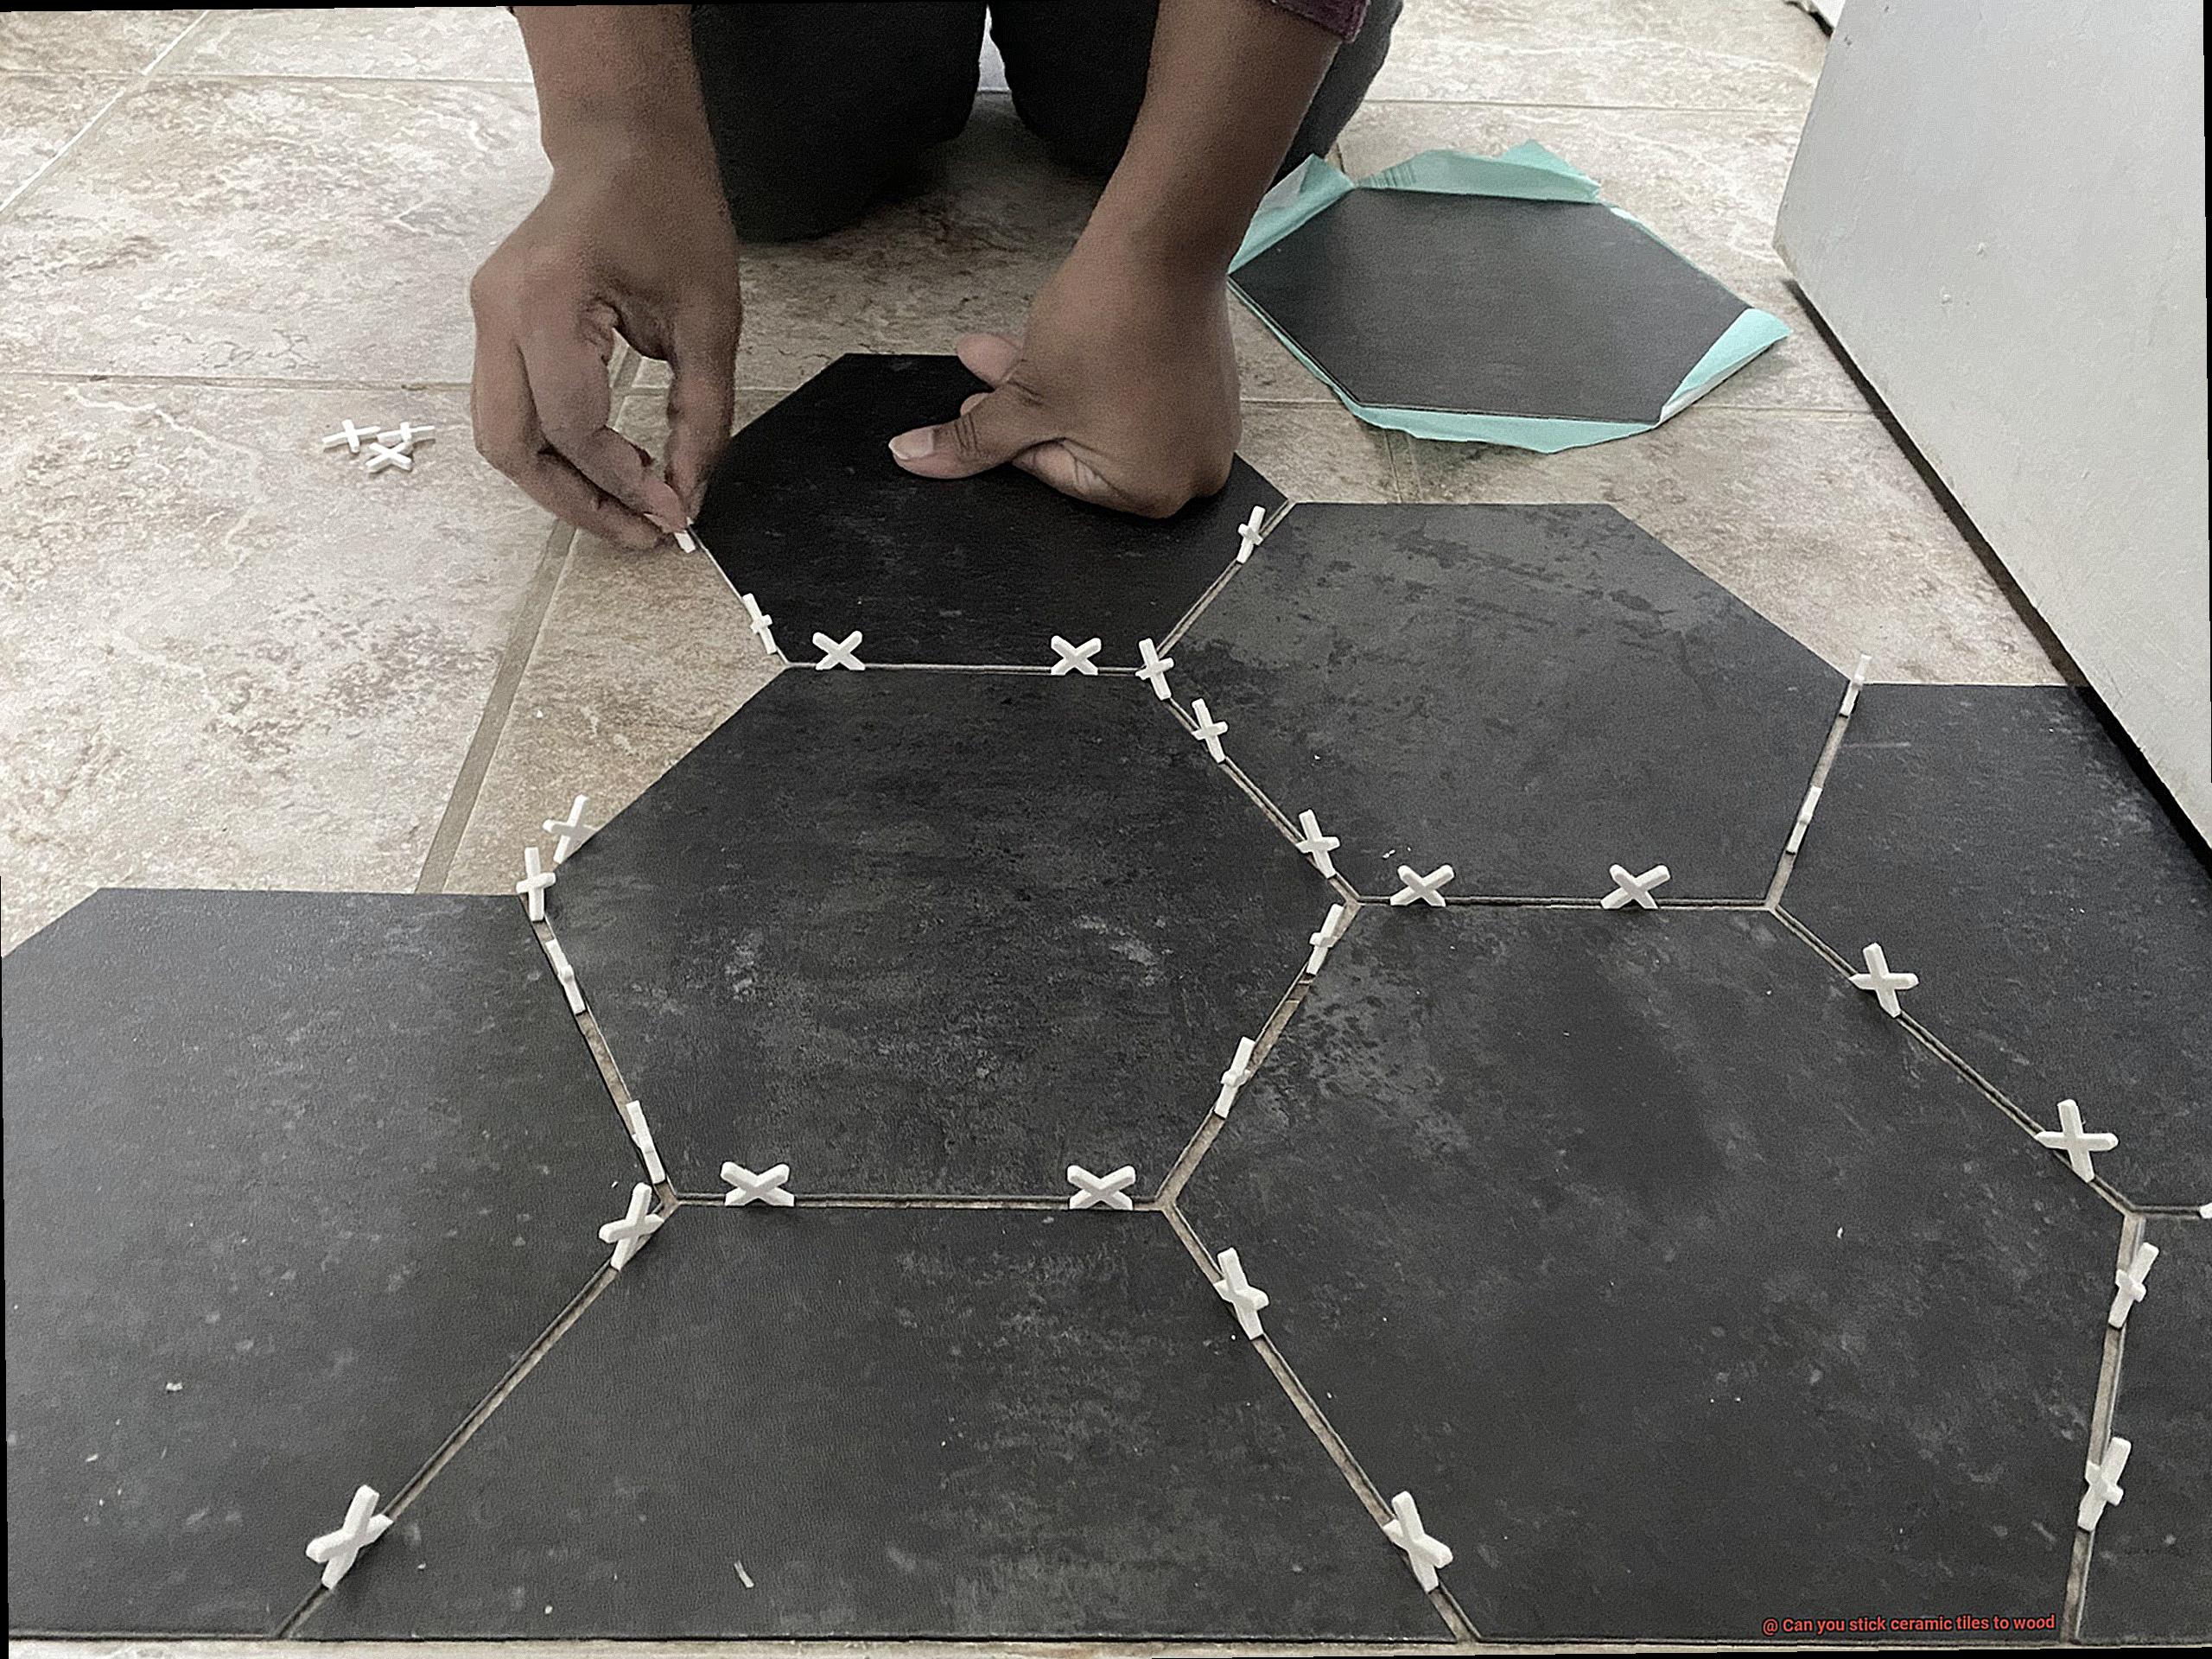
Step 5: Place and Align Your Tiles
Now comes the exciting part – placing your ceramic tiles onto the wood surface. Press each tile firmly into the adhesive, ensuring they are level and perfectly aligned. Achieve consistent spacing and alignment by using spacers between the tiles.
Step 6: Let it Cure
With all tiles in place, allow them to cure according to the manufacturer’s instructions, typically within 24 to 48 hours. During this time, exercise patience and avoid walking on or disturbing the newly tiled surface.
Placing the Tiles on the Wood Surface
In this step-by-step guide, we will explore the art of installing ceramic tiles on wood surfaces. Prepare to dive into a world of creativity and craftsmanship as we lay the foundation for a strong bond and an enduring finish. So roll up your sleeves, unleash your inner artist, and let’s get started.
Step 1: Preparing the Wood Surface
Before we begin our tile-tastic journey, let’s ensure our wood surface is pristine. Sweep away any dirt, dust, or debris that may stand in the way of our tile adhesion. A clean canvas sets the stage for a breathtaking installation.
Step 2: Creating a Solid Base
To fortify our wood surface, let’s apply a coat of primer or sealer. This magical elixir not only seals the wood but also enhances our tile’s love affair with the surface. Say goodbye to moisture penetration and potential damage. Allow the primer or sealer to dry completely before moving forward.
Step 3: Selecting the Perfect Adhesive
Now comes the pivotal moment of choosing our trusty adhesive sidekick. Regular tile adhesives won’t cut it here, my friends. Consult with our local hardware store or tile supplier to find the adhesive specifically designed for bonding tiles to wood. Let’s make sure our bond is unbreakable.
Step 4: Spreading the Love… I Mean Adhesive
Grab your notched trowel and let’s spread some sticky joy. Apply an even layer of adhesive to the back of each tile, creating beautiful ridges that will hold our tiles tight. Starting from one corner, work your way across in small sections, ensuring each tile is aligned and harmoniously leveled with its neighbors.
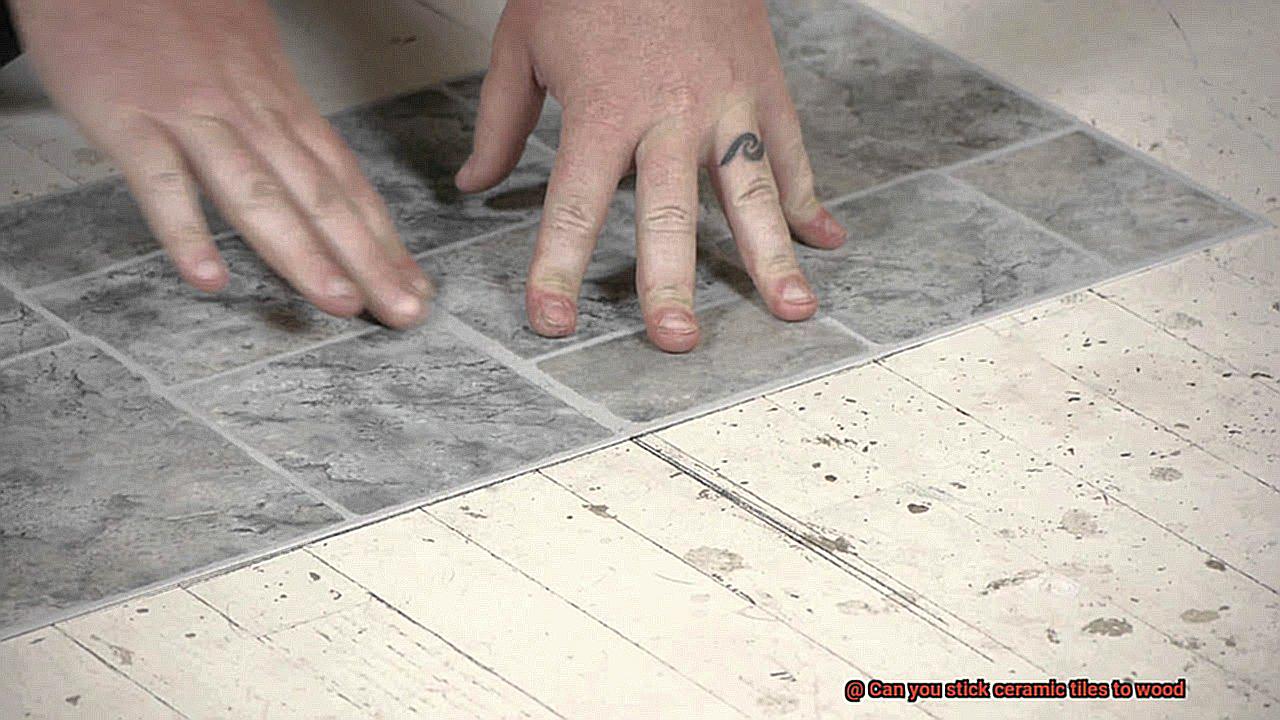
Step 5: Placing and Adjusting Tiles
With grace and precision, place each tile onto the wood surface, pressing firmly to secure a lasting connection. Keep an eagle eye out for any sneaky air pockets or voids beneath the tiles. A gentle tap with a rubber mallet will banish these invaders, ensuring our tiles are united with the wood in perfect harmony.
Step 6: Allowing for the Magic of Time
Now, my friends, we must exercise patience as our masterpiece comes to life. Let the tiles set and cure for at least 24 hours. This bonding period ensures a love affair between the adhesive, tiles, and wood surface that will stand the test of time.
Step 7: Embracing the Grout’s Final Touch
Our artwork is almost complete. It’s time to fill in the gaps between our tiles with grout, adding stability and strength to our creation. Carefully apply the grout, wiping away any excess from the tile surface using a grout float and a damp sponge. Our masterpiece is now ready to shine.
Grouting Between Tiles After Installation
Grouting between tiles after installation is a critical step in achieving a professional and polished look for your ceramic tile installation on wood. Not only does grout fill in the gaps between the tiles, providing stability and preventing moisture seepage, but it also enhances the overall appearance of the tiled surface by creating a seamless and cohesive look.
Before diving into the grouting process, it’s crucial to ensure that the tiles are securely adhered to the wood surface. Proper tile installation techniques, such as using an appropriate adhesive or mortar, should be followed to create a strong bond between the tiles and wood. Allow sufficient time for the adhesive or mortar to cure before moving on to grouting.
When it comes to choosing the right grout for ceramic tiles on wood, you have a few options. Cement-based grouts are commonly used and come in a variety of colors to match or complement your tile design. For extra durability and resistance to stains and water, epoxy grouts are an excellent choice. However, keep in mind that epoxy grouts can be more challenging to work with and may require professional expertise.
Before applying grout, make sure the tile surface is clean and free of any dust or debris. Use a damp sponge or cloth to remove any dirt, being careful not to use excessive water that could damage the wood.
Now it’s time to mix the grout according to the manufacturer’s instructions. Aim for a consistency similar to peanut butter – not too watery or too dry. Using a rubber float or grout float, apply the mixed grout onto the tile surface at a 45-degree angle. Press it into the gaps between the tiles, ensuring full coverage.
Work in small sections to prevent the grout from drying out before you have a chance to clean it. After applying the grout, use the same float or a grout sponge to remove any excess grout from the tile surface. Hold the float at a 45-degree angle and move it diagonally across the tiles to avoid pulling out the grout from the gaps. Rinse the sponge regularly to keep it clean and effective.
Once you’ve removed most of the excess grout, allow it to dry for the recommended time specified by the manufacturer. This curing period is crucial for the grout to harden and set properly, so be patient and avoid walking on the freshly grouted tiles during this time.
After the grout has cured, you may notice a haze on the tile surface. Don’t worry – this can easily be removed by gently buffing the tiles with a clean, dry cloth or by using a specialized grout haze remover solution. Just follow the manufacturer’s instructions when using any cleaning products.
Regular Maintenance for Ceramic Tile Installations on Wood
To maintain ceramic tile installations on wood surfaces, regular maintenance is essential to preserve their appearance and durability. Wood surfaces are particularly vulnerable to moisture damage, so it is crucial to take the necessary steps to protect them and ensure their longevity.
Here are some important tips for regular maintenance of ceramic tile installations on wood:
- Inspect the grout lines: Regularly check the grout lines for signs of damage or wear. Cracked or deteriorating grout should be repaired promptly to prevent water from seeping beneath the tiles and causing damage.
- Keep it clean: Regular cleaning of ceramic tiles is crucial to prevent the buildup of dirt, grime, and stains. Use a mild detergent or a pH-neutral cleaner specifically formulated for ceramic tiles. Avoid harsh chemicals or abrasive cleaners that can damage the tiles or the grout.
- Watch your water usage: Excessive water can penetrate the wood and lead to damage. Instead, use a damp mop or cloth to clean the surface, ensuring it is thoroughly dried afterward.
- Consider waterproofing: In areas prone to high moisture levels, such as bathrooms or kitchens, consider using a waterproofing membrane beneath the ceramic tiles. This additional layer of protection will help prevent water damage to the underlying wood.
- Seal and protect: Apply a sealant or protective coating to the wood surface surrounding the ceramic tiles. This creates a barrier against moisture and prevents potential damage.
- Inspect for damage: Regularly check the tiles for any signs of cracking, chipping, or loose tiles. Any damaged or loose tiles should be repaired or replaced immediately to prevent further damage and ensure stability.
- Handle with care: Avoid dragging heavy objects across ceramic tile installations on wood surfaces as this can cause scratches and damage. Use furniture pads or rugs in high-traffic areas to protect against wear and tear.
0gMeRi9GVr8″ >
Conclusion
Yes, it is possible to stick ceramic tiles to wood surfaces. While traditionally, ceramic tiles are often installed on concrete or other solid substrates, advancements in adhesive technology have made it feasible to adhere them to wood as well. This opens up a whole new world of design possibilities for those who want the durability and aesthetic appeal of ceramic tiles but have wooden floors or walls.
By using a high-quality adhesive specifically designed for bonding ceramics to wood, you can ensure a strong and long-lasting bond between the two materials. It is important to thoroughly clean and prepare the wood surface before applying the adhesive to ensure proper adhesion. Additionally, using a notched trowel can help create an even layer of adhesive for optimal tile placement.
When installing ceramic tiles on wood, it is crucial to choose tiles that are suitable for this purpose. Thin and lightweight tiles are recommended as they put less stress on the wood substrate. Additionally, ensuring proper spacing between tiles and using grout that is flexible enough to accommodate any slight movement in the wood can help prevent cracks or damage over time.
While sticking ceramic tiles to wood may require some extra care and attention compared to traditional installations, it can be done successfully with the right materials and techniques. Whether you want to add a touch of elegance to your wooden floors or create a stunning backsplash in your kitchen, exploring the possibilities of combining ceramic tiles with wood opens up endless creative opportunities.
In conclusion, yes, you can stick ceramic tiles to wood. With proper preparation, quality adhesives, suitable tile selection, and careful installation techniques, you can achieve a beautiful and durable result that seamlessly blends the natural warmth of wood with the timeless beauty of ceramic tiles.