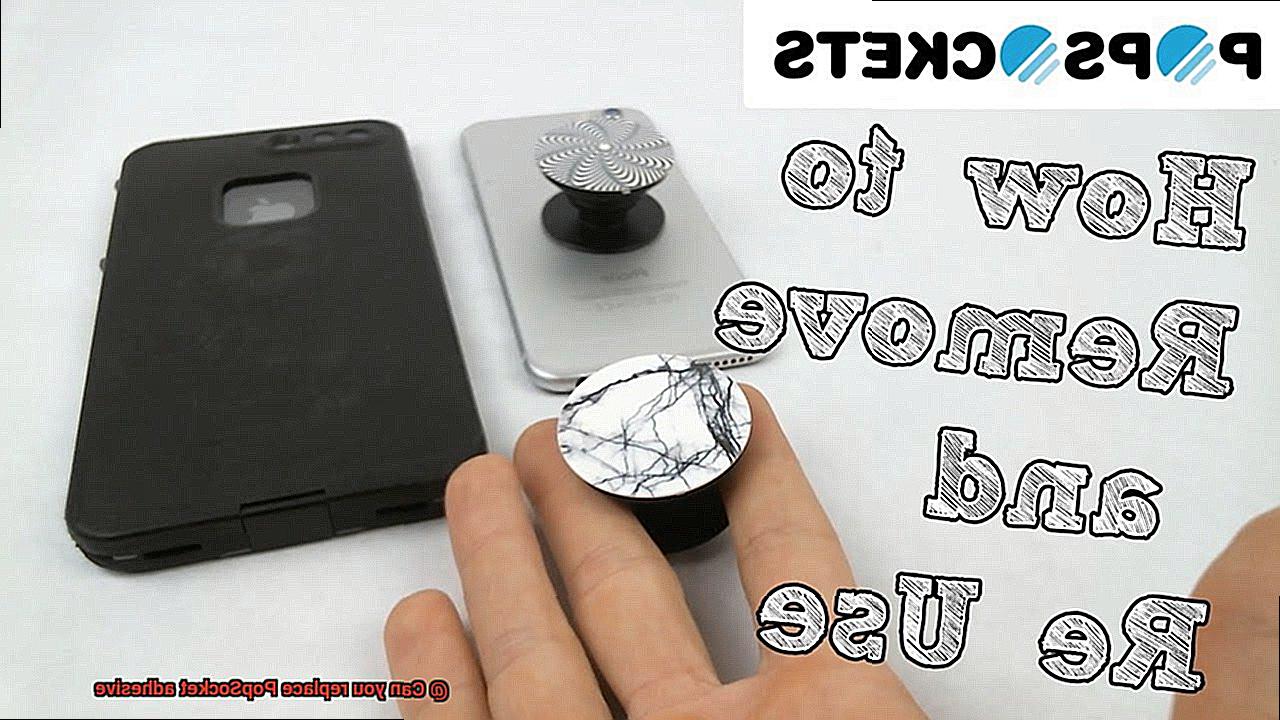
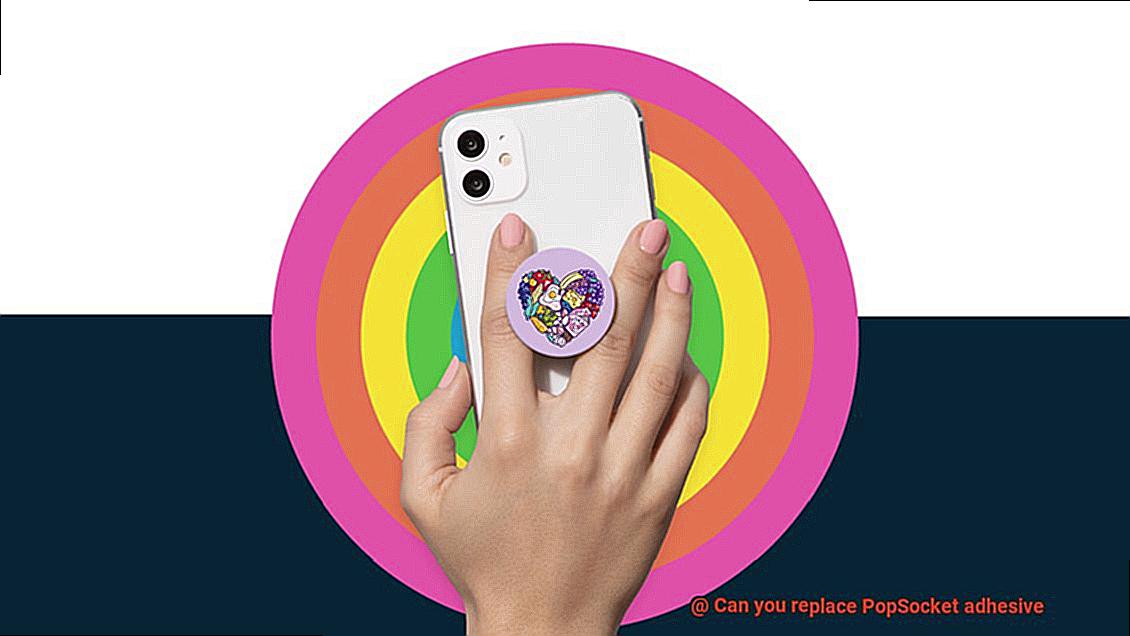
Step right into our blog, where we plunge headfirst into the captivating world of PopSockets.
If you’re as hooked on these nifty little accessories as we are, chances are you’ve found yourself in that maddening predicament where the adhesive on your beloved PopSocket starts to lose its tenacity. But fret not.
Today, we’re taking on the burning question that has been haunting many a PopSocket devotee: Can you swap out that sticky stuff? Whether you’re a wide-eyed newbie or a seasoned pro at rocking the PopSocket game, this post is your ultimate guide to replacing the adhesive on your trusty companion.
So, grab hold of your most cherished PopSocket design and let’s embark on this adhesive adventure together.
What are PopSockets?
Contents
- 1 What are PopSockets?
- 2 Why Would You Need to Replace the Adhesive on a PopSocket?
- 3 What Materials Will You Need to Replace the Adhesive?
- 4 Step-by-Step Guide to Replacing the Adhesive on a PopSocket
- 5 Considerations When Replacing the Adhesive on a PopSocket
- 6 Tips for Making Sure Your New Adhesive Lasts Longer
- 7 Troubleshooting Common Issues with Replacing PopSocket Adhesive
- 8 Alternatives to Replacing the Adhesive on a PopSocket
- 9 Conclusion
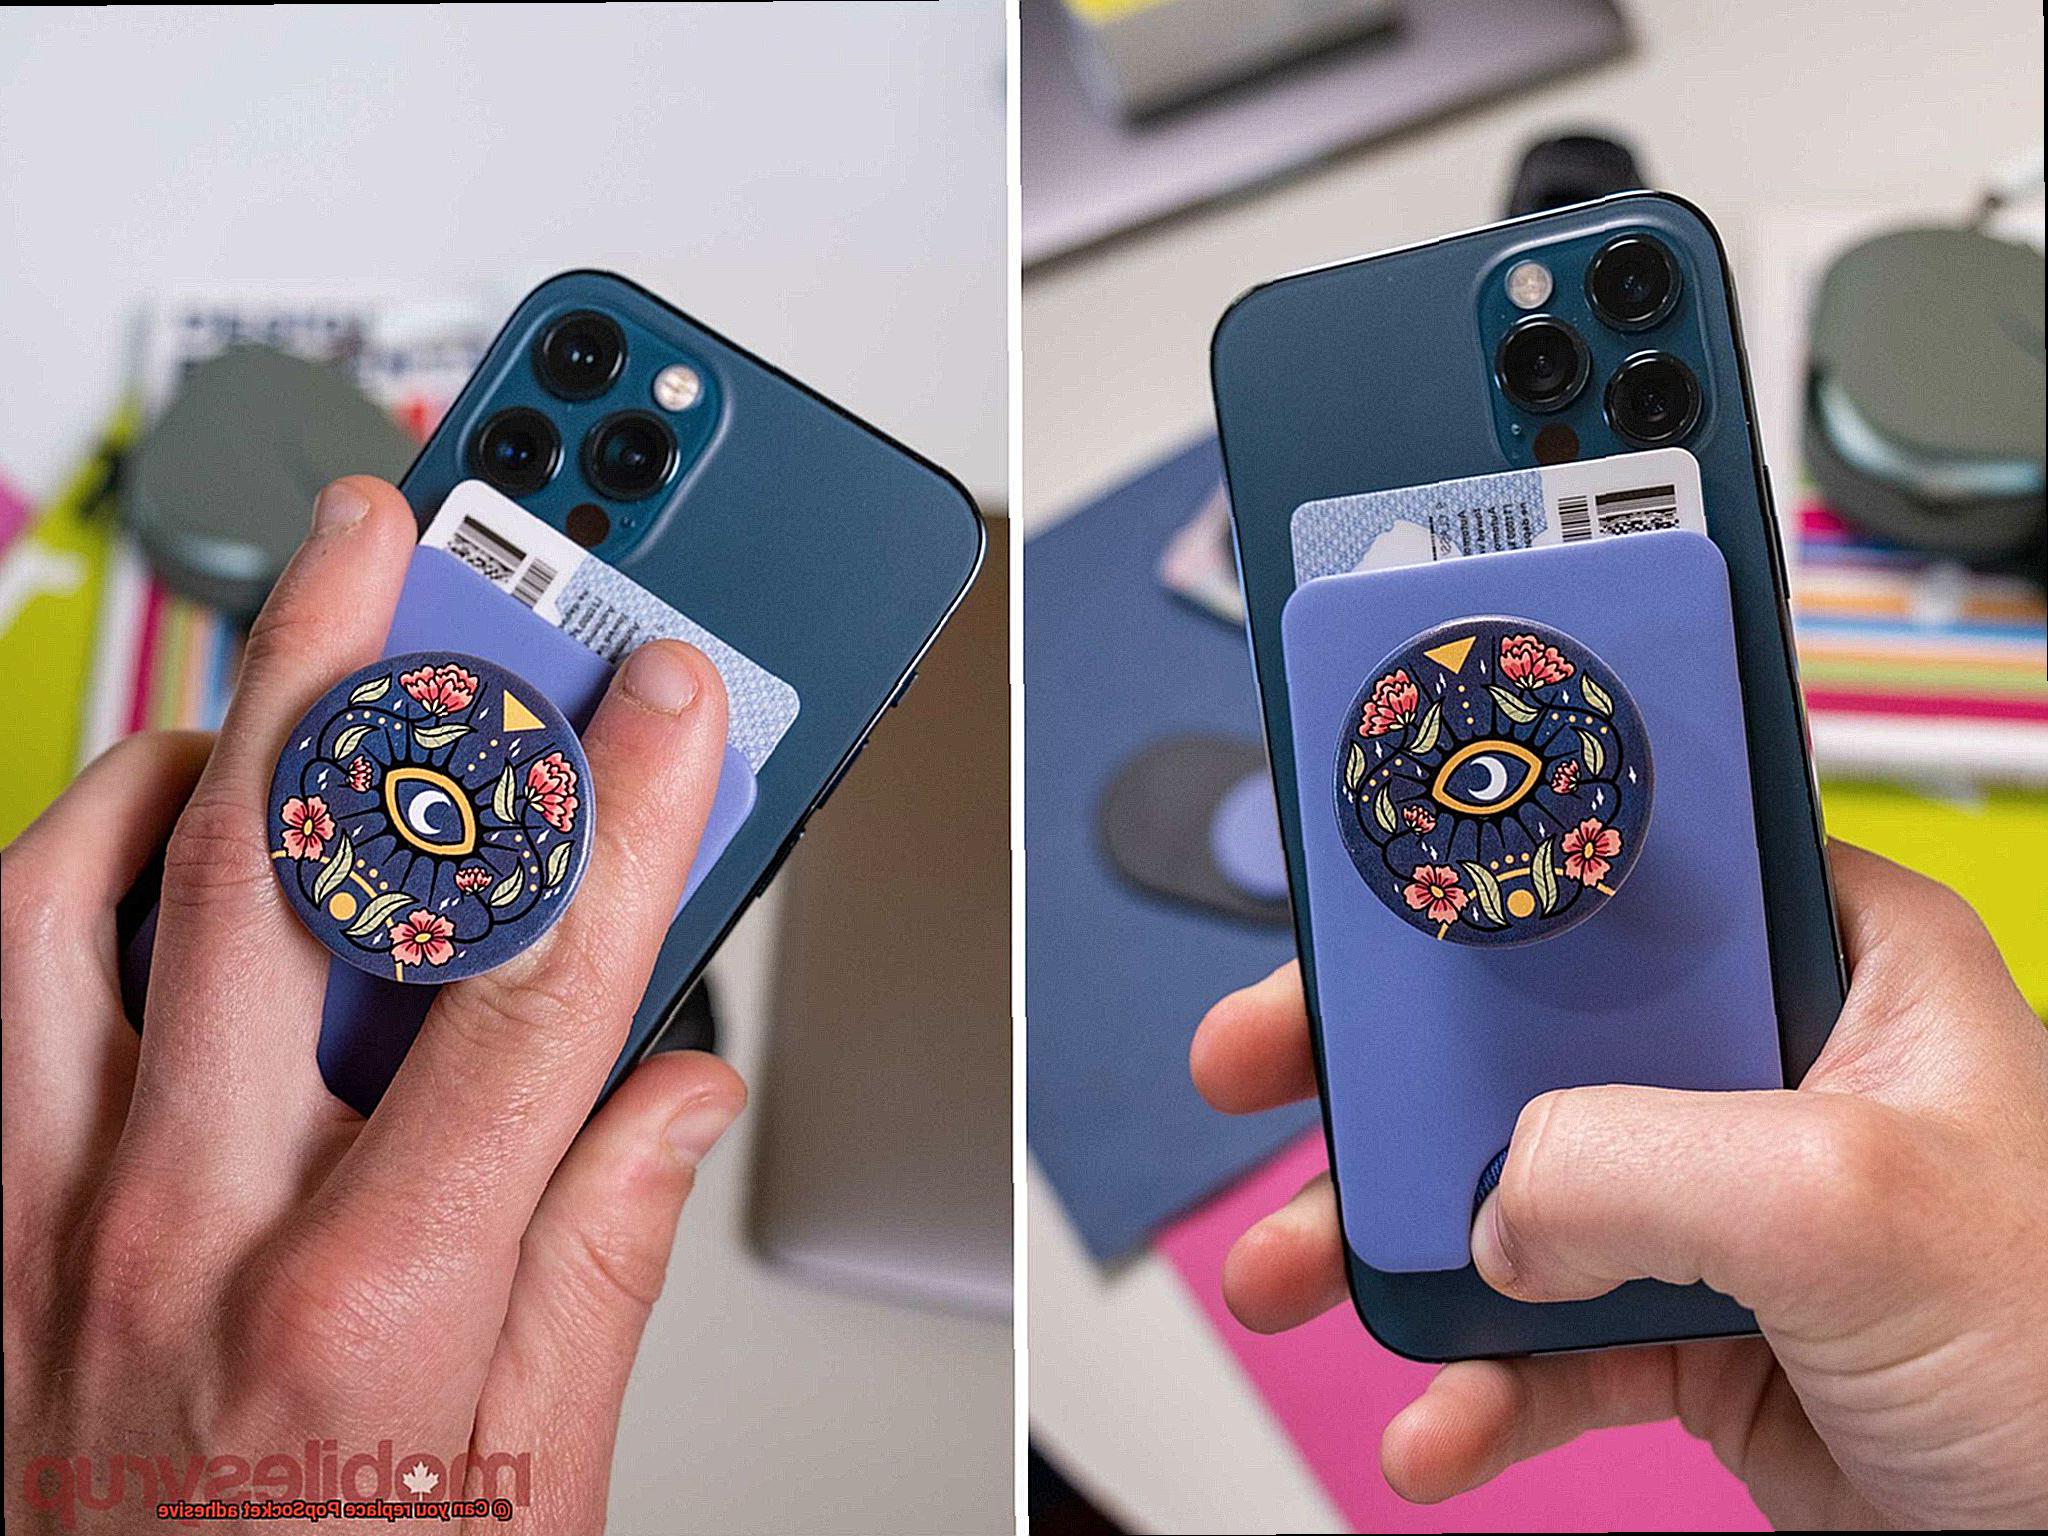
PopSockets have taken the smartphone and tablet accessory world by storm, providing a secure grip and multiple functions in a small, stylish package. These innovative gadgets are circular discs that expand and collapse, making them the perfect accessory for holding and using electronic devices. In this article, we will delve into the world of PopSockets, exploring their design, functionality, and popularity.

Design and Functionality:
PopSockets are made of a durable combination of plastic and TPU (thermoplastic polyurethane), which provides flexibility and strength. With their collapsible design, they can be easily expanded to create a convenient grip for securely holding your device. When not in use, they lay flat against the device, making them portable and easy to slide into pockets or bags.
But PopSockets are not just about providing a secure grip. When expanded, they also act as a stand, allowing you to prop up your device at the perfect viewing angle. This is ideal for watching videos, video chatting with friends or family, or taking selfies with ease. With PopSockets, you can enjoy hands-free convenience in style.
Customization and Personalization:
One of the reasons why PopSockets have become so popular is their ability to be personalized. They come in an array of designs, colors, and patterns, allowing users to express their individual style and preferences. From funky geometric shapes to vibrant floral prints, there is a PopSocket design for everyone.
Moreover, PopSockets can also be customized with unique designs or personal photos. This feature allows individuals to showcase their favorite sports teams, bands, or even their own artwork. With PopSockets, you can transform your device into a personalized masterpiece.
Popularity and Influence:
The rise in popularity of PopSockets can be attributed to their practicality and style. They offer a simple yet effective solution for holding and using electronic devices comfortably, preventing accidental drops and providing a sense of security. PopSockets have become a must-have accessory for tech-savvy individuals, with celebrities and influencers often seen sporting them.
Additionally, PopSockets have inspired a whole industry of similar products. From PopSocket imitations to accessories that can attach to them, such as car mounts or wallets, the impact of PopSockets can be seen in the market.
Why Would You Need to Replace the Adhesive on a PopSocket?
PopSockets have become an indispensable accessory for smartphone and tablet users worldwide. They provide a secure grip, act as a stand, and add a personal touch of style to our devices. However, over time, the adhesive that holds the PopSocket in place may start to lose its stickiness or become dirty or damaged. In these cases, replacing the adhesive becomes necessary.
One common reason to replace the adhesive is wear and tear. If you frequently remove and reattach your PopSocket or use it on different devices, the adhesive may weaken over time. This can result in your PopSocket becoming less secure and potentially falling off your device. By replacing the adhesive, you can ensure that your PopSocket remains firmly attached, allowing you to confidently handle your device without fear of it slipping from your grasp.
Environmental conditions can also impact the adhesive’s effectiveness. If your PopSocket gets exposed to dirt, dust, or other substances, the adhesive may become less sticky or lose its adhesive properties altogether. Whether you find yourself using your device in dusty construction sites or accidentally spill something on your PopSocket during a coffee mishap, replacing the adhesive will restore its stickiness and ensure a secure grip.
Additionally, if the adhesive on your PopSocket gets torn or damaged in any way, it may no longer be able to securely hold the PopSocket. Accidental drops or contact with sharp objects can compromise the integrity of the adhesive. In such cases, replacing the adhesive is necessary to maintain a strong bond between your PopSocket and your device, preventing any unfortunate accidents.
Some individuals may also want to replace the adhesive on their PopSocket for aesthetic purposes. Over time, the original adhesive may become discolored or dirty, affecting the overall appearance of the PopSocket. By replacing the adhesive, you can give your PopSocket a fresh and clean look, ensuring that it complements your device and personal style.
Replacing the adhesive on a PopSocket is often a more cost-effective solution than buying a new one. While PopSockets are generally affordable, constantly replacing them due to worn-out adhesive can accumulate costs over time. By simply replacing the adhesive, you can extend the lifespan of your PopSocket and save money in the long run, allowing you to continue enjoying the convenience and style that a PopSocket provides.
What Materials Will You Need to Replace the Adhesive?
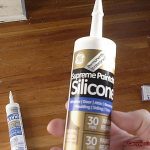
First and foremost, let’s talk about the star of the show – the adhesive itself. You’ll want to choose an adhesive that’s not only strong enough to hold your PopSocket in place but also easy to work with and won’t leave any sticky residue behind. Options like strong double-sided tapes, adhesive gels, or specialized adhesives designed specifically for PopSockets are all worthy contenders.

But before you rush to apply that fresh adhesive, let’s prepare the surface. Give your PopSocket and device a thorough cleaning using isopropyl alcohol or a mild soap and water solution. This will ensure a clean surface for the new adhesive to bond with and will remove any dirt or residue that could hinder its stickiness.
Now, let’s talk tools. While not exactly materials, having the right tools can make this process a whole lot easier. Grab some tweezers or small pliers for removing the old adhesive, a clean cloth for wiping surfaces, and a small brush or cotton swabs for applying cleaning agents. These little helpers will have you feeling like a PopSocket repair pro in no time.
And let’s not forget about those optional extras. If you’re looking to jazz up your PopSocket’s appearance, consider grabbing some decorative stickers or skins. And if you’ve had a sticky situation with adhesive residue before, it might be worth having some adhesive remover or goo gone on hand for any future mishaps.
Step-by-Step Guide to Replacing the Adhesive on a PopSocket
I am here to guide you through the process of replacing the adhesive and breathe new life into your trusty companion. This simple do-it-yourself project can be easily accomplished at home with just a few tools. So let’s embark on this journey together.
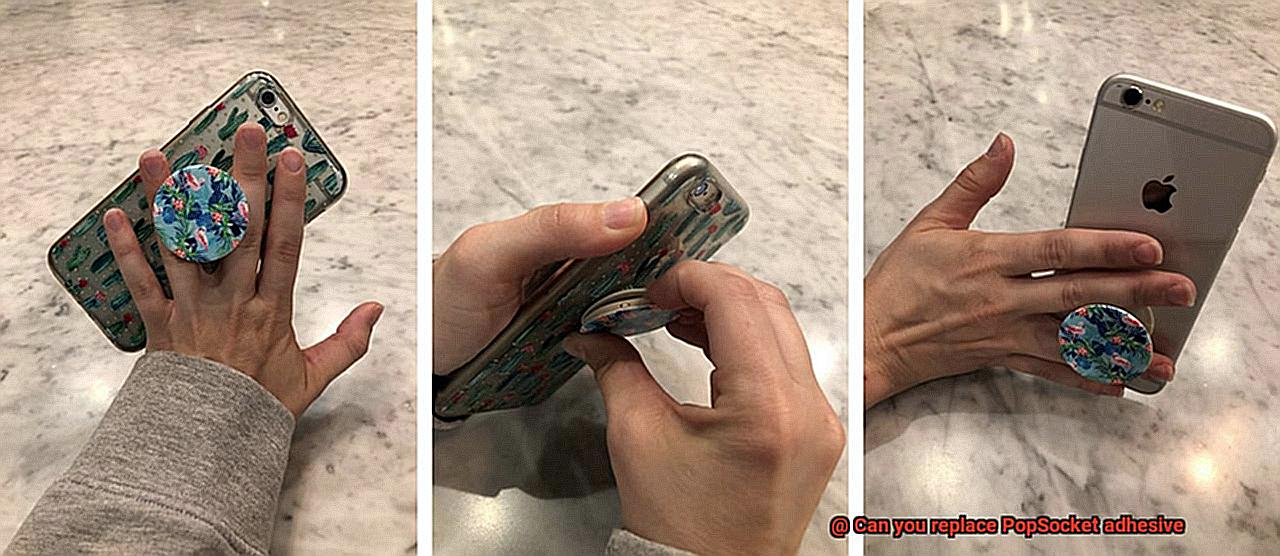
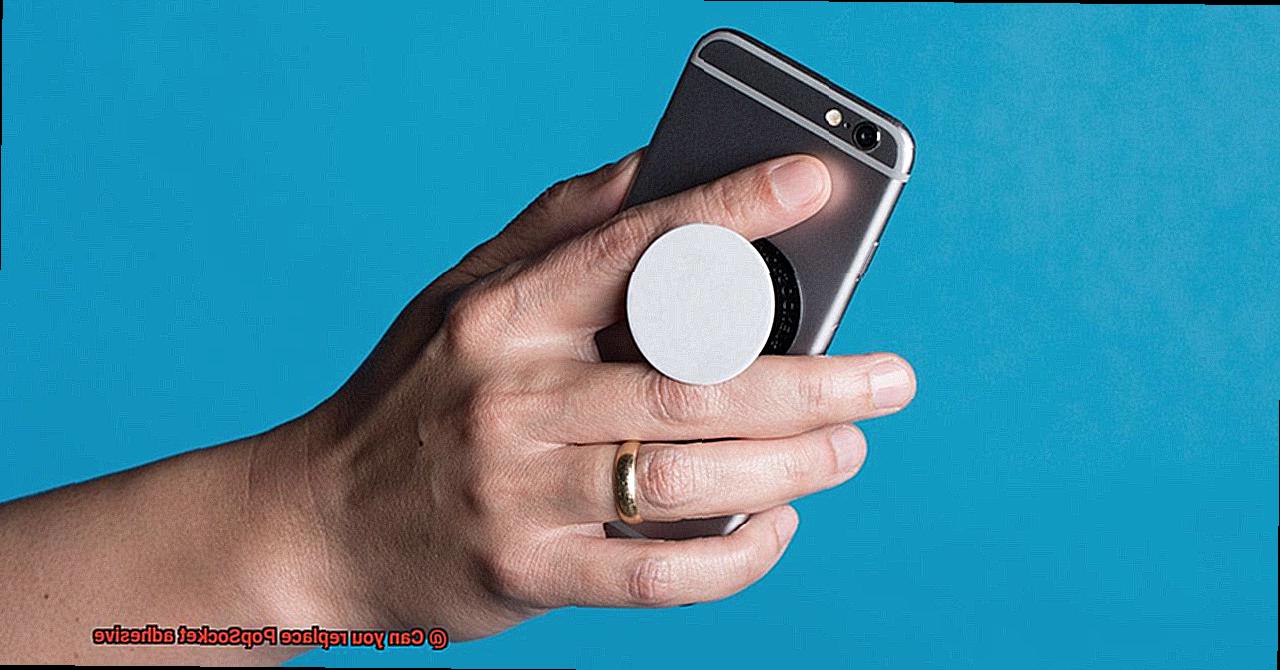
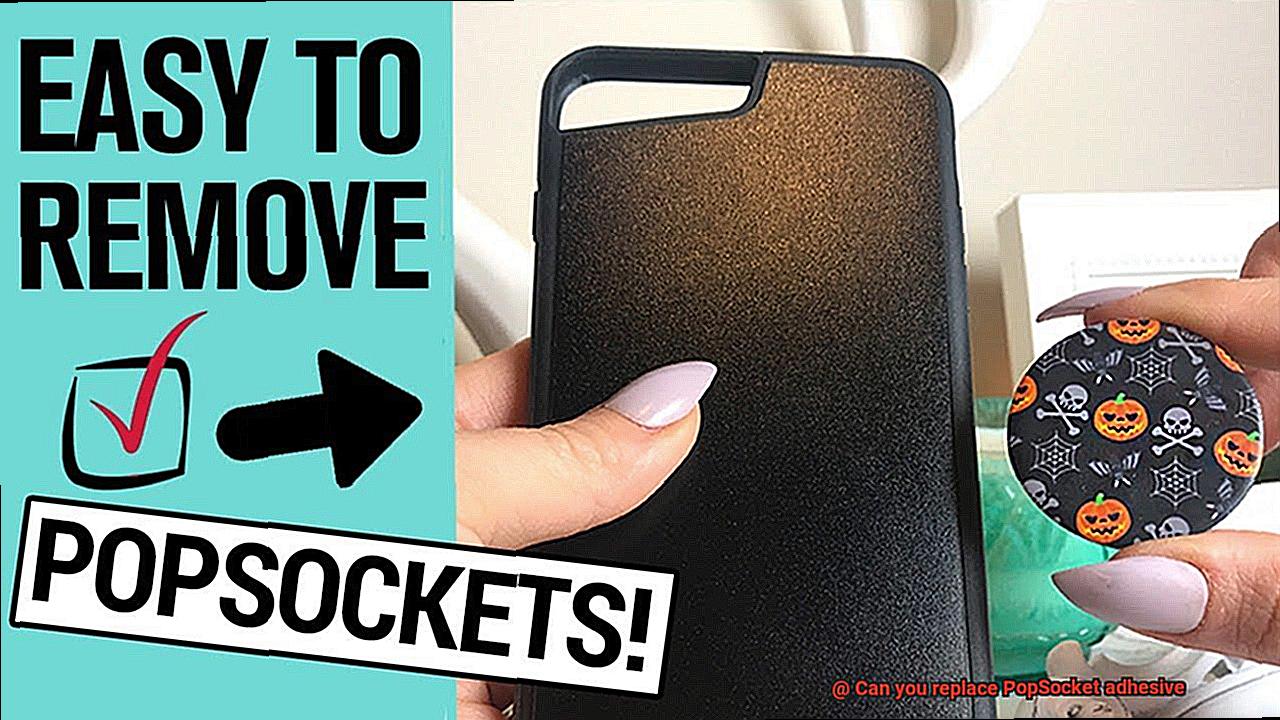
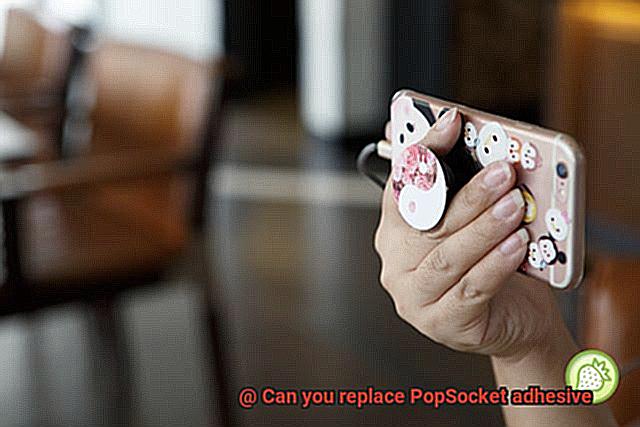
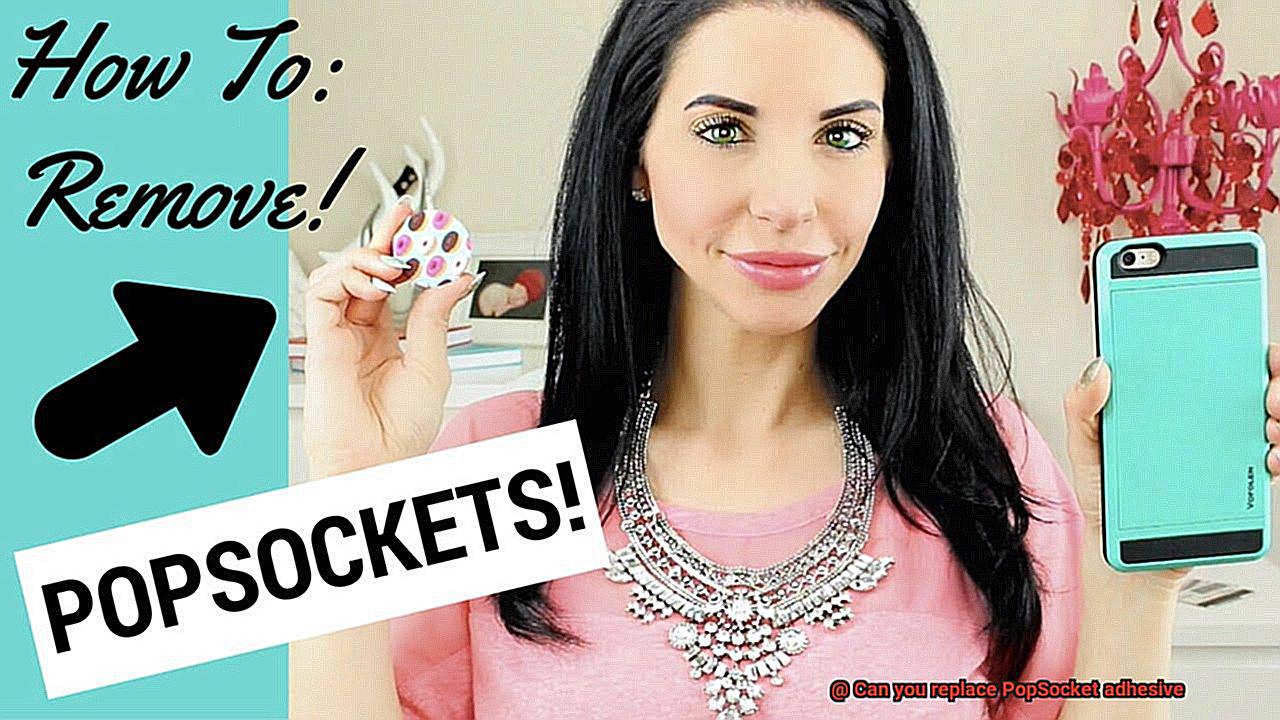
Step 1: Removing the PopSocket
Begin by gently pulling up on one side of the PopSocket, allowing it to gracefully detach from your device. Exercise caution to avoid applying excessive force and causing any damage.
Step 2: Cleaning off the old adhesive
Now, let us bid farewell to the remnants of the old adhesive clinging to the back of your PopSocket. Equip yourself with rubbing alcohol and a soft cotton pad or cloth. With deliberate strokes, wipe away any residue, leaving behind a pristine surface for the new adhesive.
Step 3: Preparing the new adhesive
Unveil the new adhesive by peeling off its protective backing. Treat this delicate material with reverence as you carefully align it with the back of your PopSocket. Take a moment to ensure it rests centered and straight for optimal positioning.
Step 4: Reattaching the PopSocket
With purposeful determination, press firmly upon the freshly laid adhesive for a few seconds. Feel the bond between the adhesive and your device strengthen, securing your PopSocket in place. Revel in your mastery of this craft.
Step 5: Maintaining the new adhesive
To safeguard the longevity of your newly replaced adhesive, shield it from excessive heat or moisture that may compromise its strength. Periodically inspect its adherence to ensure its steadfast commitment.
Considerations When Replacing the Adhesive on a PopSocket
When it comes to replacing the adhesive on your beloved PopSocket, there are several important considerations to keep in mind. The adhesive is what holds your PopSocket securely to the back of your phone or other devices, so choosing the right adhesive is crucial for a successful replacement.
First and foremost, you need to select the right adhesive for your PopSocket. There are various options available, such as double-sided tape, super glue, or specialized adhesive designed specifically for PopSockets. It’s important to choose an adhesive that is strong enough to hold the weight of your phone and withstand daily use.
Before applying new adhesive, you must remove any residue from the previous adhesive. This can be done by gently peeling off the old adhesive or using a mild adhesive remover. Take caution during this process to avoid damaging the PopSocket or your device.
Properly preparing the surface is also key to a successful replacement. Thoroughly clean the back of your phone or device to remove any dirt, grease, or dust particles that can hinder adhesion. You can use a mild soap and water solution or rubbing alcohol for this step. Ensure that the surface is completely dry before moving on.
When applying the new adhesive, it’s essential to carefully read and follow the manufacturer’s instructions. Different adhesives may have specific requirements for application, such as a certain amount or technique. Patience is key here, my friends.
After applying the new adhesive, allow sufficient drying time before using your PopSocket again. Rushing this step could result in a less-than-stellar bond, and we don’t want that. So sit back, relax, and let the adhesive work its magic.
Consider the longevity of the new adhesive as well. Some adhesives offer a temporary solution, while others provide a more long-lasting hold. Depending on your preferences and usage habits, you may want to choose an adhesive that suits your needs.
Lastly, it’s important to note that replacing the adhesive on your PopSocket may void any warranty or guarantee provided by the manufacturer. So before you unleash your DIY skills, be sure to check the warranty terms and conditions.
Tips for Making Sure Your New Adhesive Lasts Longer
PopSockets have become a popular accessory for smartphones and tablets, providing a secure grip and stand functionality. However, over time, the adhesive on the back of PopSockets can start to lose its stickiness. If you find yourself needing to replace the adhesive on your PopSocket or any other product, follow these tips to ensure that your new adhesive lasts longer and keeps your item securely attached.
Clean the Surface:
Before applying any new adhesive, it’s important to clean the surface where you’ll be attaching your PopSocket or other product. Use a mild detergent or rubbing alcohol to remove any dirt, dust, or oils that could interfere with the adhesive’s ability to stick. A clean surface will help ensure a strong bond between the adhesive and your device.
Choose the Right Adhesive:
When replacing the adhesive, make sure to choose a high-quality adhesive that is specifically designed for this purpose. Look for adhesives that are strong, durable, and provide a secure bond. There are various options available in the market, so select the one that suits your needs best.
Apply the Adhesive Evenly:
When applying the new adhesive, use a small amount and spread it evenly across the surface using a thin, flat tool like a spatula or credit card. Avoid applying too much adhesive as it can lead to excess buildup and uneven bonding. Even application will ensure a strong and uniform bond.
Allow Proper Curing Time:
After applying the new adhesive, give it enough time to cure properly. Follow the manufacturer’s instructions regarding the recommended curing time for the specific adhesive you are using. Proper curing time allows the adhesive to reach its maximum strength and ensures a long-lasting bond.
Avoid Excessive Heat or Moisture:
Extreme temperatures or moisture can weaken the adhesive bond and reduce its lifespan. Keep your PopSocket or other adhesive product away from direct sunlight, hot surfaces, water, or any other sources of moisture that can compromise the adhesive’s effectiveness. Optimal storage conditions will help maintain its adhesive quality.
Troubleshooting Common Issues with Replacing PopSocket Adhesive
Replacing the adhesive on your PopSocket can be a rewarding DIY project, but it’s not without its challenges. However, fear not. We’re here to guide you through some common issues you may encounter and provide troubleshooting tips like a pro.
Difficulty in removing the old adhesive:
- Be patient and gentle to avoid damage.
- Use a hairdryer on low heat to loosen the adhesive before peeling it off.
- Remove stubborn residue or sticky bits with rubbing alcohol.
Ensuring proper adhesion of the new adhesive:
- Clean both the phone and PopSocket thoroughly.
- Use rubbing alcohol to remove dirt, oils, and residue.
- Press firmly on the new adhesive for a few seconds to ensure a secure bond.
New adhesive not lasting as long as expected:
- Follow replacement adhesive instructions carefully.
- Apply the adhesive correctly with full coverage and even distribution.
- Consider high-quality adhesive products designed for PopSockets.
Loose or wobbly PopSocket after replacing the adhesive:
- Align the adhesive properly before applying.
- Apply enough pressure during installation by pressing firmly.
- If needed, reapply the adhesive by aligning it properly and pressing firmly again.
Difficulty finding replacement adhesive:
- Check if your PopSocket model includes replacement adhesive discs.
- If not available separately, use strong double-sided tape or compatible adhesive pads.
- Ensure alternative adhesive is of good quality and securely holds the PopSocket.
Alternatives to Replacing the Adhesive on a PopSocket
Let’s start with a classic – double-sided tape. This versatile product is a fantastic alternative to replacing the adhesive on your PopSocket. Simply apply the tape to the back of your PopSocket and attach it to the desired surface. Voila. You now have a secure hold without any fuss.
For those seeking an even stronger bond, super glue or epoxy might be the answer. These powerful adhesives can work wonders in keeping your PopSocket firmly in place. Just remember to follow the instructions carefully and apply the adhesive sparingly to avoid any messy mishaps.
If you prefer a removable option, consider using command strips or adhesive hooks. These nifty strips are designed to securely hold objects and can be easily removed without causing any damage. They come in various sizes and strengths, catering to your specific needs.
Now, what if your PopSocket’s adhesive just needs a little pick-me-up? Try cleaning it with rubbing alcohol or adhesive remover. This simple step can help remove any dirt or residue that may be affecting its stickiness, giving it a fresh lease on life.
And if all else fails, don’t fret – replacement adhesives specifically designed for PopSockets are readily available. These adhesives provide a strong, long-lasting bond and can be conveniently purchased online or at specialty stores.
Remember to always heed the instructions provided with any alternative adhesive you choose to use. Additionally, take into consideration the surface you’re attaching your PopSocket to, as some adhesives may not perform as well on certain materials.
NMsAs4NzfEo” >
Conclusion
In conclusion, the burning question of whether you can replace PopSocket adhesive is met with a resounding yes. If your beloved PopSocket’s stickiness starts to wane or it becomes damaged, fear not. Replacing the adhesive is a cost-effective solution that can breathe new life into your trusty accessory.
To embark on this adhesive-replacement journey, gather some essential materials: strong double-sided tape, adhesive gels, or specialized adhesives tailored specifically for PopSockets. Equip yourself with tools like tweezers, a clean cloth, and a small brush or cotton swabs to make the process a breeze.
This article provides a step-by-step guide that will hold your hand through the entire process of replacing the adhesive on your PopSocket. It’s crucial to begin by meticulously cleaning the surface, selecting the right adhesive that suits your needs, applying it evenly like an artist strokes their canvas, and allowing ample drying time for an unbreakable bond.
During this adhesive replacement extravaganza, there are several considerations to bear in mind. Opting for a high-quality adhesive that matches your requirements is paramount. Properly prepping the surface and adhering (pun intended) to manufacturer instructions are also key ingredients for success. However, please note that replacing the adhesive may potentially void any warranty bestowed upon you by the manufacturer.
To ensure longevity and steadfast attachment of your new adhesive, adhere (no pun intended this time) to tips such as scrubbing down the surface before slapping on fresh glue, cherry-picking the perfect adhesive match for your needs, spreading it evenly like butter on toast, and giving it ample time to cure like fine wine aging in oak barrels. Beware of excessive heat or moisture that can weaken this newfound bond – they’re like kryptonite to superheroes.
Should you encounter any hurdles along this sticky path of replacing PopSocket adhesive (we’ve all been there), fret not. This article has your back with troubleshooting tips that will help you conquer common challenges like a fearless warrior.
Lastly, if replacing the adhesive proves to be an insurmountable task or you simply prefer an alternative solution, fear not. There are other options at your disposal. Double-sided tape, super glue or epoxy, command strips or hooks – they all offer a secure embrace for your PopSocket. You can also explore the realm of cleaning with rubbing alcohol or venturing into specialty adhesives specifically designed for PopSockets.