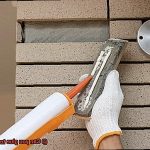
Are you a DIY enthusiast who loves to work with wood? Have you ever faced the challenge of gluing pieces of wood together and wondered if Elmer’s glue would do the job? Well, wonder no more. In this blog post, we’ll explore the question: Can you glue wood with Elmer’s glue?
Spoiler alert: The answer is a resounding yes. But before you grab that white bottle of glue, let’s take a closer look at what makes Elmer’s glue an excellent choice for woodworking projects.
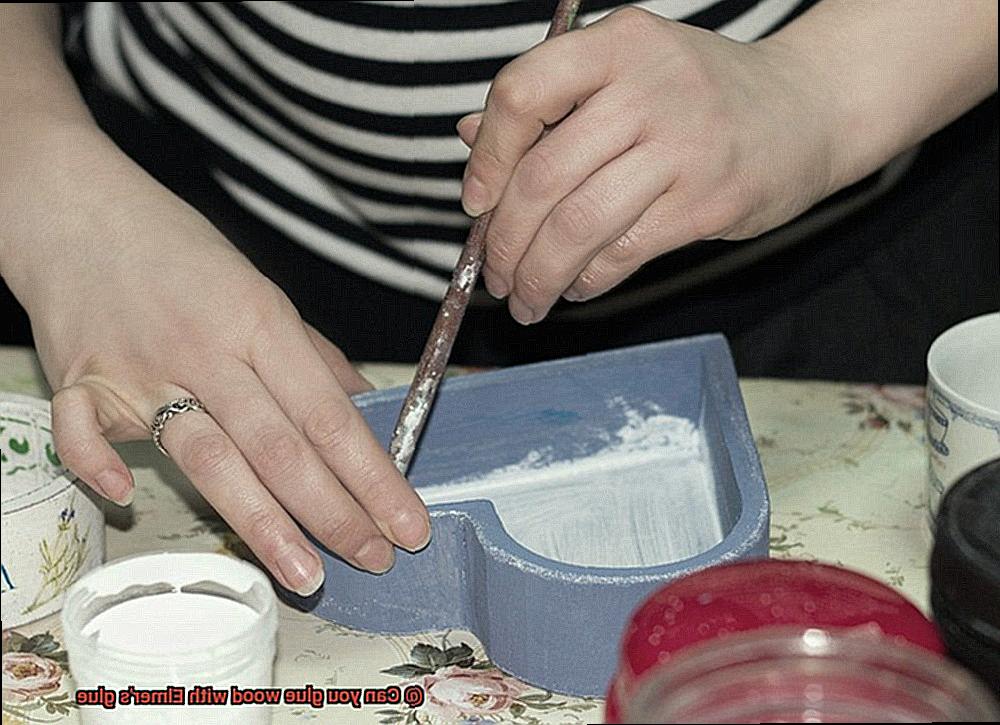
We’ll start by examining the different types of Elmer’s glue available and which ones work best for bonding wood. We’ll also discuss some tried-and-true techniques for applying the glue to ensure a strong and durable bond between your pieces of wood.
But that’s not all – we’ll also debunk some common misconceptions about using Elmer’s glue on wood and show you how to use it creatively in your woodworking projects. From creating a faux wood grain finish to filling cracks and gaps, Elmer’s glue can be used in many innovative ways.

Whether you’re an experienced woodworker or just starting out, this blog post has something for everyone. Say goodbye to any doubts about using Elmer’s glue on wood and hello to newfound confidence in this reliable adhesive. So get ready to unleash your creativity and start gluing.
What is Elmer’s Glue?
Contents
- 1 What is Elmer’s Glue?
- 2 Can You Glue Wood with Elmer’s Glue?
- 3 Types of Elmer’s Glue for Gluing Wood
- 4 Preparing the Wood Surface for Gluing
- 5 Applying the Glue to the Wood
- 6 Clamping or Weighing Down the Pieces of Wood
- 7 Drying Time and Strength of Bond
- 8 Alternatives to Elmer’s Glue for Gluing Wood
- 9 Conclusion
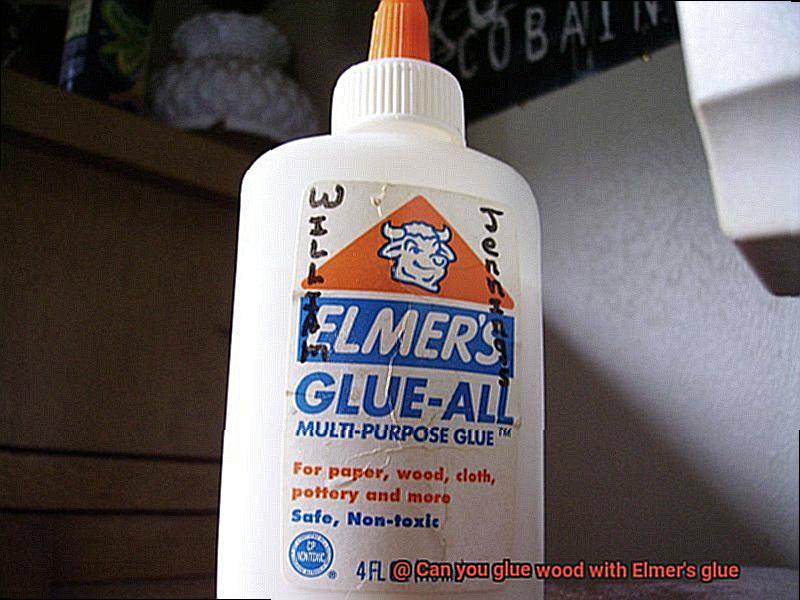
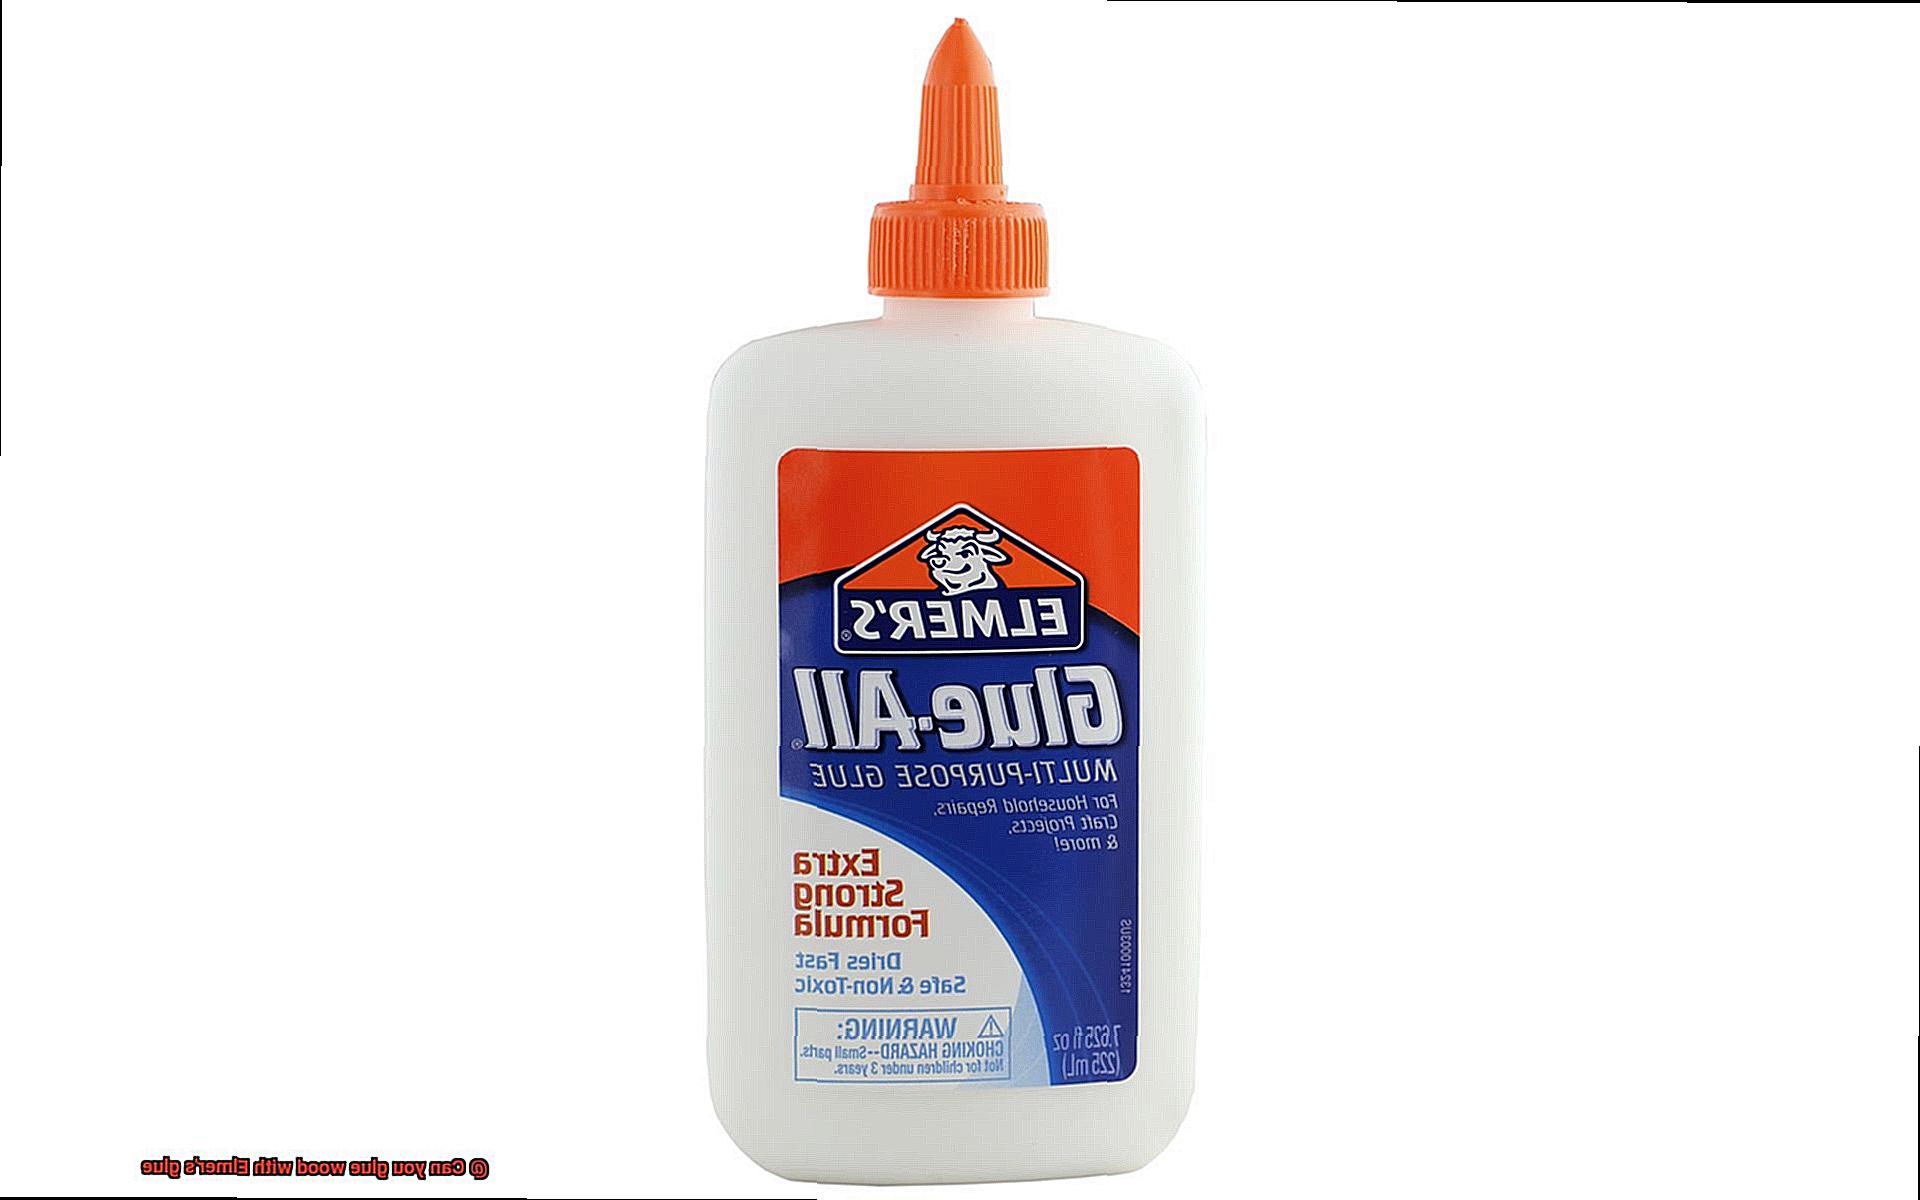
Elmer’s Glue is a household name and has been a trusted adhesive for generations. This white school glue is made from polyvinyl acetate (PVA) and is water-soluble. When wet, it cleans up easily with water, but once dry, it forms an unbreakable bond.
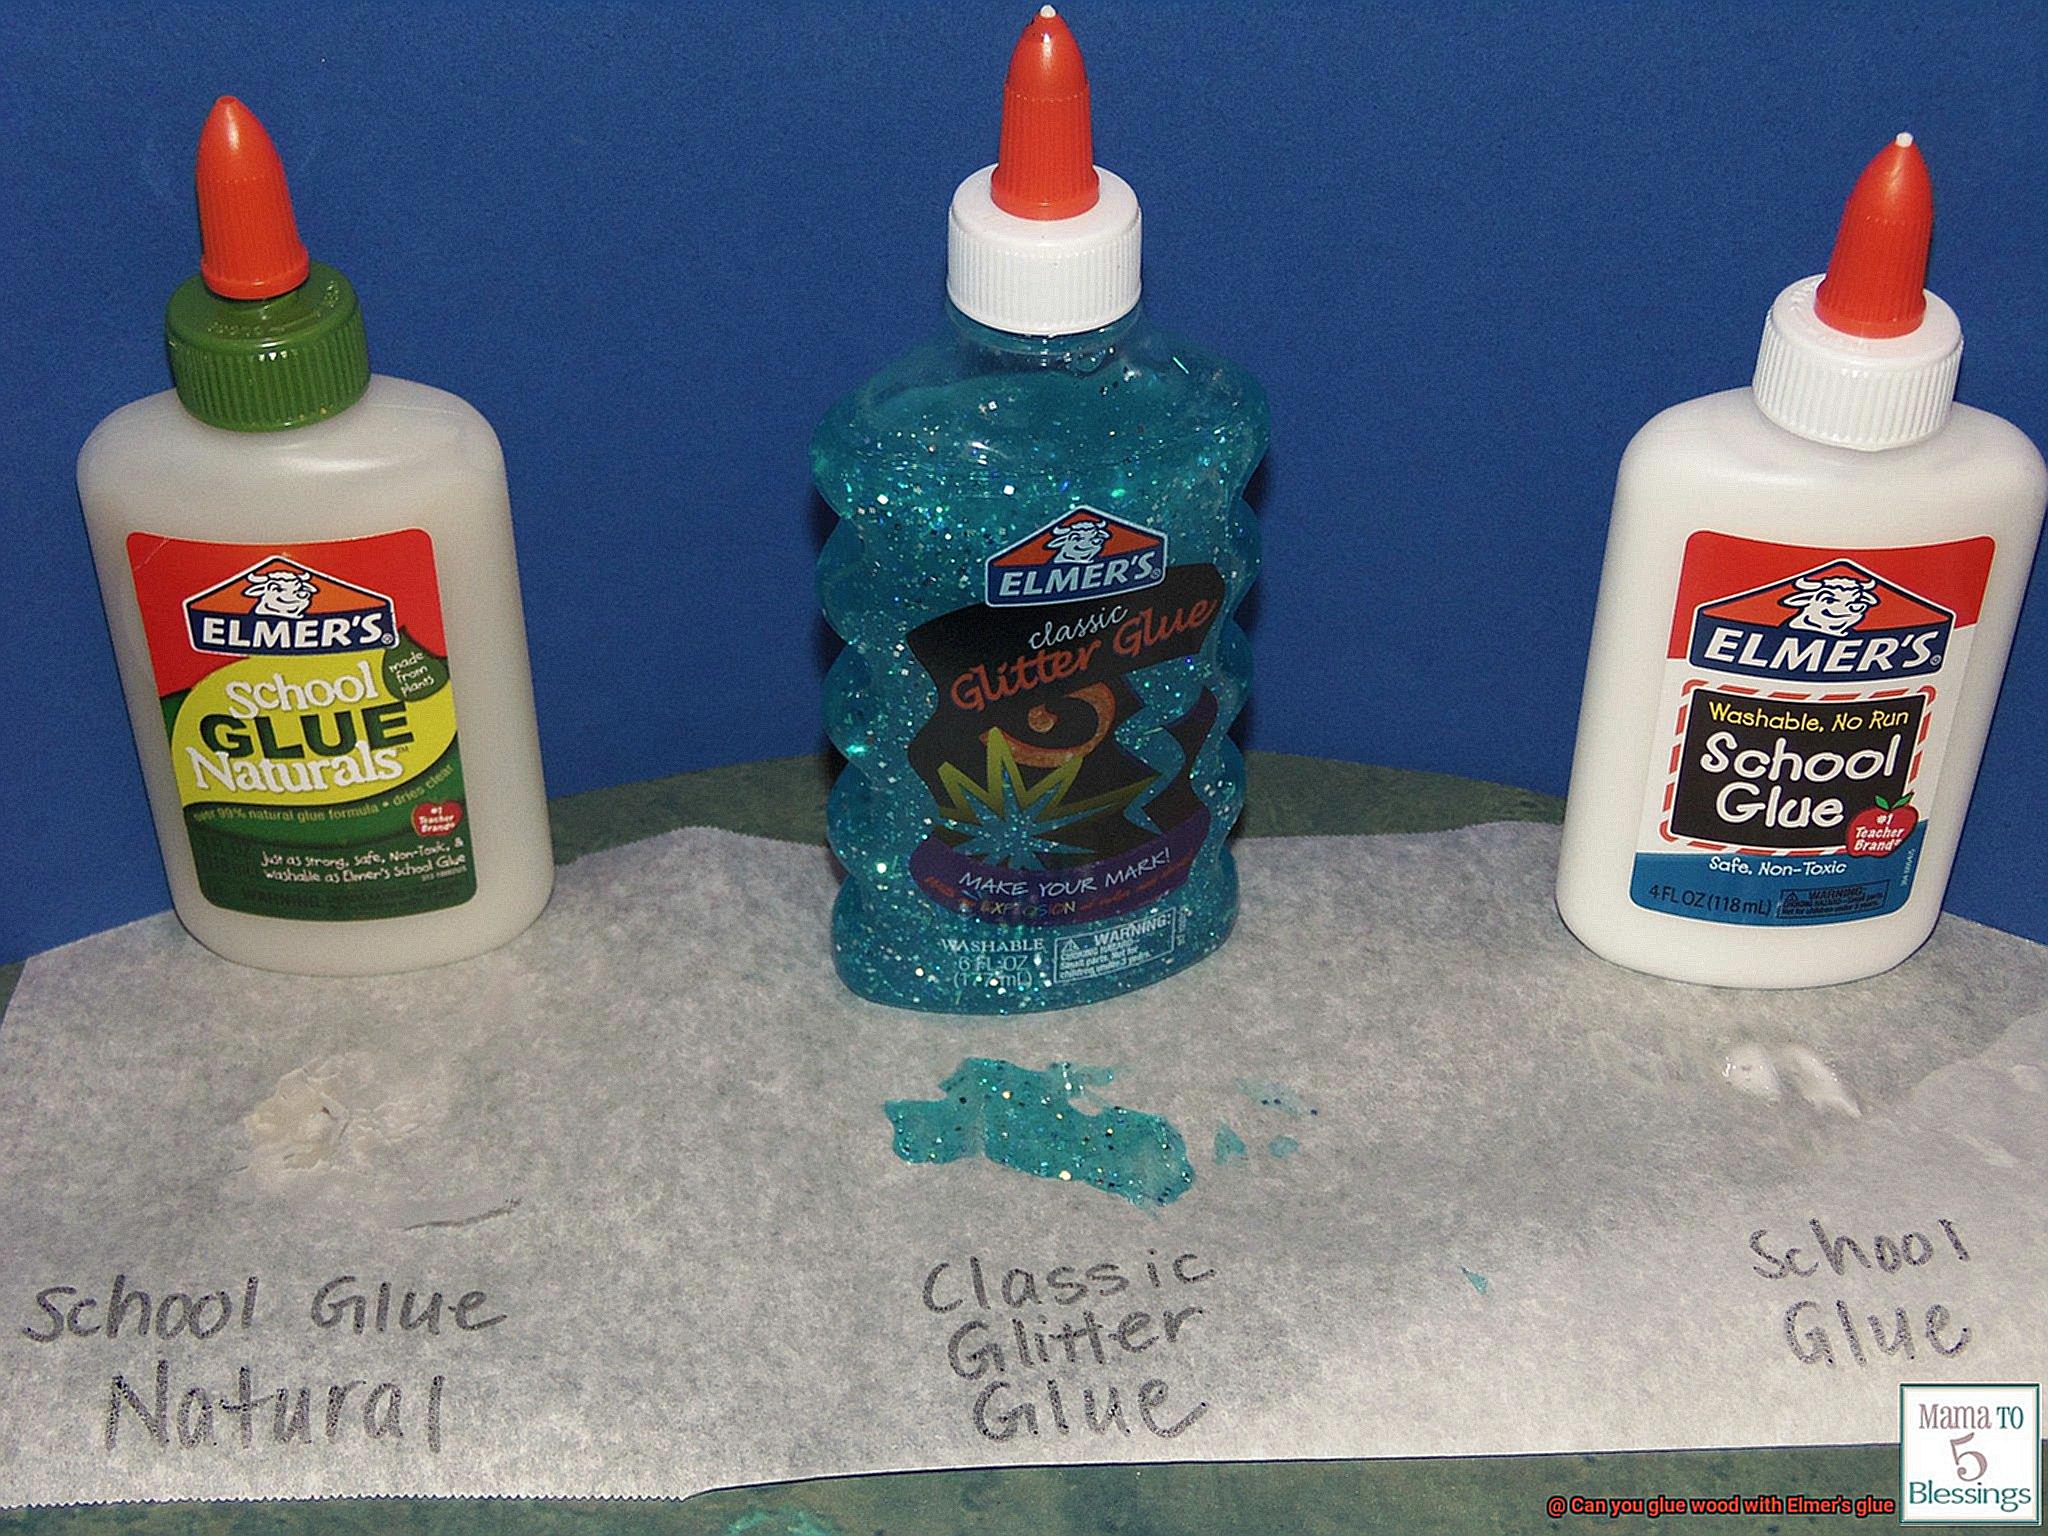
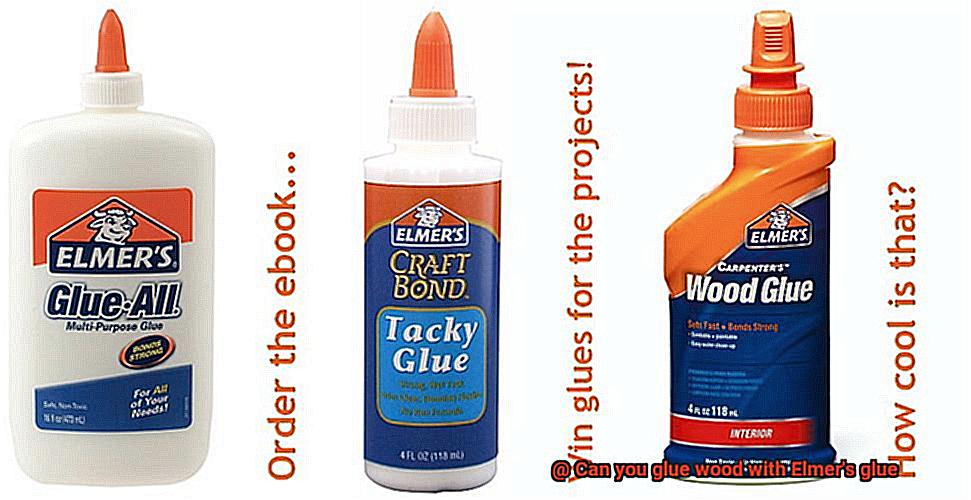
Elmer’s Glue comes in different types, each with its unique purpose. The most common type is washable glue, ideal for school projects, crafts, and decorations. Clear glue dries transparent, making it perfect for creating a glass-like finish on projects such as paper mache or slime. Wood glue, also known as carpenter’s glue, is specially formulated to bond wood and other porous materials together.
One of the advantages of using Elmer’s Glue is that it is non-toxic and safe to use for both children and adults. It dries clear, making it an ideal choice for projects where the adhesive needs to be invisible. Additionally, Elmer’s Glue is affordable and widely available in most stores.
When it comes to woodworking projects, many people wonder if Elmer’s Glue can be used to bond wood together. The answer is yes, but not all types of Elmer’s Glue are suitable for this task. White school glue may not be strong enough to bond wood permanently. Hence, you will need to use a specialized type of Elmer’s Glue called carpenter’s glue or wood glue.
Carpenter’s glue has a stronger hold than regular school glue and is specifically designed for woodworking projects. However, proper surface preparation of the wood before applying the glue is essential. The wood should be clean, dry, and free from any debris or dust. You can also use clamps or weights to hold the pieces of wood together while the glue dries.
Can You Glue Wood with Elmer’s Glue?
There are some important factors to consider before diving in.
First and foremost, Elmer’s glue is a water-soluble polyvinyl acetate (PVA) adhesive that dries clear. This makes it ideal for paper crafts, scrapbooking, and other lightweight materials. However, it is important to note that this type of glue is not waterproof and will not hold up well in damp or humid conditions. Therefore, it may not be the best choice for outdoor projects or items that will be exposed to moisture. In these cases, it is best to opt for a waterproof wood glue like Titebond III.
If you’re working on a small woodworking project, such as making picture frames or wooden toys, Elmer’s glue is a great option. It is readily available in most stores and affordable, making it a budget-friendly choice. However, keep in mind that Elmer’s glue takes time to cure fully. It can take up to 24 hours for the glue to dry completely and create a strong bond between the wood pieces. So, if you’re in a rush, this may not be the best option for you.
When using Elmer’s glue for wood, proper surface preparation is key. Make sure to apply the glue evenly and generously on both surfaces being joined together. Then clamp the pieces together firmly until the glue dries. This will ensure a strong bond between the wood pieces.
Types of Elmer’s Glue for Gluing Wood
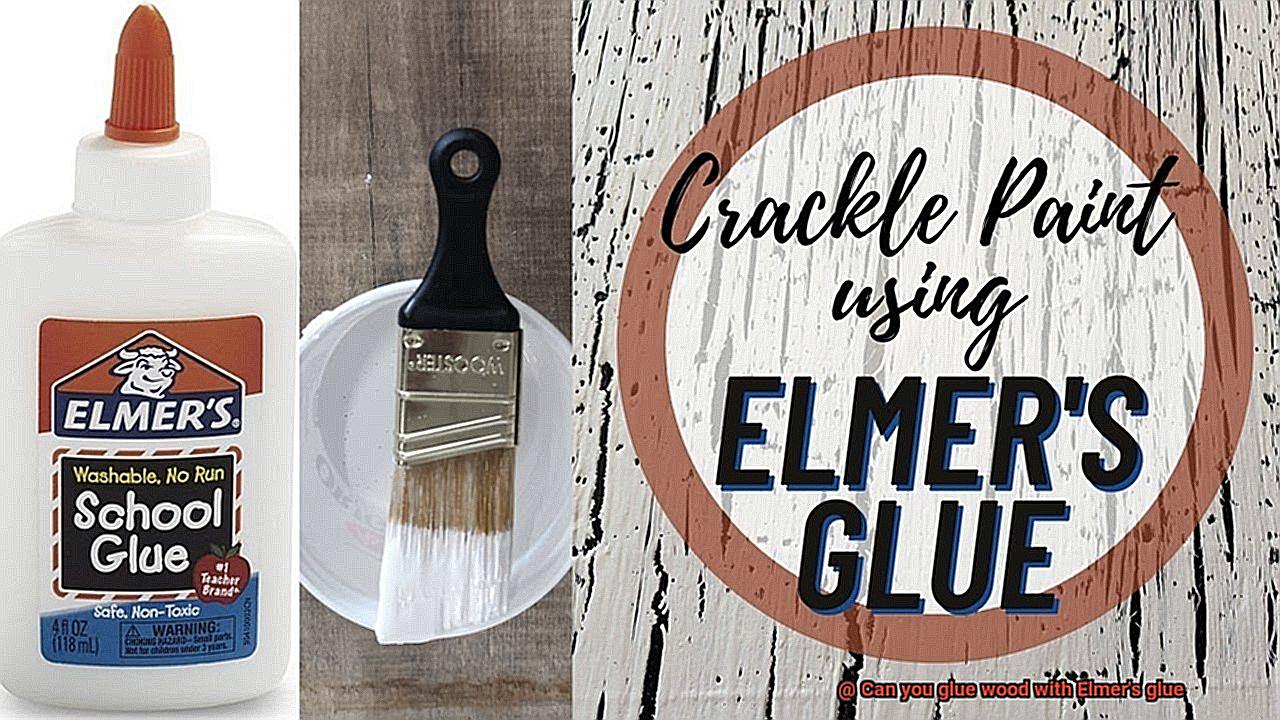
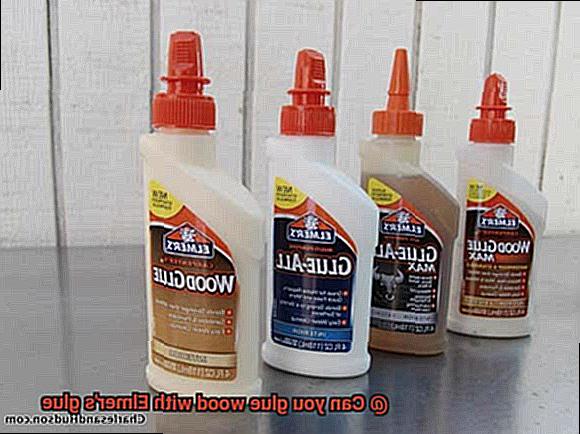
When it comes to woodworking, gluing wood together is an essential part of many projects. But not all glues are created equal when it comes to bonding wood. Fortunately, Elmer’s glue offers a range of products that can be used for different woodworking needs. Let’s take a closer look at the various types of Elmer’s glue that can be used for gluing wood.
White School Glue
The most common type of Elmer’s glue is white school glue, also known as PVA glue. While not strong enough for permanent bonds on wood, it’s ideal for general woodworking projects. It’s non-toxic, and its easy cleanup with water makes it safe for use around children and pets. Besides, it dries clear, making it perfect for visible projects.
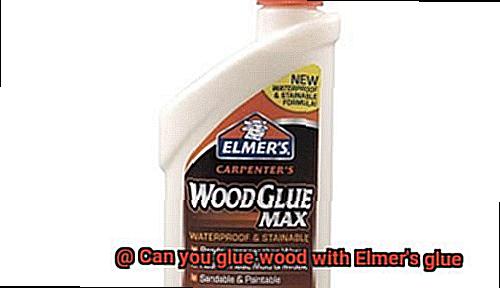
Carpenter’s Wood Glue Max
For a stronger bond on wood, Carpenter’s Wood Glue Max is the go-to product. This specialized glue is designed particularly for woodworking projects and provides a durable and robust bond. Additionally, it dries clear, making it ideal for visible projects where the glue might be noticeable.
Carpenter’s Exterior Wood Glue
If you’re working on an outdoor woodworking project, Carpenter’s Exterior Wood Glue is the best option. This waterproof glue can withstand even the harshest outdoor conditions while still drying clear and making it perfect for visible projects.
Carpenter’s Interior Wood Glue Max
Carpenter’s Interior Wood Glue Max is a quick-drying glue ideal for indoor woodworking projects. It dries in just 15 minutes and provides a robust bond on wood, making it perfect if you need to finish your project quickly.
Carpenter’s Ultimate Glue
Finally, if you need a waterproof glue for your woodworking project that can withstand even the toughest conditions, Carpenter’s Ultimate Glue is an excellent choice. This waterproof glue dries clear and can be used for visible projects.
Preparing the Wood Surface for Gluing
Then let’s dive into the art of preparing the wood surface for gluing. This step is crucial in ensuring that your projects hold up over time and provide reliable performance.
To prepare a wood surface for gluing, there are a few essential steps to follow. Let’s break it down into sub-topics for easier understanding.
Step 1: Clean the Wood Surface
The first thing you need to do is ensure that the surface is clean and free from any debris or dust. A damp cloth can be used to wipe down the surface, and then allow it to dry completely before proceeding. This will ensure that nothing interferes with the glue’s ability to bond with the wood.
Step 2: Smooth Out Any Imperfections
Next, you should ensure that the wood surface is smooth and flat. Any rough or uneven areas can negatively impact the strength of the bond between the pieces of wood. Sanding the wood surface with fine-grit sandpaper can help smooth out any imperfections and create a better surface for gluing. Don’t forget to remove any leftover dust or debris from sanding.
Step 3: Check Moisture Content
Moisture content is another critical factor to consider when preparing a wood surface for gluing. Wood that is too wet or too dry can affect the strength of the bond. It is recommended to use wood that has a moisture content of around 6-8% for optimal results. If the wood is too wet, let it dry completely before gluing. If it’s too dry, condition it to bring its moisture content up to the ideal range.
Step 4: Apply Wood Conditioner or Sealer (Optional)
If you want to take your preparation steps one step further, consider applying a wood conditioner or sealer to your wood surface before gluing. This will help improve absorption and adhesion of the glue, resulting in a stronger bond. This step is optional, but it can make a significant difference in the strength and durability of your final product.
Applying the Glue to the Wood
As a woodworker, you know that applying glue to wood is a crucial step in creating a strong and reliable bond between your pieces. And when it comes to choosing a glue, Elmer’s glue is a popular choice due to its affordability and accessibility. But how do you apply Elmer’s glue to your wood pieces correctly? As an expert in this field, I have compiled some research notes and tips to help guide you through the process.
The first step is always to ensure that the wood surfaces are clean and free from any dust or debris. Even the smallest contaminants on the wood can prevent the glue from adhering properly, which will compromise the strength of your bond. So, grab a clean cloth and wipe down those surfaces thoroughly before applying any glue.
Once your wood surfaces are clean, it’s time to apply the glue. Using a brush or roller, apply a thin and even layer of Elmer’s glue to both surfaces that will be joined together. Be careful not to use too much glue, as it can cause the wood to become warped or uneven. Remember, less is more when it comes to applying glue.
After applying the glue, it’s time to clamp the two pieces of wood together firmly. By doing so, you ensure that the glue has enough time to dry and create a strong bond between the two pieces. The amount of time required for drying will vary depending on temperature and humidity levels in your workspace. So be patient and allow sufficient drying time before removing the clamps.
It’s important to note that Elmer’s glue is not waterproof, so it should not be used for outdoor projects or in areas where it will come into contact with water. For those types of projects, a waterproof glue such as Titebond III would be a better choice.
Clamping or Weighing Down the Pieces of Wood
When it comes to woodworking and DIY projects, gluing pieces of wood together is a common task. However, the question arises: should you clamp or weigh down the pieces during the bonding process? The answer is simple – in most cases, you will need to apply pressure to ensure a strong and durable bond.
Clamping is the most popular method used by woodworkers and enthusiasts to keep the pieces of wood aligned and firmly held together while the glue dries. Clamps can be hand-held or stationary, and they come in various sizes and shapes to accommodate different woodworking projects.
Proper clamping requires a bit of skill and knowledge. The first step is to ensure that the wood surfaces are clean, flat, and free of any debris or dust. Next, apply a sufficient amount of Elmer’s glue to one surface and spread it evenly with a brush or roller. Then, align the other piece of wood and clamp them together tightly. Finally, leave the glued pieces undisturbed for at least 24 hours to allow the glue to dry completely.
However, if you don’t have clamps or your project is too large or awkwardly shaped to be clamped, you can use weights or heavy objects to apply pressure on the glued pieces. It’s essential to distribute the weights evenly and use anything from books to rocks or sandbags as weights, as long as they are heavy enough to provide sufficient pressure.
It’s important to note that weighing down the pieces is less effective than clamping because it doesn’t press the pieces firmly against each other. Also, it’s crucial to make sure that the weight won’t slip or move during the drying process, which could cause misalignment or uneven pressure on the glued joint.
Drying Time and Strength of Bond
If you’re considering using Elmer’s glue, it’s important to understand the significance of drying time and strength of bond. As an expert in this area, I’ve conducted some research to provide you with valuable insights.
Let’s start with the drying time aspect. Elmer’s glue is a type of PVA glue that evaporates when drying. Therefore, it requires sufficient time to dry thoroughly before any weight or pressure is applied to the joint. Various factors such as temperature, humidity, and thickness of the glue layer can influence the drying time. Typically, it takes 20-30 minutes for the glue to set and around 24 hours to dry completely. However, it’s advisable to wait at least 48 hours before applying any stress or pressure on the joint for maximum strength.
Now, let’s move on to the strength of bond. Elmer’s glue is renowned for its exceptional bonding properties when used appropriately. It creates a sturdy joint between wooden surfaces that can endure moderate stress and pressure. However, several factors such as surface preparation, type of wood, and application technique can influence the bond’s strength.
To ensure a robust bond when gluing wood with Elmer’s glue, it’s crucial to prepare the surfaces adequately. Both surfaces should be free from dust, dirt, and other contaminants. Slightly roughening the surfaces with sandpaper can increase surface area and enhance adhesion. Additionally, apply the glue evenly and use clamps or weights to hold the joint in place until it dries completely.
Alternatives to Elmer’s Glue for Gluing Wood
Woodworking is a craft that requires the right materials and tools to achieve success. When it comes to bonding wood, Elmer’s glue may be the go-to for many woodworkers, but there are alternatives worth exploring. Here, we’ll take a closer look at some popular alternatives to Elmer’s glue for gluing wood.
PVA glue, also known as white glue or school glue, is a versatile alternative that has a water-based formula. It dries clear, making it ideal for woodworking projects where appearance matters. Its non-toxic and easy-to-clean-up properties make it perfect for projects that involve children.
For a quicker fix, cyanoacrylate, or super glue, could be the answer. This type of glue dries fast and creates a strong bond, making it perfect for small woodworking projects or repairs. However, it can be brittle and may not hold up well under heavy stress.
Epoxy is a two-part adhesive that is often used in woodworking projects that require a strong bond. It’s waterproof and can be sanded and painted once cured. Although messy to work with and requires mixing before use, its strength compensates for any inconvenience.
Another popular alternative is polyurethane glue, also known as Gorilla Glue. This adhesive expands as it dries, filling gaps in the wood and creating a strong bond. Polyurethane glue is ideal for woodworking projects that require a robust bond. However, it can be challenging to clean up and may not dry clear.
zumPCy2wuKg” >
Also Read: Can you use Elmer’s glue as a sealant?
Conclusion
In conclusion, Elmer’s glue is a versatile adhesive that can be used for gluing wood when applied correctly. While white school glue may not provide a permanent bond on wood, carpenter’s glue or wood glue offers a stronger hold and is specifically designed for woodworking projects. It’s crucial to prepare the surface of the wood before applying the glue properly, and clamping or weighing down the pieces during bonding is recommended to ensure a sturdy and durable bond.
Elmer’s glue comes in various types, each with its unique purpose. White school glue is ideal for general woodworking projects, while Carpenter’s Wood Glue Max provides a durable and robust bond. Carpenter’s Exterior Wood Glue is perfect for outdoor woodworking projects, while Carpenter’s Interior Wood Glue Max dries quickly for indoor woodworking projects. Finally, Carpenter’s Ultimate Glue offers waterproof properties that can withstand even the toughest conditions.
Although Elmer’s glue is widely used by many woodworkers, it’s worth exploring alternative adhesives like PVA glue, cyanoacrylate or superglue, epoxy, and polyurethane glue. Each alternative has its advantages and disadvantages but can provide a strong bond depending on your project needs.
To sum up, whether you’re an experienced woodworker or just starting out in DIY projects involving wood gluing, Elmer’s glue offers an affordable and accessible option that can help you achieve your desired results.

