Picture this: you’ve got a slab of granite that’s just begging to be transformed into something spectacular. The possibilities are endless, but there’s one nagging question that won’t leave your mind: Can you glue to granite? Well, my curious friend, you’ve stumbled upon the ultimate guide that’s about to unravel this mystery once and for all.
Sure, granite is known for its jaw-dropping beauty and rock-solid durability. But when it comes to sticking stuff on its smooth surface, things can get a little tricky. Fear not though. Thanks to some groundbreaking advancements in adhesive technology, we now have the power to bond almost anything to this magnificent stone. In this blog post, we’re going to dive headfirst into the magical world of glues and explore just how practical and effective it really is to stick various materials onto granite.
Whether you’re a DIY fanatic itching to create stunning granite art pieces or a homeowner dreaming of giving your kitchen countertops a serious makeover, this guide has got your back. We’ll arm you with all the knowledge and tools you need to make sure your adhesive adventures stick on granite’s glorious surface.
So, buckle up and get ready for an exhilarating journey through the captivating realm of gluing to granite.
Types of Adhesives for Gluing to Granite
Contents
- 1 Types of Adhesives for Gluing to Granite
- 2 Preparing the Granite Surface for Gluing
- 3 Applying the Adhesive to Granite
- 4 Curing and Letting the Adhesive Set
- 5 Factors to Consider When Gluing to Granite
- 6 Benefits of Using Epoxy Adhesive for Bonding Granite
- 7 Benefits of Using Polyurethane Adhesive for Bonding Granite
- 8 Professional Guidance on Choosing the Right Adhesive
Granite, known for its strength and durability, is a popular choice for countertops, flooring, and other applications. But how do you attach materials to this mighty stone? Fear not. In this article, we will explore the different types of adhesives available for gluing to granite, their advantages, disadvantages, and expert tips for successful bonding.
Epoxy Adhesives: Strength that Stands the Test of Time
When it comes to bonding materials to granite, epoxy adhesives are the gold standard. Composed of a resin and a hardener, epoxy creates an incredibly strong and durable bond that can withstand heavy loads and temperature changes.
This makes it ideal for applications where strength and durability are paramount, such as attaching countertops or flooring to granite surfaces. Epoxy is also resistant to moisture and chemicals, ensuring a long-lasting bond.
However, it’s important to note that epoxy can be expensive and requires careful mixing and application to achieve optimal results.
Polyurethane Adhesives: Flexibility Meets Bonding Power
If you’re looking for an adhesive that offers both flexibility and bonding strength, polyurethane adhesives are an excellent choice. Unlike epoxy, polyurethane adhesives cure by reacting with moisture in the air, which gives them the ability to create a flexible bond.
This makes them perfect for bonding dissimilar materials or those with different coefficients of expansion. Additionally, polyurethane adhesives are resistant to water and temperature changes, making them suitable for both indoor and outdoor applications.
However, it’s worth noting that polyurethane adhesives may take longer to cure compared to epoxy.
Silicone Adhesives: A Versatile Choice
Silicone adhesives are known for their versatility and ability to provide excellent adhesion to granite surfaces. They offer good resistance to moisture and temperature changes, making them ideal for applications where the material may expand or contract due to thermal fluctuations.
Additionally, silicone adhesives remain flexible after curing, allowing them to accommodate movements caused by thermal expansion or contraction.
However, it’s important to keep in mind that silicone adhesive may not be as strong as epoxy or polyurethane adhesive, so it may not be suitable for heavy-duty applications.
Acrylic Adhesives: Easy Application, Quick Drying
If you’re looking for an adhesive that is easy to use and dries quickly, acrylic adhesives are a great option. They offer good bond strength and resistance to moisture and temperature changes, making them suitable for bonding materials to granite surfaces. Acrylic adhesives are available in different formulations, including fast-curing options, which can significantly reduce the waiting time for the adhesive to cure.
Preparing the Granite Surface for Gluing
Imagine the satisfaction of successfully bonding materials to the majestic surface of granite, creating stunning pieces of art or functional objects. Today, we’re diving into the nitty-gritty of preparing a granite surface for gluing, ensuring a strong and long-lasting bond. So roll up your sleeves, grab your tools, and let’s get started.
Step 1: Cleanliness is Key
Before we embark on this gluing adventure, we must ensure our granite surface is squeaky clean. Grab a clean, damp cloth or a mild detergent solution, and wipe away any dirt, dust, or debris that may hinder adhesion. A pristine surface is crucial for a successful bond.
Step 2: Roughening the Surface
Now, it’s time to give our granite surface a little rough love. To promote better adhesion, gently sand the surface using sandpaper or a diamond-grit abrasive pad. Move in circular motions, creating a slightly rough texture that will provide grip for the adhesive. Remember to remove any loose particles or dust after sanding.
Step 3: Another Round of Cleaning
After roughening the surface, let’s give it one more thorough cleaning. This step ensures that no lingering debris interferes with the adhesive’s ability to bond properly. A clean slate sets the stage for success.
Step 4: The Adhesive Selection Dilemma
Ah, the world of adhesives. With epoxy, polyurethane, silicone, and acrylic options at our disposal, choosing the right adhesive can be overwhelming. Opt for an adhesive specifically designed for stone surfaces like granite. Research different types to find the perfect match for your project’s needs.
Step 5: Compatibility Testing
Before diving headfirst into gluing, it’s wise to test your chosen adhesive on a small, inconspicuous area of the granite. This step ensures that the adhesive is compatible with the stone and produces the desired results. Follow the manufacturer’s instructions regarding application and curing time.
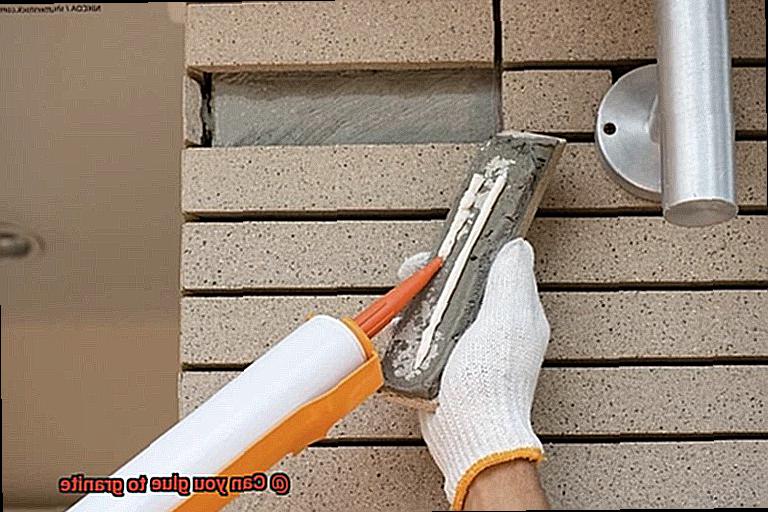
Step 6: Applying the Adhesive
Now comes the moment of truth. Using a notched trowel or a disposable brush, apply an even and consistent layer of adhesive onto the prepared granite surface. Avoid going overboard with the adhesive, as excess seepage or uneven bonding may occur.
Step 7: The Perfect Match
Gently place your object or material onto the granite surface, applying gentle pressure to ensure proper contact. If needed, use clamps or weights to hold everything in place until the adhesive cures completely. This step ensures a strong and secure bond that will stand the test of time.
Applying the Adhesive to Granite
Marvel at the breathtaking beauty of granite and unleash your creativity by turning it into a canvas for your artistic and functional masterpieces. In this informative guide, we will take you through the fascinating process of applying adhesive to granite. Whether you are a DIY enthusiast or a professional craftsman, these expert tips and tricks will empower you to create a strong and lasting bond that will stand the test of time.
Step 1: Gather the Right Adhesive
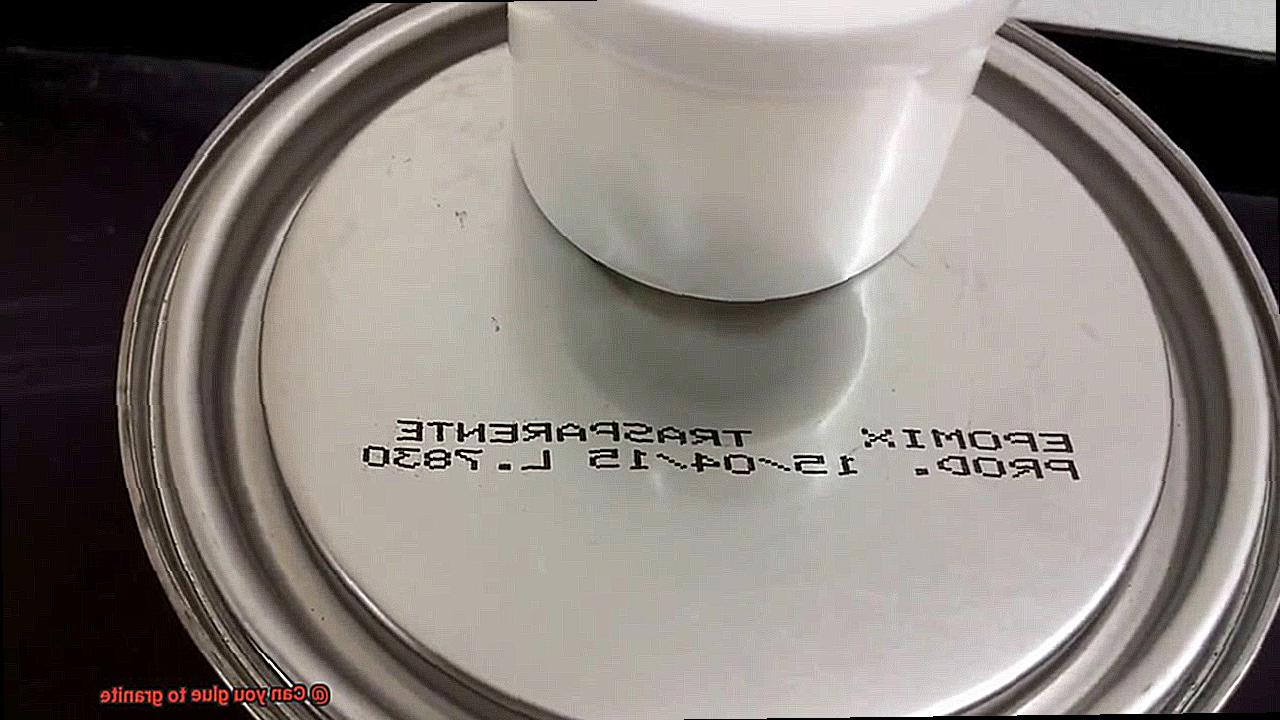
To achieve a successful bond with granite, it is crucial to choose the right adhesive. Regular household adhesives simply won’t cut it due to the unique properties of granite. Opt for the strength and reliability of epoxy resin, renowned for its exceptional bonding capabilities. Epoxy adhesives come in two parts – a resin and a hardener – which must be skillfully mixed together before application.
Step 2: Prepare the Surface
Prepare your granite surface like a seasoned pro. Ensure it is immaculately clean, free from any dirt, dust, or grease, by using a mild detergent or stone cleaner. Enhance adhesion by gently sanding the surface to create an enticingly rough texture.
Step 3: Apply the Adhesive
With precision and finesse, generously apply your chosen adhesive onto the prepared granite surface using a trusty putty knife or similar tool. Follow the manufacturer’s instructions diligently regarding application methods and recommended quantities. Working in manageable sections prevents premature drying.
Step 4: Press and Hold
Harness the power of pressure to create an unbreakable bond. Firmly press the surfaces together that require bonding. For added assurance, utilize clamps or heavy objects to keep them perfectly aligned while the adhesive cures. Remember, alignment is key for unparalleled strength and durability.
Step 5: Allow for Proper Curing Time
Patience is a virtue when it comes to adhesive curing time. The duration will vary depending on the specific product used. Allow ample time for the adhesive to fully cure before applying any stress or load. Consult the manufacturer’s instructions for accurate curing times, typically ranging from 24 to 48 hours.
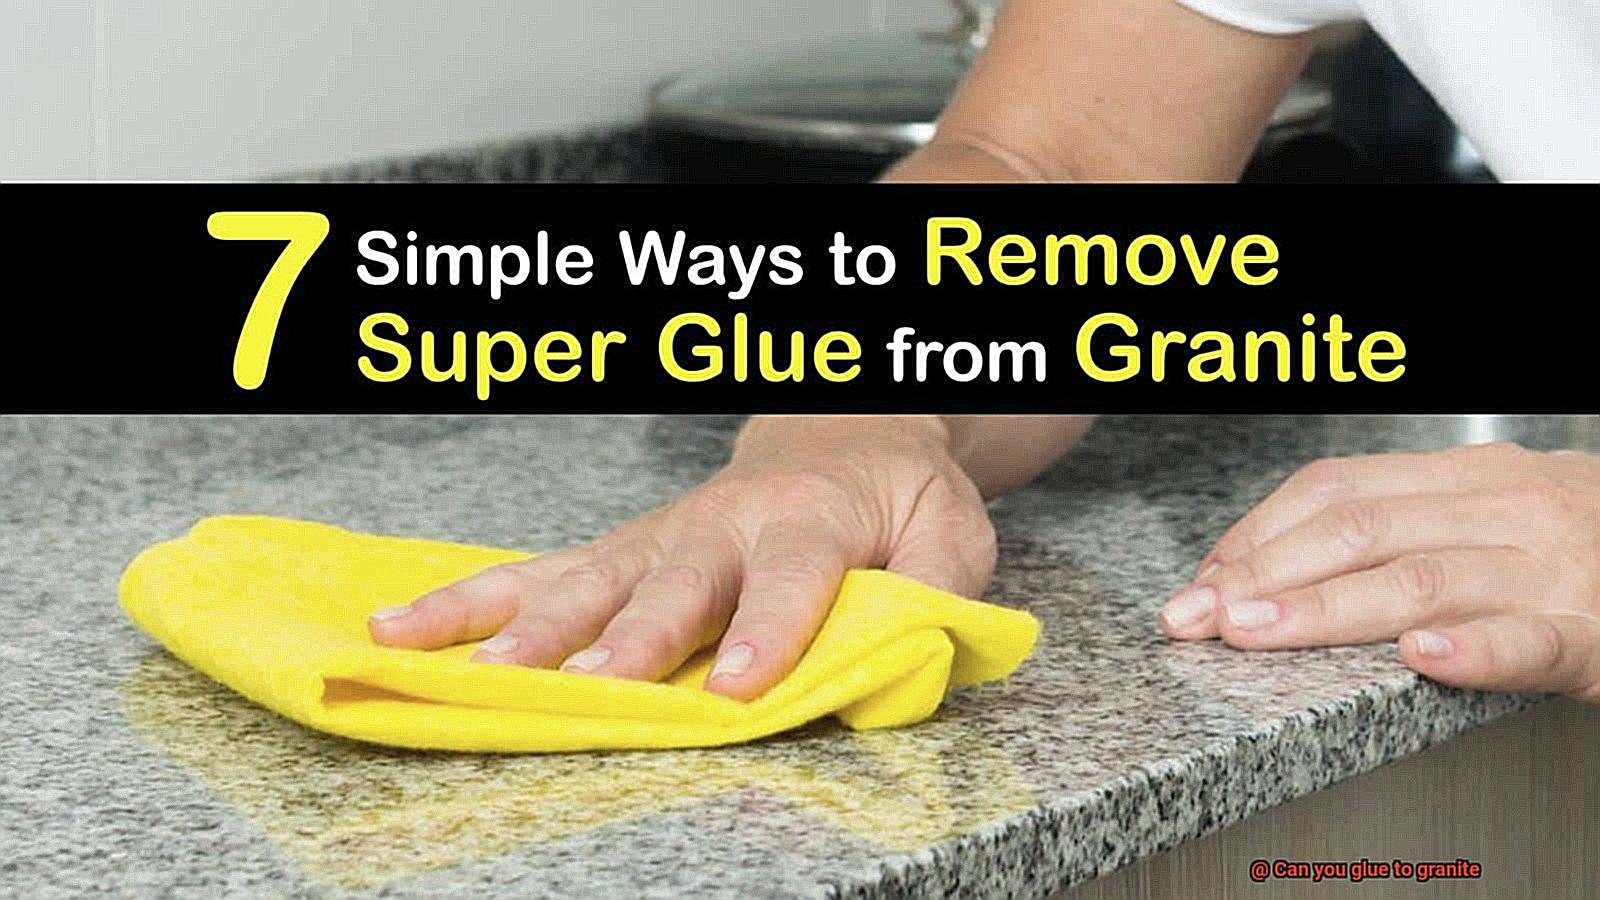
Step 6: Remove Excess Residue
The finishing touch is removing any excess or visible residue left behind after curing. Treat your granite delicately by gently removing the residue with a solvent or carefully scraping it away. Avoid harsh chemicals or abrasive tools that could mar the surface.
Curing and Letting the Adhesive Set
Today, we explore the vital role of curing and letting adhesive set in achieving a bond that is truly unbreakable. So grab your favorite adhesive, prepare to be amazed, and let’s dive in.
The Alchemy of Curing:
Curing is the magical moment when the adhesive reaches its peak strength and stability. Each adhesive has its own unique curing time, so consulting the manufacturer’s instructions is crucial. Typically, most adhesives require a minimum of 24 hours to fully cure, although some may take longer. Remember, patience is the secret ingredient here.
Creating the Perfect Environment:
To guarantee a successful cure, it is essential to provide an optimal environment with stable temperature and humidity levels. Extreme temperatures or high humidity can disrupt the curing process and weaken the bond. Find that sweet spot where your adhesive can work its magic undisturbed.
The Power of Pressure:
Applying pressure during the curing process can enhance certain adhesives’ performance. Utilize clamps or suitable methods to distribute pressure evenly along the glued surfaces, eradicating any gaps or air bubbles that could jeopardize bond strength. Remember, even pressure is your secret weapon.
Handle with Tender Care:
After curing, rejoice in your adhesive’s newfound strength. However, exercise caution – it’s not fully set just yet. Avoid subjecting the glued area to excessive stress or weight until it has completely hardened. Grant it that extra time to achieve its optimal properties.
Factors to Consider When Gluing to Granite
Gluing items to granite may seem like a daunting task, but with proper preparation and attention to detail, you can achieve a strong and durable bond. There are several key factors to consider when working with glue and granite. Let’s explore these factors in detail.
- Surface Preparation: The first step in gluing to granite is ensuring that the surface is clean and free from any dirt, dust, or debris. Use a mild detergent and water solution with a soft cloth or sponge to clean the surface. Avoid abrasive cleaners or scrub brushes that could scratch the granite.
- Type of Glue: Choosing the right type of glue is crucial for a successful bond. Epoxy-based adhesives are recommended for gluing to granite due to their excellent bonding properties and ability to withstand high temperatures and moisture. Polyurethane adhesives can also be used, but they may not provide the same level of strength and durability as epoxy.
- Compatibility: Make sure the chosen glue is compatible with both the materials being bonded and the specific type of granite. Some adhesives may not adhere properly to certain types of treated or sealed granite. Test the adhesive on a small, inconspicuous area before applying it to the entire surface.
- Proper Application: Follow the manufacturer’s instructions carefully when applying the glue. This may involve mixing different components or applying it in a specific manner. Avoid using excessive amounts of glue, as it can lead to messy results and weaken the bond. Conversely, using too little glue may result in a weak bond that easily breaks.
- Curing and Drying Time: After applying the adhesive, be patient and allow sufficient time for it to cure and dry properly. The curing and drying time can vary depending on the type of glue used and environmental conditions like temperature and humidity. Follow the manufacturer’s instructions for the recommended time.
- Maintenance and Care: To maintain the bond over time, practice proper maintenance and care. Avoid using abrasive cleaners or scrub brushes that can damage the bond. Regular cleaning with a mild detergent and water solution, along with gentle wiping, should be sufficient to keep the bond in good shape.
Benefits of Using Epoxy Adhesive for Bonding Granite
When it comes to bonding granite, epoxy adhesive is the ultimate solution. Its exceptional strength and durability make it the perfect choice for securing granite in various applications. Let’s explore the benefits of using epoxy adhesive for bonding granite.
First and foremost, epoxy adhesive boasts unmatched strength and durability. It is specifically formulated to create a bond that is stronger than the granite itself. This means that once your granite countertop or tiles are secured with epoxy adhesive, you can trust that the bond will hold up under constant use and weight.
Not only is epoxy adhesive incredibly strong, but it also offers resistance to moisture, chemicals, and temperature fluctuations. Granite surfaces are often exposed to water, spills, and cleaning agents that can weaken the bond over time if a weaker adhesive is used. Epoxy adhesive is designed to withstand these harsh conditions, ensuring that your bond remains intact and strong.
Furthermore, epoxy adhesives have the unique ability to fill gaps and irregularities in the surface. Granite surfaces may not always be perfectly flat or smooth, but epoxy adhesives can compensate for these imperfections. This creates a seamless bond between the granite pieces, enhancing both the aesthetic appeal and structural integrity of your installation.
In addition to its strength and durability, epoxy adhesive also offers a longer working time compared to other types of adhesives. This gives you more flexibility during the installation process, allowing ample time to position and align the granite pieces before the adhesive sets. This is particularly beneficial when working with larger or complex installations where precise alignment is crucial.
Moreover, epoxy adhesives come in various colors or can be tinted to match the color of the granite being bonded. This ensures a seamless finish and minimizes the visibility of any joints or seams. So not only does epoxy adhesive provide a strong bond, but it also enhances the overall appearance of your granite installation.
Last but not least, epoxy adhesive is relatively easy to use and apply. It typically comes in two-part formulas that need to be mixed together before application. Once mixed, the adhesive can be applied evenly to the surfaces being bonded. Any excess adhesive can be easily cleaned up with a suitable solvent before it cures.
Benefits of Using Polyurethane Adhesive for Bonding Granite
When it comes to bonding granite, you need an adhesive that is not just strong, but also durable and reliable. Look no further than polyurethane adhesive. This versatile adhesive offers a range of benefits that make it the perfect choice for bonding granite surfaces.
First and foremost, polyurethane adhesive is known for its exceptional strength and durability. It forms an unyielding bond with granite, ensuring that your installation will withstand the test of time. Whether you’re bonding granite for kitchen countertops or flooring, polyurethane adhesive guarantees a secure and long-lasting bond that won’t let you down.
One standout advantage of using polyurethane adhesive is its flexibility. Unlike other adhesives, polyurethane possesses a degree of elasticity, allowing it to absorb vibrations and movements without cracking or breaking. This characteristic is particularly crucial for granite as it is a natural stone that can expand and contract with changes in temperature and humidity. With polyurethane adhesive, you can rest easy knowing that your bond will remain intact even in the face of challenging conditions.
Polyurethane adhesive also boasts excellent resistance to moisture and chemicals. Granite is often used in wet environments like bathrooms or outdoor settings, where it may come into contact with water or harsh chemicals. Polyurethane adhesive ensures that the bond remains robust even in these conditions, offering you peace of mind knowing that your installation will stay intact regardless of the environment.
Another benefit of polyurethane adhesive is its superior adhesion properties. It bonds exceptionally well with different surfaces, including granite. It fills any gaps or imperfections in the surfaces being bonded, resulting in a seamless and secure bond. This not only strengthens the bond but also ensures a professional-looking finish for your project.
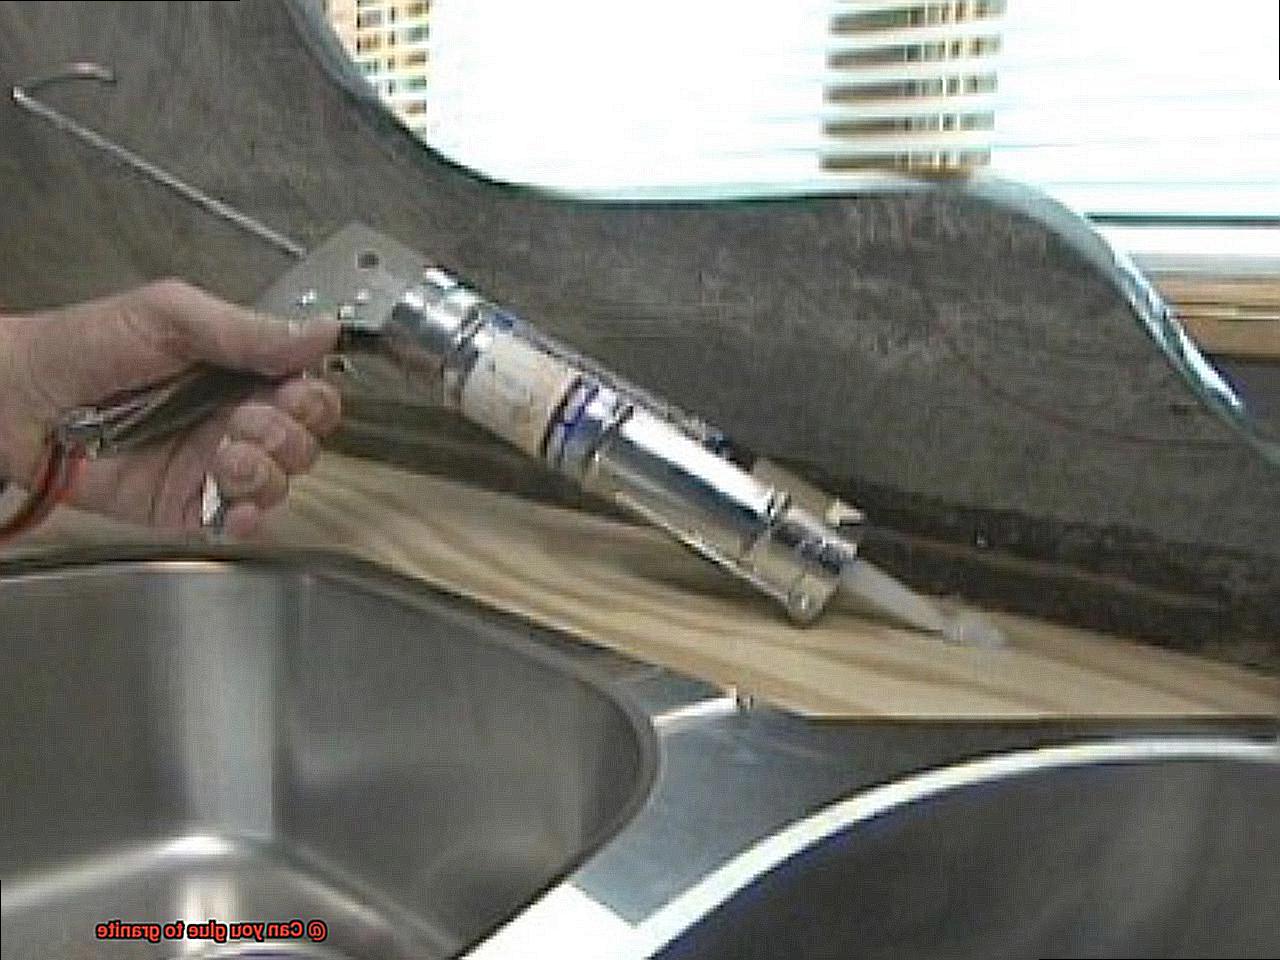
Ease of use is another advantage of polyurethane adhesive. It comes in various forms such as liquids, gels, or foams, making it easy to apply based on your specific needs. Whether you’re a professional or a DIY enthusiast, polyurethane adhesive can be applied using a standard caulking gun or other dispensing equipment, ensuring convenience and efficiency.
Additionally, polyurethane adhesive has a relatively fast curing time. Once applied, it typically cures within a few hours to a few days, depending on the specific product and environmental conditions. This allows for quicker installation and reduces downtime for projects involving granite bonding, enabling you to enjoy your newly bonded surfaces sooner.
Lastly, polyurethane adhesive is renowned for its long-lasting performance. It resists degradation over time, guaranteeing that the bond remains strong and reliable for many years. This is especially significant for applications where the granite is exposed to harsh conditions or heavy use, as it ensures the longevity of the bonded surfaces.
Professional Guidance on Choosing the Right Adhesive
Choosing the right adhesive for your granite project is crucial to ensure a strong and durable bond. Granite is a dense and durable material, so it requires an adhesive that can withstand its weight and provide a long-lasting bond. With so many options available in the market, finding the perfect adhesive for your specific needs can be overwhelming. But fear not. We are here to provide you with professional guidance on selecting the right adhesive for your granite project.
First and foremost, it’s important to understand why choosing the right adhesive is crucial. Granite is a popular choice for countertops, flooring, and other applications due to its beauty and durability. However, using the wrong adhesive can lead to bonding failure, compromising the integrity of your installation. This can result in costly repairs or replacements down the line.
When it comes to choosing the right adhesive for granite, several factors need consideration:
- Type of Project: Different projects require different adhesives. For example, if you are installing a granite countertop, you will need an adhesive specifically designed for vertical applications and capable of withstanding heavy loads. If you are bonding granite tiles to a floor, you will need an adhesive suitable for horizontal applications and capable of withstanding foot traffic.
- Specific Granite Surface: Not all adhesives are suitable for bonding to all types of granite surfaces. Some adhesives may work better on polished surfaces, while others may be more suitable for rough or textured surfaces. Consider the surface finish of your granite and choose an adhesive compatible with it.
- Desired Bond Strength: The required bond strength depends on factors such as weight or load applied to the bonded area. If you are bonding heavy granite pieces together, you will need a high-strength adhesive capable of withstanding the weight.
Now that we have covered the factors to consider, let’s explore the different types of adhesives commonly used for bonding to granite:
- Epoxy Adhesives: Known for their high bond strength and excellent durability, epoxy adhesives are ideal for bonding heavy granite pieces together. However, they can be more challenging to work with as they require precise mixing ratios and have a longer curing time.
- Polyurethane Adhesives: Offering a balance between strength and flexibility, polyurethane adhesives are suitable for a wide range of granite applications. They provide a strong bond capable of withstanding moisture and chemicals. Additionally, polyurethane adhesives have a quick curing time, making them more convenient to use.
- Acrylic Adhesives: Often used for lighter applications or when a more transparent bond is desired, acrylic adhesives provide a reliable bond for granite surfaces.
When selecting the right adhesive, it’s essential to consider your project requirements, personal preferences, and the specific properties of each adhesive type. It is also important to properly prepare the granite surface before applying the adhesive by cleaning and roughening it to ensure better adhesion.
PclgvfhqOsg” >