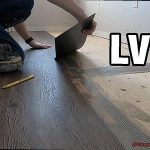
Picture this: your laminate flooring, countertops, or furniture – the shining stars of your home – start to show signs of wear and tear. Maybe a little chip here, a lift there. Panic sets in. Do you have to rip everything apart and start from scratch? Not so fast.
If you’ve ever found yourself pondering these questions, fret not. In this all-inclusive guide, we’ll dive into the captivating world of gluing on laminate and equip you with expert tips for seamless repairs.
Whether you’re a DIY enthusiast or a homeowner seeking to save some bucks by tackling minor laminate issues yourself, we’ve got your back. So grab that adhesive tube and brace yourself for an adventure through the realm of laminate repair.
In this blog post, we won’t just answer the burning question about gluing laminate; we’ll also unveil foolproof step-by-step instructions, explore top-notch adhesives, and share indispensable tips to extend the lifespan of your cherished laminate surfaces. Get ready to restore both beauty and functionality with just a smidge of glue and an abundance of know-how.
Stay tuned for our upcoming installment where we delve into the nitty-gritty details of gluing on laminate and unleash our expert advice. Let’s embark on this exhilarating DIY journey together.
What is Laminate?
Contents
- 1 What is Laminate?
- 2 Different Types of Laminate
- 3 Preparing the Surface for Glue
- 4 Contact Cement: Advantages and Disadvantages
- 5 Construction Adhesive or Polyurethane Adhesive: Advantages and Disadvantages
- 6 Other Types of Glue to Avoid
- 7 Mechanical Fasteners for Additional Support
- 8 Applying the Glue Evenly and Effectively
- 9 Conclusion
When it comes to enhancing the beauty and durability of your home, laminate is a material that should be on your radar. Whether you’re looking to upgrade your flooring, countertops, or furniture, laminate offers a cost-effective and versatile solution that can mimic the appearance of natural materials like wood or stone.
So, what exactly is laminate? It’s a composite material consisting of multiple layers that work together to create a durable and aesthetically pleasing product. At the top layer, you’ll find a transparent protective coating that provides resistance against scratches, stains, and fading. This layer ensures that your laminate surfaces retain their vibrant appearance for years to come.
Beneath the protective layer lies the decorative layer, which is where laminate gets its unique look. With a wide range of patterns, colors, and textures available, you can easily find a laminate design that suits your personal style and complements your home’s decor. Whether you’re after the warmth of hardwood or the elegance of marble, laminate has got you covered.
The core layer is where the strength and stability of laminate come into play. Made from high-density fiberboard (HDF) or particleboard, this layer ensures that your laminate surfaces can withstand daily wear and tear. HDF core offers superior moisture resistance and structural stability compared to particleboard, making it an excellent choice for areas prone to spills or humidity.
Last but not least, there’s the backing layer. This layer acts as a barrier against moisture and helps prevent warping or buckling of the laminate. Made of paper or plastic material, the backing layer adds extra strength and stability to the overall structure of the laminate.
What makes laminate even more appealing is its ease of maintenance. Unlike natural materials like hardwood or stone, laminate is effortless to clean and requires minimal upkeep. A simple wipe with a mild detergent is all it takes to keep your laminate surfaces looking their best. This makes laminate an excellent choice for high-traffic areas or households with children or pets.
In addition to its durability and low maintenance requirements, laminate also offers a significant cost advantage over natural materials. While still providing a similar aesthetic appeal, laminate is more affordable, making it an attractive option for homeowners on a budget.
Different Types of Laminate
This versatile material is a fantastic choice for countertops, flooring, and furniture due to its durability and affordability. But did you know that there are different types of laminate? Let’s dive in and explore the characteristics, applications, and considerations for selecting the perfect laminate for your home.
High-Pressure Laminate (HPL): The Superhero of Durability
When it comes to durability, HPL is like a superhero ready to withstand the toughest challenges. Made by bonding multiple layers of kraft paper infused with melamine resin under high pressure and temperature, HPL is perfect for high-traffic areas like kitchens and commercial spaces. It’s resistant to impact, heat, scratches, and moisture, making it an excellent choice for busy households or bustling businesses. With a wide range of colors and patterns available, you can customize your HPL to match your style and create a stunning, long-lasting surface.
Low-Pressure Laminate (LPL): Affordable Elegance for Your Home
If you’re looking for an affordable option with endless design possibilities, LPL is the way to go. Created by applying a decorative layer directly onto a composite wood substrate, LPL offers a variety of styles, including wood grain patterns and solid colors. While it may not be as durable as HPL, it still adds a touch of elegance to your home. LPL is commonly used for furniture, cabinets, and residential applications where durability requirements are not as high. It provides a cost-effective solution while maintaining aesthetic appeal.
Post-Forming Laminate: Curved Surfaces Made Easy
Imagine having countertops with smooth, rounded edges that effortlessly flow around your space. That’s where post-forming laminate comes in. This flexible laminate is designed to mold easily around curves and edges during installation. It’s perfect for creating a sleek and modern look in your kitchen or bathroom. With post-forming laminate, you can achieve seamless transitions and unique designs that make a bold statement.
Specialty Laminates: Meeting Specific Needs
Sometimes, we need more than just durability and style. That’s where specialty laminates come into play. Fire-rated laminates are specially designed to meet strict fire safety standards, making them ideal for commercial buildings or healthcare facilities. These laminates provide an added layer of protection without compromising on aesthetics. Antibacterial laminates inhibit the growth of bacteria, ensuring hygiene in hospitals or food preparation areas. They offer peace of mind and a clean environment. By choosing specialty laminates, you can address specific needs and regulations while still enjoying the benefits of laminate surfaces.
Preparing the Surface for Glue
Whether you’re a DIY enthusiast or a professional craftsman, understanding the proper steps for surface preparation is key to achieving a strong and long-lasting bond. So let’s dive in and uncover the secrets to a flawless glue application.
Step 1: Cleanliness is Key
Before delving into the glue application process, cleanliness reigns supreme. Thoroughly clean the laminate surface using a mild detergent or cleaner specifically formulated for laminates. Bid farewell to dirt, dust, and grease that may hinder the adhesive’s performance. Rinse the surface meticulously and ensure it dries completely before progressing to the next step.
Step 2: Embrace the Roughness
To provide the glue with an optimal grip, embrace the power of light sanding. Utilize fine-grit sandpaper to delicately sand the surface in circular motions. Be gentle yet firm, avoiding excessive pressure that could harm the laminate. Once finished, eradicate any lingering sanding dust with a clean cloth or swiftly vacuum it away.
Step 3: Smooth Out Imperfections
In your quest for perfection, tackle those pesky rough edges and corners with determination. Trim or file them down meticulously to achieve a smooth and flush surface ready for gluing. Employ a file or sandpaper for this task, artfully shaping and refining any imperfections that dare to challenge your mission.
Step 4: Dry It Up
Moisture, the arch-nemesis of a robust bond, must be vanquished before glue application commences. Ensure your laminate surface is completely dry by allowing ample time for natural drying or employing a low heat setting on your trusty hairdryer. Remember, patience is a virtue when it comes to surface preparation.
Step 5: The Glue of Choice
The selection of glue is a pivotal decision on your quest for adhesive excellence. Opt for high-quality adhesives specifically formulated for laminates, as they possess the magical properties necessary for a secure bond. Different projects may demand different adhesives, so choose wisely based on your specific needs.
Step 6: Apply With Care
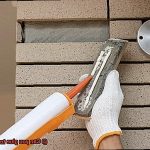
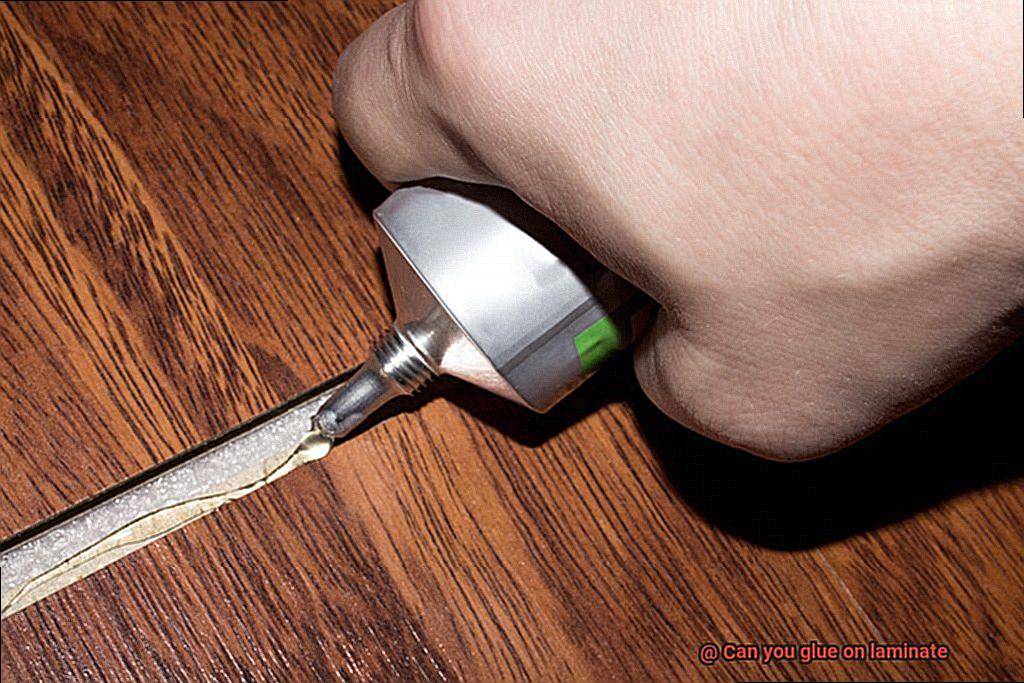
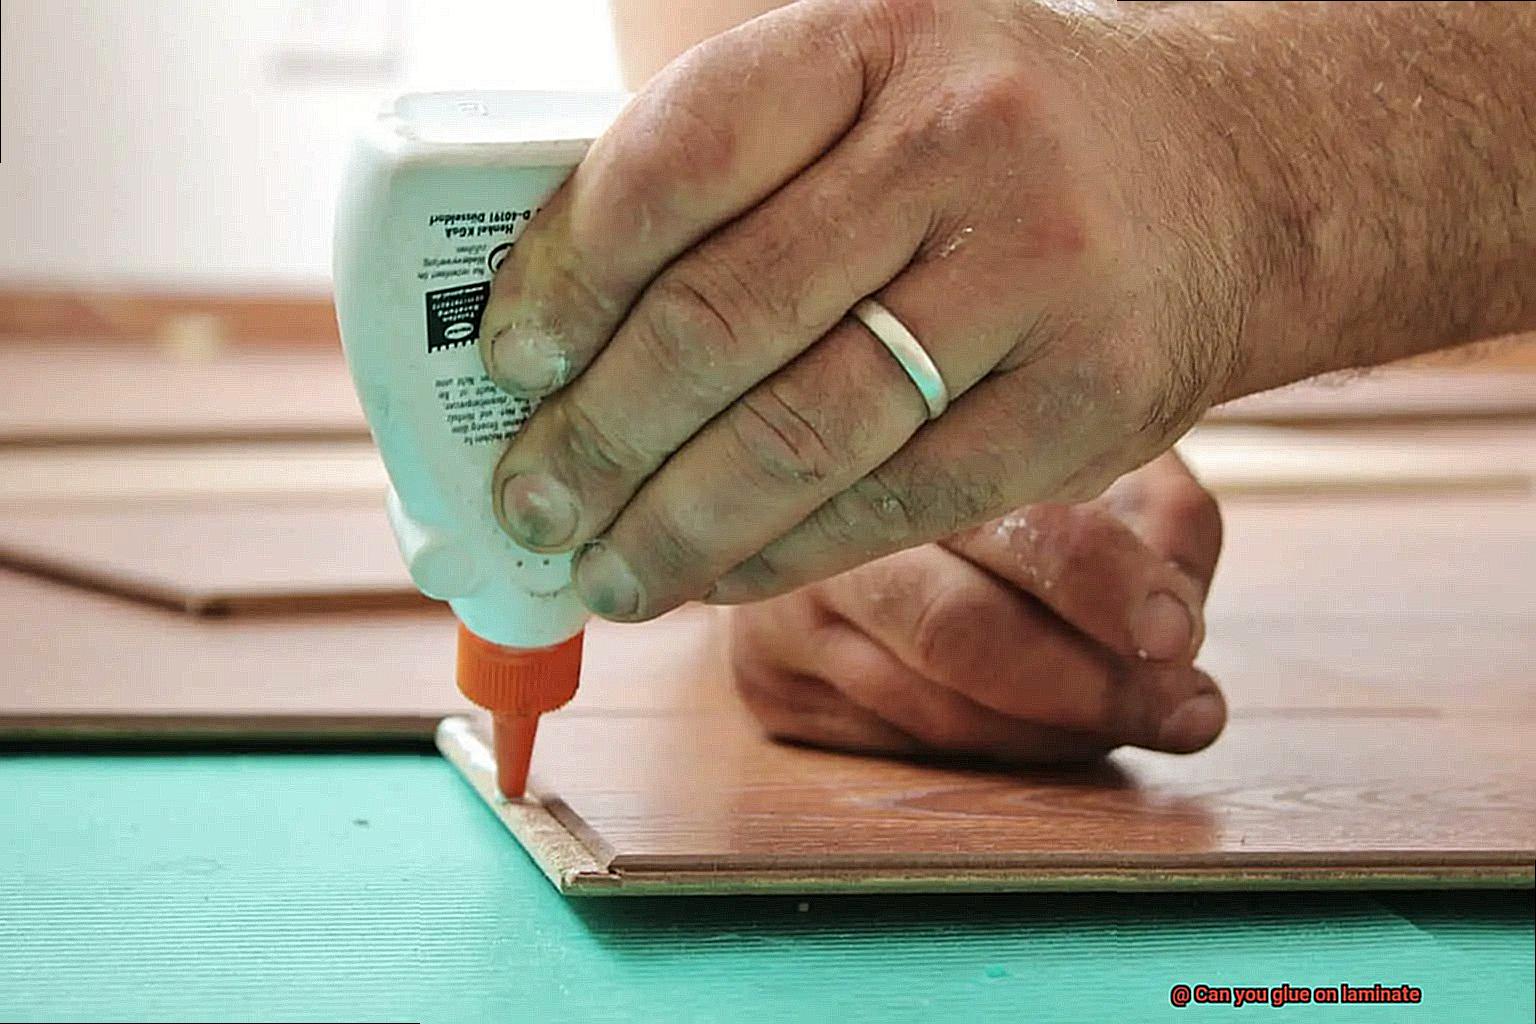
Now it’s time to unleash your inner glue virtuoso. Adhere to the manufacturer’s instructions with utmost care as you apply the chosen glue. Utilize a brush or spreader to coat the laminate surface evenly with a layer of adhesive. Exercise caution, avoiding excessive glue that may lead to a sticky situation. For contact adhesives, apply them to both the laminate and the surface it will bond to, allowing the adhesive to dry until tacky before expertly joining the two surfaces together.
Contact Cement: Advantages and Disadvantages
Contact cement is a versatile adhesive that offers numerous advantages for laminating projects.
Its strong bonding strength ensures a durable and long-lasting bond between surfaces. Unlike other adhesives that take forever to dry, contact cement dries relatively quickly, allowing for efficient project completion.
Additionally, its versatility extends beyond laminates, as it can bond wood, metal, plastic, and even some fabrics. This makes it a reliable option for various DIY or professional applications.
Another advantage of contact cement is its heat resistance, making it suitable for projects that involve exposure to high temperatures. However, contact cement does come with its fair share of disadvantages.
The strong odor emitted during the drying process can be unpleasant and harmful if inhaled excessively. It is important to use this adhesive in a well-ventilated area to minimize the risk of exposure to these fumes.
Furthermore, contact cement has limited repositioning capabilities, once it touches another surface, it forms an instant bond, making it difficult to readjust or reposition the laminate. Additionally, contact cement contains chemicals that can be toxic if ingested or inhaled excessively, so proper safety precautions should always be followed.
It requires a thin and even application on both surfaces and the correct drying time before joining them together.
Construction Adhesive or Polyurethane Adhesive: Advantages and Disadvantages
Selecting the right adhesive is critical for successful bonding of laminate materials. In this article, we will compare two heavyweights in the adhesive world – construction adhesive and polyurethane adhesive. Delving into their advantages and disadvantages will equip you with the knowledge needed to make an informed decision for your next project.
Construction Adhesive – The Jack of All Trades:
Advantages:
- High bonding strength: Construction adhesive is a formidable adhesive that forms a solid, enduring bond, making it perfect for heavy-duty applications.
- Versatility: Whether it’s wood, metal, concrete, or tile, construction adhesive has got you covered. Its adaptability makes it a go-to choice for various construction projects.
- Formulation options: Construction adhesive comes in waterproof and weatherproof formulations, catering to specific project requirements such as moisture or extreme temperature resistance.
Disadvantages:
- Slow curing time: Patience is key when using construction adhesive as it takes longer to dry and fully cure compared to other adhesives.
- Messy application: Its thick consistency can lead to excessive squeeze-out between bonded surfaces, requiring extra clean-up or precise application techniques.
Polyurethane Adhesive – The Flexible Warrior:
Advantages:
- Exceptional bonding strength and flexibility: Polyurethane adhesive creates a strong bond that can withstand stress and movement, making it ideal for applications with slight laminate expansion or contraction.
- Fast curing time: Unlike construction adhesive, polyurethane adhesive dries and cures quickly, allowing for faster project completion.
- Moisture and chemical resistance: If your project is exposed to water or harsh environments, polyurethane adhesive’s resistance to moisture and chemicals will be advantageous.
Disadvantages:
- Higher cost: Polyurethane adhesive tends to be more expensive than construction adhesive, impacting the overall project budget.
- Strong odor and sticky consistency: Using polyurethane adhesive requires proper ventilation and caution due to its potent smell and sticky nature.
Other Types of Glue to Avoid
Choosing the right adhesive is crucial when it comes to gluing laminate surfaces. However, not all types of glue are suitable for this task. In this article, we will explore five other types of glue that should be avoided when attempting to adhere laminate. From super glue to construction adhesives, we will explain why these glues can lead to weak bonds or damage the laminate surface.
Super Glue:
Although super glue is known for its strong bonding properties, it is not recommended for use on laminate surfaces. The quick-drying nature of super glue can result in a hard, brittle bond that may not hold up well under stress or movement. Additionally, the residue or stains left behind by super glue can mar the appearance of your beautiful laminate surface.
Hot Glue:
Hot glue guns may be a staple in the crafting world, but they are not suitable for adhering laminates. The rapid hardening of hot glue can cause cracks or warping in laminates when exposed to temperature changes or pressure. Plus, the extreme heat from the glue gun can potentially damage and deform your laminate surface.
Solvent-Based Adhesives:
Solvent-based glues should be avoided when adhering laminates due to their potential to damage the material. These glues contain chemicals that can soften or dissolve laminates, leading to discoloration, warping, or delamination. It’s best to opt for adhesives specifically formulated for laminates to ensure compatibility and longevity.
Construction Adhesive:
While construction adhesives are known for their strength and durability, they are not suitable for laminates. The high viscosity of construction adhesives makes them difficult to apply evenly on the smooth surface of laminates. Additionally, these adhesives may not bond well with laminates, resulting in a weak or unreliable bond.
Epoxy Resin:
Epoxy resin is a popular choice for its strong bond, but it can be challenging to work with when adhering laminates. The precise mixing and curing processes required for epoxy resin may prove difficult for DIY enthusiasts. Moreover, the smooth and slippery surface of laminates makes it challenging to achieve proper clamping during the curing process, leading to potential bond failure.
Mechanical Fasteners for Additional Support
When it comes to bonding laminate surfaces, glue is often the go-to choice. But if you want to take your laminate game to the next level, consider adding some mechanical fasteners for additional support. These handy little devices can provide extra strength and durability, ensuring that your laminates stay firmly in place.
So, what are these magical mechanical fasteners? Well, let’s dive into some options:
- Screws: These trusty little warriors can be driven into the laminate surface, creating a secure attachment point that can handle heavy loads and high-stress situations. With different sizes and lengths available, you can choose the perfect screw for your specific needs.
- Nails: If you prefer a more subtle fastening method, nails are a common choice. They can be hammered into the laminate surface, offering discreet support for thinner laminates. Just keep in mind that nails may not provide as strong of a bond as screws and could potentially loosen over time.
- Brackets and Clips: For larger or heavier laminates, brackets or clips can be a lifesaver. These metal pieces are attached to both the laminate surface and the supporting structure, creating a rock-solid connection. Brackets and clips ensure that your laminates stay securely in place, even when faced with significant weight or movement.
When using mechanical fasteners, it’s important to consider your specific application and requirements. Think about the weight and size of your laminate, as well as how it will be used. This will help you select the appropriate type and quantity of fasteners to ensure a secure bond.
Remember, not all laminates are created equal, so it’s crucial to choose mechanical fasteners that are compatible with your chosen material. Some laminates may be prone to splitting or cracking when subjected to fasteners, so be sure to choose wisely.
Applying the Glue Evenly and Effectively
Laminate is a versatile and popular material used in various projects, from countertops to furniture. However, achieving a strong and seamless bond can be a challenge if you don’t apply the glue evenly and effectively. In this article, we will guide you through the steps to ensure a professional finish every time you work with laminate.
Step 1: Choose the Right Adhesive
Not all glues are created equal. To achieve successful bonding, it is crucial to select the appropriate adhesive for your project. Consider factors such as the type of laminate, project requirements, and manufacturer recommendations. Common choices include contact cement, epoxy, and polyurethane adhesives. If you’re uncertain, consult with an expert or refer to the manufacturer’s guidelines.
Step 2: Prep the Surface
A clean surface is key to achieving a strong bond. Wipe down the laminate with a clean cloth and mild cleaner to remove any dust, dirt, or grease. Smooth out imperfections that may hinder adhesion for a flawless result.
Step 3: Apply Glue Evenly
To ensure an even bond, spread a thin layer of glue onto both surfaces using a brush or roller. Avoid excessive glue application, as it can lead to seepage or uneven bonding. Opting for a thin layer promotes better adhesion and minimizes air bubbles.
Step 4: Allow for Tack Time
Before bringing the surfaces together, partially dry the glue according to manufacturer’s instructions. This tacky surface enhances adhesion when pressed together. However, be mindful not to wait too long as some adhesives may lose their tackiness if left to dry completely.
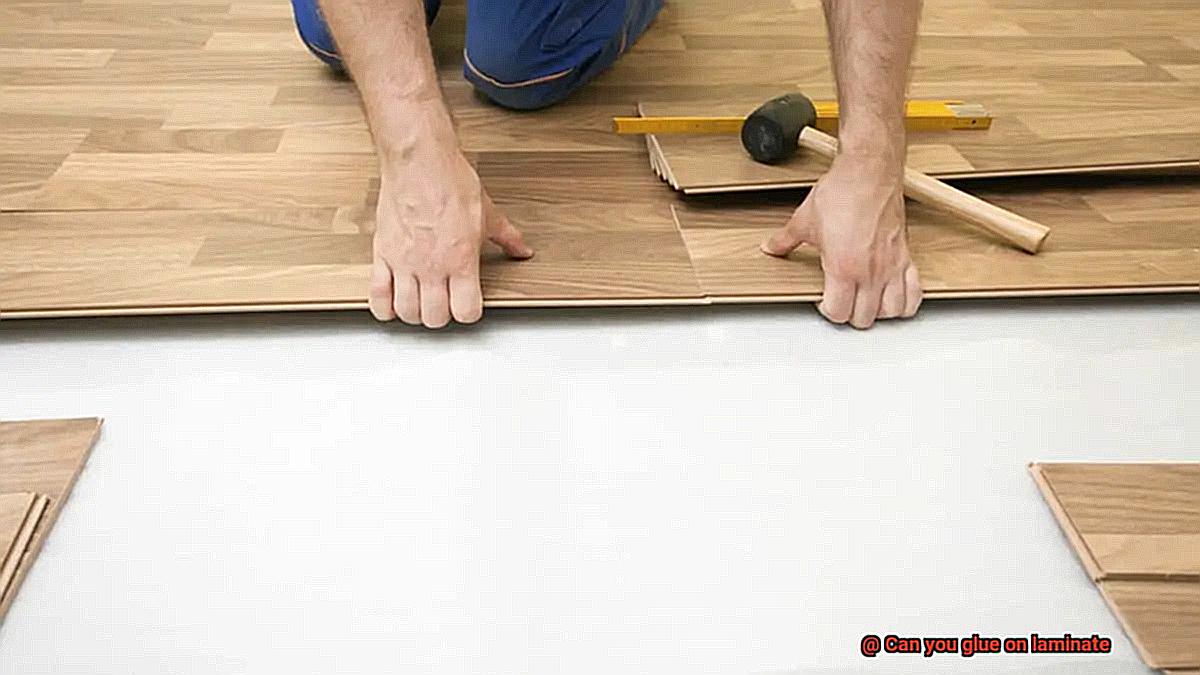
Step 5: Align and Press Firmly
Carefully align the laminate with the target surface and gradually press them together with even pressure. Start from one end and work your way to the other. Using a roller or block of wood can help eliminate air bubbles and promote a strong connection.
Step 6: Remove Excess Glue
Wipe away any excess glue that may have squeezed out from the edges using a clean cloth. It’s important to remove this before it dries, as it can be challenging to remove later and affect the appearance of your project.
Step 7: Allow for Curing Time
Give the glued laminate sufficient time to cure completely based on the manufacturer’s instructions. This typically takes 24 to 48 hours. During this period, avoid placing stress or pressure on the bonded surfaces to allow for a strong and durable bond.
NEs6uBs4OMo” >
Conclusion
Yes, you can glue on laminate. It’s a common question among DIY enthusiasts and homeowners looking to make repairs or updates. The good news is that with the right adhesive and proper technique, you can successfully bond laminate to various surfaces.
When it comes to choosing an adhesive for laminate, there are a few options available. One popular choice is a high-quality construction adhesive specifically designed for laminates. These adhesives are formulated to provide a strong and durable bond, ensuring that your laminate stays in place for years to come.
Before applying the adhesive, it’s essential to prepare the surface properly. Make sure it is clean, dry, and free from any dust or debris. This will ensure optimal adhesion and prevent any issues down the line.
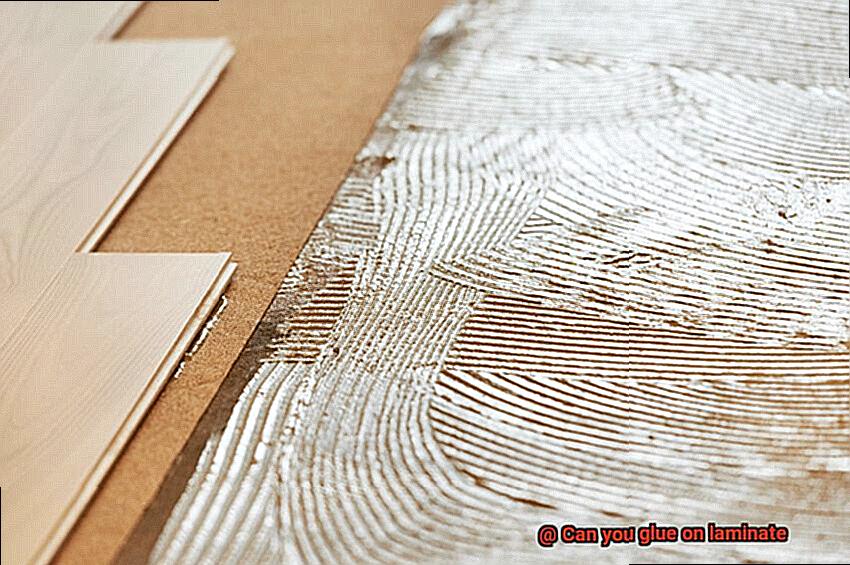
Now, let’s talk about the application process. Start by applying a thin layer of adhesive onto the surface where you will be placing the laminate. Use a notched trowel or spreader to create ridges in the adhesive – this will help improve adhesion and minimize air pockets.
Next, carefully position the laminate onto the adhesive-coated surface. Press down firmly and evenly across the entire surface area to ensure proper contact between the laminate and the substrate.
Once in place, use a roller or block of wood to apply even pressure over the entire surface of the laminate. This step helps eliminate any remaining air bubbles and ensures a secure bond.
Allow sufficient drying time as recommended by the adhesive manufacturer before subjecting your newly glued laminate to any stress or load-bearing activities.
In conclusion, gluing on laminate is indeed possible when done correctly with suitable adhesives and proper technique. By following these steps diligently, you can achieve professional-looking results that will stand up to everyday wear and tear.