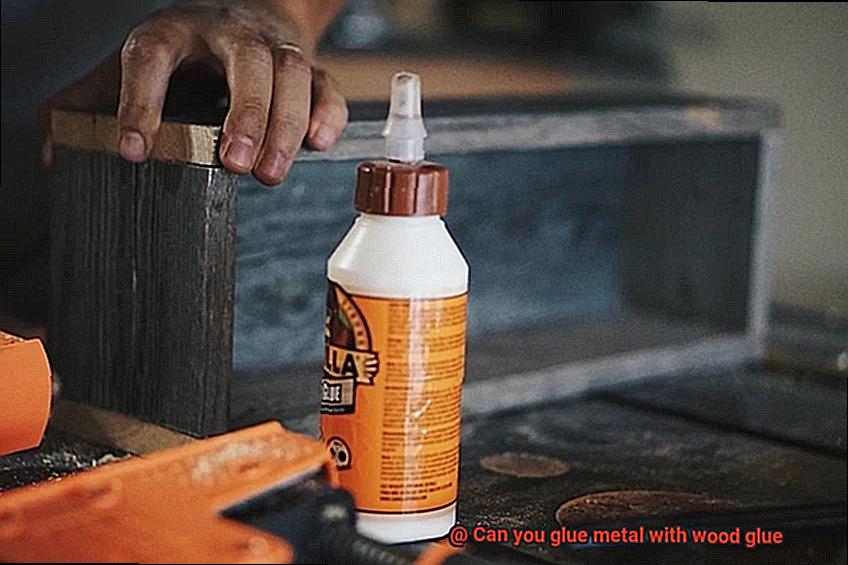
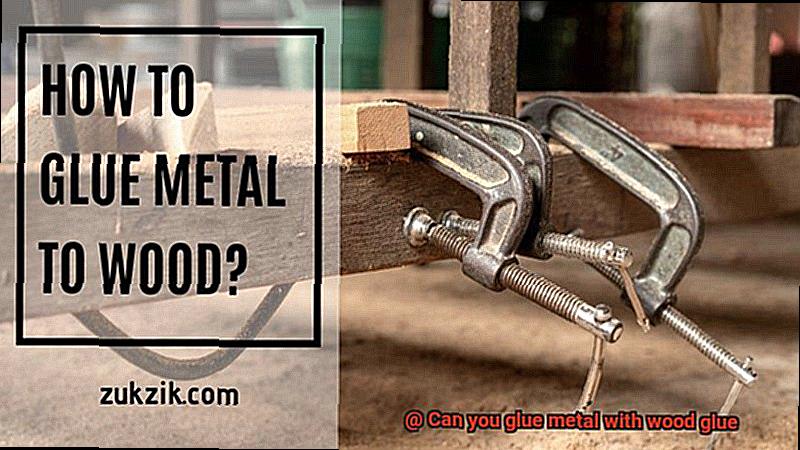
Today, we embark on a captivating exploration that has surely crossed the minds of those with a penchant for creativity: Can you really stick metal together with wood glue?
Picture the sheer convenience of using just one adhesive to unite an array of materials – it’s almost too good to be true, isn’t it? But before you excitedly reach for that familiar bottle of wood glue and dive into your next project, let’s delve into the intricate science behind adhesives.
Together, we’ll uncover whether wood glue possesses the magical powers required to bond metal. Prepare yourselves for an enlightening journey filled with unique challenges, crucial considerations, and expert insights.
So, buckle up and get ready to venture into the captivating world where metal meets wood glue.
What is Wood Glue?
Contents
- 1 What is Wood Glue?
- 2 Can Wood Glue be Used on Metal Surfaces?
- 3 Advantages and Disadvantages of Using Wood Glue on Metal
- 4 What are the Alternatives to Using Wood Glue on Metal?
- 5 The Process of Gluing Metal with an Epoxy Adhesive
- 6 The Process of Gluing Metal with a Cyanoacrylate (Super Glue) Adhesive
- 7 Tips for Successful Bonding of Metal with Wood Glue
- 8 Conclusion
Woodworking and carpentry projects require a reliable adhesive to ensure strong and durable bonds between wood surfaces. Enter wood glue, also known as carpenter’s glue or PVA glue. In this blog post, we’ll delve into the fascinating world of wood glue, exploring its composition, uses, and advantages that make it the go-to adhesive for woodworking enthusiasts.
What is Wood Glue?
At its core, wood glue is an adhesive that contains polyvinyl acetate (PVA) as its primary ingredient. This remarkable substance is mixed with water to create a viscous adhesive that effortlessly adheres to wood surfaces. When applied, the water evaporates, causing the polymer particles to fuse together and form an unbreakable bond.
Uses of Wood Glue:
- Joining Wood Pieces: Wood glue is the perfect companion for constructing furniture, cabinets, or even simple wooden crafts. It ensures that the individual pieces are securely joined together.
- Repairing Furniture: Have a broken chair leg or a loose joint? Fear not. Wood glue can restore the strength and stability of your beloved furniture.
- Filling Gaps and Cracks: Thanks to its exceptional gap-filling properties, wood glue effectively fills in small gaps or cracks during the bonding process, resulting in a stronger joint.
- Sealing Wood Surfaces: Wood glue doubles as a sealer, guarding against moisture penetration that could lead to warping or rotting of the wood.
Advantages of Wood Glue:
- Long Open Time: Unlike fast-drying adhesives, wood glue grants users ample time to adjust and position wood pieces accurately before it sets. This flexibility ensures precision in woodworking projects.
- Gap-Filling Properties: The ability of wood glue to fill small gaps or cracks during bonding results in a joint that is not only strong but also aesthetically pleasing.
- Moisture Resistance: Once dried, wood glue creates a bond that is impervious to moisture, making it suitable for both indoor and outdoor use. It defends against the elements, ensuring the longevity of your creations.
- Versatility: Wood glue dries clear, providing a seamless and finished look to your projects. Additionally, it can be easily sanded and painted over, allowing for further customization.
Can Wood Glue be Used on Metal Surfaces?
Wood glue is renowned for its exceptional bonding capabilities in woodworking projects. However, can this versatile adhesive work its magic on metal surfaces as well? If you’re an avid DIYer or simply curious about glues, this article aims to provide a comprehensive understanding of why wood glue may not be suitable for bonding metal surfaces together.
Wood Glue vs. Metal Surfaces:
Wood glue is specifically designed to penetrate the porous wood fibers, creating a robust bond as it dries. However, metal surfaces present a different challenge. Their non-porous and smooth nature makes it challenging for wood glue to effectively adhere to them. Consequently, the lack of compatibility between wood glue and metal surfaces can result in a weak bond that may not withstand stress or the test of time.
Specialized Adhesives for Metal:
Thankfully, specialized adhesives exist on the market that are specifically formulated for bonding metal surfaces together. These adhesives contain chemicals and adhesives engineered to effectively bond non-porous materials like metal. With enhanced bonding properties, these specialized adhesives are more suitable for metal-to-metal applications.
Epoxy and Construction Adhesive:
When it comes to bonding wood and metal together, epoxy and construction adhesive are the go-to options. Formulated with the intention of bonding both wood and metal surfaces effectively, these adhesives provide strong and durable bonds capable of withstanding various environmental conditions and loads.
Tips for Success:
To ensure a successful bond between wood and metal surfaces, always adhere to the manufacturer’s instructions when using any adhesive. Additionally, proper surface preparation is crucial. Clean the surfaces thoroughly, removing any dirt, oil, or rust that may hinder the bonding process.
Advantages and Disadvantages of Using Wood Glue on Metal
When it comes to joining metal surfaces, wood glue may not be the first adhesive that comes to mind. However, in certain situations, it can be a cost-effective and convenient option. In this article, we’ll explore the advantages and disadvantages of using wood glue on metal, helping you make an informed decision for your DIY projects.
Advantages:
- Cost-effective: Wood glue is a wallet-friendly choice compared to specialized metal adhesives. If you’re on a budget, using wood glue can save you some cash without compromising too much on performance.
- Accessibility: Wood glue is widely available in hardware stores and online retailers. Its easy accessibility allows for a quick solution when you need to bond metal parts together urgently.
- Ease of use: Applying wood glue is a breeze, requiring minimal preparation. You can simply brush or spread it onto the metal surface and let it set within a reasonable timeframe.
- Versatility: While designed for porous materials like wood, wood glue can also bond certain types of metals. This versatility makes it handy for various DIY projects that involve joining different materials.
Disadvantages:
- Lack of strength: Wood glue may not provide the same level of strength as specialized metal adhesives. Metals often require stronger bonds due to their weight and structural demands, making wood glue less ideal for heavy loads or extreme stress conditions.
- Limited compatibility: Wood glue may not adhere effectively to all types of metals. It works better with porous metals such as aluminum or brass but may struggle with smooth and non-porous metals like stainless steel or chrome due to insufficient surface area for bonding.
- Susceptibility to moisture: Wood glue is water-based, meaning it can weaken or degrade when exposed to moisture or high humidity levels. If your glued metal joint encounters water or constant dampness, the bond may eventually break down.
- Temperature sensitivity: Extreme temperature fluctuations can affect the adhesive properties of wood glue, potentially weakening or failing the bond between metal pieces. This drawback is significant if the glued components are subjected to varying temperatures or exposed to outdoor conditions.
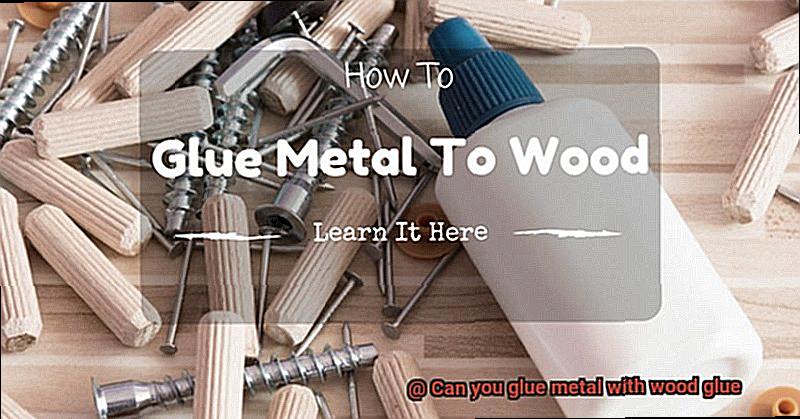
What are the Alternatives to Using Wood Glue on Metal?
When it comes to bonding metal, wood glue may not be the first choice that comes to mind. But fear not, because there are plenty of alternatives available that can provide stronger and more durable bonds for your metal projects.
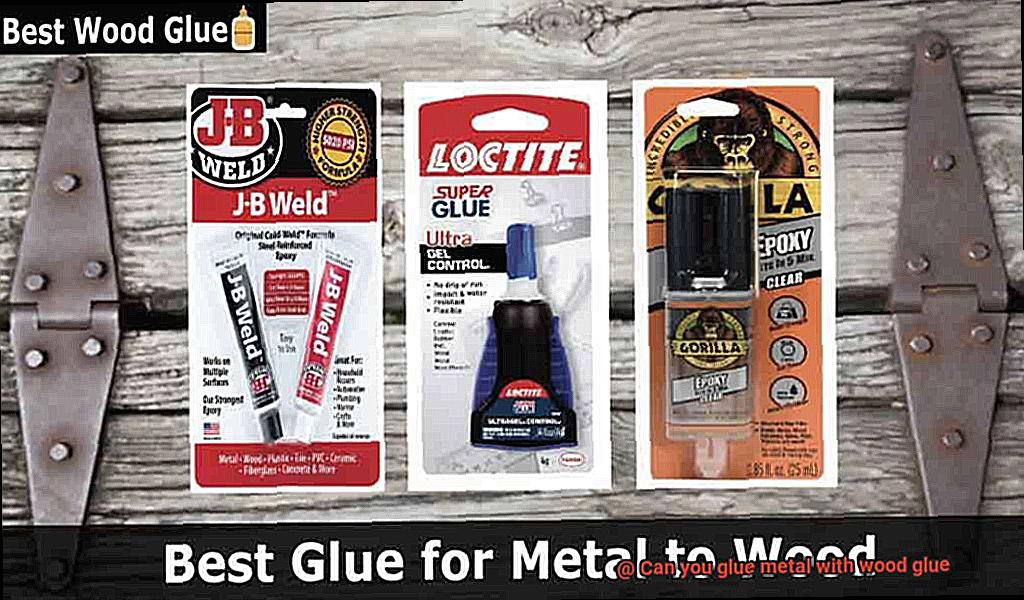
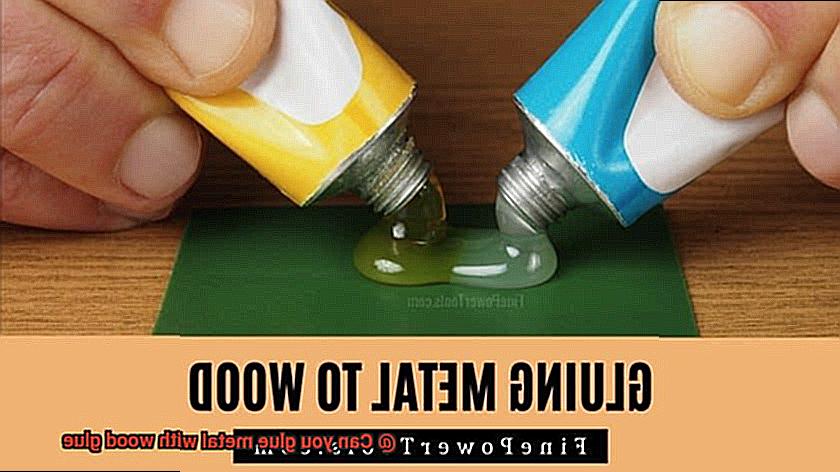
- Epoxy adhesive: This two-part adhesive consists of a resin and a hardener that, when mixed together, create a strong and durable bond. Epoxy adhesive can withstand high temperatures and extreme conditions, making it ideal for metal bonding.
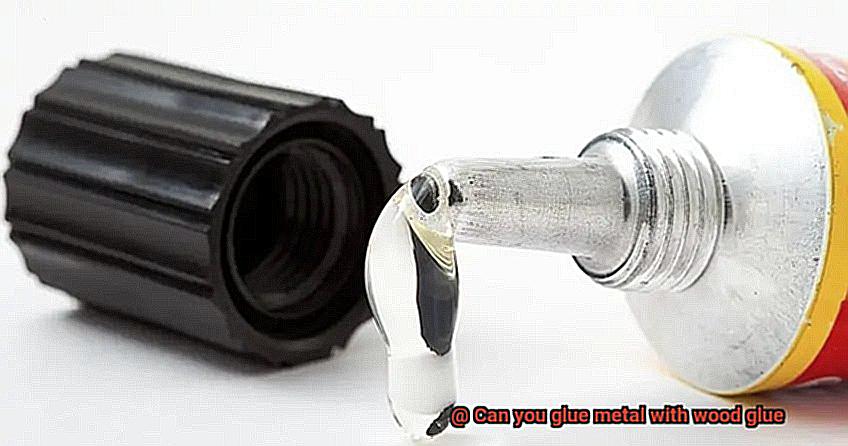
- Cyanoacrylate adhesive (super glue): This fast-drying adhesive forms an instant bond when it comes into contact with metal surfaces. While super glue provides a strong and durable bond, it may not be suitable for applications where flexibility is required.
- Welding and soldering: These traditional methods of bonding metal parts together require specialized equipment and skills, but they offer incredibly strong bonds that can withstand heavy loads and high temperatures.
- Mechanical fastening methods: Screws, bolts, and rivets are reliable options for removable connections. They provide a sturdy bond while allowing for disassembly when needed.
- Structural adhesives: Polyurethane and acrylic adhesives are commonly used for bonding metal. These adhesives offer excellent strength and durability, as well as resistance to temperature changes and environmental conditions.
The Process of Gluing Metal with an Epoxy Adhesive

Unlock the superhero potential of epoxy adhesive and create unbreakable bonds between metal surfaces. This two-part glue is a force to be reckoned with, capable of fusing metal together with incredible strength and resilience. In this comprehensive guide, we will walk you through the step-by-step process of gluing metal with epoxy adhesive, ensuring that your bonds are as strong as steel.
Step 1: Prepare the Surfaces:
Before diving into the gluing process, make sure your metal surfaces are pristine. Use a degreaser or solvent to banish dirt, grease, and rust, ensuring maximum adhesion. Remember, a clean slate is the foundation for a powerful bond.
Step 2: Roughen the Surfaces:
To enhance the mechanical bond, gently roughen the metal surfaces using sandpaper or a wire brush. This step gives the adhesive something to grip onto, creating an unbreakable connection.
Step 3: Mix the Epoxy Adhesive:
Become a master chemist by following the manufacturer’s instructions to mix equal parts of resin and hardener. Combine them vigorously until they become one harmonious mixture. Proper mixing is vital for optimal curing and maximum bond strength.
Step 4: Apply the Adhesive:
With precision and finesse, apply an even layer of mixed epoxy adhesive to one of the metal surfaces using a brush, spatula, or syringe. Ensure that every nook and cranny is covered to unleash the full potential of this mighty adhesive.
Step 5: Joining the Surfaces:
With a sense of purpose, carefully place the second metal surface onto the adhesive-coated surface. Apply gentle pressure to ensure perfect contact between both surfaces. For larger projects or complex shapes, enlist clamps or weights to keep everything in place while the adhesive works its magic.
Step 6: Curing Time:
Patience is a virtue when it comes to epoxy adhesive. The curing time can vary, so consult the manufacturer’s instructions for guidance. Allow the bond to cure fully before subjecting it to stress or load. Remember, good things come to those who wait.
Step 7: Test the Bond Strength:
Once the epoxy adhesive has cured, put it to the test. Apply gradual force and marvel at the strength of your bond. Keep in mind that surface preparation and application technique can influence bond strength, so always conduct a test on a sample piece before committing to larger projects.
The Process of Gluing Metal with a Cyanoacrylate (Super Glue) Adhesive
Prepare to unleash the full potential of cyanoacrylate adhesive, famously known as super glue. With its incredible strength and lightning-fast action, this adhesive is the ultimate sidekick for joining metal surfaces together.
Before we dive into the process, let’s gather our materials. You’ll need cyanoacrylate adhesive (super glue), sandpaper or a wire brush, solvent or rubbing alcohol, clamps or other tools for holding the pieces in place, and perhaps some specialized primers or activators depending on the type of metal you’re working with.
Now that we’re geared up, it’s time to prepare the metal surfaces for bonding. Cleanliness is key, so ensure those surfaces are free from any dirt, oil, or grease. Give them a thorough wipe down with solvent or rubbing alcohol to ensure they’re squeaky clean. Once they’re pristine, lightly roughen the surfaces using sandpaper or a wire brush. This will create a textured surface that enhances adhesion.
With the surfaces prepped and primed, it’s time to work some super glue magic. Remember, less is more in this case. Apply a thin layer of glue to one of the metal surfaces. Excessive amounts can actually impede bonding and extend drying time.

Now comes the crucial moment – press those two metal surfaces together firmly. Hold them in place for a few minutes until the glue sets. If you have clamps or other tools, use them to keep everything securely in position during this critical bonding period.
But wait. We’re not done just yet. While super glue sets quickly, it needs time to fully cure and reach its maximum strength. Give it at least 24 hours to work its wonders. Overnight is even better. Remember, patience is a virtue when it comes to achieving a sturdy and durable bond.
It’s worth noting that not all metals are compatible with cyanoacrylate adhesives. Stick to non-porous metals like steel, aluminum, and copper for optimal results. If you’re working with porous or low-surface energy metals, you may need to explore specialized adhesives.
Oh, and safety first. Handle super glue with care. Avoid contact with your skin or eyes, as it can cause irritation or burns. If you do happen to get some on you, wash the affected area with plenty of water and seek medical advice if necessary.
Once your metal surfaces are successfully bonded, consider the environment in which they’ll be exposed. Extreme temperatures, moisture, or other factors can impact the long-term durability of the bond. Make sure your adhesive masterpiece is up for the challenge.
Tips for Successful Bonding of Metal with Wood Glue
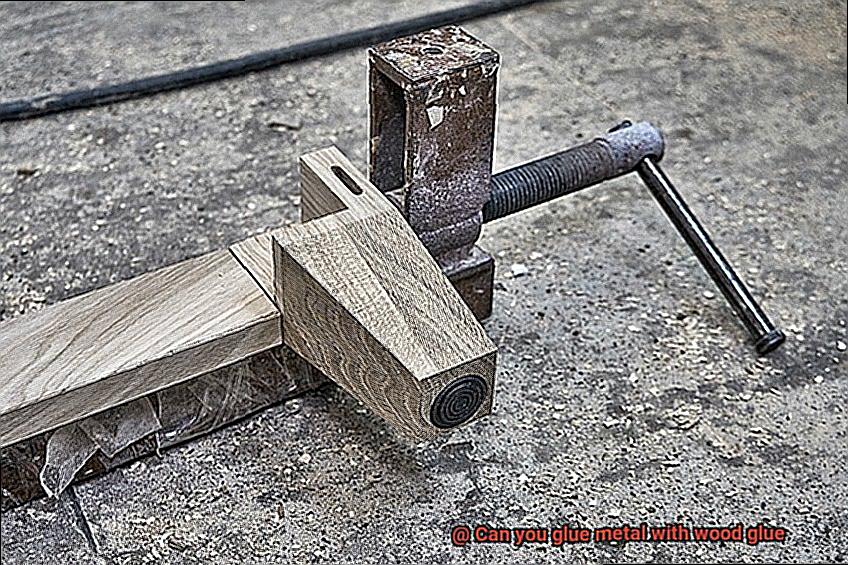
You may be wondering how to achieve a successful bond using wood glue. Well, you’ve come to the right place. In this guide, we will share some tips to help you achieve a strong and durable bond between metal and wood using wood glue.
First things first, cleanliness is key. Before applying the wood glue, make sure that both the metal and wood surfaces are clean and free from any dirt or grease. Use a mild detergent or solvent recommended for the specific type of metal to remove any contaminants. This ensures that there are no barriers preventing the wood glue from properly bonding the metal and wood together.
Next, it’s time to roughen up the metal surface. This step is important because it creates a slightly rough texture that allows the wood glue to adhere better. Use sandpaper or a wire brush to gently rub the surface of the metal until it feels slightly rough to the touch. This roughness provides more surface area for the wood glue to grip onto, resulting in a stronger bond.
Now, it’s time to apply an adhesive promoter or primer specifically designed for bonding metal and wood. These products work like magic by creating a chemical bond between the metal and wood surfaces, making the bond even stronger. Simply follow the instructions provided by the manufacturer on how to apply the adhesive promoter or primer.
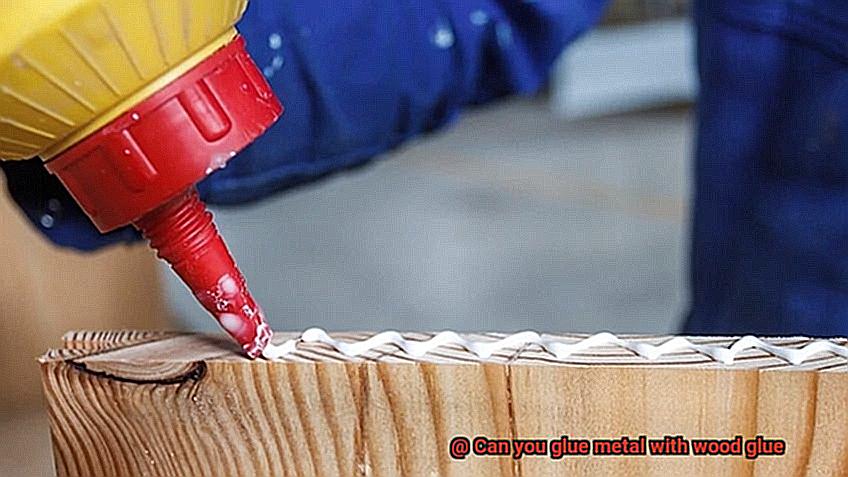
When it comes to choosing the right type of wood glue, not all glues are created equal. You’ll want to select a high-strength adhesive that is specifically formulated for bonding metal and wood. Epoxy or polyurethane-based wood glues are great options as they have excellent bonding properties and can create a strong and durable bond between metal and wood. Follow the manufacturer’s instructions on how to properly apply the wood glue.
Once you’ve applied the wood glue, it’s time to clamp everything together. Proper clamping is essential because it ensures that the metal and wood surfaces are held firmly together while the adhesive cures. Use clamps that provide enough pressure without causing damage to the materials. Follow the manufacturer’s recommendations on clamping time to allow the adhesive to fully cure and achieve its maximum strength.
Last but not least, give the wood glue enough time to dry and reach its full strength before subjecting the bonded metal and wood to any stress or load. The drying time can vary depending on factors such as the type of wood glue used and environmental conditions. It’s always best to follow the manufacturer’s instructions regarding curing time to ensure that the bond is strong and secure.
wNoom54j8I0″ >
Conclusion
In conclusion, while wood glue is a fantastic adhesive for joining pieces of wood together, it falls short when it comes to bonding metal. The sleek and impermeable surface of metal poses a challenge for wood glue to effectively adhere to it. As a result, the bond created may be weak and unable to withstand stress or the test of time.
Fortunately, there are alternative adhesives that are better suited for bonding metal surfaces. Epoxy or construction adhesive, specifically designed for non-porous materials like metal, provide robust and durable bonds capable of withstanding various environmental conditions and loads.
Although wood glue may not be the go-to choice for metal bonding, there are still advantages in certain situations. It is cost-effective, readily available, and versatile. In fact, it can be used on certain types of metals such as aluminum or brass, offering potential savings compared to specialized metal adhesives.
However, it is crucial to consider the limitations when using wood glue on metal. The strength provided by wood glue may not match that of specialized adhesives formulated specifically for metal bonding. Additionally, compatibility issues with certain metals and vulnerability to moisture or temperature fluctuations should be taken into account.