Today, we’re tackling a burning question that’s been on the minds of craft enthusiasts everywhere – can you really glue leather instead of sewing it? Leather is like the chameleon of materials, transforming into everything from stylish jackets to stunning accessories and even luxurious furniture.
But let’s face it, sewing can sometimes feel like a never-ending marathon, with its intricate stitches and demanding attention to detail. So, is gluing leather the magical shortcut we’ve all been dreaming of?
In this blog post, we’re diving headfirst into this sticky situation to uncover the truth about adhesive alternatives. Get ready for some eye-opening insights as we explore whether gluing leather can truly replace traditional sewing techniques.
Buckle up, folks – your inner leatherworker is about to be unleashed.
Advantages of Gluing Leather
Contents
Let’s explore the captivating advantages of gluing leather instead of sewing it. Whether you’re a seasoned crafter or just starting out, gluing leather can revolutionize your projects. It saves valuable time, enhances durability, offers limitless design possibilities, provides a flawless finish, and even saves you money. Get ready to unlock your creativity.
Time-Saving and Ease of Use:
Gluing leather is a game-changer when it comes to saving time. Forget about threading needles and tying knots – with glue, you can simply apply it to the surfaces you want to bond and voila. It’s that easy. Plus, gluing leather requires minimal skill or expertise compared to sewing, making it accessible for both beginners and those lacking confidence in their sewing abilities.
Neater Appearance and Enhanced Durability:
Say goodbye to visible stitches and puncture holes on your leather projects. Gluing leather results in a cleaner and more seamless finish compared to sewing. The absence of unsightly stitches gives your creations a smooth and polished look that screams professionalism. And don’t worry about durability – top-quality leather adhesives ensure that your pieces stay securely attached, even under intense stress or frequent use.
Versatility and Limitless Design Possibilities:
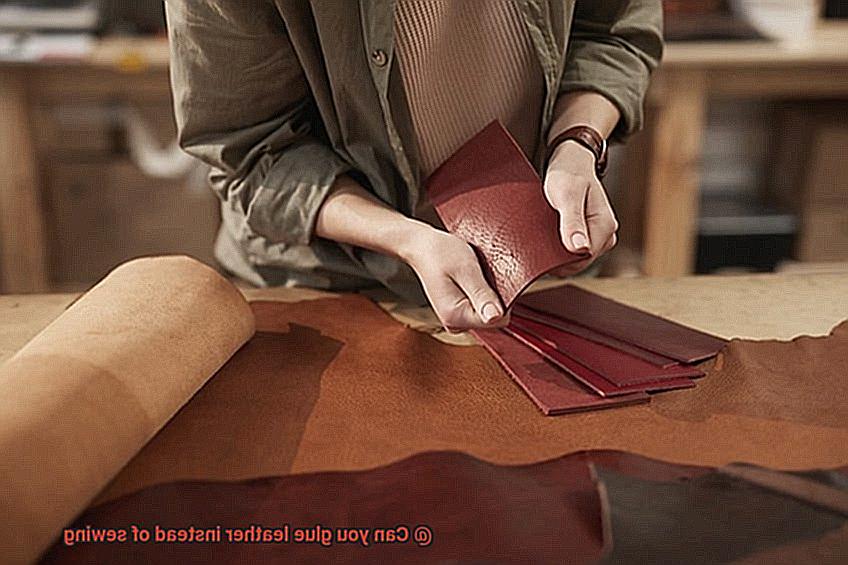
With gluing leather, the only limit is your imagination. Unlike traditional sewing methods, gluing allows you to effortlessly attach different materials to leather, such as fabric or metal embellishments. This opens up a world of creative options for customization and personalization, allowing you to craft unique and awe-inspiring leather goods that are truly one-of-a-kind.
Cost-Effectiveness:
Let’s talk money. Gluing leather can be a more cost-effective option compared to sewing. Sewing often requires additional equipment and materials, such as sewing machines, needles, and threads, which can put a dent in your wallet. On the other hand, gluing only requires leather adhesive, which is typically more affordable and easily accessible. Save those hard-earned dollars without compromising on quality or creativity.
Disadvantages of Gluing Leather
Gluing leather might seem like a quick and easy alternative to sewing, but before you embark on this adhesive adventure, let’s delve into the drawbacks you need to be aware of. Buckle up for a comprehensive overview.
Durability Concerns:
In the longevity race, sewing takes the crown. Glued leather may not withstand stress or frequent use as well as its sewn counterpart. Over time, the adhesive bond weakens, leading to potential repairs or replacements. If you’re searching for something built to last, sewing is your best bet.
Restricted Flexibility:
Flexibility is key for leather items like shoes, bags, or clothing. Sewing allows leather to move and stretch naturally, ensuring maximum comfort. In contrast, glue can create stiffness, limiting flexibility and potentially affecting usability.
Aesthetics Take a Hit:
Visual appeal matters, right? Glued leather may lack the finished and professional appearance achieved through sewing. Those visible seams add interest and indicate quality craftsmanship. Glue lines become more noticeable and detract from the overall aesthetics of your leather masterpiece.
Repair Nightmares:
Need to fix that damaged seam? Sewing is relatively straightforward – just remove stitches, make repairs, and re-sew. But with glued leather, repairing becomes a challenge. Removing glued areas is time-consuming and might even require replacing the entire section of leather. Yikes.
Limited Design Options:
Sewing opens up a world of design possibilities – intricate stitching patterns, decorative elements, and different thread types elevate your leather item’s look. Unfortunately, glue falls short on versatility in terms of design options.
Not Suitable for All Applications:
Consider the purpose of your leather creation. Gluing might not cut it for heavy-duty bags or furniture upholstery requiring high strength. Additionally, if your item needs regular exposure to moisture or washing, gluing may not be the best choice, as water weakens the adhesive bond.
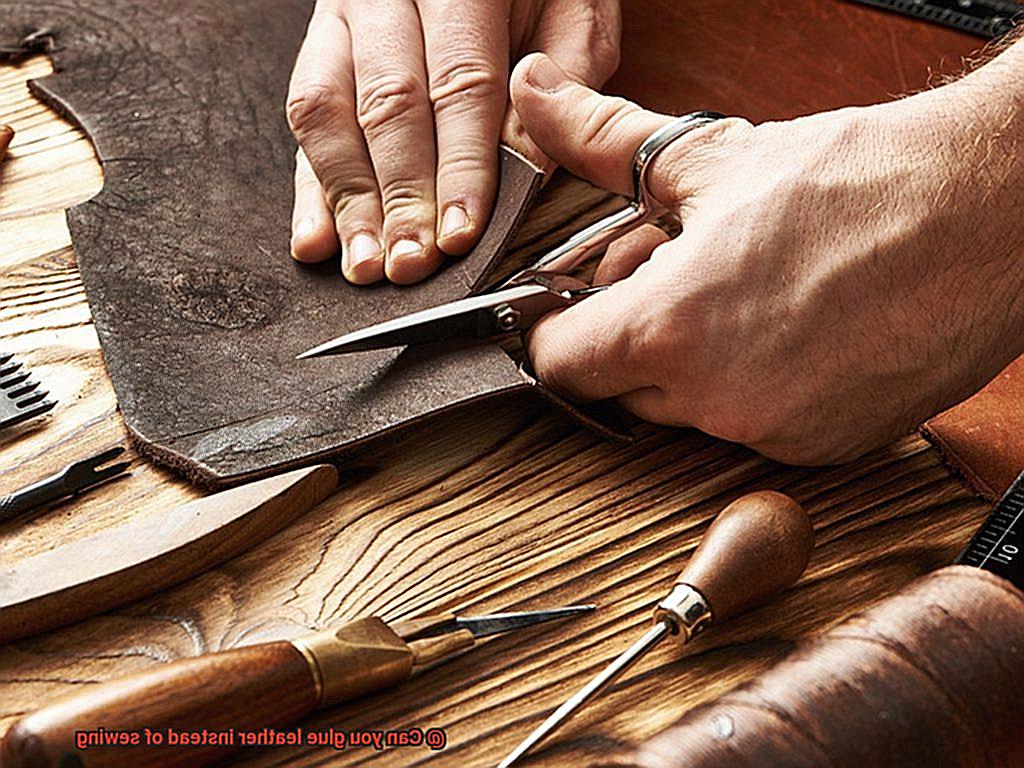
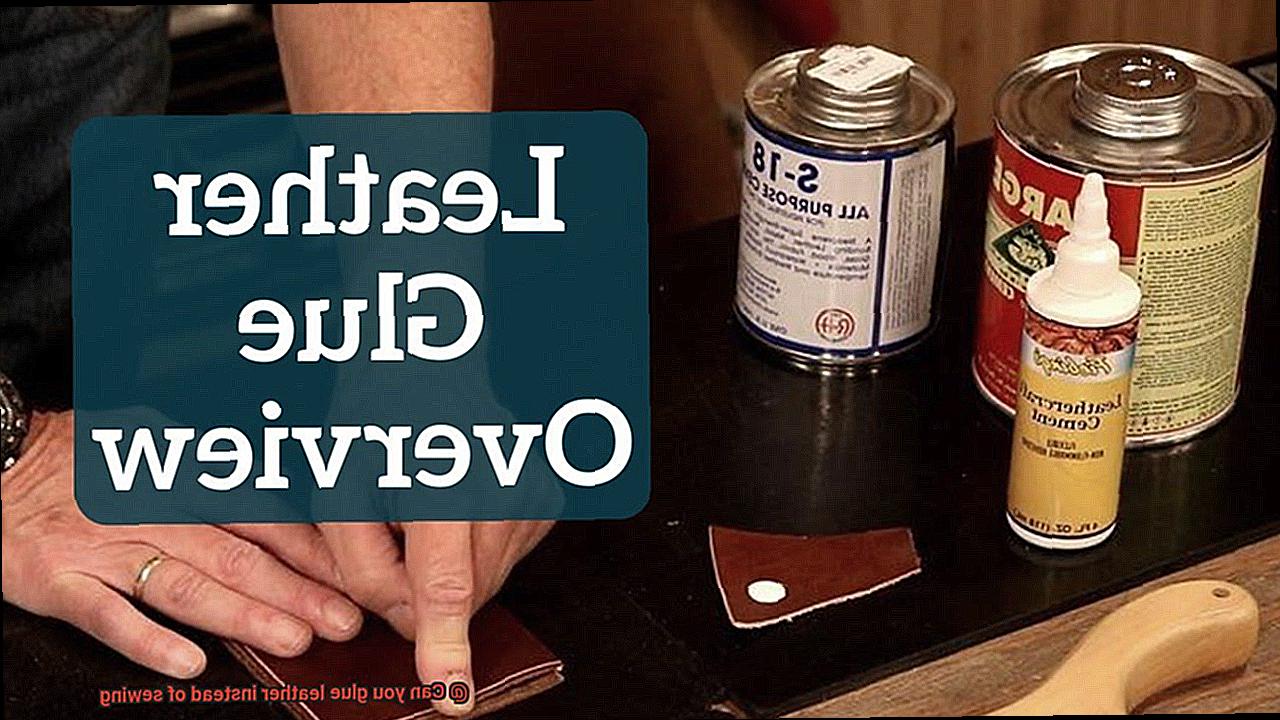
Types of Glue Suitable for Leather
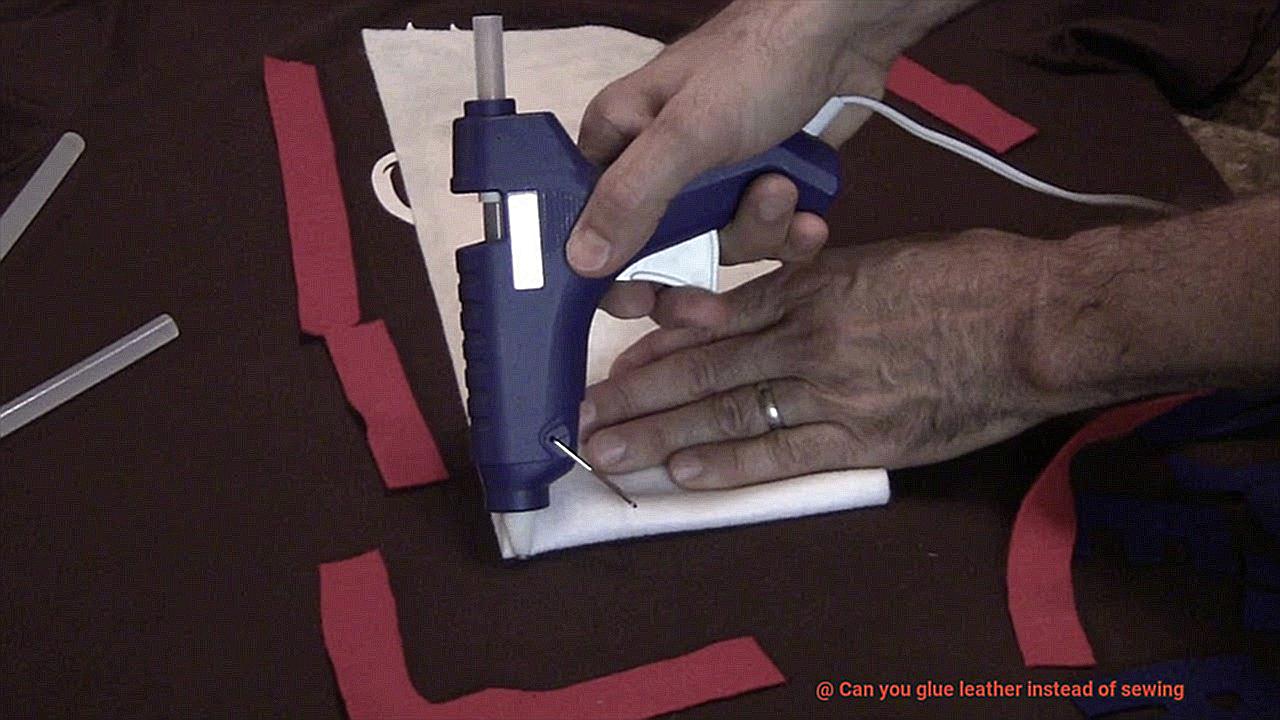
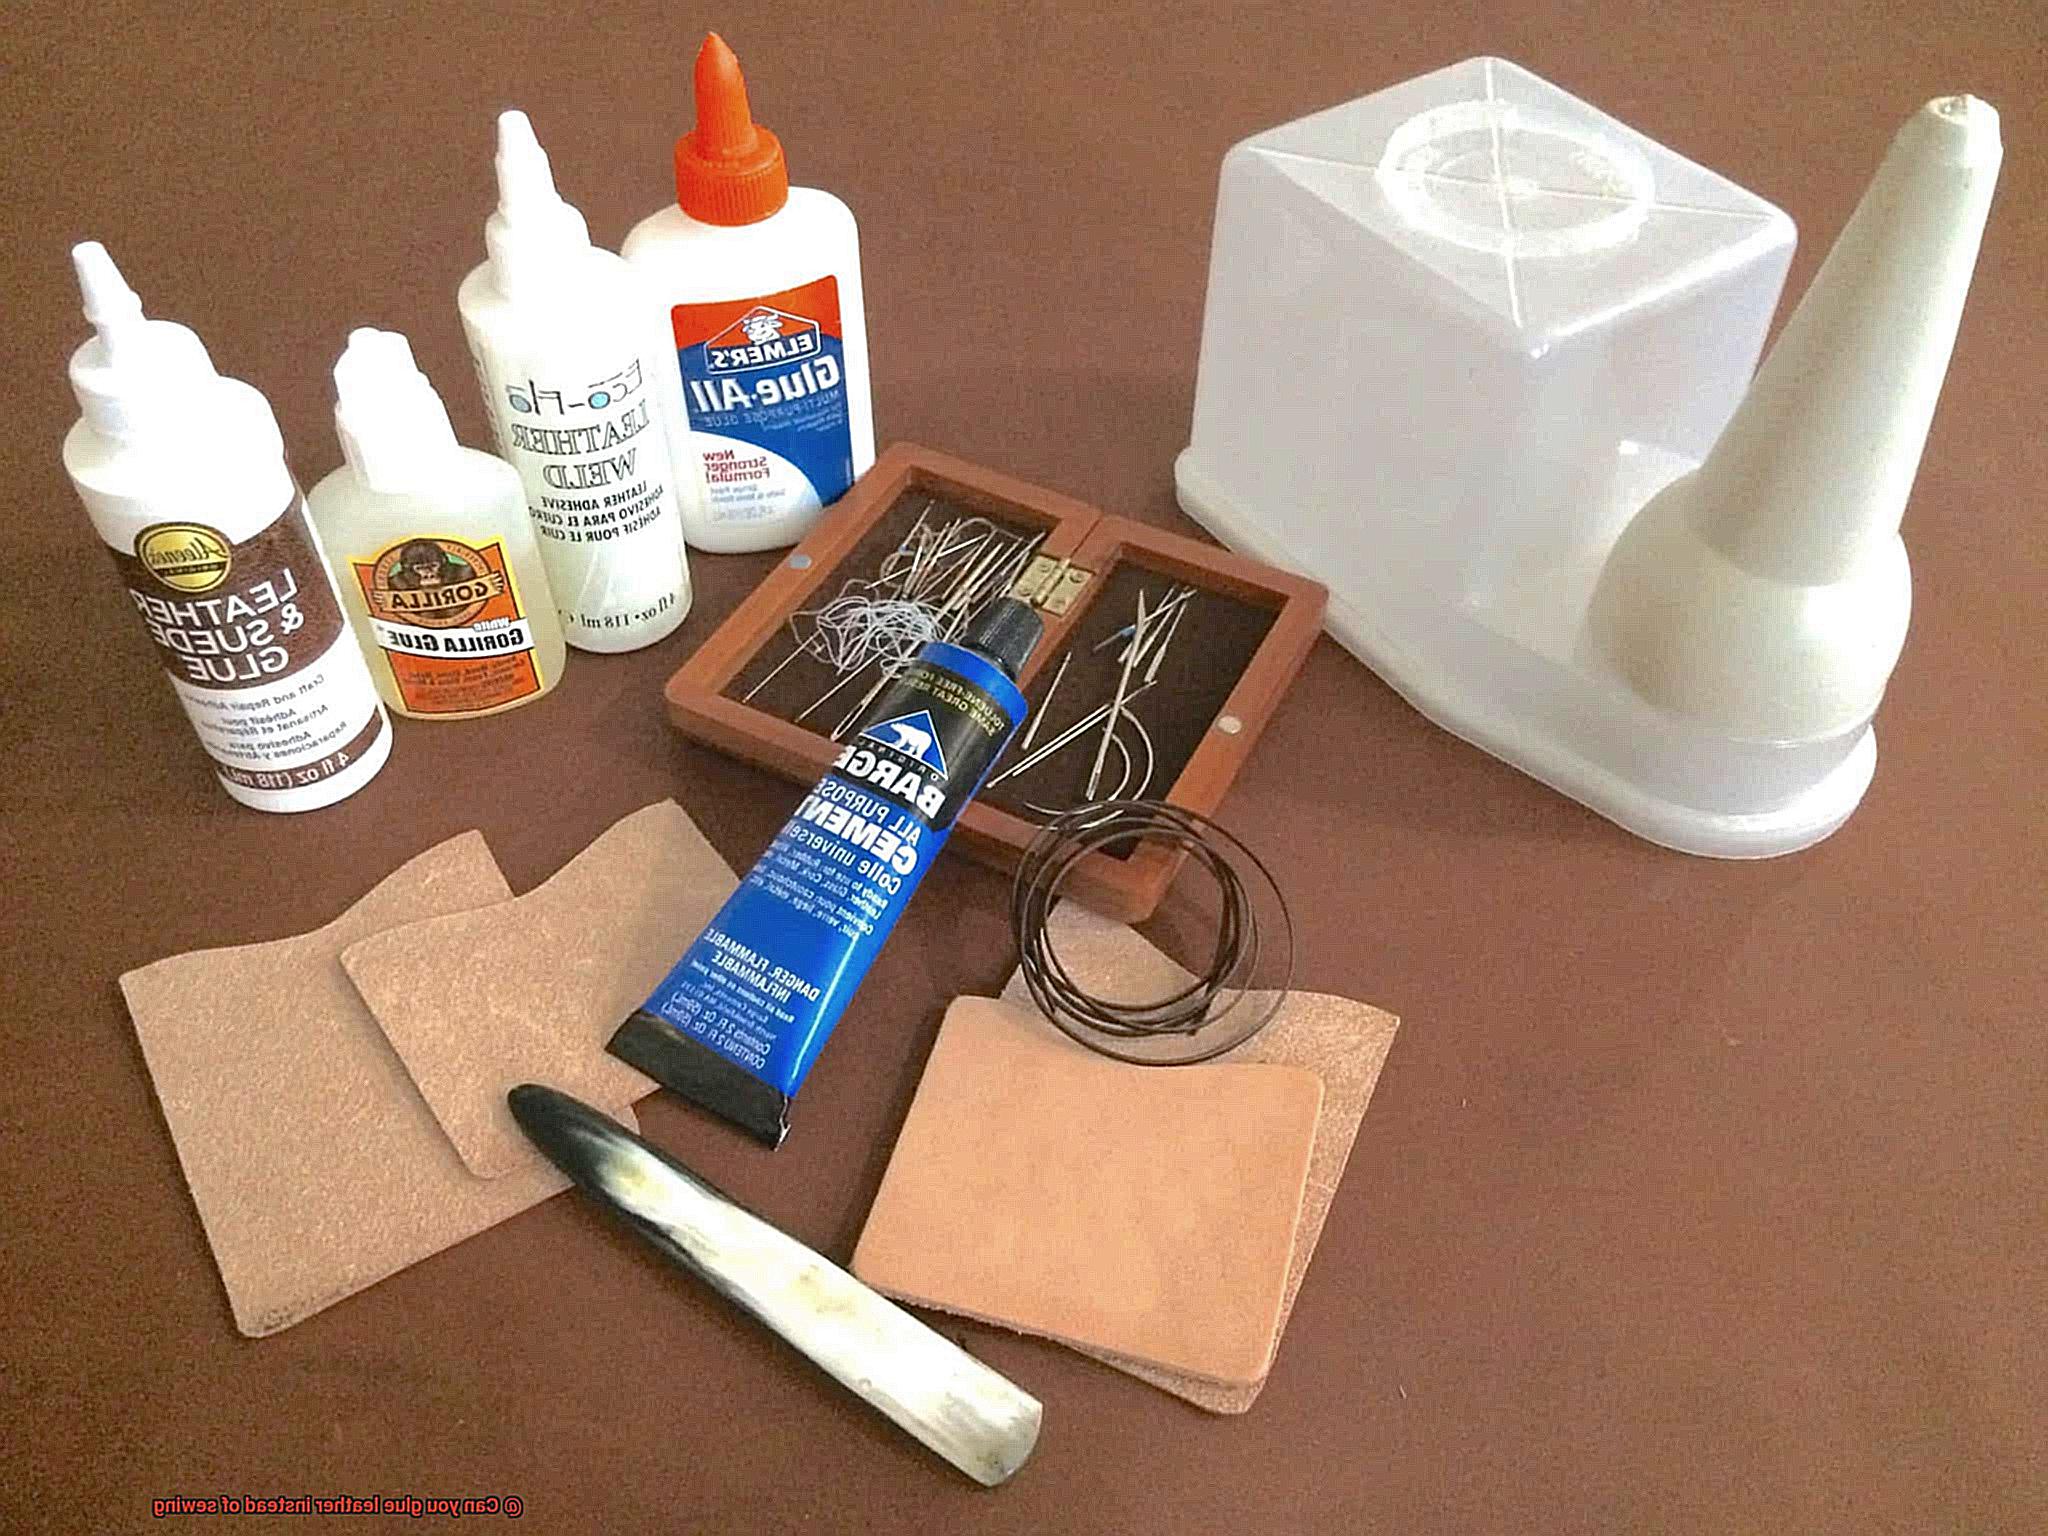
Gluing leather can be a quick and efficient alternative to sewing, but it’s crucial to select the appropriate glue for optimal results. In this comprehensive guide, we will explore five different types of glue suitable for leather, discussing their advantages, disadvantages, and providing tips to ensure a strong and lasting bond.
Contact Cement: Powerfully Quick-Drying
Contact cement is a popular adhesive choice for bonding leather. It forms a robust bond between leather surfaces and dries rapidly. This adhesive is commonly used for attaching leather to non-leather materials like wood or fabric. However, it may leave visible marks on glossy or smooth leather finishes.
Epoxy Adhesive: Heavy-Duty Bonding
For repairing or bonding heavy-duty leather items such as shoes or belts, epoxy adhesive is the go-to option. It creates an incredibly strong bond that withstands water and heat. However, it requires mixing two components before application, and the curing process may take longer compared to other adhesives.
Cyanoacrylate Glue: Quick Fix for Small Pieces
Cyanoacrylate glue, also known as super glue or instant glue, works wonders for bonding small pieces of leather together. Drying quickly and forming a strong bond, it is ideal for precise applications. However, due to its limited flexibility, it may not be suitable for larger areas or heavy-duty use.
Leather Adhesive: Preserving Natural Characteristics
Leather adhesives specifically formulated for bonding leather preserve the material’s natural characteristics while providing a strong and flexible bond. These adhesives are often recommended for professional use or when working with high-quality leather.
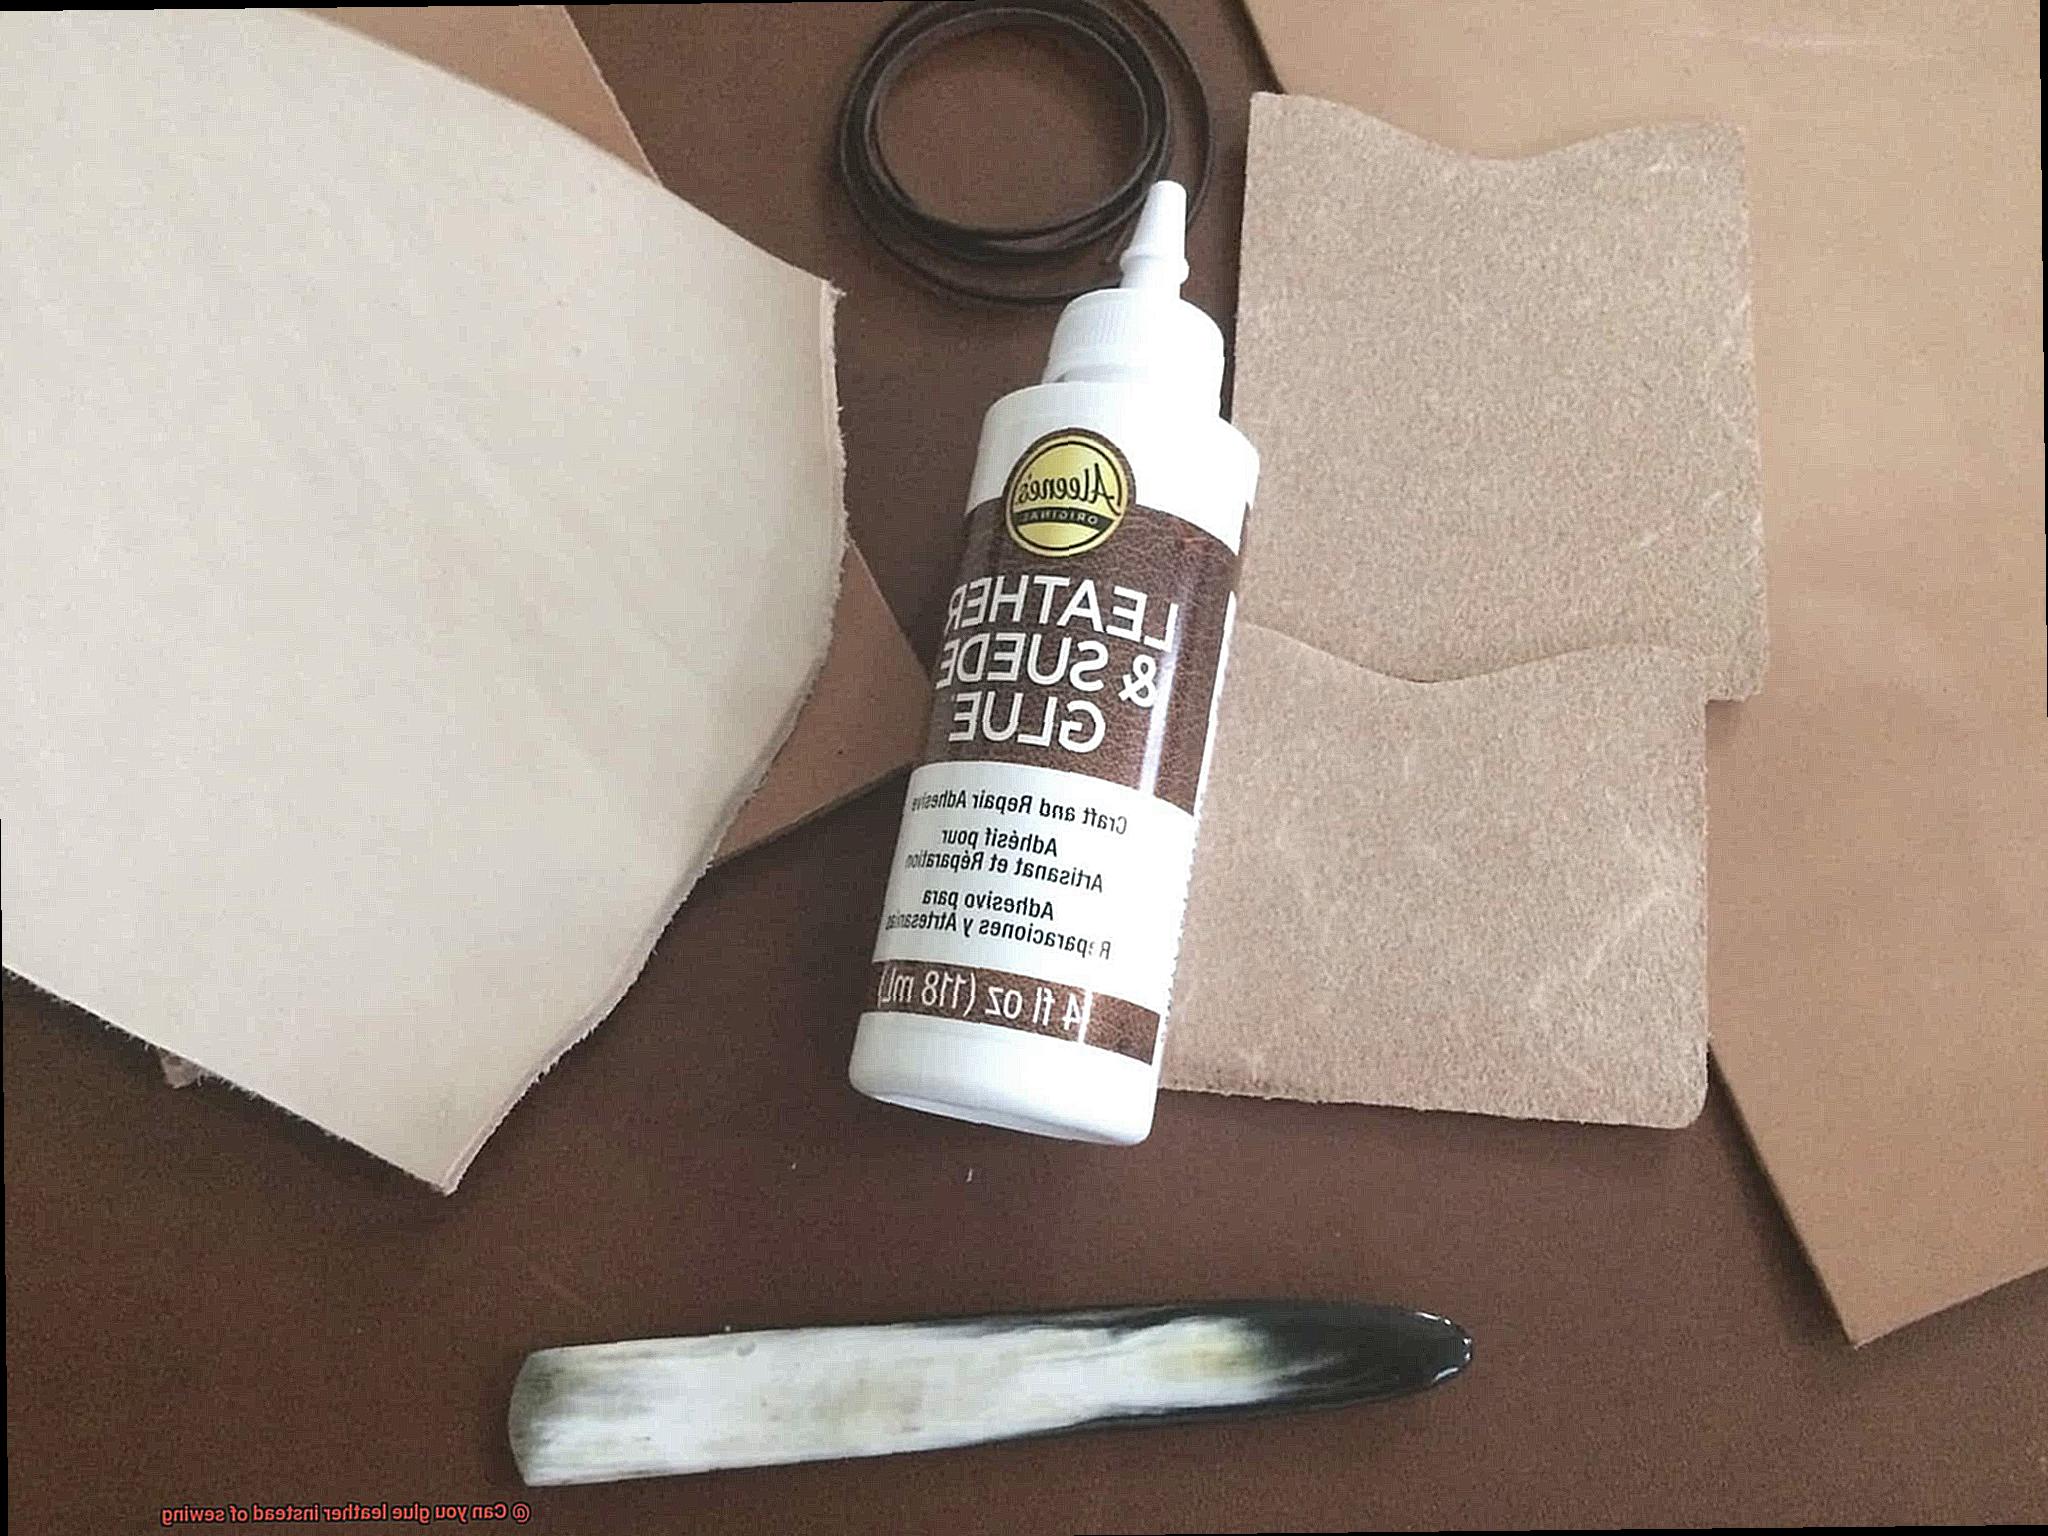
Polyurethane Adhesive: Water and Heat Resistant
Polyurethane adhesive is another excellent option for gluing leather. It creates a strong bond that resists water and heat, making it suitable for repairing shoes, handbags, belts, and other leather items.
Preparing the Leather for Gluing
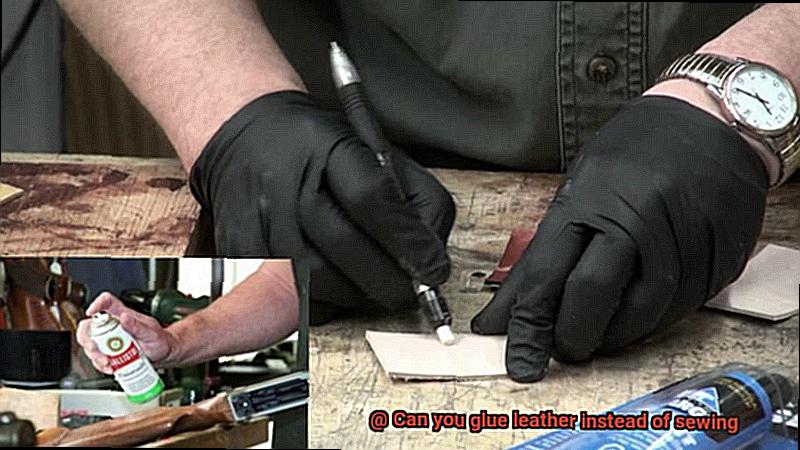
Gluing leather can provide a durable bond without compromising its natural beauty. But before you dive into this exciting alternative, it’s crucial to prepare the leather surface for optimal adhesion.
Cleanliness is the first step to success. Gently wipe the leather with a damp cloth to remove dirt, dust, and oils that could interfere with the adhesive. Let the leather air dry completely before moving on.
Once clean and dry, rough up the surface. Use fine-grit sandpaper to lightly sand the leather, creating a rough texture that enhances bonding. Be cautious not to damage the leather by sanding too aggressively.
After sanding, apply a leather conditioner or deglazer. This removes any remaining oils or finishes that might hinder adhesion. Use a soft cloth to apply the conditioner evenly and let it dry completely before proceeding.
Skiving is particularly useful for thick or stiff leather. Thin down certain areas using a skiving knife or tool to create flexibility for bonding. Take care not to cut too deeply into the leather.
Now it’s time to choose the right adhesive. Options include contact cement, leather glue, or epoxy adhesive. Read the manufacturer’s instructions carefully and test on an inconspicuous area before applying.
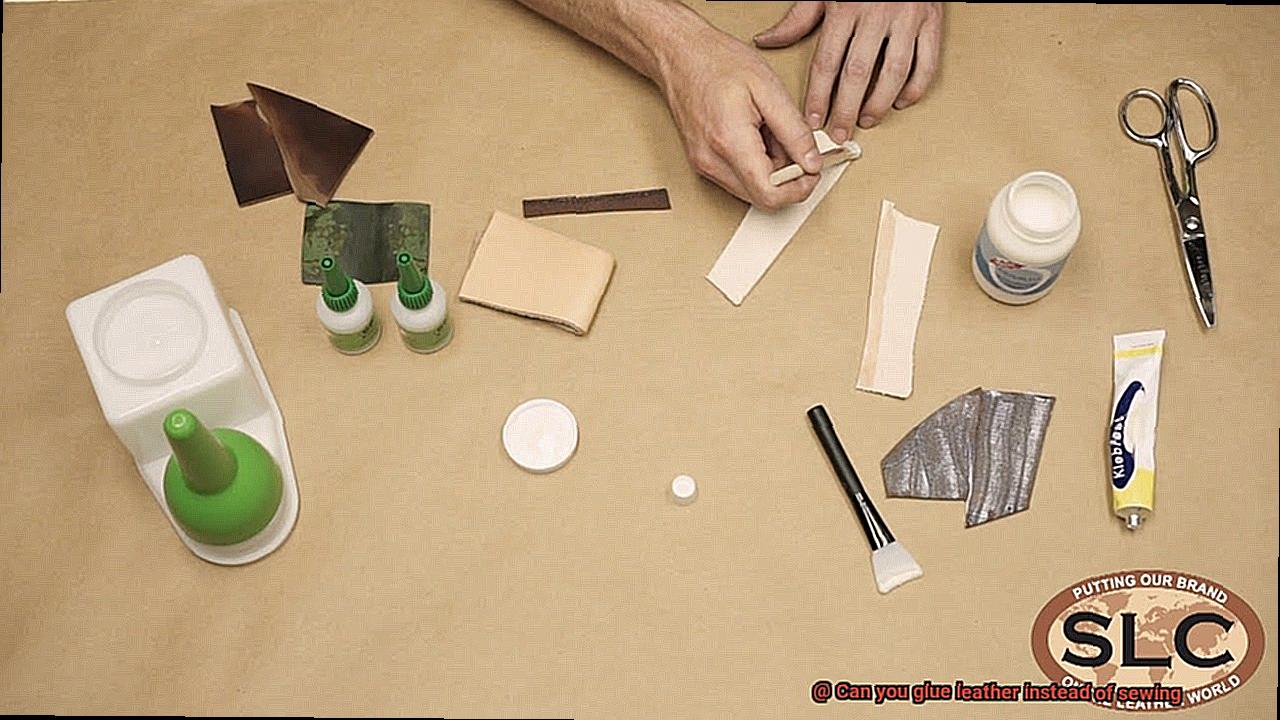
When applying the adhesive, spread it evenly and thinly on both surfaces. A small brush or spatula can help with this task. Let the adhesive set for a few minutes before pressing the surfaces firmly together.
To ensure a strong bond, apply pressure using clamps or heavy objects. This creates a tight seal and allows proper curing. Let the leather sit undisturbed for recommended curing time before subjecting it to stress.
How to Glue Leather Together
Leather is a versatile material that can be used in a variety of crafts and projects. While sewing is the traditional method for joining leather pieces, gluing can be a quick and efficient alternative. In this comprehensive guide, we will explore the steps to effectively glue leather together, from selecting the right adhesive to ensuring a strong bond.
Choosing the Right Glue:
When it comes to gluing leather, not all adhesives are created equal. Opt for a glue specifically designed for bonding leather, such as contact cement or leather glue. These types of glue provide the necessary strength and flexibility to withstand the demands of leather projects. It’s important to read the labels and choose an adhesive that suits your specific needs.
Preparing the Leather Surfaces:
Before applying any glue, it’s essential to prepare the leather surfaces properly. Clean both sides of the leather with a gentle leather cleaner or mild soap and ensure they are completely dry. This step ensures that the adhesive can bond effectively without any hindrances. Additionally, roughen the surface slightly with sandpaper or a leather scratcher to enhance adhesion.
Applying the Glue:
When applying the glue, less is more. Use a brush or a small applicator to apply an even layer of glue to both surfaces that need to be bonded. Avoid applying excessive amounts of glue, as it can seep out from the edges and create a messy appearance. It’s better to apply multiple thin layers, allowing each layer to dry before adding another.
Pressing and Holding Firmly:
After applying the glue, carefully align the edges of the leather pieces and press them together firmly. Apply even pressure across the entire bonded area to ensure a strong and secure bond. You can use clamps or weights to hold the pieces together while the adhesive dries. Make sure to place a piece of scrap fabric or cardboard between the leather and the clamps to prevent any damage.
Drying Time and Testing:
Follow the manufacturer’s instructions regarding drying time. It’s important not to rush this step, as premature handling can weaken the bond. Once the adhesive has fully dried, gently pull at the edges of the glued pieces to test the strength of the bond. If it feels secure and does not separate easily, then your glue has done its job. However, if you notice any weak spots, you can reapply a small amount of glue and repeat the pressing process.
Reinforcing Glued Seams with Stitching
In our previous section, we explored the art of gluing leather and the crucial steps to achieve a strong bond. But what if you need extra reinforcement for those heavy-duty projects or high-stress areas? Fear not. We have just the solution for you – saddle stitching.
Saddle stitching is a time-tested technique that combines the strength of stitching with the adhesive properties of glue. It’s like a superhero duo, working together to provide unmatched durability and longevity to your leather creations.
So, how does saddle stitching work its magic? Let’s break it down.
First, imagine your glued seam as a team of superheroes holding hands. While the glue forms a strong bond between the leather pieces, it may not always be enough to withstand the demands of real-world use. That’s where saddle stitching swoops in to save the day.
Using two needles and a single thread, saddle stitching creates a continuous interlocking pattern of stitches on both sides of the leather. This technique distributes tension and stress evenly along the seam, preventing it from unraveling under pressure. Think of it as an invisible safety net, providing an extra layer of protection.
Not only does saddle stitching reinforce glued seams, but it also adds a touch of elegance to your finished product. Those neat rows of stitches create a visually pleasing pattern, elevating the overall appearance of your leatherwork.
However, it’s essential to remember that stitching should never be relied upon solely if the glue isn’t strong enough. Gluing and stitching go hand in hand, forming an unbeatable alliance for maximum strength and durability.
In conclusion, if you want your leather creations to withstand the test of time and heavy usage, consider reinforcing glued seams with saddle stitching. This technique combines the adhesive properties of glue with the strength and aesthetic appeal of stitching. So grab your needles, thread, and glue, and let’s create leather masterpieces that can stand up to any challenge.
Long-Term Durability and Strength of Glued Seams
When it comes to gluing leather seams, the long-term durability and strength of the bond must be considered. Glue can provide a strong connection if used correctly, but several factors can influence the quality and lifespan of glued seams.
One crucial factor is the type of glue used. Adhesives like contact adhesive or leather-specific adhesives are specially formulated for bonding leather, ensuring excellent long-term durability. These adhesives possess unique properties that enable them to withstand the stresses and strains that leather seams may encounter.
The quality of the leather itself also plays a significant role in the strength of glued seams. The bond relies on the surface area of the materials being glued together. If the leather is of poor quality or has imperfections, the bond may not be as strong. Therefore, it is vital to use high-quality leather and ensure proper surface preparation. This involves cleaning, drying, and removing any oils or residues that could interfere with the adhesive’s ability to bond effectively.
Environmental conditions such as temperature and humidity can impact the long-term durability of glued seams. Extreme heat can soften or melt the adhesive, weakening the bond. Similarly, excessive moisture can cause the adhesive to break down or become less effective. To prevent seam failure, it is crucial to avoid exposing glued leather items to excessive heat or moisture.
Furthermore, exposure to UV radiation can weaken glued seams over time. The UV rays cause the adhesive to degrade, leading to seam failure. To enhance durability and protect against UV damage, consider using protective coatings or sealants on glued leather items.
While gluing leather seams can be a viable alternative in certain situations, sewing is generally considered the most reliable method for ensuring long-term durability and strength. Sewing provides a more secure and flexible connection between leather pieces, making it more resistant to stress and tension.
V4_EaCHcyNY” >
Also Read: Does Gorilla Glue Work On Fabric?
Conclusion
In conclusion, opting to glue leather instead of sewing it can present a viable alternative for a wide range of craft projects. This technique boasts numerous advantages, including time-saving benefits, user-friendly application, a pristine and polished appearance, heightened durability, limitless design possibilities, and cost-effectiveness. By choosing to glue leather, you can effortlessly achieve seamless finishes without unsightly stitches, while also expanding your creative horizons by attaching different materials to this versatile material.
However, it is crucial to acknowledge the drawbacks associated with gluing leather. Over time, glued seams may not withstand the test of durability as well as sewn seams. Furthermore, adhesive can introduce stiffness and reduce flexibility in certain applications. Additionally, the aesthetic appeal of glued leather may not match the refined and professional finish achieved through sewing. Repairing glued seams can prove challenging and often necessitates replacing entire sections of leather. Moreover, gluing may not be suitable for heavy-duty items or those frequently exposed to moisture.
When selecting a glue for leather projects, consider options such as contact cement, epoxy adhesive, cyanoacrylate glue, leather adhesive or polyurethane adhesive based on your specific requirements.
Prior to gluing leather surfaces together, proper preparation is essential. Thoroughly cleaning the surfaces and roughening them with sandpaper are critical steps that ensure optimal adhesion.
While gluing leather can yield a strong bond, reinforcing glued seams with stitching using saddle stitching techniques can further enhance their durability and strength.

