Picture this: the sun is shining, the beach is calling, and you reach for your trusty pair of flip flops…only to find them in a sad state of disrepair. It’s a heart-wrenching moment that no flip flop enthusiast should ever have to endure. But fear not. We are here to save the day and answer the burning question on everyone’s mind: Can you glue flip flops back together? And the answer is a resounding YES. In this captivating guide, we’ll dive headfirst into the fascinating world of flip flop restoration, equipping you with all the knowledge and techniques necessary to bring your favorite footwear back from the brink.
Gluing flip flops back together isn’t just about slapping some adhesive on them and hoping for the best. Oh no, my friend. It’s an art form that requires finesse, strategy, and a touch of magic. Throughout this post, we’ll explore an array of materials specifically designed for flip flop revival, including some secret-recipe adhesives that will make your repair job shine like never before. But first things first – preparation is key. We’ll walk you through the essential steps to ensure your flip flops are primed and ready for their glue makeover.
Technique matters, folks. That’s why we’re going to hold your hand every step of the way as we reveal foolproof instructions and insider tips that will make even seasoned cobblers blush with envy. From reattaching pesky straps to patching up stubborn tears, no repair challenge will be too daunting for you after reading our blog series. We’ll even tackle those dreaded detached soles that threaten to ruin your summer fun. With our guidance, you’ll become a master at wielding glue like a pro.
But wait – there’s more. We won’t just leave you hanging with a tube of glue and some vague instructions. Oh no, we’re here to provide you with all the information you need to make an informed decision. We’ll discuss the pros and cons of various adhesive options, from traditional choices to eco-friendly alternatives that will make Mother Nature smile. Plus, we’ll let you in on some top-secret tips for extending the lifespan of your newly restored flip flops, so you can strut your stuff with confidence all summer long.
So, don’t toss those worn-out flip flops into the abyss just yet
What Are Flip Flops?
Contents
- 1 What Are Flip Flops?
- 2 Can You Glue Flip Flops Back Together?
- 3 Factors to Consider Before Gluing Flip Flops
- 4 Selecting the Right Glue for Repairing Flip Flops
- 5 Preparing the Surfaces for Adhesion
- 6 Applying the Glue and Joining the Pieces Together
- 7 Curing and Letting the Glue Set
- 8 Is Gluing a Permanent Solution?
- 9 Conclusion
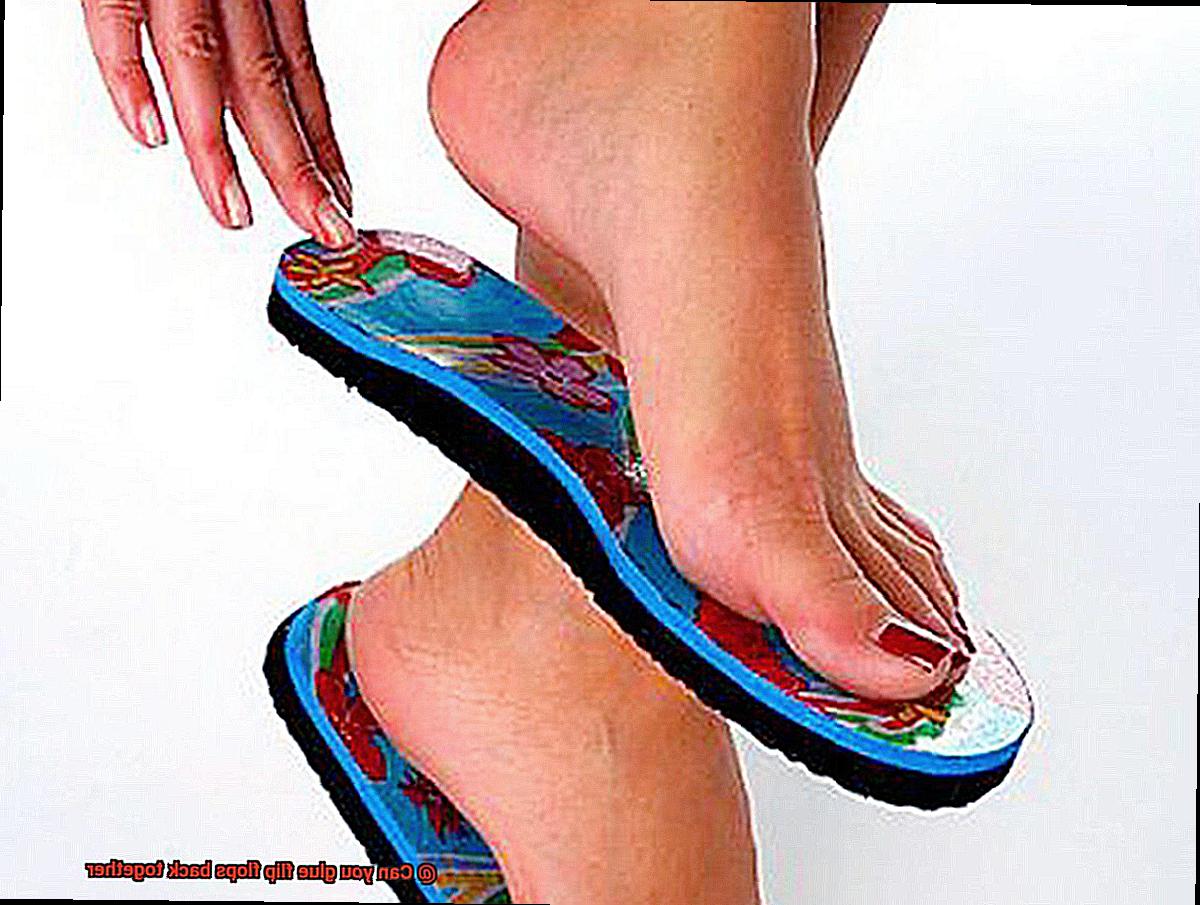
Flip flops, also known as thongs or sandals, are a beloved type of footwear that embodies the spirit of carefree summer days and relaxed casual style. These iconic shoes consist of a sole attached to the foot with a Y-shaped strap that goes between the big toe and the second toe. Made primarily from rubber or plastic materials, flip flops are designed to be lightweight, flexible, and incredibly comfortable.
The name “flip flop” perfectly captures the distinctive sound these shoes make when walking. With each step, the sole of the shoe playfully slaps against the ground, creating a rhythmic melody that instantly conjures images of sandy beaches and lazy strolls along boardwalks.
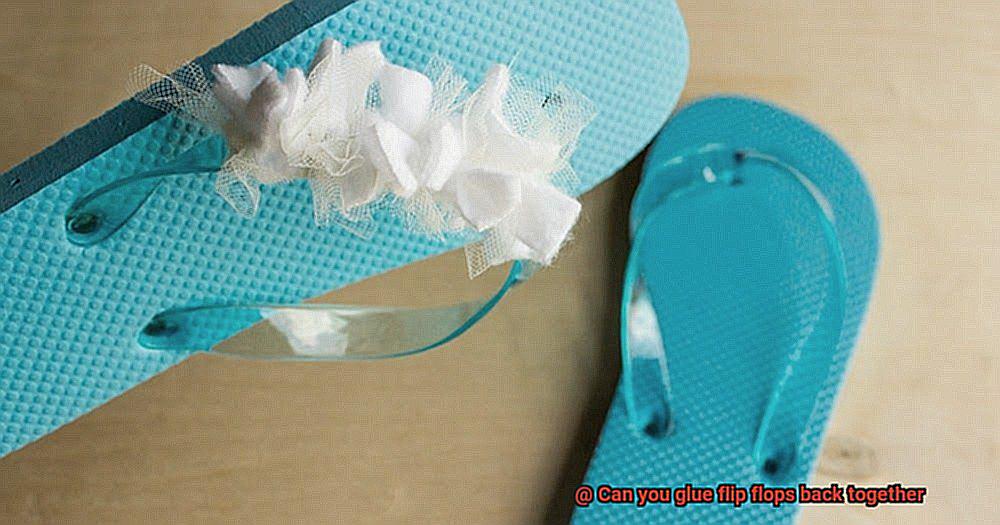
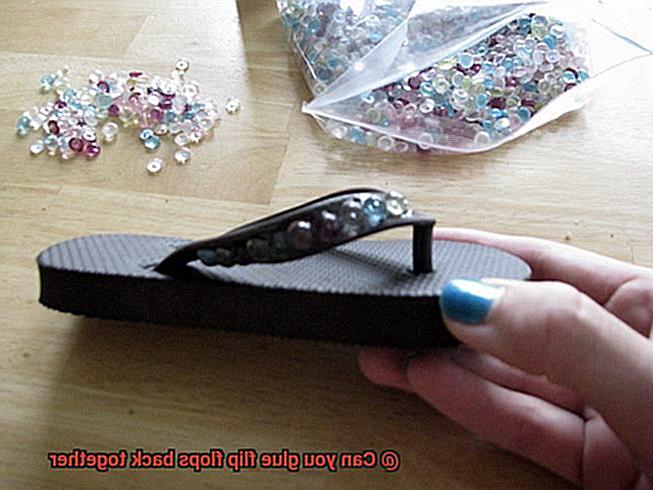
While flip flops are often associated with beachwear and casual attire, they have evolved to include more stylish and fashionable options. Today, you can find flip flops adorned with intricate beadwork, dazzling sequins, or even playful charms. These embellishments add a touch of personality and flair to an otherwise simple design.
One of the key advantages of flip flops is their versatility. They are perfect for warm weather climates where comfort and breathability are essential. Whether you’re heading to the beach, lounging by the pool, or simply running errands on a sunny day, flip flops provide the perfect blend of comfort and style.
However, despite their popularity and durability, flip flops can sometimes succumb to wear and tear or unfortunate accidents. But fear not. In many cases, it is possible to repair your beloved flip flops using glue.
Before attempting any repairs, it’s important to assess the material and extent of the damage. Rubber or plastic flip flops are generally easier to repair than those made of leather or fabric. Minor breaks or separations can often be successfully glued back together, while extensive damage may require replacement.
When it comes to repairing your flip flops with glue, there are a few factors to consider. Epoxy adhesives like two-part epoxy or shoe repair adhesives specifically designed for rubber or plastic are often recommended. Before applying the glue, ensure that both surfaces are clean and dry for optimal adhesion. Apply a thin layer of glue to one side, press the broken pieces together firmly, and hold them in place for a few minutes until the glue starts to set.
Once the bonding is complete, allow the glue to cure for at least 24 hours before subjecting the flip flops to stress or strain. This gives the adhesive time to fully harden and achieve maximum strength. However, it’s worth noting that glued flip flops may not provide a long-lasting solution, especially with frequent use or exposure to moisture.
Can You Glue Flip Flops Back Together?
The quintessential summer footwear that instantly transports us to warm sandy beaches and carefree days. But what happens when your beloved flip flops break? Can you glue them back together and salvage your favorite pair? Let’s dive in and explore the pros and cons of gluing versus replacing your flip flops.
Pros of Gluing:
Cost-Effective Solution:
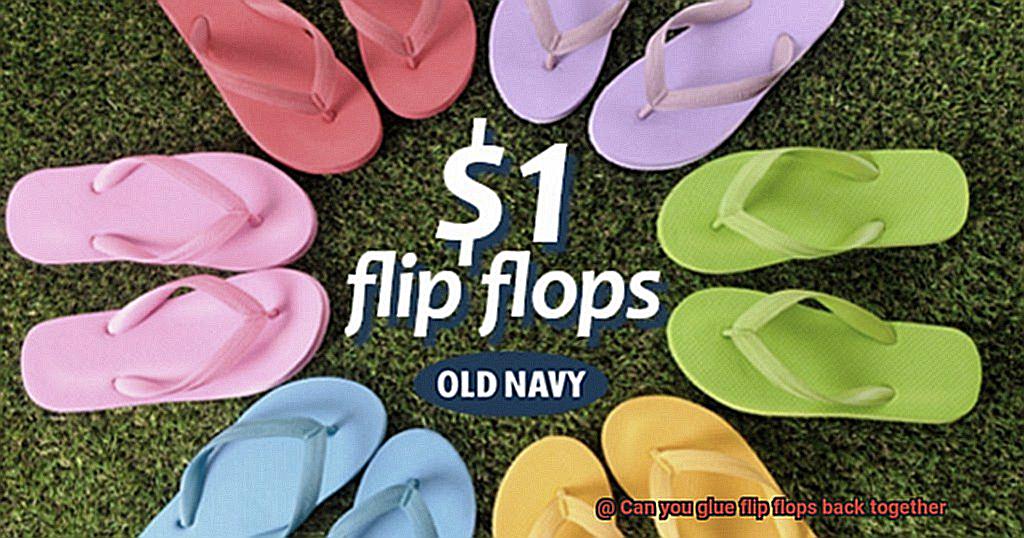
Gluing your flip flops back together is often a more budget-friendly option compared to buying a brand new pair. Save some cash while still enjoying your favorite footwear.
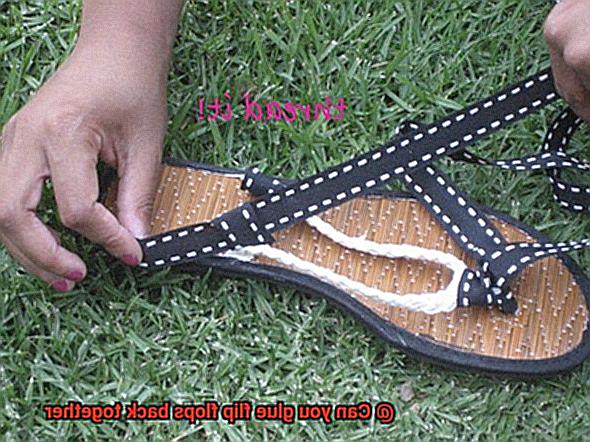
Easy DIY Fix:
Gluing flip flops can be a quick and hassle-free repair, especially for minor damages. With a strong adhesive like epoxy or super glue, you can bond the broken pieces together and get back to wearing your flip flops in no time.
Cons of Gluing:
Durability Concerns:
While gluing may provide a temporary fix, it may not offer the same level of durability as the original construction method used by the manufacturer. The repaired flip flop may not withstand heavy use or last as long as it did before.
Adhesion Challenges:
Flip flops are typically made of smooth and non-porous materials like rubber or plastic, which can make it challenging for glue to adhere properly. Thoroughly cleaning the surfaces before applying any adhesive is crucial to ensure a strong bond.
Tips for Gluing Flip Flops:
Clean and Prep:
Before applying any glue, clean the broken edges of your flip flops with soap and water to remove dirt and debris. Dry them thoroughly.
Choose the Right Adhesive:
Opt for a strong adhesive like epoxy or cyanoacrylate (super glue) that is suitable for bonding rubber or plastic materials. Follow the instructions on the adhesive packaging for the best results.
Apply and Hold:
Apply a thin layer of adhesive to both sides of the broken edges, then press them firmly together. Use clamps or rubber bands to hold the pieces in place while the glue dries.
Allow Sufficient Drying Time:
Give the glue ample time to dry and set according to the manufacturer’s instructions before wearing your flip flops again.
Factors to Consider Before Gluing Flip Flops
Flip flops are a beloved choice of footwear, providing comfort and style. However, wear and tear can leave you with a broken pair. Before bidding farewell to your favorite flip flops, consider gluing them back together. Gluing flip flops can be an effective and affordable way to extend their lifespan. In this post, we will explore the key factors to consider before embarking on this DIY repair project.
Material Matters:
The material of your flip flops plays a crucial role in determining the type of adhesive you should use. Rubber flip flops require a specific rubber adhesive, while plastic or leather flip flops may need a different type of adhesive. Choosing an adhesive compatible with the material ensures a strong and long-lasting bond.
Assess the Condition:
Before reaching for the glue, assess the overall condition of your flip flops. If they are severely damaged or worn out, gluing them may not be effective. However, if the damage is minimal and the rest of the flip flop is still intact, gluing them back together can be a viable option.
Evaluate the Type of Damage:
Consider the type of damage your flip flops have sustained. Minor tears or separations between the sole and strap can often be repaired with glue. However, multiple tears or extensive damage may require additional repairs. Evaluate the extent of the damage to determine if gluing is suitable.
Choose Quality Adhesive:
Selecting the right adhesive is crucial for a successful repair. Opt for a high-quality adhesive specifically designed for bonding footwear materials. Read product reviews and choose an adhesive proven effective for repairing footwear. This ensures a strong and durable bond that withstands regular wear and tear.
Consider Your Skill Level:
Gluing flip flops back together requires some level of skill and dexterity. Assess your ability to perform the repair effectively. If you’re unsure, seek assistance from a professional or someone experienced in DIY repairs. It’s better to ask for help than risk a botched repair job.
Cost-Effectiveness:
Evaluate the cost-effectiveness of repairing your flip flops. Compare the cost of adhesive and additional materials required for the repair to the cost of purchasing a new pair. If repairing exceeds the cost of replacement, it may be more practical to replace them instead.
Selecting the Right Glue for Repairing Flip Flops
Well, fear not. With the right glue, you can bring your beloved flip flops back to life and strut your stuff in style once again. Let’s dive into the world of glues and find the perfect one for your flip flop repair needs.
First up, we have the superstar of glues – cyanoacrylate adhesive, better known as super glue. This glue is a favorite among DIY enthusiasts for its quick-drying and strong bonding properties. It works wonders on a variety of materials commonly used in flip flop construction, like rubber, foam, and plastic. So whether your flip flops have a small crack or a complete break, super glue is up for the task.
But how do you apply super glue? It’s simple. Clean and dry the surfaces to be glued, then apply a thin layer of glue evenly onto both surfaces. Press them together firmly and hold them in place until the glue sets – usually just a few minutes. For extra security, leave the repaired flip flop undisturbed for at least 24 hours before wearing them again.
Next on our list is contact adhesive. This type of glue forms a strong bond when two surfaces are pressed together. It’s perfect for bonding materials like rubber and foam, making it an excellent choice for flip flop repairs. Contact adhesive can come in liquid or spray form, making application a breeze.
To use contact adhesive, apply a thin layer onto both surfaces and let it dry until it becomes tacky. Then press the two surfaces firmly together and hold them in place for a few minutes to allow the adhesive to bond properly. Keep in mind that contact adhesive may require longer drying times compared to super glue.
Lastly, we have specialized shoe repair glues. These glues are specifically formulated to bond various shoe materials, including the rubber and plastics commonly found in flip flops. They often come in a tube or bottle with a brush applicator, allowing for precise application.
When selecting a specialized shoe repair glue, consider factors like flexibility, waterproof properties, and durability. Look for glues that are labeled for use on rubber or plastic materials and follow the manufacturer’s instructions.
Now, before you rush off to repair your flip flops, remember to avoid using glues like epoxy or wood glue. They may not provide the necessary flexibility or adhesion required for flip flop repairs. And stay away from strong chemical-based adhesives that can damage the flip flop material or cause discomfort when worn.
Preparing the Surfaces for Adhesion
With a little bit of glue and some TLC, you can bring them back to life. But before you dive into the world of adhesives, it’s important to prepare the surfaces for optimal adhesion. After all, you want your flip flops to stay together, right?
The first step in preparing the surfaces is to clean them thoroughly. Say goodbye to any lingering dirt, dust, or debris by giving them a good scrub with mild soap and water. Rinse them off thoroughly and make sure to let them dry completely. You don’t want any moisture interfering with the adhesive later on.
Next up, it’s time to roughen the surfaces slightly. This step may sound a bit strange, but trust me, it’s essential for creating a strong bond. Grab some sandpaper or a rough cloth and gently rub it over the surfaces in a back-and-forth motion. Think of it as giving your flip flops a little exfoliation for better adhesion. Just be careful not to apply too much pressure or damage the material.
Once you’ve roughened the surfaces, it’s important to remove any dust or particles that may have been generated during the process. Get rid of those pesky particles by using compressed air or a soft brush. This step ensures that you have a clean bonding surface, free from any potential obstacles.
Now that your surfaces are clean and prepped, it’s time to choose the right adhesive for the job. Look for an adhesive that is specifically designed for bonding rubber or plastic materials. These specialized adhesives have properties that allow for better adhesion and flexibility – two key factors when it comes to flip flop repair.
Follow the instructions provided by the adhesive manufacturer for application and drying times. Take your time and allow sufficient drying time for the adhesive to fully cure and bond the surfaces together. Rushing this step could result in a weak bond that won’t stand up to the test of time.
Once the adhesive has dried, it’s a good idea to test the bond strength before strapping on your repaired flip flops and hitting the beach. Apply gentle pressure and check if the bond holds firmly without any signs of separation or weakness. If you have any concerns about the bond strength, it may be necessary to reapply the adhesive or seek professional assistance.
Applying the Glue and Joining the Pieces Together
Embracing the warm embrace of summertime, flip flops are an essential companion for casual outings and beach adventures. However, when your beloved pair starts exhibiting signs of wear and tear, don’t be so quick to dismiss them. With a little do-it-yourself repair and the right application of glue, you can revive your flip flops, granting you many more sunny days with your trusted footwear.
Step 1: Prepare the Surfaces
To ensure optimal adhesion, begin by thoroughly cleaning your flip flops. Employ a mild detergent and water to banish any dirt, dust, or debris that could hinder the effectiveness of the adhesive. Allow the surfaces to bask in the sun until they are bone-dry before venturing into the next step.
Step 2: Choose the Right Adhesive
Not all glues are born equal—each has its own strengths and weaknesses. When selecting an adhesive, prioritize those specifically formulated for rubber or plastic materials. Consider factors such as flexibility, water resistance, and drying time to ensure a durable bond. Epoxy, super glue, or shoe repair adhesive are among the favored options.
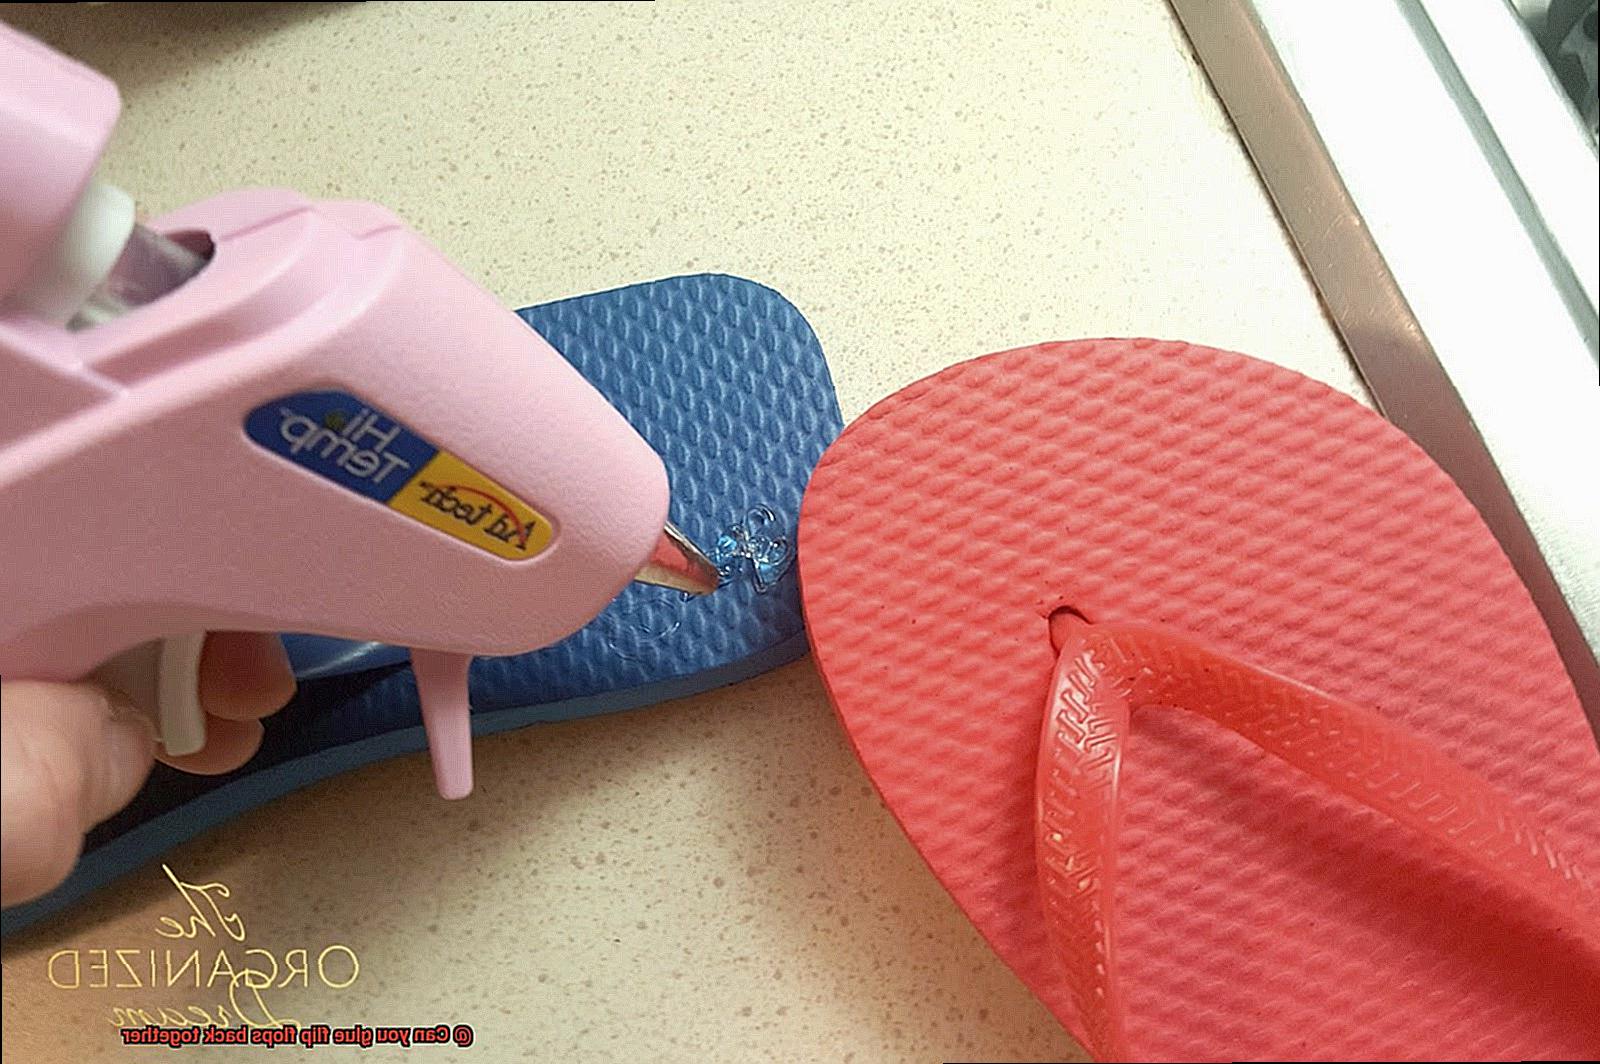
Step 3: Apply the Glue
With delicate precision, utilize a small brush or toothpick to apply a thin layer of glue onto one of the surfaces in need of joining. Exercise caution, as excessive glue can seep out when pressure is applied, compromising the integrity of the repair.
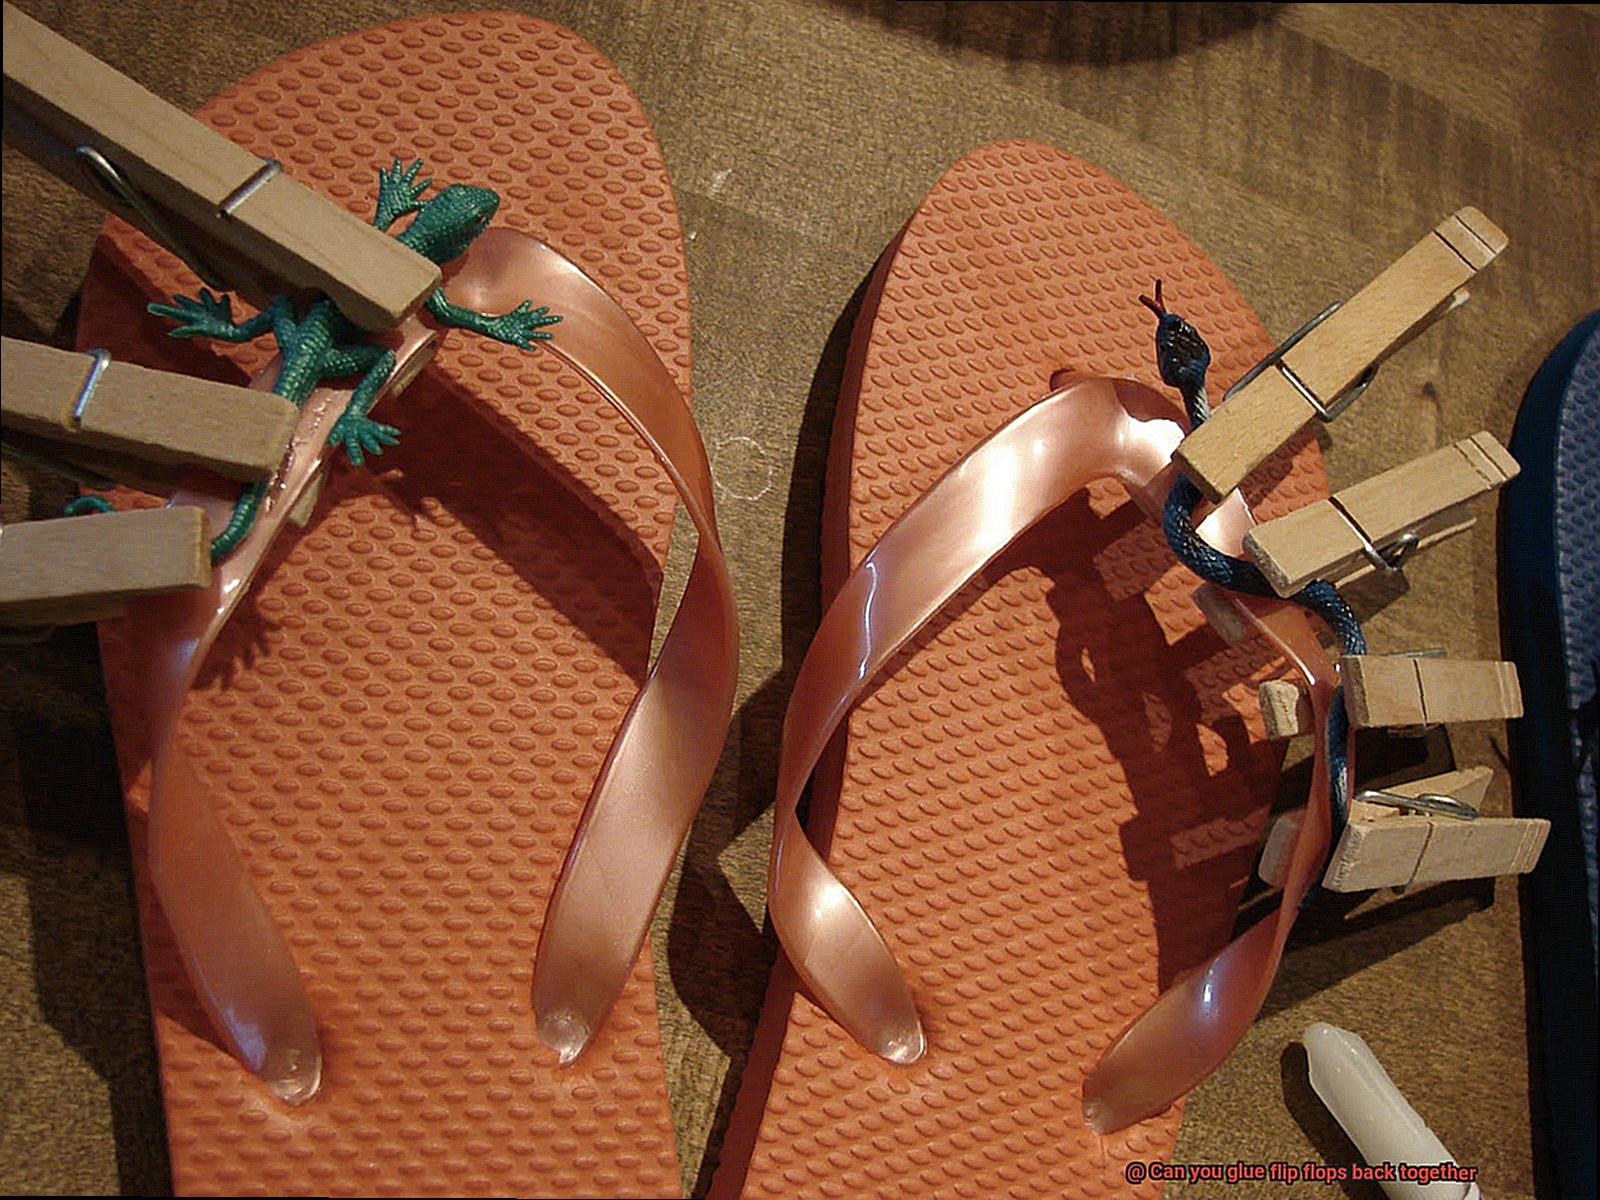
Step 4: Join the Pieces Together
Achieving a seamless connection is crucial for restoring your flip flops. Align the two pieces with meticulous accuracy and press them together firmly. Exert even pressure for several minutes to guarantee a bond that will withstand the test of time. If necessary, employ clamps or weighty objects to secure the fusion while allowing the glue to set.
Step 5: Let it Dry
Patience plays a vital role in this process. Adhere to the instructions provided by the adhesive manufacturer regarding drying time. This period can vary from a few hours to an overnight slumber. Resist the temptation to don your repaired flip flops until the glue has fully cured, ensuring a lasting result.
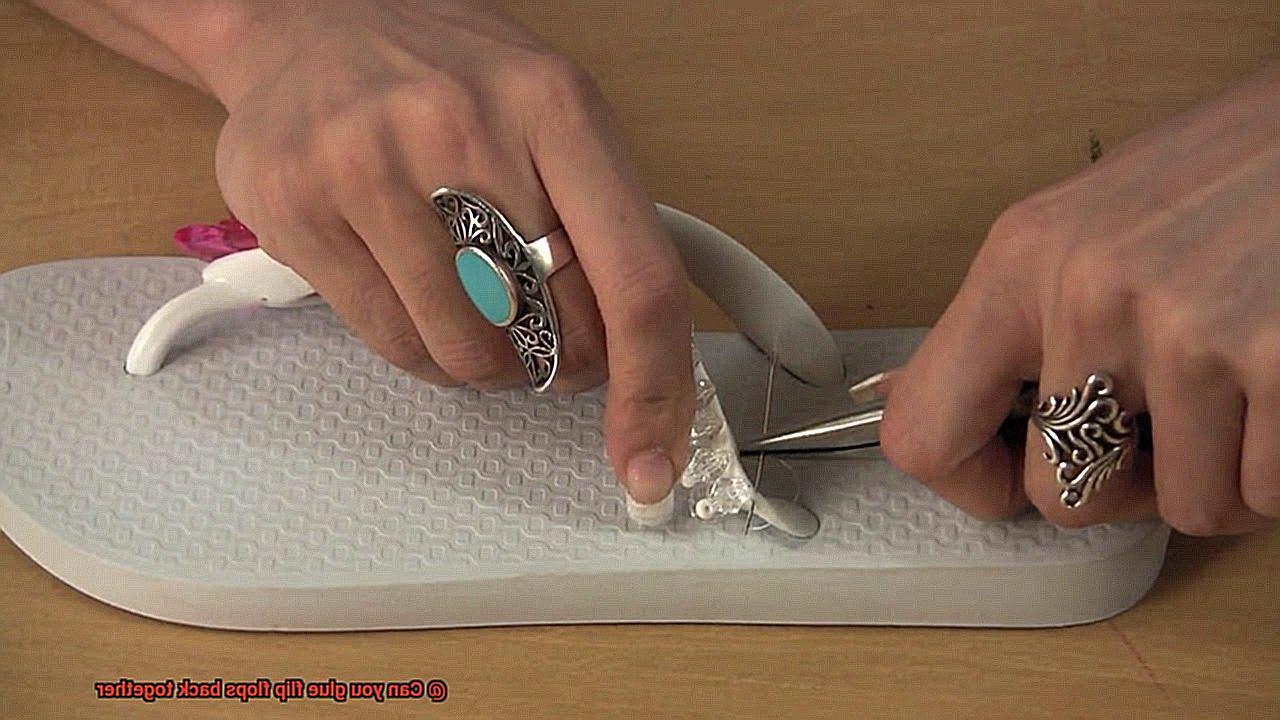
Step 6: Remove Excess Glue
Once the glue has dried, inspect your handiwork for any unwanted residue. Employ a sharp knife or sandpaper with delicate finesse to eradicate any surplus glue, leaving your flip flops restored without sacrificing their aesthetic appeal.
Curing and Letting the Glue Set
Now, let’s dive into the important process of curing and letting the glue set to ensure a long-lasting repair.
Curing, simply put, is allowing the glue to dry and set. Think of it as giving your repair job the time it needs to bond and become super strong. After all, you want your favorite flip flops to withstand all your future strutting.
Different glues have different curing times, so it’s crucial to follow the instructions provided by the manufacturer. Most glues require at least 24 hours to fully cure, but factors like humidity, temperature, and the specific type of glue used can affect this timeframe.
During the curing process, you must resist the urge to disturb or apply any pressure on the glued areas. No impatient flipping and flopping around. Find a well-ventilated area where you can leave your flip flops undisturbed—let them work their magic.
To ensure proper alignment and prevent movement during curing, consider placing your glued flip flops on a flat surface or using clamps if necessary. Also, pay attention to the environmental conditions. Keep your flip flops in a moderate environment with stable temperature and humidity levels. Extremes of heat or cold can interfere with the curing process, so treat them like you would your own feet—comfortably.
Once the recommended curing time has passed, gently check if the glue has fully dried and set. Give it a little wiggle test (not too vigorous.) to ensure everything is nice and solid. If you spot any visible gaps or weak spots, don’t panic. Apply an additional layer of glue and repeat the curing process until that strong bond is achieved.
It’s important to note that even with proper curing, your repaired flip flops may not be as strong as they were originally. Depending on the severity of the damage and the type of glue used, there may be limitations to how long your repair will last before further damage occurs. But fear not. With regular maintenance and care, you can extend the lifespan of your repaired flip flops.
Is Gluing a Permanent Solution?
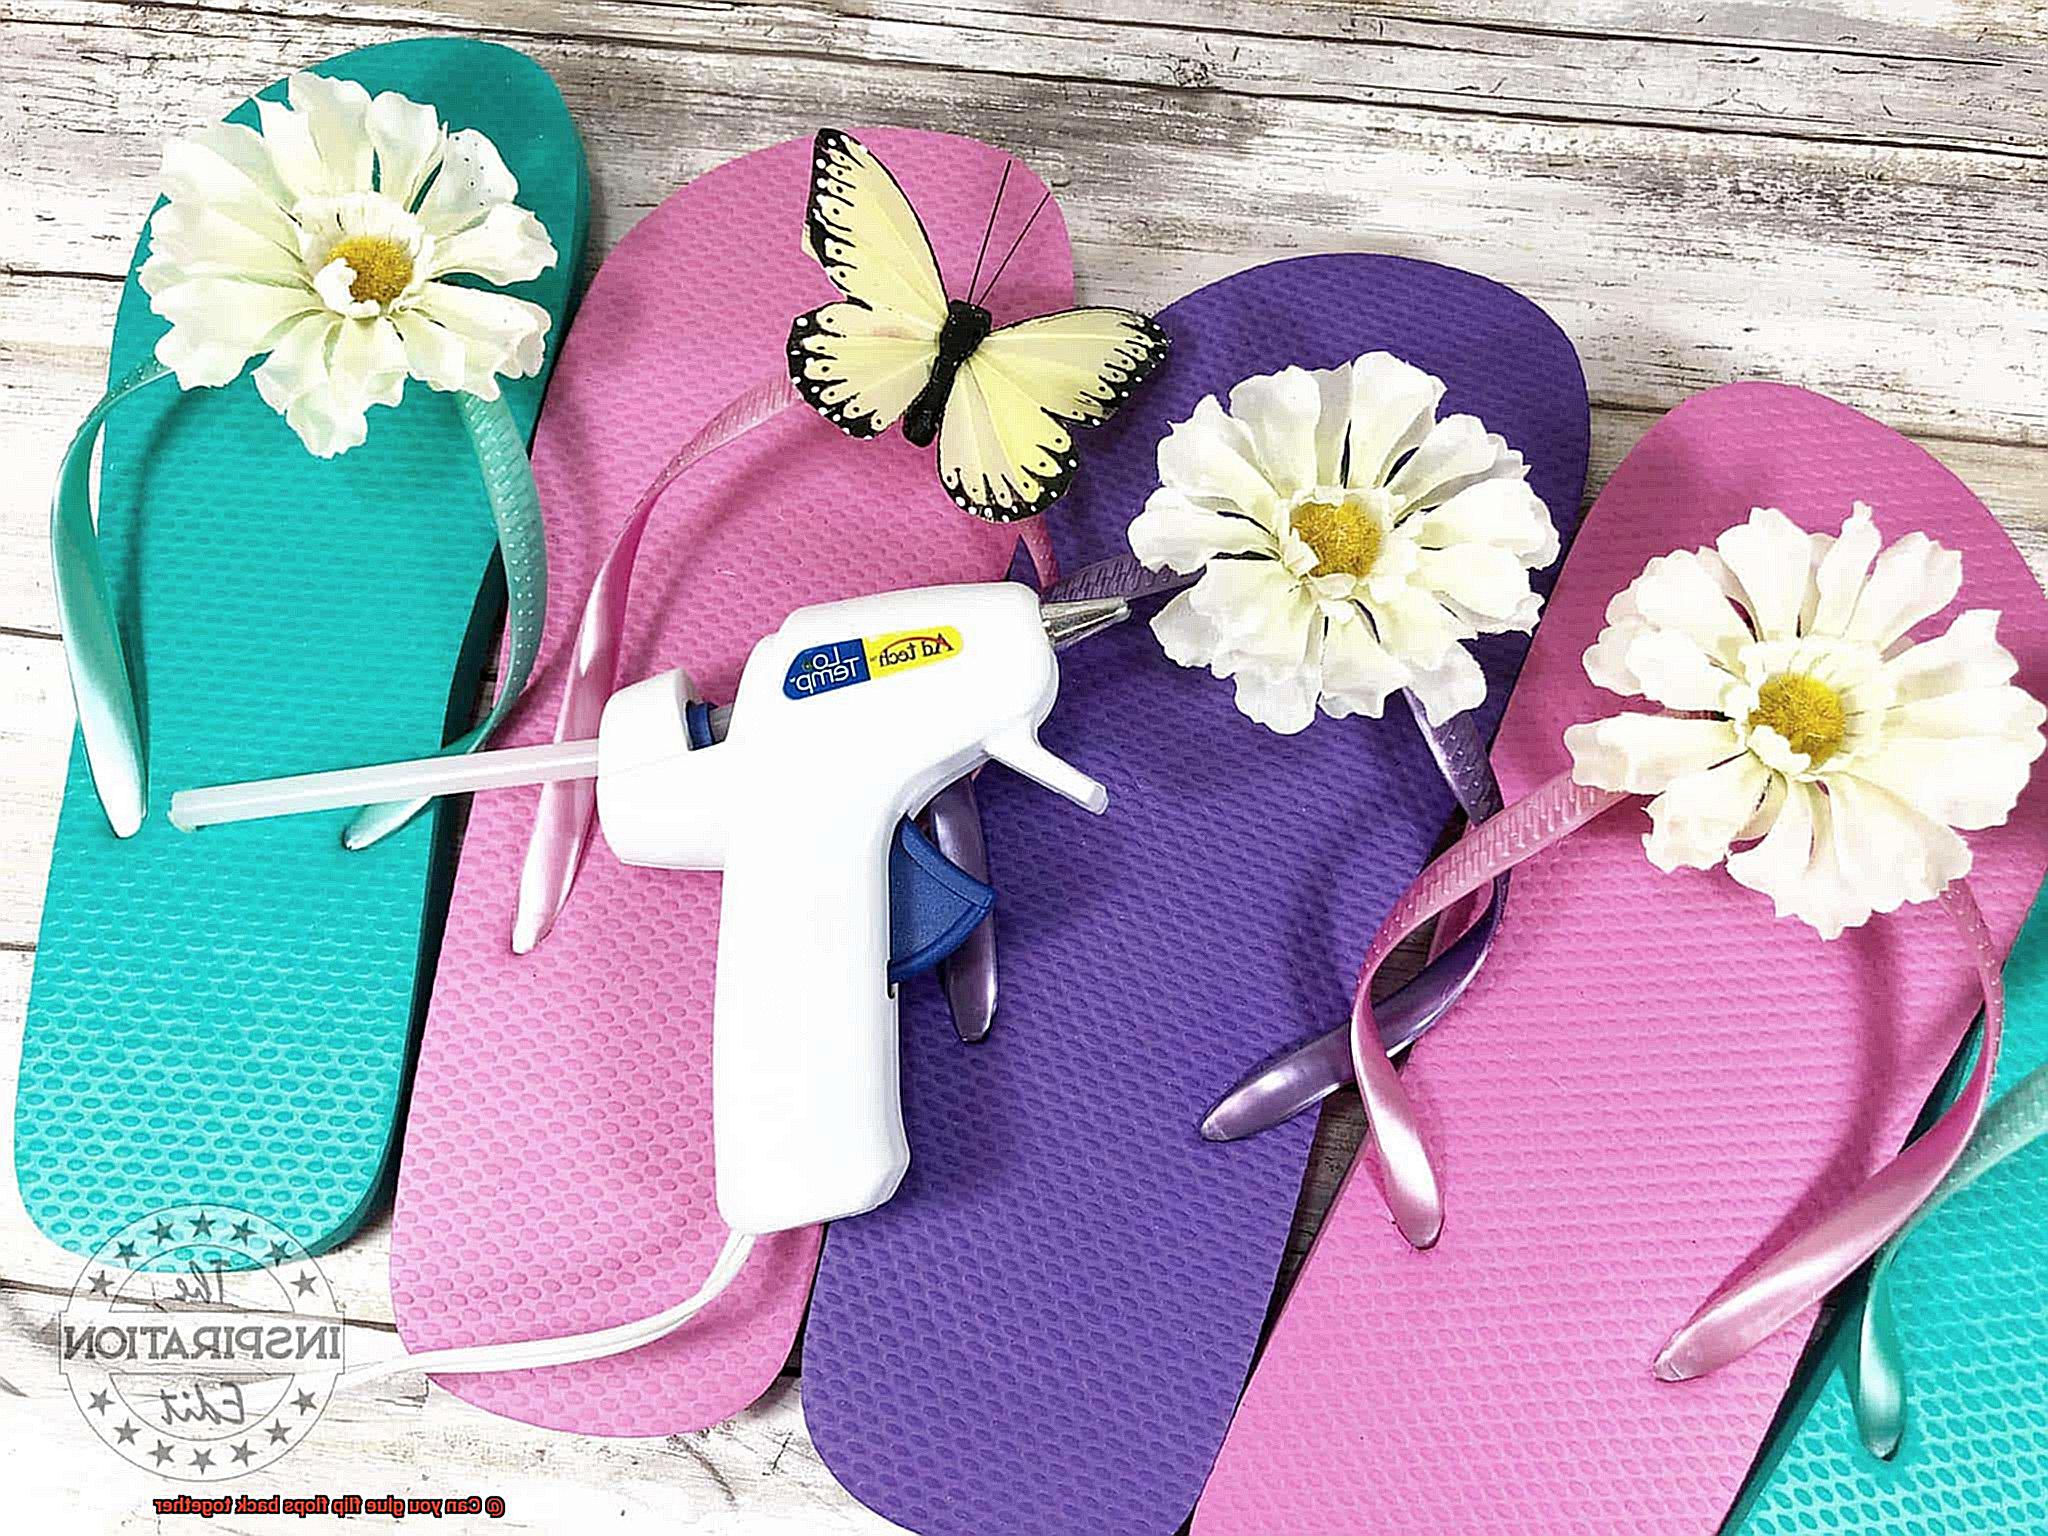
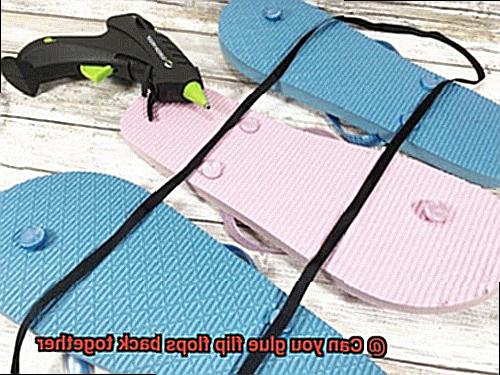
Let’s talk about a common dilemma we’ve all faced at some point – a beloved pair of flip flops on the brink of destruction. Whether it’s a tear, detachment, or just general wear and tear, the question arises: can gluing them back together save the day? Well, grab your glue gun and let’s dive into this sticky situation.
While gluing may seem like a quick and easy fix, it’s important to understand that it’s not always a permanent solution. Why? Well, let me break it down for you.
First off, the adhesives used in most glues are not designed to withstand the constant wear and tear that flip flops experience. These popular summer staples are usually made of rubber or plastic materials, which can be quite tricky to bond permanently with glue. The flexibility and movement of the flip flop can cause the glue bond to weaken over time, leading to another separation down the road.
But that’s not all – factors like moisture, heat, and exposure to various surfaces can also affect the durability of the adhesive. Picture this: you’re strutting your stuff on a sandy beach or taking a stroll in the rain – these conditions can make the glue bond deteriorate faster than you can say “sunscreen.” So if you frequently find yourself in wet conditions or navigating rough surfaces, gluing might not hold up for long.
And let’s not forget about aesthetics. Depending on the type of glue used, it may leave a visible residue or create an uneven appearance on your flip flops. Not exactly what you want when you’re trying to rock that perfect summer outfit, right?
So, what’s the solution? If you’re looking for a more durable and long-lasting fix, it might be worth considering professional repairs or investing in a new pair of flip flops. Professional repair services often have access to specialized adhesives and techniques that can provide a more reliable fix. Plus, some flip flop manufacturers even offer warranty or repair services for their products, so it’s worth checking if your beloved pair is covered.
In summary, while gluing can temporarily fix a damaged flip flop, it’s not a permanent solution due to the nature of the materials and the limitations of adhesive bonds. So before you reach for that glue gun, consider alternative options that can provide a more satisfactory outcome in terms of durability and longevity.
7SF4e-qgcMU” >
Conclusion
Yes, you can definitely glue flip flops back together. It may seem like a simple solution, but it can actually save you from having to throw away your favorite pair of flops. With just a few supplies and some patience, you can restore your broken flip flops to their former glory.
The first step is to gather the necessary materials. You’ll need a strong adhesive, such as E6000 or Shoe Goo, which are specifically designed for repairing footwear. These adhesives provide a durable bond that can withstand the wear and tear of everyday use.
Next, clean the surfaces that need to be glued. Use a mild soap and water solution to remove any dirt or debris from both the top and bottom parts of the flip flop. This will ensure that the adhesive sticks properly and creates a solid bond.
Once the surfaces are clean and dry, apply a thin layer of adhesive to one side of the broken area. Be sure to spread it evenly and cover the entire surface. Then, press the two pieces together firmly, making sure they align perfectly.
Hold them in place for a few minutes to allow the adhesive to set. Depending on the type of glue you’re using, this could take anywhere from 5 minutes to several hours. Follow the instructions on the adhesive’s packaging for specific drying times.
After the glue has fully dried and cured, check if there are any gaps or loose areas. If needed, apply more adhesive to reinforce any weak spots. Remember, it’s better to add extra glue than risk another breakage down the line.
Finally, let your repaired flip flops sit undisturbed for at least 24 hours before wearing them again. This will give the adhesive enough time to fully harden and ensure a strong bond.
In conclusion, gluing flip flops back together is indeed possible with some patience and the right materials. By following these steps and taking proper care of your repaired flops, you can extend their lifespan and continue enjoying your favorite pair for many more sunny days to come.