Do you have a stack of old photos gathering dust in a drawer, waiting to be brought back to life? Have you ever considered using decoupage to create a unique and personalized masterpiece? Well, the good news is that you can absolutely use real photos for decoupage projects.
Decoupage has been around for centuries as a popular paper craft that involves layering pieces of paper onto various surfaces. While many people tend to stick with printed paper for their projects, using real photos can add an extra special touch that makes your piece truly one-of-a-kind.
In this blog post, we’ll explore the benefits of using real photos in your decoupage projects and provide you with all the information you need to get started. From selecting the perfect photo to mastering the techniques and tools needed for successful decoupage, we’ve got you covered.
Whether you’re an experienced crafter or new to the world of decoupage, this post will guide you through everything you need to know about creating beautiful works of art with your cherished memories. So grab those old photographs and let’s dive into the wonderful world of decoupaging with real photos.
What is Decoupage?
Contents
- 1 What is Decoupage?
- 2 Can You Decoupage with Real Photos?
- 3 Challenges of Decoupaging with Real Photos
- 4 Copying Photos for Decoupage Projects
- 5 Choosing the Right Glue for Decoupaging with Photos
- 6 Selecting the Best Surface for Decoupaging with Photos
- 7 Tips for Successfully Decoupaging with Real Photos
- 8 Conclusion
Decoupage is an age-old crafting technique that has been used for centuries to add a touch of elegance and personality to everyday objects. It involves cutting out paper or fabric shapes and gluing them onto the surface of an object to create a unique and personalized design. However, decoupage is much more than just sticking paper onto surfaces. It is a complex process that requires careful planning, attention to detail, and artistic flair.
Originating in France in the 17th century, decoupage quickly gained popularity across Europe during the 18th and 19th centuries. Today, it is a versatile craft that allows for endless possibilities in terms of design and creativity. Whether you’re decorating a wooden box, a picture frame, or even a vase, the process remains the same.
To begin your decoupage project, you first need to choose the object that you want to decorate. Next, you need to select the paper or fabric that you want to use for the design. This could be anything from patterned scrapbook paper to vintage magazine clippings or even real photos.
Once you have your materials ready, it’s time to start cutting out the shapes that you want to use for your design. You can use scissors or a craft knife to cut out intricate shapes or designs.
Then, you need to apply a layer of glue onto the surface of the object that you want to decorate. Decoupage glue is specially formulated for this technique, but other types of glue such as Mod Podge or clear acrylic sealant can also be used.
After applying the glue, it’s time to start arranging your cut-out shapes onto the surface of the object. You can overlap the pieces or create a collage-like effect. This is where your creativity and artistic flair come into play.
Once you have arranged your design, it’s time to apply another layer of glue on top of the paper to seal it in place. This will give your object a glossy finish and protect it from damage. The result is a beautiful, personalized object that reflects your artistic style and personality.
Can You Decoupage with Real Photos?
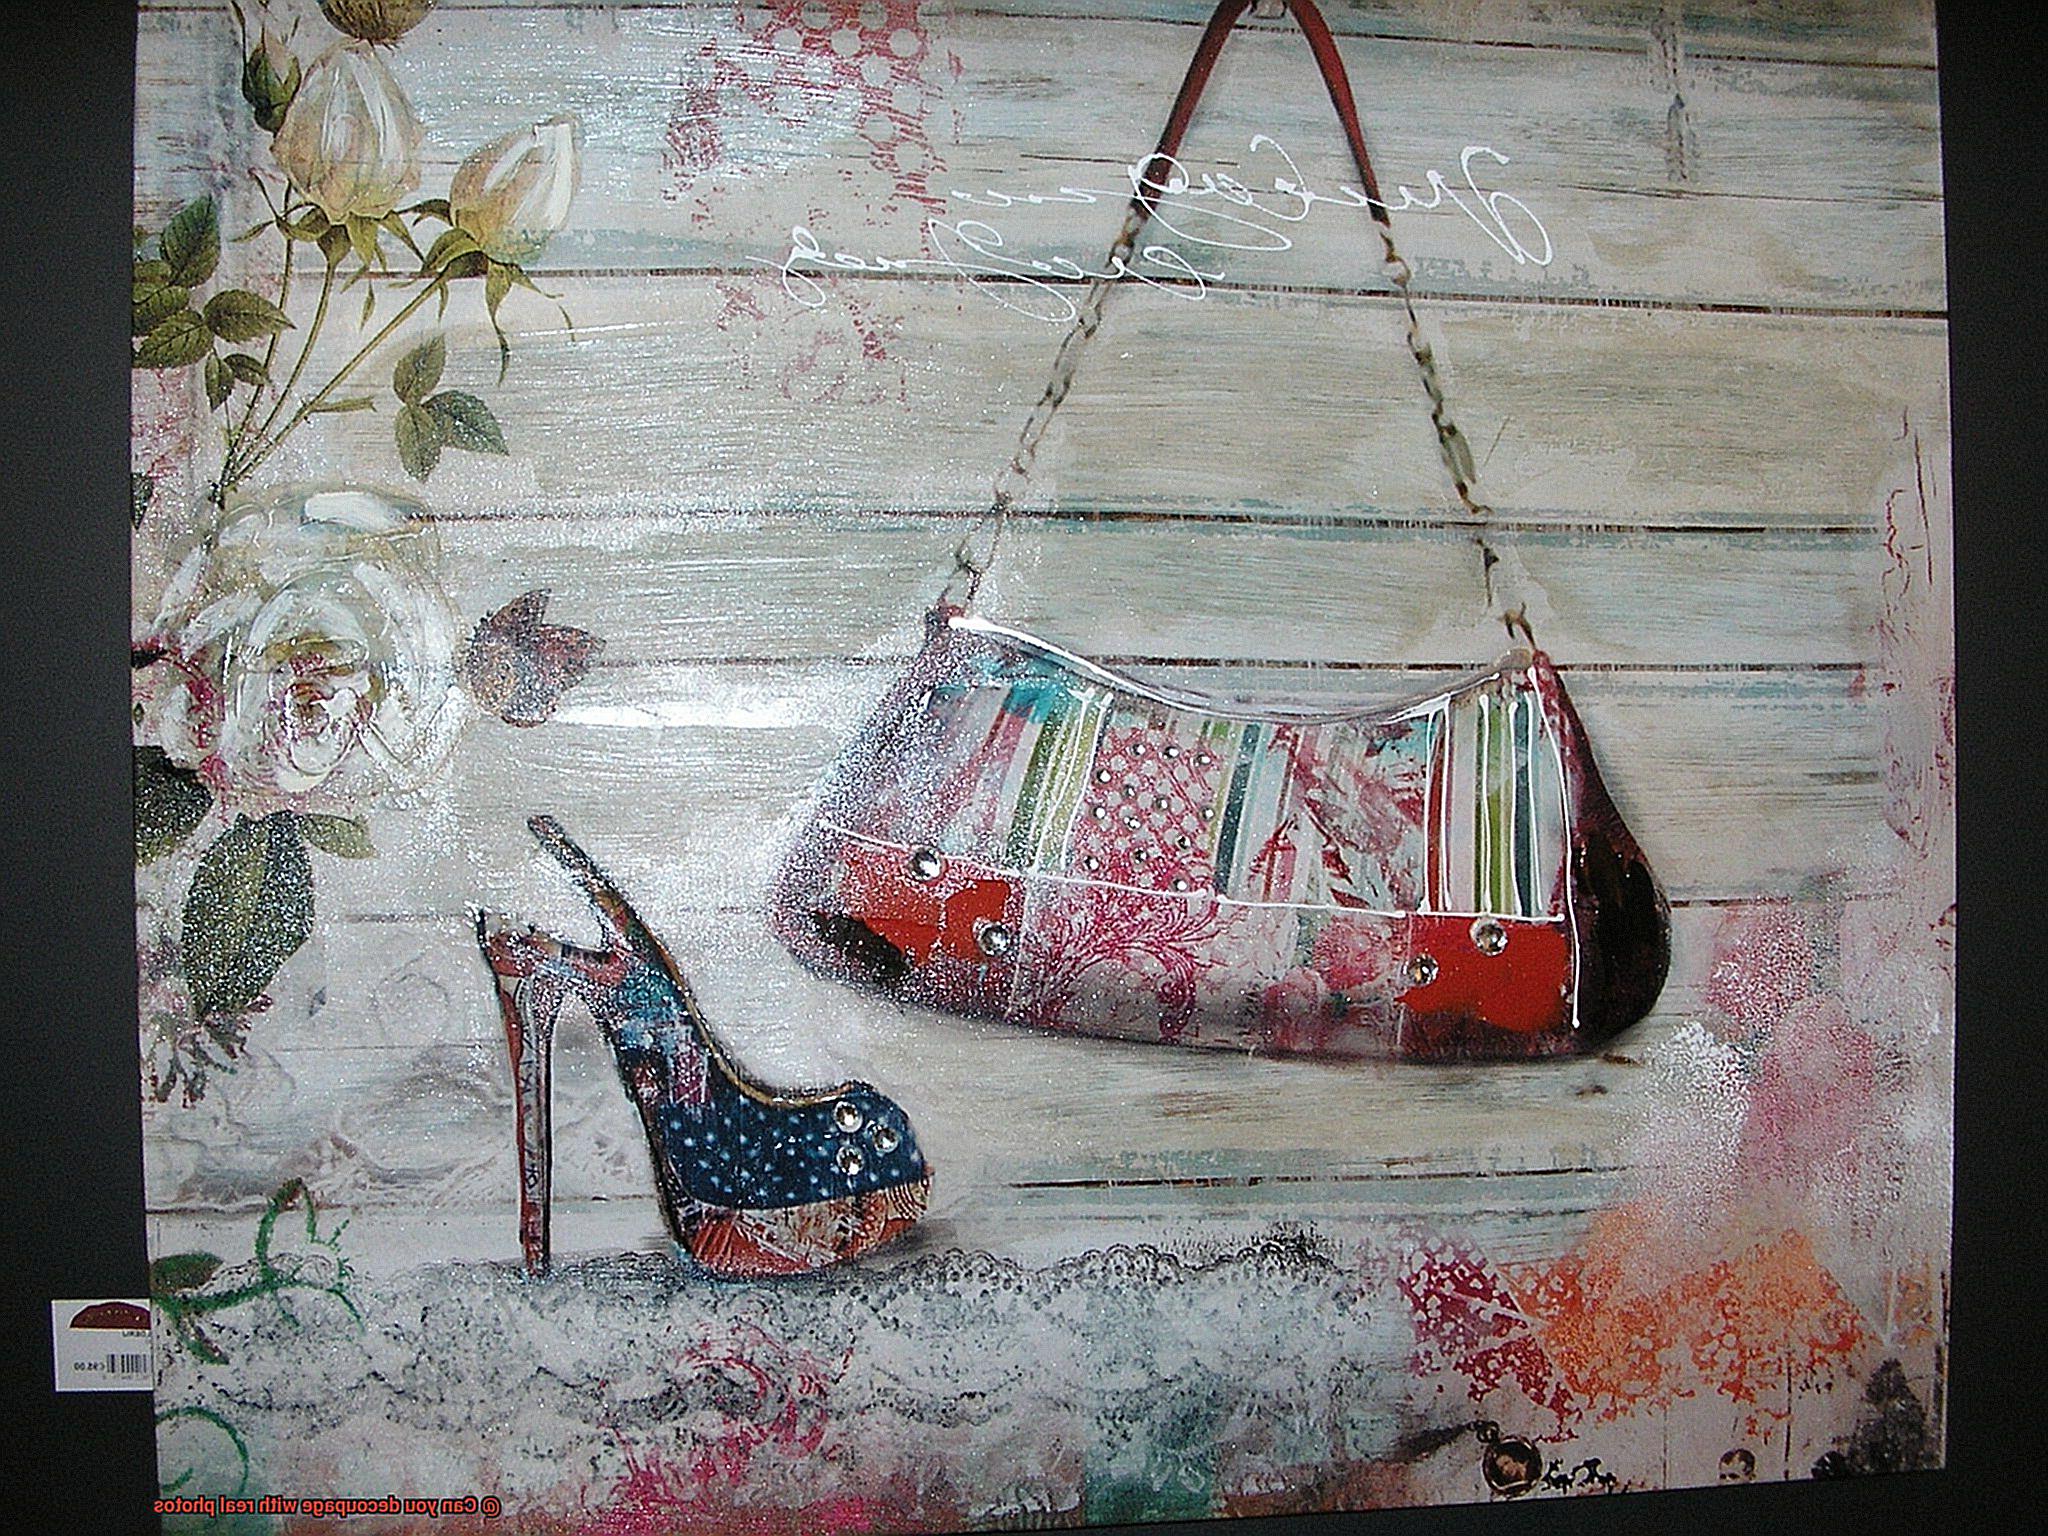
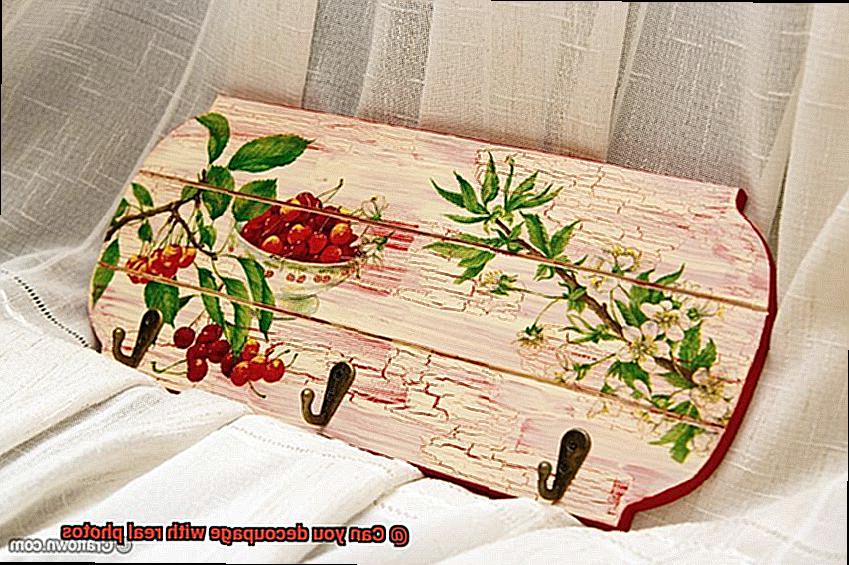
Decoupage is a popular crafting technique that allows you to add a personal touch to objects like picture frames, furniture, and home décor items. But have you ever wondered if you can decoupage with real photos? Well, the answer is a resounding yes. Not only is it possible, but it can also add an extra level of sentimentality and personalization to your projects.
To get started with decoupaging with real photos, there are a few things to keep in mind. First, make sure your photos are printed on lightweight paper. Heavyweight photo paper can be difficult to work with and may not adhere well to the decoupage medium. You can print your photos at home or have them professionally printed on thin paper.
Next, prepare your surface for decoupage by sanding, priming, and painting as needed. Once your surface is ready, experiment with different arrangements and sizes of photos until you find the perfect look.
When it comes to adhering your photos to the surface, you have a few options. Use a decoupage medium like Mod Podge or a clear glue like Aleene’s Tacky Glue. Apply a thin layer of glue to both the back of the photo and the surface you are decoupaging onto. Smooth out any wrinkles or bubbles with a brayer or your fingers.
If you want to protect your photos and give your project a professional-looking finish, you can add additional layers of decoupage medium or sealant as desired.
Decoupaging with real photos is not only easy but also incredibly rewarding. Here are some benefits of using real photos in your decoupage projects:
- Adds a personal touch: Using real photos allows you to add sentimental value to your project.
- Versatile: Real photos can be used in any type of decoupage project, from picture frames to furniture pieces.
- Endless possibilities: You can create unique and customized designs by experimenting with different arrangements and sizes of photos.
Challenges of Decoupaging with Real Photos
Decoupaging with real photos can be a thrilling way to add a personal touch to your crafting projects. However, this technique comes with its fair share of challenges that require patience, skill, and attention to detail. If you’re ready to take on the task, it’s important to be aware of these obstacles so that you can create a stunning piece that showcases your cherished memories.
The first challenge to overcome is preparing the photo. It’s crucial to ensure that the photo is printed on high-quality paper or photo transfer paper and is clear and crisp. Any blurriness or pixelation in the image can negatively impact the final product.
Choosing the right type of glue for your project is equally important. The wrong choice of glue can lead to bubbling, wrinkling, and other imperfections in the final product. It’s essential to research and test different types of glue before starting the project.
Real photos are more fragile than other materials used in decoupage, making them prone to damage. Extra care must be taken when handling and applying them to prevent tearing or creasing. It’s essential to handle them with care to avoid ruining your photo or having it appear crumpled and damaged.
Finally, ensuring that the finished product is protected and preserved is a significant challenge. Real photos can fade over time if not properly sealed and protected from sunlight and humidity. Using a sealant or varnish can help protect the decoupaged piece and ensure its longevity.
Copying Photos for Decoupage Projects
First and foremost, protecting the original photo is paramount. To do this, make a photocopy of the photo and use the copy for your project. But not all photocopies are created equal. Invest in a high-quality copier that produces sharp and clear images. This will ensure that your decoupage project looks its best.
In addition to quality, selecting the right paper type is crucial. Regular printer paper won’t cut it, as it can easily tear or wrinkle when applied to your surface. Opt for a thicker paper like cardstock or photo paper for your photocopy instead. This will make it easier to apply the photo to your surface without any damage.
Size matters, too. Depending on the size of your project, you may need to enlarge or shrink the photo before making a photocopy. This can be done using image editing software or by adjusting the settings on your copier. By getting the size just right, you can ensure that your decoupage project looks balanced and professional.
Finally, remember to respect copyright laws when copying photos for your project. Always obtain permission if you are using someone else’s photo, and give credit where credit is due.
Choosing the Right Glue for Decoupaging with Photos
Decoupaging with real photos is a wonderful way to add a personal touch to your belongings. However, choosing the right glue is crucial to ensure that your photos stay intact without wrinkling or dissolving, and your project turns out just as you envisioned. As an expert on this topic, I’ve done some research to help you choose the right glue for your next decoupage project.
Water-based glues such as Mod Podge and PVA glues, like Elmer’s Glue-All, are popular choices for decoupaging with photos. These types of glues are easy to find in craft stores and are specifically designed for decoupage projects. They dry clear and do not yellow over time, which is essential if you want your photos to remain vibrant and true to life. With a smooth finish, these glues will let your photos shine through without any blemishes.
If you’re looking for a stronger bond, then consider using a solvent-based glue like Aleene’s Tacky Glue. This type of glue is thicker than water-based glues and provides a stronger hold, making it ideal for heavier materials. However, solvent-based glues can be more challenging to work with and may take longer to dry. If you decide to use a solvent-based glue, be sure to follow the instructions carefully.
No matter which type of glue you choose, it’s important to test it out on a small area of your project first before committing to using it on the entire piece. This will help you avoid any potential issues with the glue not adhering properly or causing damage to your photos. By doing so, you’ll save yourself time and money by preventing any mishaps from happening.
Selecting the Best Surface for Decoupaging with Photos
Before you dive in headfirst, it’s crucial to choose the right surface to ensure a successful outcome. The surface you select can impact the overall look and feel of your project, as well as its durability and longevity.
One of the best surfaces for decoupaging with photos is wood. It provides a solid and robust foundation that can withstand the weight of the photos and the decoupage medium. Plus, it offers a natural and rustic aesthetic that perfectly complements the vintage vibe of old photographs.
Canvas is another excellent choice for decoupage artists. Its texture and ability to absorb glue evenly make it a popular pick. The smooth surface of canvas lends itself well to photo adhesion, resulting in a clean and polished finish.
For those looking to add a modern flair to their decoupage project, glass is an option worth considering. However, it requires extra caution during application due to its fragility. Ensure that the surface is clean and free from any oils or dirt before applying photos.
When choosing a surface for decoupaging with photos, size and shape also play a vital role. Larger surfaces provide more room for creativity, while smaller ones may be more manageable for beginners.
Ultimately, the surface you choose will depend on your personal taste, project requirements, and experience level. However, by selecting the best surface for your needs, you can create a stunning piece that showcases precious memories in a unique and artistic way.
Tips for Successfully Decoupaging with Real Photos
Decoupaging with real photos is a creative and sentimental way to add a personal touch to your crafts and DIY projects. However, it requires some attention to detail and careful execution. Here are five tips to help you successfully decoupage with real photos:
Choose the Right Glue
The glue you choose is crucial for the success of your decoupage project. Mod Podge is a popular choice for decoupaging with real photos as it dries clear and won’t damage the photo. Other options include spray adhesive or acid-free glue that’s specifically designed for decoupaging.
Prepare Your Surface
Before applying the glue and photos, ensure that your surface is clean and dry. If you’re working on wood, sand it down first to create a smooth surface. For glass or ceramic surfaces, clean them thoroughly with rubbing alcohol.
Cut Your Photos Carefully
Using sharp scissors or a craft knife, carefully cut out your photos, leaving a small border of white space around the edges to prevent lifting or curling. Measure your surface and cut your photos to the correct size before gluing them down.
Apply Glue Evenly
Use a foam brush or paintbrush to apply the glue evenly to both the surface you’re decoupaging onto and the back of the photo. Avoid applying too much glue, which can cause wrinkles and bubbles in the photo.
Seal the Finished Product
Once you’ve applied all your photos and allowed them to dry completely, seal the finished product with another layer of Mod Podge or clear acrylic sealer. This will protect your photos from damage and give them a glossy finish.
8l8zyMxn0Cc” >
Conclusion
In conclusion, decoupaging with real photos is a fantastic way to infuse your crafting projects with a personal touch.
Although it may present some challenges, the process is ultimately rewarding and allows you to craft one-of-a-kind designs that reflect your artistic style and personality. When selecting the perfect photo for your project, make sure it’s printed on lightweight paper and clear enough to avoid any blurriness or pixelation in the image.
The right glue choice is crucial for success, so it’s essential to test different types before starting your project. Preparing the surface correctly, cutting photos carefully, applying glue evenly, and sealing the finished product are all vital steps in creating a stunning piece that showcases precious memories in an artistic and unique way.

