Are you wondering if vinyl and foam can be attached together? If you’re into DIY projects or trying your hand at upholstery, this question might be on your mind. Well, I’ve got good news for you – attaching vinyl to foam is definitely possible. It’s actually a common practice in various industries like automotive, furniture, crafts, and home decor. By using adhesive or adhesive-backed vinyl, you can securely bond these two materials together. This opens up a world of possibilities for creating durable and eye-catching designs. You can cover foam cushions, padding, or even foam boards for signage.
Of course, like any project, there are some challenges to be aware of. Ensuring proper adhesion is key to success. You’ll also want to avoid any pesky wrinkles that might ruin your hard work. And let’s not forget about selecting the right type of vinyl for your specific application – it’s crucial.
But don’t worry. In this blog post, we’re going to dive deeper into the process of attaching vinyl to foam. We’ll explore the benefits and potential issues associated with this technique so that you can tackle it with confidence. Get ready to discover the exciting possibilities that await you when combining vinyl and foam in your next project. Let’s get started.
Adhesive Options for Attaching Vinyl to Foam
Contents
- 1 Adhesive Options for Attaching Vinyl to Foam
- 2 Preparing the Surfaces Before Applying the Adhesive
- 3 How to Apply the Adhesive
- 3.1 Step 1: Choose the Right Adhesive
- 3.2 When choosing an adhesive, consider factors such as drying time, temperature resistance, and flexibility. Spray adhesives are easy to use and provide even coverage, making them ideal for larger surfaces. Vinyl-specific adhesives are formulated specifically for bonding vinyl materials, ensuring a reliable and enduring bond.
- 3.3 Step 2: Prepare the Surfaces
- 3.4 Clean both the vinyl and foam surfaces thoroughly using a mild detergent or rubbing alcohol. Removing dirt, dust, and oils ensures better adhesion. Lightly sanding the foam surface can also help create a rough texture for improved grip.
- 3.5 Step 3: Apply the Adhesive
- 3.6 Step 4: Let It Set
- 3.7 Step 5: Bond the Materials
- 4 Joining the Vinyl and Foam Together
- 5 Curing Time After Attaching Vinyl to Foam
- 6 Benefits of Using Spray Adhesives for Bonding Vinyl and Foam
- 7 Potential Issues with Attaching Vinyl to Foam
- 8 Tips for Ensuring a Secure Bond Between Vinyl and Foam
- 9 Conclusion
When it comes to attaching vinyl to foam, selecting the right adhesive is crucial for a strong and durable bond. With a variety of options available, it’s important to consider factors such as strength, durability, ease of application, and compatibility with vinyl and foam materials. In this article, we will explore different adhesive options and provide tips for successful bonding.
Spray Adhesives:
Spray adhesives are a popular choice for attaching vinyl to foam due to their ease of use and quick application. These adhesives come in aerosol cans, allowing for even coverage over large areas. They provide a strong initial bond, but there are some considerations. Spray adhesives may not be as durable over time or when exposed to heat or moisture. It’s important to select a spray adhesive specifically designed for vinyl-to-foam bonding and follow the manufacturer’s instructions for optimal results.
Contact Adhesives:
Contact adhesives offer high strength and durability, making them an excellent choice for vinyl-to-foam bonding. These adhesives create an instant bond when the two surfaces come into contact. However, they can be messy to work with and require careful application to ensure even bonding. It’s essential to apply the adhesive to both the vinyl and foam surfaces and allow it to dry until tacky before pressing them together firmly.
Fabric Glue:
Fabric glues, primarily designed for fabric materials, can also work well for attaching vinyl to foam. These glues offer flexibility and usually provide a permanent bond. It’s crucial to choose a fabric glue that is compatible with both vinyl and foam materials. Apply the glue directly onto the foam surface and press the vinyl onto it firmly.
Specialized Vinyl-to-Foam Adhesives:
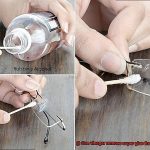
There are adhesives specifically formulated for vinyl-to-foam bonding available in the market. These adhesives offer a strong and durable bond, often coming in tubes or bottles with applicator tips for precise application. Following the manufacturer’s instructions is essential when using specialized adhesives.
Preparing the Surfaces Before Applying the Adhesive
Attaching vinyl to foam may seem like a breeze, but don’t be fooled. The key to a strong and durable bond lies in the proper preparation of the surfaces. Follow these steps to ensure that your vinyl stays securely in place for years to come.
Step 1: Clean Thoroughly
Before diving into the adhesive application, start by giving both the vinyl and foam surfaces a thorough cleaning. Use a mild detergent and water solution to banish any dirt, dust, or grease that may be lurking. Rinse off the cleaning solution completely and let the surfaces dry completely before moving forward. Trust me, even a speck of residue can wreak havoc on the adhesive’s bonding capabilities.
Step 2: Roughen Up
If you want to take your adhesion game up a notch, consider roughening the surfaces slightly. Grab some fine-grit sandpaper and gently sand both the vinyl and foam. The goal here is not destruction but creation—a slightly rough texture that gives the adhesive something to grip onto. This added grip will ensure that your vinyl stays put, even when faced with wear and tear.
Step 3: Banish Moisture
Moisture is an adhesive’s worst enemy, so it’s vital to ensure that both surfaces are bone-dry before applying the glue. Grab a clean cloth or paper towel and wipe away any lingering moisture. Even a tiny hint of dampness can jeopardize the bond and leave you with peeling vinyl down the road.
Step 4: Prime Time (If Needed)
For some extra oomph in adhesion, consider using a primer. These magical concoctions are designed to promote bonding between different materials. Apply a thin layer of primer to both surfaces and allow it to dry according to the manufacturer’s instructions. This extra step can significantly boost bond strength and ensure its longevity.
Step 5: Compatibility Test
Before you dive headfirst into adhesive application, it’s wise to conduct a compatibility test. Apply a small amount of the adhesive to an inconspicuous area of the vinyl and foam. This test will help ensure that there are no adverse reactions between the adhesive and materials. Better safe than sorry, right?
Step 6: Follow Instructions
Last but not least, read and follow the instructions provided by the adhesive manufacturer. Different adhesives may have specific requirements regarding application temperature, drying time, and curing process. Don’t skip this step. Adhering to these guidelines will maximize bond strength and set you up for success.
How to Apply the Adhesive
In this guide, we will explore the process of applying adhesive to attach vinyl to foam, ensuring a secure and long-lasting connection.
Step 1: Choose the Right Adhesive
Picking the right adhesive is crucial for a successful bond. Options like spray adhesives or vinyl-specific adhesives work best for attaching vinyl to foam. These adhesives are designed to provide a strong hold and withstand various conditions.
When choosing an adhesive, consider factors such as drying time, temperature resistance, and flexibility. Spray adhesives are easy to use and provide even coverage, making them ideal for larger surfaces. Vinyl-specific adhesives are formulated specifically for bonding vinyl materials, ensuring a reliable and enduring bond.
Step 2: Prepare the Surfaces
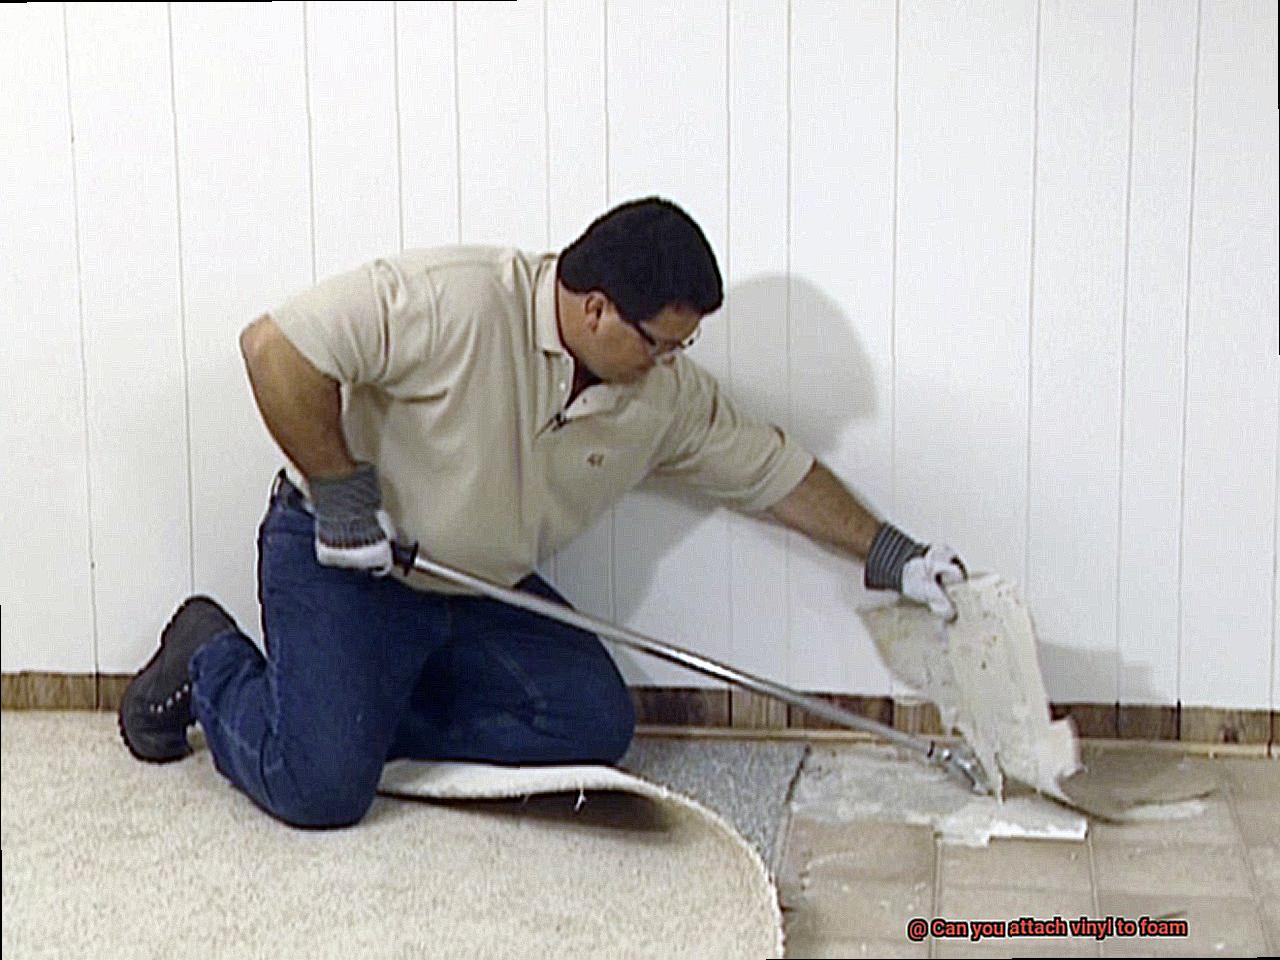
Clean both the vinyl and foam surfaces thoroughly using a mild detergent or rubbing alcohol. Removing dirt, dust, and oils ensures better adhesion. Lightly sanding the foam surface can also help create a rough texture for improved grip.
Before applying the adhesive, make sure both surfaces are completely dry. Moisture can interfere with the bonding process and weaken the adhesive’s effectiveness. Take care not to oversand the foam surface, as this can damage its structure.
Step 3: Apply the Adhesive
If using spray adhesive, hold the can 6-8 inches away from the foam surface and apply an even coat in a sweeping motion. Be sure to cover the entire surface evenly without oversaturating.
For vinyl-specific adhesive, follow the manufacturer’s instructions. Use a brush or roller to spread a thin layer onto both surfaces evenly and consistently. Take care not to apply too much adhesive, as it can seep through the vinyl and leave visible marks.
Step 4: Let It Set
Allow the adhesive to set for a few minutes until it becomes tacky. This helps create a stronger bond between the vinyl and foam. The drying time may vary depending on the type of adhesive used, so refer to the product’s instructions for guidance.
While waiting for the adhesive to set, avoid touching the surfaces or applying any pressure. This can disrupt the bonding process and weaken the adhesive’s hold. Allow the adhesive to dry until it feels slightly sticky to the touch.
Step 5: Bond the Materials
Carefully align the vinyl with the foam surface, ensuring there are no air bubbles or wrinkles. Press them together firmly, using a roller or smooth object to smooth out any imperfections. This step ensures proper adhesion.
Start by aligning one edge of the vinyl with the corresponding edge of the foam. Slowly work your way across the surface, smoothing out any bubbles or wrinkles as you go. Apply even pressure to ensure a uniform bond and strong adhesion.
Joining the Vinyl and Foam Together
When it comes to joining vinyl and foam together, there are several techniques that can be employed to create a perfect bond. From adhesive glues to heat bonding, each method offers its own unique advantages. Let’s explore these techniques in detail to uncover the secrets of a successful fusion.
Adhesive Glues: Unleashing the Magic
One of the most popular methods for joining vinyl and foam is by using adhesive glues specially formulated for this purpose. These glues work like magic, creating a strong and durable bond between the two materials. Here’s how to achieve this magical fusion:
- Cleanliness is key: Before applying the adhesive, ensure that both the vinyl and foam surfaces are spotless. Remove any dirt, dust, or grease by gently washing them with a mild detergent solution. Wipe them dry with a clean cloth.
- Apply with precision: Using a brush or applicator, apply a thin layer of adhesive to both the vinyl and foam surfaces. Take care not to go overboard with the glue, as excess amounts can seep through the vinyl or create bulk when bonding with the foam.
- Align and conquer: Align the vinyl and foam carefully, ensuring there are no wrinkles or bubbles in the vinyl. Press firmly across the bonded area to ensure a strong connection.
- Patience is virtue: Allow sufficient drying time for the adhesive to work its magic. Follow the manufacturer’s instructions for recommended drying time, as it may vary depending on the specific glue used.
Heat Bonding: Where Fire Meets Fusion
For a seamless and long-lasting bond, heat bonding techniques can be employed. This method involves using a heat press machine or an iron set at an appropriate temperature to melt and fuse the vinyl and foam together. Here’s how to master this fiery fusion:
- Compatibility test: Not all types of vinyl are suitable for heat bonding with foam. Test a small, inconspicuous area before proceeding with a larger project to ensure compatibility and desired results.
- Handle with care: Heat bonding requires caution to avoid damaging the materials or causing burns. Follow the guidelines provided by the heat press machine or iron manufacturer, ensuring you work in a well-ventilated area.
- Heat it up: When using a heat press machine, sandwich the vinyl and foam between the heated plates and apply consistent pressure for a specified amount of time. If using an iron, set it to an appropriate temperature and apply firm, even pressure while moving it across the bonded area.
Curing Time After Attaching Vinyl to Foam
In the world of vinyl and foam bonding, choosing the right adhesive is just the first step to a strong and durable bond. Equally important is giving the glue enough time to cure. In this blog post, we will explore the significance of curing time and why it is essential for achieving that perfect fusion between vinyl and foam.
The Importance of Curing Time:
Unyielding Bond Strength:
Curing time allows the adhesive to fully penetrate and bond with both surfaces, creating a robust connection that can withstand stress and load-bearing activities. The longer the curing time, the stronger the bond, ensuring your vinyl-foam combination can stand up to the demands of everyday use.
Uncompromising Durability:
Rushing the curing process can compromise the bond strength, leading to a weaker attachment that is prone to failure over time. By patiently waiting for the adhesive to cure, you are ensuring long-lasting durability for your vinyl-foam combination.
Handle With Care:
During the curing period, it is crucial to handle the attached vinyl and foam with care. Premature disturbance or excessive force can result in misalignment or detachment, undoing all your hard work. Give your adhesive the time it needs to set properly before handling or applying stress to the bonded surface.
Creating an Optimal Environment:
Temperature, humidity, and ventilation play a significant role in the drying and setting process of adhesives. Maintaining suitable conditions within the recommended range ensures optimal curing and maximizes bond strength. Follow the manufacturer’s instructions regarding environmental requirements to achieve the best results.
Examples of Curing Times:
- General Recommendation: It is advisable to wait at least 24 hours before subjecting the vinyl attached to foam to any stress or load-bearing activities. This allows ample time for the adhesive to cure and ensure a strong bond.
- Manufacturer’s Instructions: Different adhesives have different drying and setting times. Always refer to the manufacturer’s instructions for specific curing time recommendations based on the adhesive being used. Manufacturers provide these guidelines to ensure the best performance of their products.
- Material Consideration: Different types of vinyl and foam may require varying curing times. Take into account the specific materials being used when determining the appropriate curing duration. This consideration ensures that the adhesive has enough time to bond effectively with both surfaces.
Benefits of Using Spray Adhesives for Bonding Vinyl and Foam
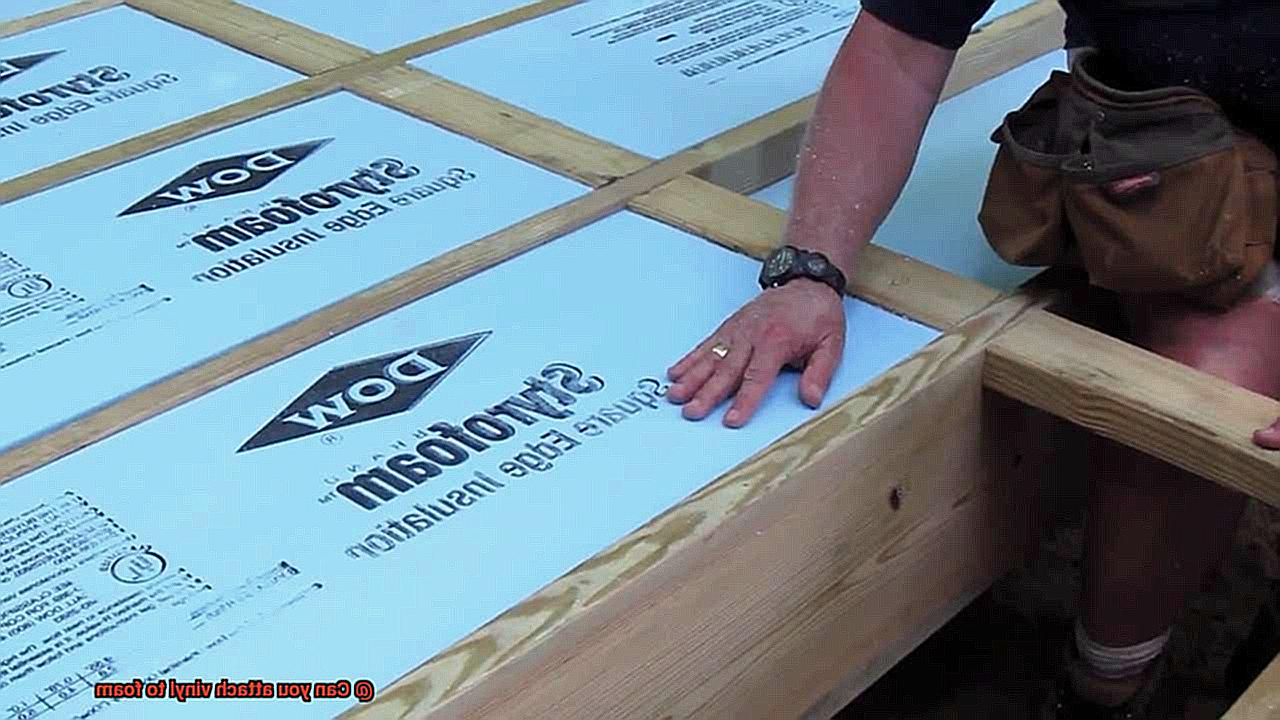
Spray adhesives offer a multitude of benefits when it comes to bonding vinyl and foam. First and foremost, they offer unparalleled ease of application. No more messy brushes or uneven coverage. With spray adhesives, all you have to do is unleash the power of the aerosol can and spray the adhesive onto the surfaces you want to bond. It’s like magic. The adhesive effortlessly coats the surfaces, ensuring a stronger bond in less time.
But ease of application is just the beginning. Spray adhesives also boast a superpower – their quick drying time. Say goodbye to endless waiting for your adhesive to dry. Spray adhesives dry at lightning speed, allowing for immediate handling and further processing. This is particularly advantageous when working with delicate materials like vinyl and foam that can easily be damaged if touched too soon after bonding.
Don’t be fooled by their speedy drying time though – spray adhesives still deliver a superhero-worthy bond between vinyl and foam. They are specially formulated to adhere to these materials, creating an unbreakable bond that can withstand any challenge. Whether you’re working on upholstery or automotive interiors, spray adhesives have got your back like a trusty sidekick.
One of the greatest things about spray adhesives is their versatility. They are like chameleons that can adapt to any surface – porous or non-porous. This makes them suitable for a wide range of applications. Additionally, the world of spray adhesives offers different formulations, allowing you to choose the one that best suits your specific needs. It’s like having a whole team of superheroes at your disposal.
Spray adhesives also minimize mess and waste, making them the cleanest superheroes you’ll ever encounter. No more spills or drips – the aerosol format ensures controlled and even distribution, eliminating overspray and unnecessary waste. Cleaning up is as easy as a flick of your wrist.
Last but certainly not least, spray adhesives save you precious time. With their quick drying time and easy application, you can significantly reduce the time required for bonding vinyl and foam. This means you can meet tight deadlines and increase productivity without compromising on quality. It’s like having a time machine in a can.
Potential Issues with Attaching Vinyl to Foam
When it comes to attaching vinyl to foam, there are several potential issues that can arise. Let’s take a closer look at these challenges, so you can be prepared and ensure a secure and long-lasting attachment.
First and foremost, the choice of adhesive is crucial. Foam is a porous material, and if the adhesive used does not penetrate deeply enough, it won’t provide enough grip for the vinyl to stay in place. This can result in the vinyl peeling or coming loose over time, which is definitely not what you want for your project.
Another issue to consider is the compressibility and deformability of foam. If there are any uneven surfaces or contours on the foam, the vinyl may not adhere smoothly, leading to unsightly wrinkles or buckling. Achieving a polished and even appearance becomes a challenge, and it’s important to carefully assess the surface before attaching the vinyl.
Temperature changes and moisture can also pose significant challenges. Extreme heat or cold can cause the foam to expand or contract, putting stress on the adhesive bond and potentially causing the vinyl to detach. Additionally, moisture can weaken the adhesive and lead to delamination or separation of the vinyl from the foam. If your project will be exposed to varying temperatures or high humidity, it’s essential to take necessary precautions to ensure a secure attachment.
The flexibility of foam itself can affect the durability of the vinyl attachment. Foam materials have some give and flexibility, which means that any tension or stretching of the vinyl may not be well-supported by the foam underneath. This can result in premature wear and tear on the vinyl, causing it to crack or peel over time.
Lastly, compatibility between the vinyl material and the foam is crucial. Not all types of vinyl will adhere well to certain types of foam. It’s important to choose a vinyl material that is specifically designed for use with foam and ensure compatibility before attempting to attach them together. Failure to do so could result in poor adhesion and potential failure of the attachment.
Tips for Ensuring a Secure Bond Between Vinyl and Foam
Vinyl and foam are commonly used materials in upholstery and furniture applications. When it comes to bonding vinyl to foam, using the right adhesive and following proper techniques is crucial for creating a secure bond. In this blog post, we will explore some helpful tips to ensure a strong and lasting bond between vinyl and foam, targeting readers who are interested in using glue as their adhesive.
Choose the Right Adhesive:
The first step in ensuring a secure bond between vinyl and foam is selecting the correct adhesive. Look for adhesives specifically designed for bonding these two materials together. Contact cement, spray adhesive, or adhesive tapes are popular options. Make sure the adhesive is compatible with both vinyl and foam and suitable for your specific application. Read the product label to ensure its suitability for vinyl and foam bonding.
Clean and Prepare the Surfaces:
Before applying the adhesive, it’s crucial to clean and prepare both the vinyl and foam surfaces. Remove any dirt, dust, or grease that could interfere with the bonding process. Use a mild detergent or cleaner to gently clean the surfaces, then wipe them dry with a clean cloth. Consider using a primer or surface conditioner recommended by the adhesive manufacturer for better adhesion. Properly preparing the surfaces ensures maximum contact between the adhesive and the materials.
Apply Adhesive Evenly:
To ensure a consistent bond, apply the adhesive evenly across both the vinyl and foam surfaces. Using a brush or roller, spread the adhesive on both materials, making sure to cover all areas that will be bonded together. Follow the instructions provided by the adhesive manufacturer regarding application techniques and drying times. Applying the adhesive evenly ensures a secure attachment between vinyl and foam.
Allow Proper Curing Time:
After applying the adhesive and joining the vinyl and foam surfaces together, allow sufficient curing time for the bond to develop fully. Curing time refers to the time required for the adhesive to dry and reach its maximum strength. Avoid putting stress or pressure on the bonded area during this period. Refer to the adhesive manufacturer’s instructions for recommended curing time. Allowing proper curing time ensures a strong and lasting bond.
Apply Pressure or Use Clamps:
Applying pressure or using clamps can help ensure a secure bond between vinyl and foam. Once the adhesive has been applied and the surfaces joined together, apply pressure evenly across the entire bonded area. Use your hands to firmly press the surfaces together or use clamps to hold them in place. The pressure promotes better contact between the adhesive and the surfaces, resulting in a stronger bond. Leave the pressure or clamps in place for the recommended duration mentioned by the adhesive manufacturer.
9Sis4PLfnBI” >
Conclusion
Yes, it is possible to attach vinyl to foam. Vinyl is a versatile material that can adhere to various surfaces, including foam. By using the right adhesive and following proper application techniques, you can achieve a secure bond between vinyl and foam.
When attaching vinyl to foam, it is crucial to select an adhesive specifically designed for this purpose. Look for adhesives that are suitable for bonding both vinyl and foam materials. These adhesives often have strong bonding properties and provide excellent resistance against peeling or lifting.
Before applying the adhesive, ensure that both the vinyl and foam surfaces are clean and free from any dirt, dust, or debris. This step is essential as it allows for better adhesion between the two materials. Use a mild detergent or rubbing alcohol to clean the surfaces thoroughly and let them dry completely before proceeding.
Once the surfaces are clean and dry, apply a thin layer of adhesive onto the foam surface using a brush or applicator recommended by the adhesive manufacturer. Be sure to follow the instructions provided by the manufacturer regarding application techniques and drying times.
Next, carefully place the vinyl onto the adhesive-coated foam surface. Start by aligning one edge of the vinyl with one edge of the foam and gradually press down along its length, ensuring there are no air bubbles or wrinkles trapped underneath.
To ensure a secure bond, use a roller or apply even pressure across the entire surface of the vinyl. This helps in achieving maximum contact between the two materials and enhances adhesion.
Allow sufficient time for the adhesive to cure according to the manufacturer’s instructions before subjecting it to any stress or movement. This curing period ensures that the bond between vinyl and foam becomes strong and durable.
In conclusion, yes, you can attach vinyl to foam successfully by using suitable adhesives and following proper application techniques. With careful preparation and attention to detail during installation, you can achieve a secure bond that will withstand regular use without peeling or lifting.

