Vinyl flooring has taken the home decor world by storm, and for good reason. It’s affordable, durable, and comes in a wide range of designs. With its user-friendly installation process, many homeowners are taking on the challenge of installing their own vinyl flooring. But one question that often arises is whether or not to glue it down.
Are you planning a DIY vinyl flooring installation but unsure of whether to use adhesive or not? Do you know about the different types of vinyl flooring that can be glued down? In this blog post, we’ll delve into the world of vinyl flooring adhesives and weigh up the pros and cons of gluing your vinyl floor down.
But before we get into the details, let’s start with a surprising fact: did you know that in 2019, the global vinyl flooring market was valued at over $20 billion? It’s clear that this humble yet versatile flooring option has become a multi-billion-dollar industry. And it’s no wonder why – not only is vinyl budget-friendly, but it’s also low-maintenance, resistant to water and scratches, and looks stunning in any space.
So whether you’re renovating your home or simply looking to give your space a quick facelift, read on to discover if vinyl flooring can be glued down and if it’s the right choice for your home.
Benefits of Gluing Down Vinyl Flooring
Contents
When it comes to vinyl flooring, there are two main installation options: floating or gluing down. While both have their merits, gluing down vinyl flooring offers multiple benefits that make it an attractive choice for homeowners.
One of the most significant advantages of gluing down vinyl flooring is increased durability. By using adhesive to secure the flooring directly to the subfloor, it creates a permanent bond that prevents shifting or movement over time. This makes the flooring less likely to become damaged or worn down due to foot traffic, furniture, or other impacts. You can rest assured that your investment will last for years to come.
In addition to increased durability, gluing down vinyl flooring also has superior moisture resistance compared to floating installations. The adhesive acts as a barrier between the subfloor and the vinyl, preventing moisture from seeping through and causing damage. Whether you’re installing in high-humidity areas such as basements or bathrooms, or just want peace of mind knowing your floors are protected from spills and leaks, gluing down vinyl flooring is an excellent option.
Sound insulation is another benefit of gluing down vinyl flooring. Because the adhesive creates a solid surface, it helps to reduce noise transmission between floors or rooms. This can be particularly beneficial in multi-level homes or apartments where noise can be a concern. With gluing down vinyl flooring, you can enjoy a quieter home environment.
Finally, gluing down vinyl flooring provides a more seamless and professional-looking installation compared to floating installations. Without gaps or movement between planks or tiles, the finished product has a more polished and cohesive appearance. This is especially important for commercial spaces or high-traffic areas where aesthetics are a priority.
Preparing the Subfloor
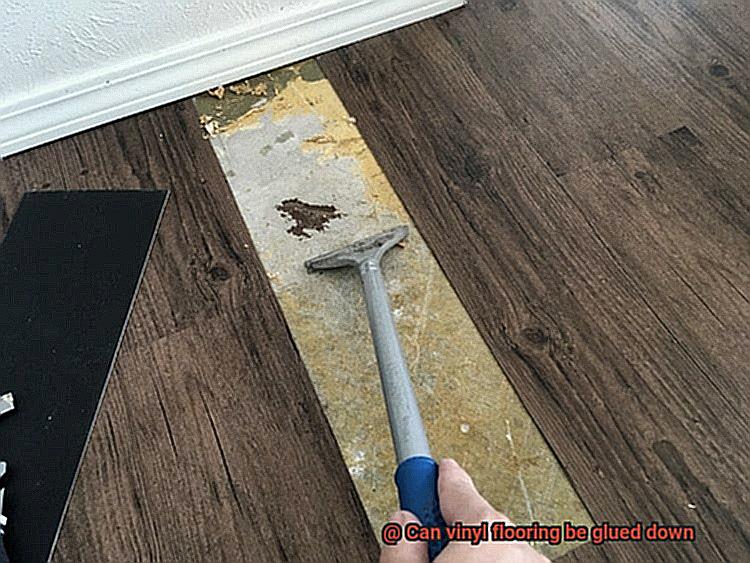
Step 1: Remove Existing Flooring
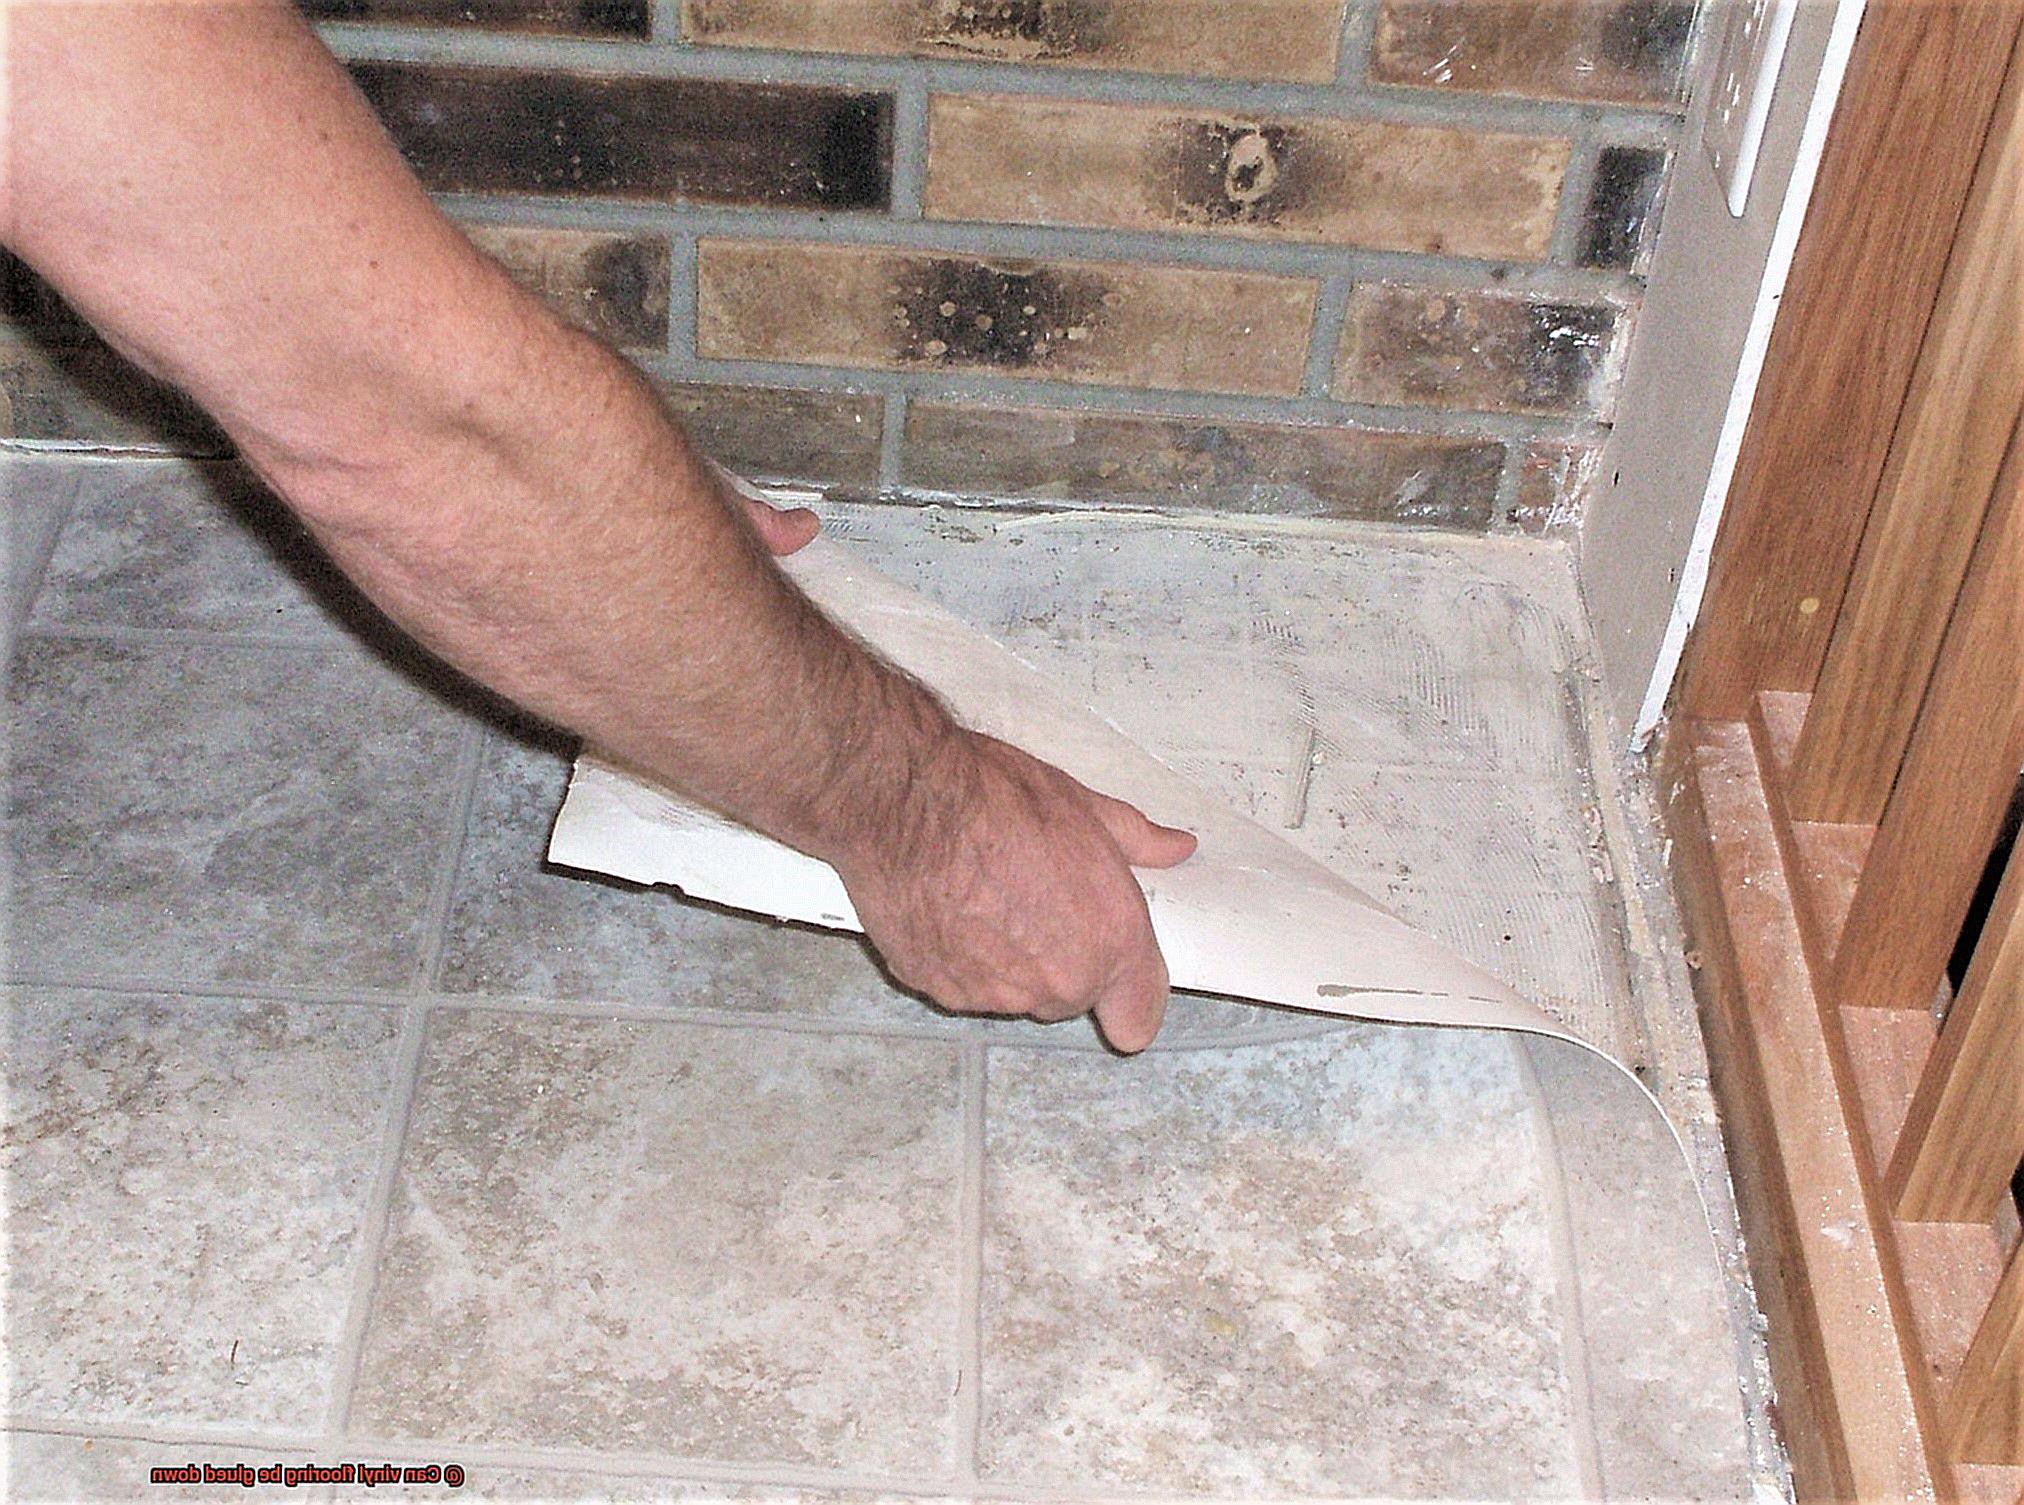
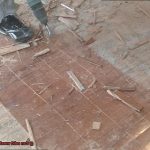
To start, it’s crucial to remove any existing flooring. This will ensure that the surface underneath is free of any debris or adhesive residue that could compromise the installation.
Step 2: Check for Uneven Areas
Once your subfloor is clean, it’s time to assess for any uneven areas or raised spots. If you find any, don’t fret. Simply sand them down or fill them with a leveling compound to create a smooth and even surface.
Step 3: Check for Moisture Issues
Checking for moisture may seem like an unnecessary step, but trust me – it’s vital. Vinyl flooring can become damaged if it’s installed on a damp or wet surface. To test for moisture, tape a piece of plastic to your subfloor and leave it for 24 hours. If you find any condensation or moisture under the plastic, be sure to address the issue before proceeding with installation.
Step 4: Ensure Subfloor is Completely Dry
Lastly, make sure your subfloor is bone-dry before installing vinyl flooring. Depending on your situation, this could mean giving it time to dry naturally or using a dehumidifier to speed up the process.
Choosing the Right Adhesive
When it comes to installing vinyl flooring, selecting the perfect adhesive is just as important as choosing the right flooring material. A poor adhesive can lead to a failed installation, requiring costly repairs or even a complete re-installation. So, how do you choose the right adhesive for your vinyl flooring project?
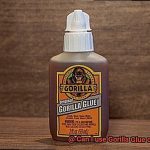
First and foremost, consider the type of vinyl flooring you’re installing and the subfloor material you’ll be adhering it to. There are two primary types of adhesives that work beautifully with vinyl flooring: pressure-sensitive and hard-set adhesives.
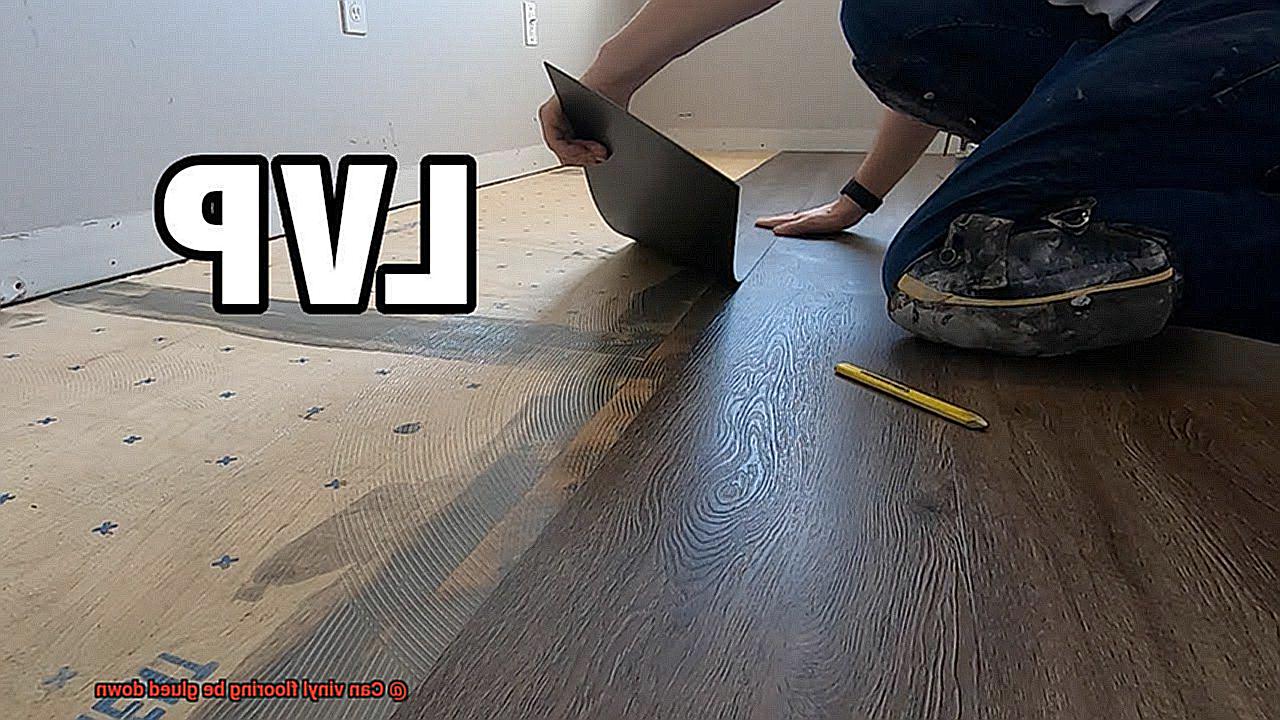
Pressure-sensitive adhesives are an excellent option for luxury vinyl tiles and planks that come with a self-adhesive backing. These adhesives require no mixing or preparation and are incredibly easy to apply – simply peel off the backing and press the tile or plank onto the subfloor. They’re perfect for DIY projects or when time is of the essence.
Hard-set adhesives, on the other hand, are necessary for glue-down vinyl flooring that doesn’t come with a self-adhesive backing. These adhesives are more permanent and require a bit more preparation before application. They come in two forms: water-based and solvent-based.
Water-based adhesives are eco-friendly, low-odor, and easy to clean up. They work well on porous subfloors like concrete or plywood and are ideal for indoor use. Solvent-based adhesives, on the other hand, provide exceptional strength and durability. They’re perfect for outdoor use or areas with high foot traffic but require proper ventilation during application due to their high level of fumes.
It’s essential to remember that not all adhesives are suitable for all types of vinyl flooring. Always check with the manufacturer’s recommendations before selecting an adhesive for your project. Also, follow the manufacturer’s instructions carefully when applying the adhesive to ensure proper adhesion and avoid any issues with installation.
Acclimating the Vinyl Flooring
However, before you can start installing your new flooring, there’s an essential step that you need to take: acclimation.
Acclimation is the process of allowing your vinyl flooring to adjust to the temperature and humidity of the room where it will be installed. This step is crucial to prevent any potential damage to your flooring and ensure a high-quality installation that will last for years to come.
To acclimate your vinyl flooring, you should leave the planks or tiles in the room where they’ll be installed for at least 48 hours. This may seem like a lengthy process, but it’s necessary to allow time for proper adjustment. During this time, it’s vital to keep the temperature and humidity levels consistent, as any fluctuations can interfere with the acclimation process.
It’s also important to note that moisture issues in your subfloor can affect the acclimation process. If your subfloor is damp, it can lead to problems with installation and impact the long-term quality of your vinyl flooring. Before beginning the acclimation process, ensure that your subfloor is dry and free from any moisture issues.
Applying the Adhesive
However, to ensure a long-lasting and high-quality installation, the correct steps must be taken when applying adhesive.
The first step in applying adhesive for vinyl flooring is to ensure that the subfloor is clean and free of debris. Any bumps or uneven areas should also be smoothed out to guarantee a flat surface for the vinyl flooring.
Choosing the right type of adhesive is crucial to ensure a successful installation. There are different types of adhesives available, such as pressure-sensitive adhesives and hard-set adhesives. Following the manufacturer’s instructions for the specific adhesive being used is important.
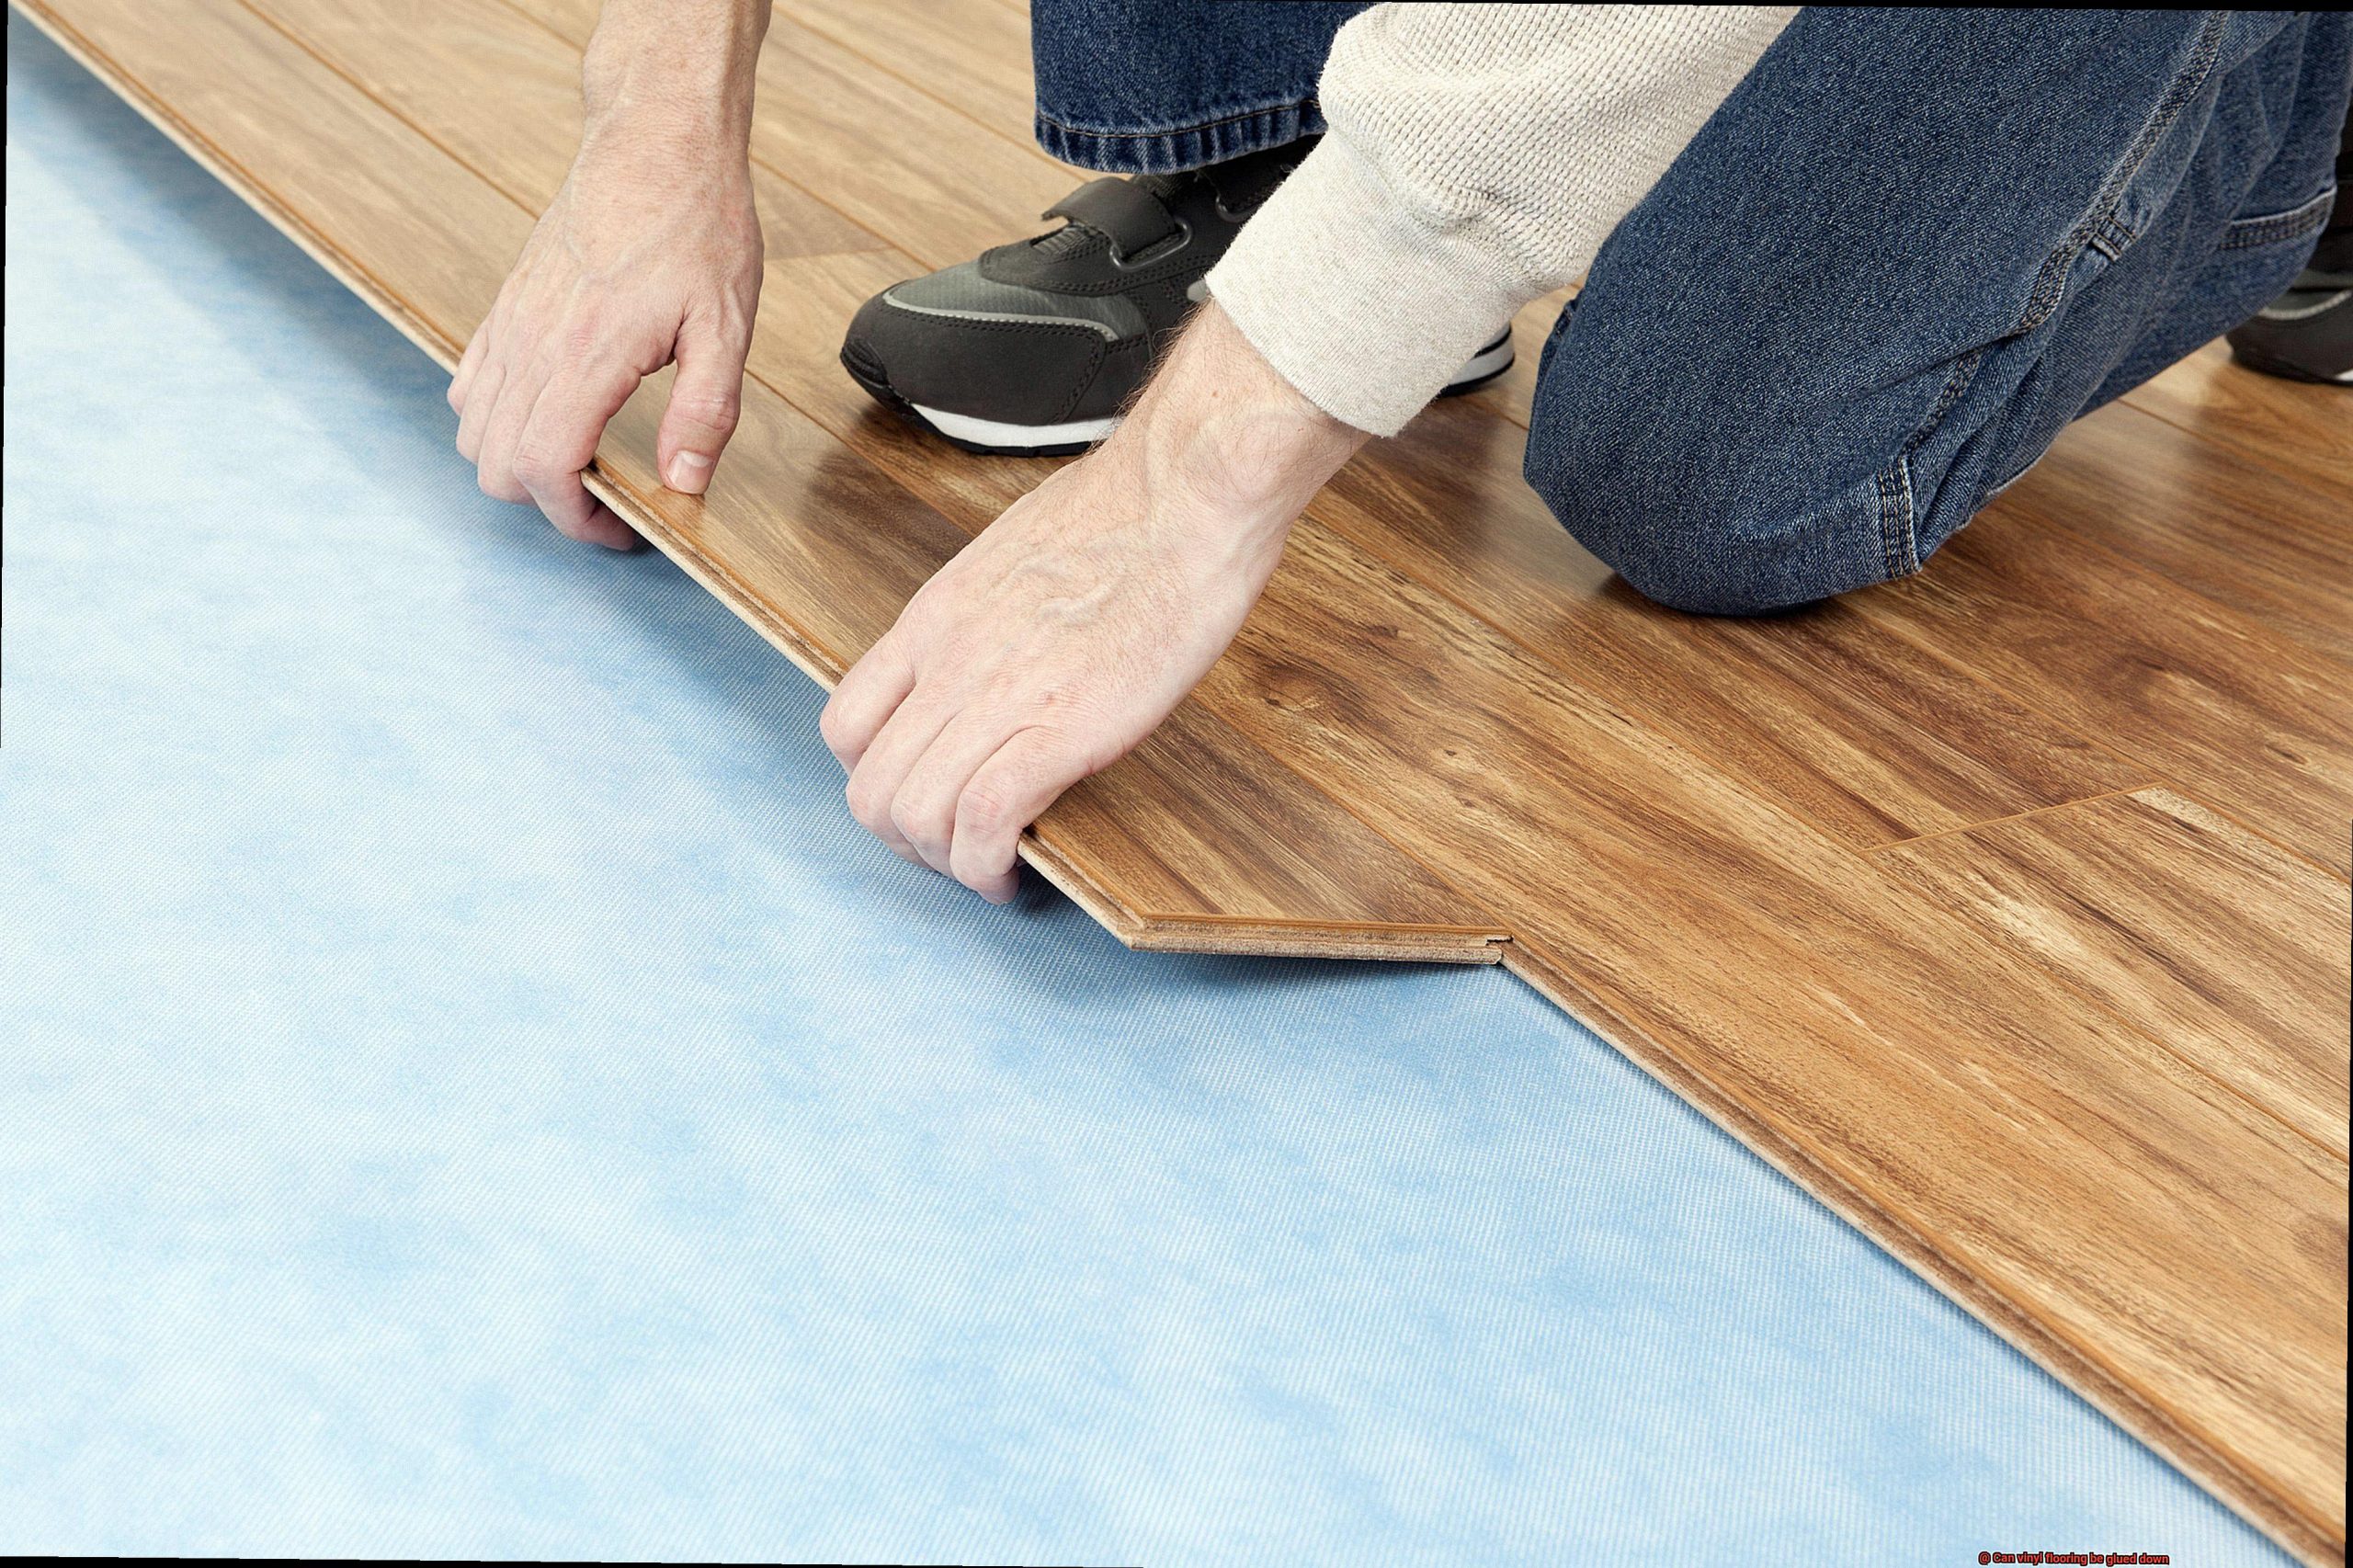
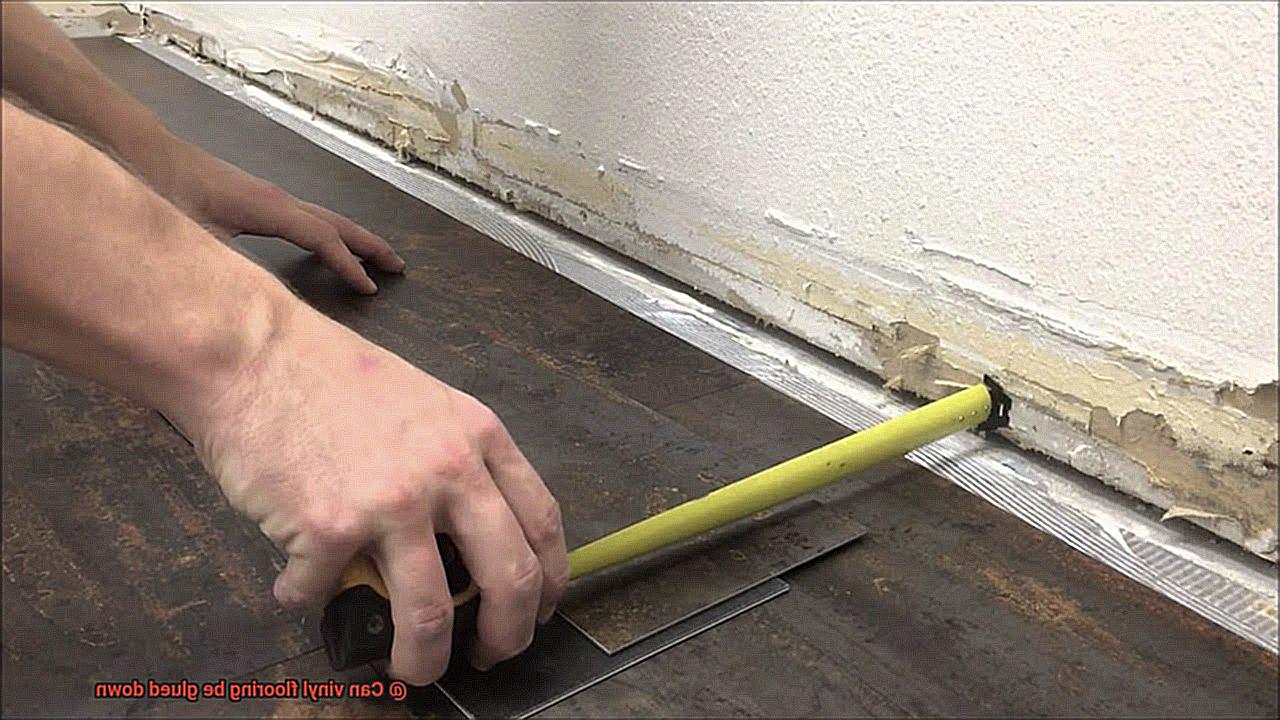
Once you have the right adhesive, it’s time to apply it. Depending on the type of vinyl flooring being used, the process may vary. Some vinyl tiles come with a pre-applied adhesive backing, while others require a separate adhesive to be applied.
When using a separate adhesive, a notched trowel can be used to spread the adhesive onto the subfloor. Alternatively, the adhesive can be applied directly onto the back of the vinyl tiles. Remember to follow the manufacturer’s instructions for the specific product being used.
After applying the adhesive, it’s essential to allow it to dry for the recommended amount of time before laying down the vinyl flooring. This ensures a strong bond between the vinyl and the subfloor, preventing any future issues.
Finishing Touches
You’re almost there, but don’t forget about the crucial finishing touches that can make a significant difference in the overall success of your project.
One common question that arises during this crucial stage is whether or not vinyl flooring can be glued down. The answer is yes, but it’s essential to note that not all vinyl products are suitable for this type of installation. If you’ve chosen a product that can be glued down, it’s vital to follow the manufacturer’s recommendations for adhesive type and application to ensure a secure bond.
Proper preparation of your subfloor is also key to a successful glue-down installation. Make sure to thoroughly clean, level, and prime the surface before applying any adhesive. Following the manufacturer’s instructions and allowing ample drying time will ensure a strong bond between your vinyl planks or tiles and the subfloor.
Another critical aspect of finishing your vinyl flooring installation is the use of transition strips or molding. These not only provide a polished look but also serve as an extra layer of protection against moisture and debris. Furthermore, they can help create a seamless transition between different rooms or flooring types for a cohesive look throughout your home.
1UoRb3SJg24″ >
Conclusion
In conclusion, vinyl flooring has become a top choice for homeowners due to its affordability, durability, and versatility. But when it comes to installation, the question of whether or not to glue down the vinyl flooring arises. And we’re here to tell you that gluing down your vinyl flooring can bring several benefits.
Firstly, it increases durability and superior moisture resistance. Secondly, it provides sound insulation and a more professional-looking finish. However, don’t forget that proper preparation is key. Make sure you prepare the subfloor correctly and choose the right adhesive for your specific type of vinyl flooring.
Before installation day arrives, remember that acclimation is necessary to allow the vinyl flooring to adjust to the temperature and humidity of the room where it will be installed. Applying adhesive correctly is crucial for a long-lasting and high-quality installation. Additionally, consider finishing touches such as transition strips or molding for a polished look and extra protection against moisture and debris.
Did you know that in 2019 alone, the global vinyl flooring market was valued at over $20 billion? This highlights just how popular this type of flooring has become among consumers. Whether you’re renovating your home or looking for a quick facelift, gluing down vinyl flooring can be an excellent option if done correctly.