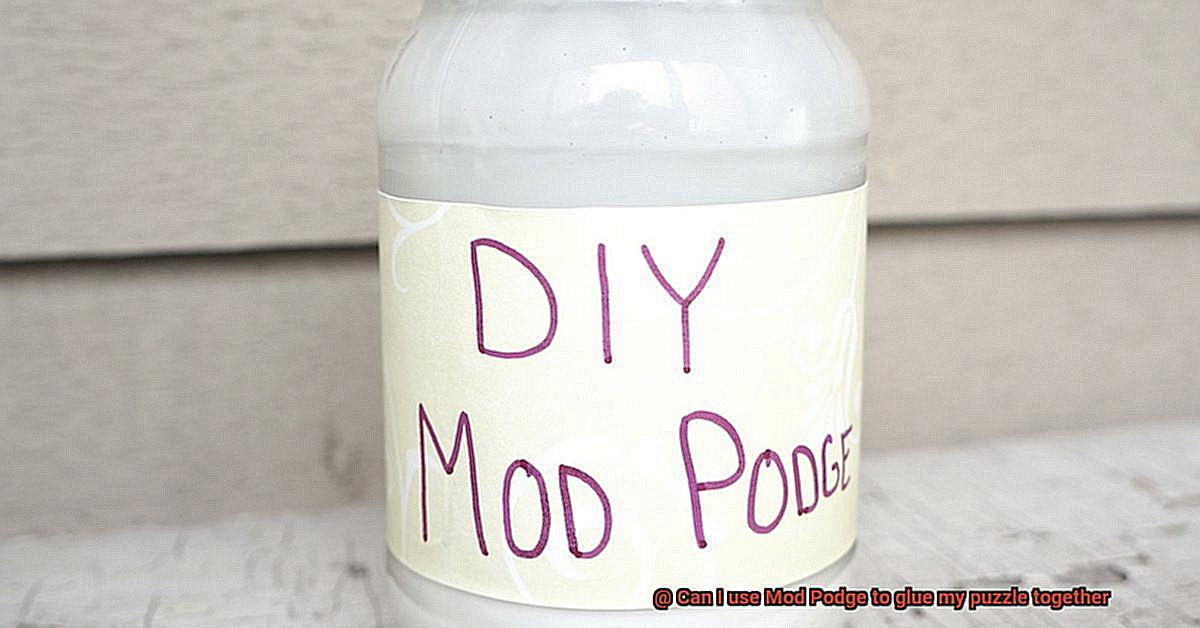
Have you ever wondered how to preserve your painstakingly completed puzzles? You know, those masterpieces that represent hours of dedication, focus, and determination. Well, today we’re here to answer the burning question on everyone’s mind: Can I use Mod Podge to glue my puzzle together?
Let’s embark on this puzzling journey together as we debunk the Mod Podge myth.
For those unfamiliar, Mod Podge is a crafting superhero known for its versatility. It’s like the Swiss Army knife of adhesives, sealants, and finishers. So naturally, it seems like it could be the perfect solution for preserving your beloved puzzles. But does it hold up under scrutiny? Can Mod Podge really secure your puzzle pieces for eternity or will it leave you with a sticky mess?
Join us as we dive into the science behind puzzle preservation, explore expert tips and tricks, and share personal experiences from seasoned puzzlers. We’ll uncover whether Mod Podge deserves its place in your puzzle preservation toolkit or if there are better alternatives out there.
Get ready to discover the secrets that will revolutionize how you protect your cherished jigsaw creations. Together, we’ll unravel the enigma of the Mod Podge myth and find foolproof methods to safeguard the magic and memories within each piece.
So, grab your glue (or maybe not), because we’re about to embark on a puzzle-pasting adventure like no other.

What is Mod Podge?
Contents
- 1 What is Mod Podge?
- 2 Pros and Cons of Using Mod Podge on Puzzles
- 3 Types of Materials Suitable for Mod Podge
- 4 How to Use Mod Podge on a Puzzle
- 4.1 Step 1: Prepare Your Puzzle
- 4.2 Step 2: Gather Your Materials
- 4.3 Step 3: Apply Mod Podge to the Front
- 4.4 When applying the Mod Podge, be careful not to use too much as it may cause the puzzle pieces to swell or warp. A thin and even coat is all that is needed. If you notice any excess glue seeping out from between the puzzle pieces, use a clean, damp cloth to gently wipe it away before it dries.
- 4.5 Step 4: Flip and Repeat
- 4.6 Carefully flip the puzzle over onto your flat surface and apply another thin layer of Mod Podge to the backside of the puzzle. Again, make sure to cover all areas and edges. This step ensures that both sides of the puzzle are securely glued together.
- 4.7 Step 5: Allow Drying Time
- 5 Drying Time and Instructions
- 6 Reinforcing the Bond with a Second Layer
- 7 Alternatives to Mod Podge for Puzzle Glue
- 8 Testing for Compatibility
Look no further than the enchanting world of Mod Podge. This beloved crafting supply is a game-changer when it comes to sealing, bonding, and adding a stunning finish to your projects. In this article, we will delve into the realm of Mod Podge, exploring its composition, myriad uses, and even its potential as a puzzle adhesive. So grab your crafting tools and prepare to be spellbound.
The Magic of Mod Podge:
Mod Podge is more than just a renowned brand of decoupage medium; it’s a mystical elixir that can turn ordinary objects into extraordinary works of art. Born in the 1960s from the imagination of Jan Wetstone, Mod Podge was created to simplify the decoupage process with an all-in-one product. It consists of a captivating blend of water, polyvinyl acetate (PVA) glue, and an array of enchanting additives. The water grants it effortless spreadability while the PVA glue ensures unrivaled adhesion.
Unleashing Limitless Possibilities:
Prepare to be bewitched by Mod Podge’s limitless versatility. This enchanting potion works its magic on a wide array of surfaces including wood, paper, fabric, glass, metal, and beyond. Whether you’re conjuring up home decor items, personalized gifts, or breathing new life into tired furniture, Mod Podge is your ultimate ally. With formulas ranging from matte and glossy to satin and glitter, you have the power to create the perfect finish for your project.
Crafting Secrets Revealed: Puzzle Gluing with Mod Podge:
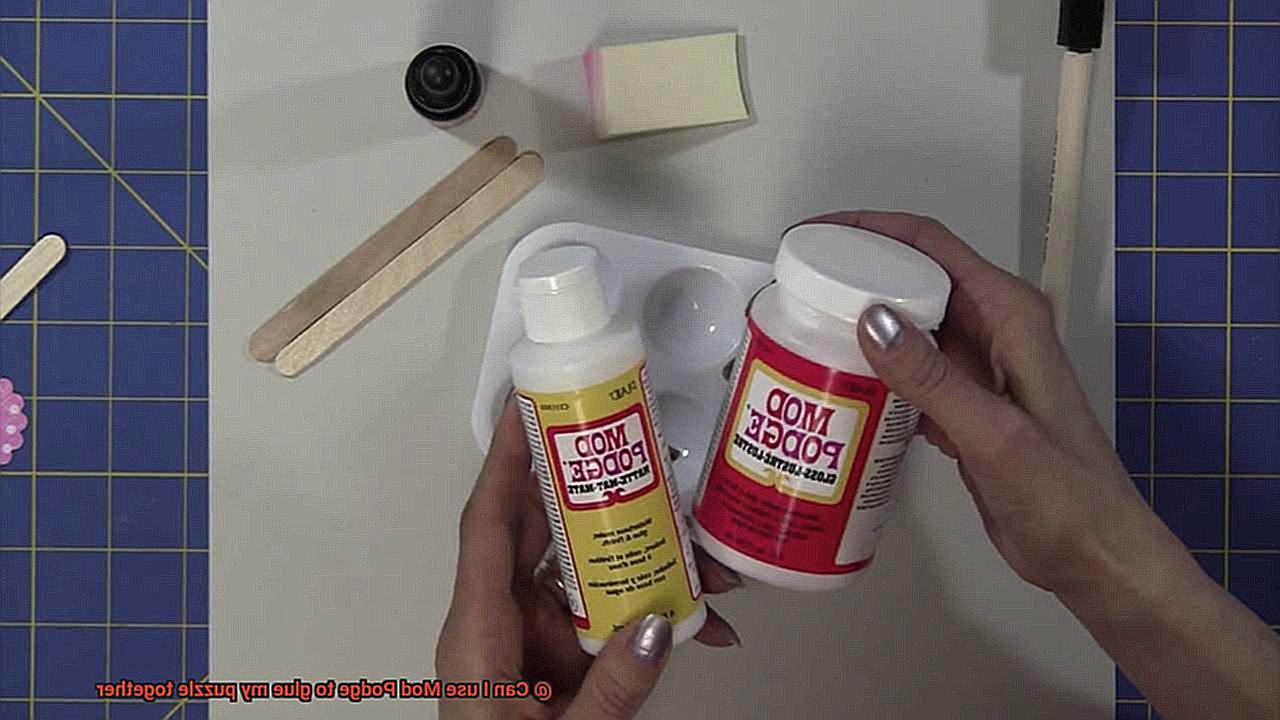
- Now let us unravel an intriguing question: Can Mod Podge be used to piece together a puzzle? The answer lies within the realm of possibility… with a few mystical considerations. Mod Podge can indeed help secure puzzle pieces and create a solid surface, but tread carefully, dear crafter.
- Puzzle Type and Materials: Mod Podge works its spell most effectively on puzzles crafted from porous materials like cardboard or paperboard. These enchanted materials allow the adhesive to penetrate and bind with ease. However, glossy or coated puzzles, such as laminated ones, may resist its charms.
- Puzzle Arrangement: Before employing the powers of Mod Podge, ensure that your puzzle is fully assembled and that its arrangement satisfies your creative desires. Once the adhesive is applied, separating the pieces will prove challenging or even impossible.
- Finish and Enchantment: As with any spellbinding potion, Mod Podge may leave behind a visible layer on the surface of your puzzle. While it dries clear and bestows a protective coating, this otherworldly residue can alter the appearance and texture of your creation. To ensure compatibility with your vision, experiment with a small area first.
Pros and Cons of Using Mod Podge on Puzzles
Puzzles, those intricate and captivating works of art, deserve to be preserved and protected. Enter Mod Podge, the enchanting crafting glue that has captured the hearts of DIY enthusiasts far and wide. But before you embark on this puzzle preservation journey, let’s take a closer look at the pros and cons of using Mod Podge on these beloved brain teasers.
Pros:
- Strong and durable bond: Mod Podge boasts a remarkable ability to securely hold various materials together. When applied with precision, it acts as a fortress, ensuring that every puzzle piece remains firmly in place for years to come.
- Protective shield: Once dried, Mod Podge forms a transparent and lustrous finish, acting as an impenetrable shield against potential damage. Say farewell to pesky dust particles and smudges, for they can be effortlessly wiped away without compromising the integrity of the puzzle.
- Customizable charm: With its array of finishes, Mod Podge offers a delightful opportunity for customization. From matte to glossy, you can handpick the perfect finish to complement your puzzle. Embrace your inner artist by adding decorative accents like glitter or paint to infuse your puzzle with a touch of individuality.
Cons:
- Altered hues: While Mod Podge dries clear, it may darken or alter the colors of certain materials. This could potentially impact the vibrant or delicate palette of your puzzle pieces, so exercise caution when selecting puzzles with intricate color schemes.
- Time-consuming affair: Applying Mod Podge to a puzzle demands patience and meticulousness. Depending on the puzzle’s size, this process can devour hours or even days of your time. Prepare yourself for sticky hands and residue that may cling stubbornly to your work surface.
- Irreversible commitment: Once Mod Podge has embraced your puzzle, there is no going back. It creates an unbreakable seal, forever binding the pieces together. Disassembling or reusing the puzzle for future projects becomes an impossibility.
- Material compatibility concerns: While Mod Podge thrives on standard cardboard or paper puzzles, it may not adhere as effectively to puzzles made of different materials or boasting glossy finishes. Wooden puzzles, in particular, may not be the ideal candidates for Mod Podge’s adhesive embrace.
Types of Materials Suitable for Mod Podge
Mod Podge can be a great option for gluing puzzles together, but it’s important to choose the right material to ensure success. In this article, we’ll explore the types of materials suitable for using Mod Podge as a glue and provide some tips for achieving the best results.
Cardboard: Perfect for Puzzle Preserving
When it comes to gluing puzzles together, cardboard is the ideal choice. The water-based formula of Mod Podge easily soaks into cardboard, providing a strong bond that will keep your puzzle intact. To ensure maximum durability, apply an even layer of Mod Podge on both sides of the puzzle pieces and allow it to dry completely before handling. This will not only hold the pieces together securely but also protect the puzzle from moisture or bending.
Wood: A Decoupage Adventure
While Mod Podge can be used on wood puzzles, it’s important to note that it may not provide the strongest bond compared to specialized wood adhesives. To ensure success, apply a generous amount of Mod Podge to both the puzzle pieces and the surface you’re attaching them to. Allow ample drying time for the adhesive to set properly before handling the puzzle. If you’re looking for a more decorative approach, consider using Mod Podge as part of a decoupage project on wooden puzzle surfaces.
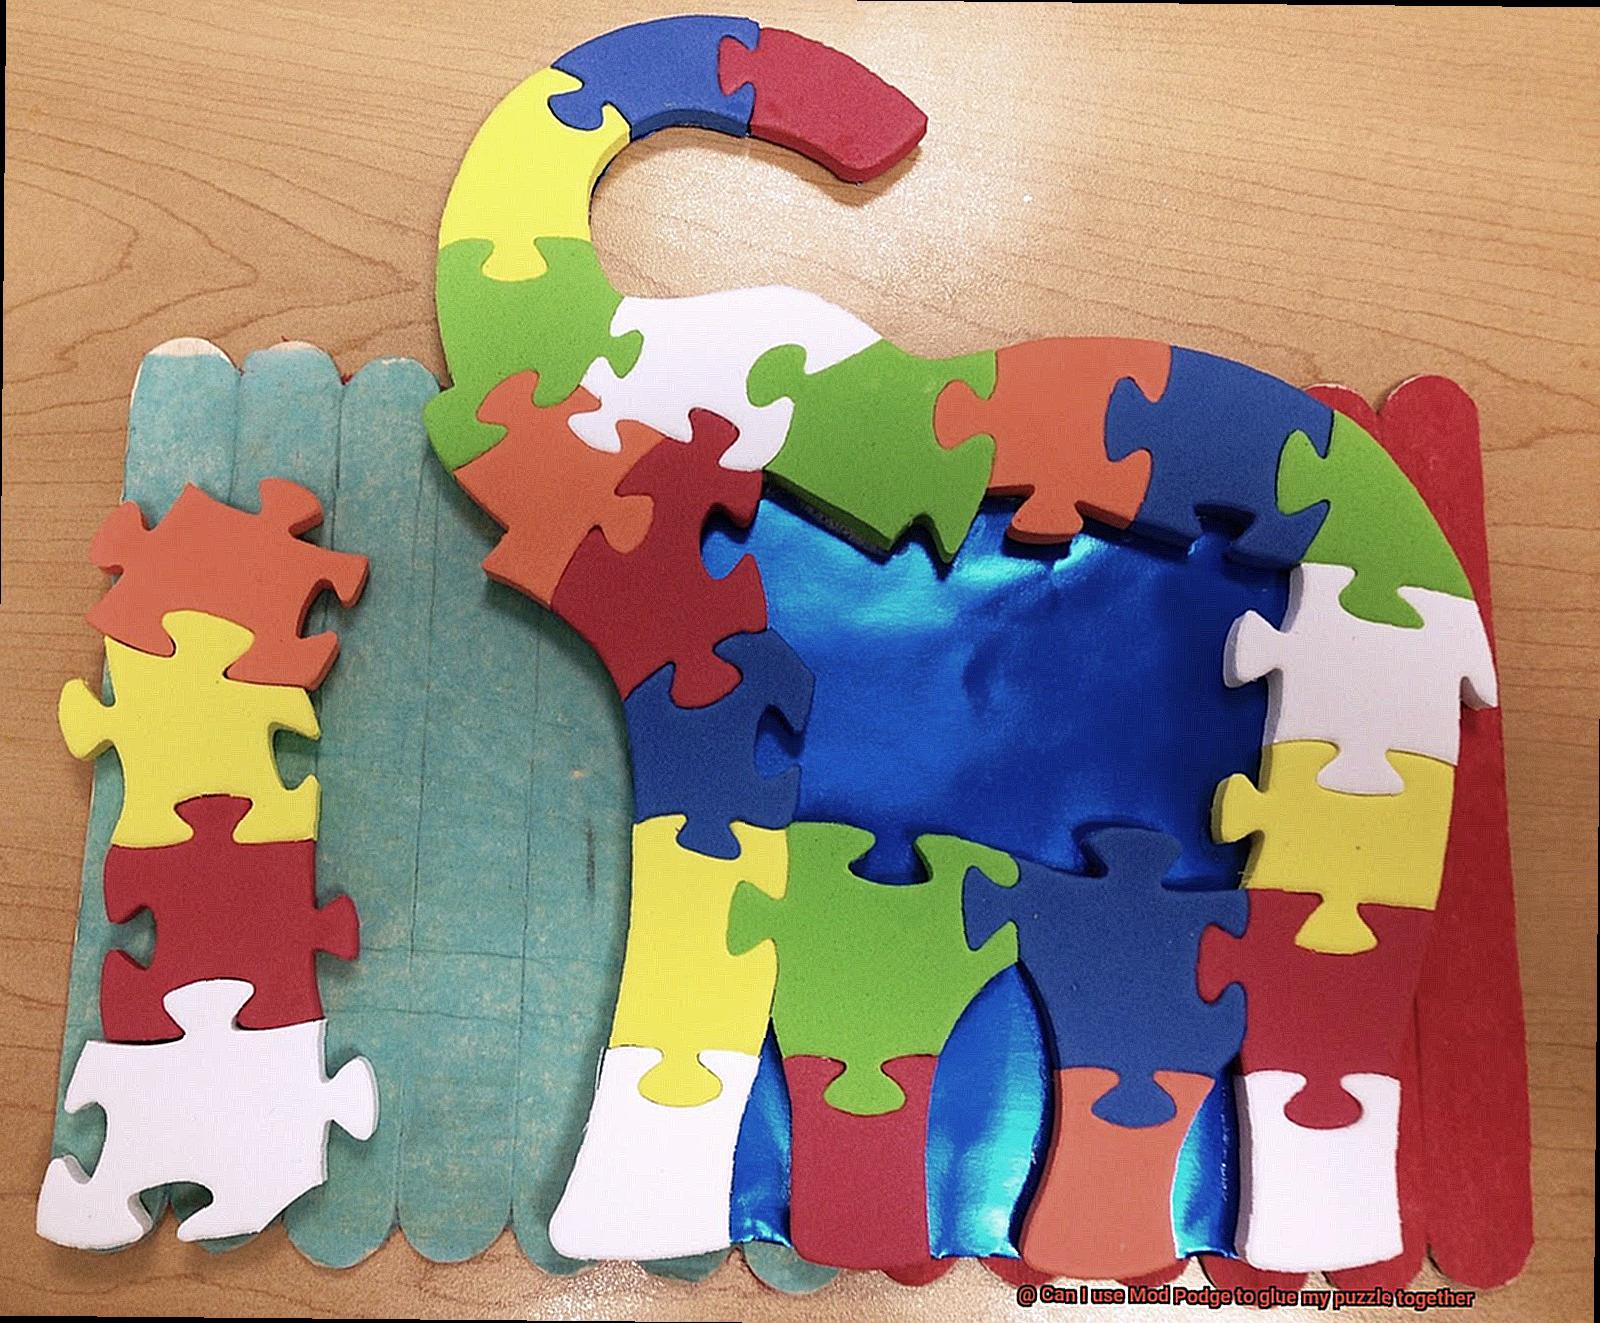
Foam: Handle with Care
Foam puzzles can also benefit from Mod Podge, but exercise caution when applying and spreading the adhesive. Foam is delicate and can be easily damaged by excess moisture or pressure. Apply a thin layer of Mod Podge on both sides of the foam puzzle pieces, using a brush or sponge applicator. Make sure the adhesive is fully dry and cured before handling your puzzle to avoid any deformation or tearing of the foam pieces.
Plastic: Proceed with Caution
Plastic puzzles are not the best candidates for Mod Podge as it may not adhere well to their non-porous surface. Consider using specialized plastic adhesives or epoxy resin instead for gluing plastic puzzle pieces together. These adhesives are designed to bond effectively with plastic and will provide a stronger and more durable hold.
Metallic or Glossy Surfaces: Test Before Applying
If your puzzle has metallic or glossy surfaces, it’s recommended to test a small area with Mod Podge first. Some finishes may react differently, causing discoloration or an uneven finish. Clear adhesives specifically designed for glossy or metallic surfaces could be a better option for preserving the integrity and aesthetics of your puzzle.
How to Use Mod Podge on a Puzzle
Look no further. In this article, we will explore how to use Mod Podge, a popular crafting glue, to glue your puzzle together. With just a few simple steps, you can turn your puzzle into a unique piece of art that you can proudly display. Let’s get started.
Step 1: Prepare Your Puzzle
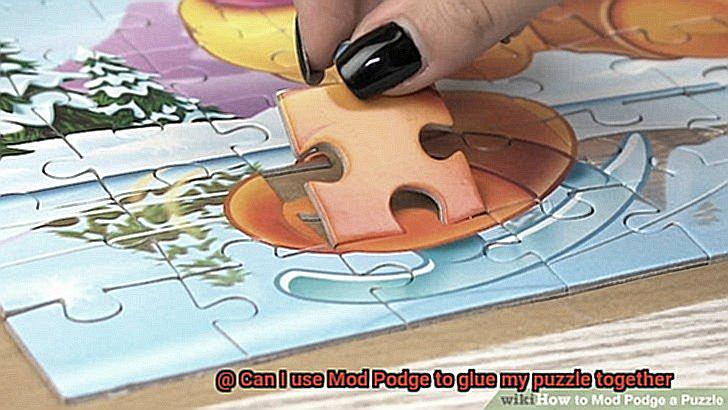
Before you begin gluing your puzzle, make sure it is fully completed and dry. If there are any loose or missing pieces, consider using puzzle glue or an adhesive specifically designed for puzzles instead. This will ensure a secure bond.
Step 2: Gather Your Materials
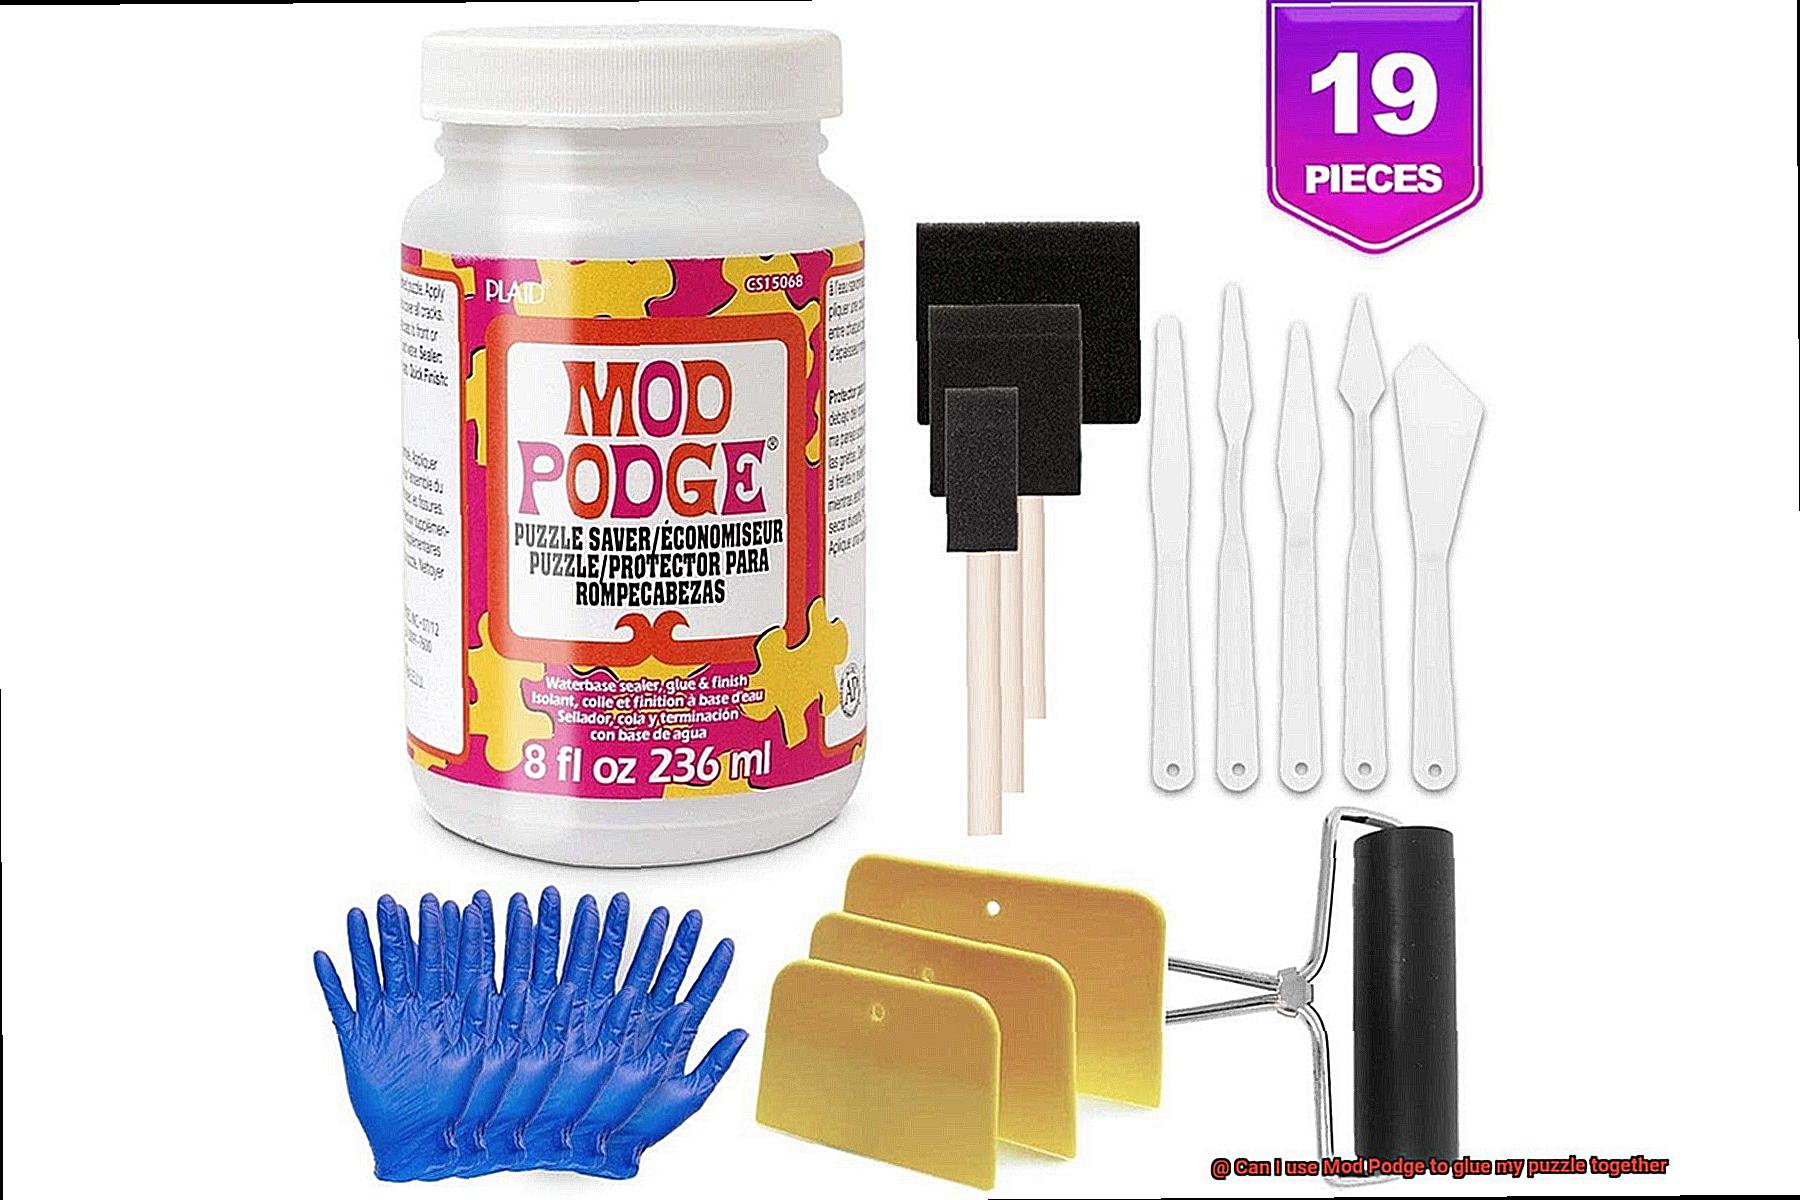
To use Mod Podge on your puzzle, you will need a flat surface to work on, such as a piece of cardboard or wax paper. This will prevent the puzzle from sticking to your work surface. You will also need Mod Podge and either a foam brush or a paintbrush to apply it evenly.
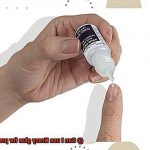
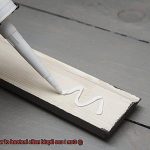
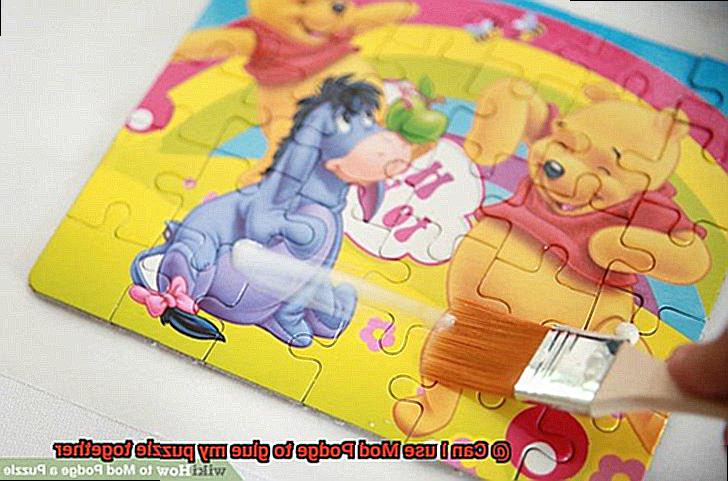
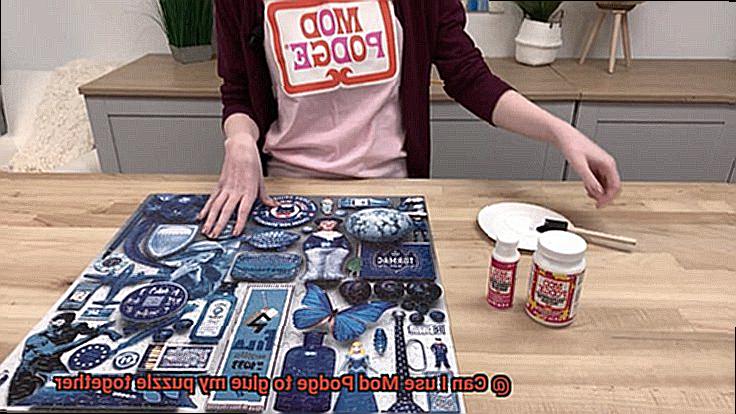
Step 3: Apply Mod Podge to the Front
Start by applying a thin layer of Mod Podge to the front of your puzzle using the foam brush or paintbrush. Make sure to cover all the edges and corners as well. This will help seal the puzzle pieces together.
When applying the Mod Podge, be careful not to use too much as it may cause the puzzle pieces to swell or warp. A thin and even coat is all that is needed. If you notice any excess glue seeping out from between the puzzle pieces, use a clean, damp cloth to gently wipe it away before it dries.
Step 4: Flip and Repeat
Carefully flip the puzzle over onto your flat surface and apply another thin layer of Mod Podge to the backside of the puzzle. Again, make sure to cover all areas and edges. This step ensures that both sides of the puzzle are securely glued together.
When flipping the puzzle, you may want to use a piece of wax paper or plastic wrap to protect your work surface and make it easier to remove the puzzle once the Mod Podge has dried. This will prevent any excess glue from sticking to your surface and ensure a clean finish.
Step 5: Allow Drying Time
Allow the first coat of Mod Podge to dry completely before applying additional coats. This helps prevent any bubbling or warping of the puzzle. Depending on the size and thickness of your puzzle, you may need to apply multiple coats. It’s recommended to apply at least two or three coats, allowing each coat to dry fully before applying the next.
Patience is key during this step, as rushing the drying process may result in a less secure bond between the puzzle pieces. It’s best to let each coat of Mod Podge dry for several hours or overnight before applying the next one. This will ensure a strong and durable finish.
Drying Time and Instructions
In this blog post, we’re going to delve into the exciting world of Mod Podge and uncover the mysteries of drying time and instructions when using this fabulous glue to bond your puzzle pieces together. So, grab a cup of tea, sit back, and let’s embark on this crafting adventure together.
Drying time is a crucial aspect to consider when working with any adhesive, and Mod Podge is no exception. After all, you wouldn’t want to ruin all your hard work by handling or displaying your puzzle too soon, would you? Fear not. Mod Podge boasts a relatively quick drying time that will have you admiring your finished creation in no time.
Once you’ve applied Mod Podge to the front of your puzzle, it typically takes around 15-20 minutes for the adhesive to become tacky. During this crucial period, resist the temptation to touch or move your puzzle. We wouldn’t want any pieces shifting out of place now, would we?
After the Mod Podge has reached its tacky state, it’s time to flip your puzzle over and give the backside some love too. Apply another layer of adhesive to ensure all those puzzle pieces are securely glued together. Then comes the waiting game – allow your puzzle to dry completely.
Now here comes the tricky part – the drying time for Mod Podge can vary depending on factors such as humidity, temperature, and the number of layers applied. Generally speaking, it can take anywhere from 24 hours to several days for Mod Podge to fully cure and dry. Patience is key during this crucial stage. I know it can be challenging to resist proudly displaying your creation, but trust me, it will be worth the wait.
If you’re feeling a bit antsy and want to speed up the drying process, there are a few tricks up our sleeves. Place your puzzle on a flat surface and use a fan or hairdryer on a low setting to circulate air around the puzzle. Just remember, avoid using high heat as it may cause warping or damage to the puzzle pieces. We definitely don’t want that, do we?
To achieve the best results, it’s vital to follow the instructions provided by Mod Podge. Don’t worry; I’ve got your back. Make sure to read and understand all the guidelines before diving into your project. These instructions typically cover application techniques, drying times, and any specific precautions you need to take. Trust me, following these guidelines will ensure a secure and long-lasting bond between your puzzle pieces.
When applying Mod Podge, opt for a foam brush or a sponge applicator for even coverage. Start from one corner of the puzzle and work your way across, ensuring that all areas are adequately covered. Avoid applying too much adhesive at once; this can result in longer drying times and potential warping of the puzzle – yikes.
Reinforcing the Bond with a Second Layer
Picture this: your puzzle pieces locked together in perfect harmony, never to be separated again. How do you achieve this puzzle paradise, you ask? The answer lies in the magical realm of Mod Podge.
Now, let’s dive into the world of Mod Podge and discover its wonders. This versatile crafting adhesive not only creates an unbreakable bond but also adds a layer of protection to your precious puzzle. It’s like giving your puzzle a suit of armor.
But how do you harness the power of Mod Podge to reinforce the bond? Fear not, my fellow puzzlers, for I shall guide you through the steps:
Ensure that your puzzle is fully dry and set after the initial gluing process. This is crucial to ensure the stability of your masterpiece.
Shake that bottle of Mod Podge like there’s no tomorrow, then pour a small amount into a clean container. We wouldn’t want any lumps or clumps ruining our puzzle party.
Grab a foam brush or a paintbrush and let the magic begin. Apply an even coat of Mod Podge over every inch of your puzzle’s surface. Remember, gentle strokes are key here – no need to go all Picasso on your puzzle.
Now, my dear friends, exercise patience and let the first coat dry completely. Control that urge to touch it – trust me, it’ll be worth it.
Assess whether your puzzle needs an extra dose of reinforcement. Consider its size and complexity. If you feel like it deserves some extra love, go ahead and apply a second coat using the same process.
Your puzzle is now fortified and ready to be admired by all who lay eyes upon it. The second layer of Mod Podge not only strengthens the bond between the puzzle pieces but also acts as a shield, protecting it from peeling or warping over time.
As if that wasn’t enough, Mod Podge adds a lustrous sheen to your puzzle, making it even more captivating and impressive. It’s like giving your puzzle a VIP pass to the glimmering world of glossy perfection.
So there you have it – a simple yet powerful way to reinforce the bond with a second layer of glue using the enchanting Mod Podge. With this technique, your puzzle will become a masterpiece that can defy the ravages of time.
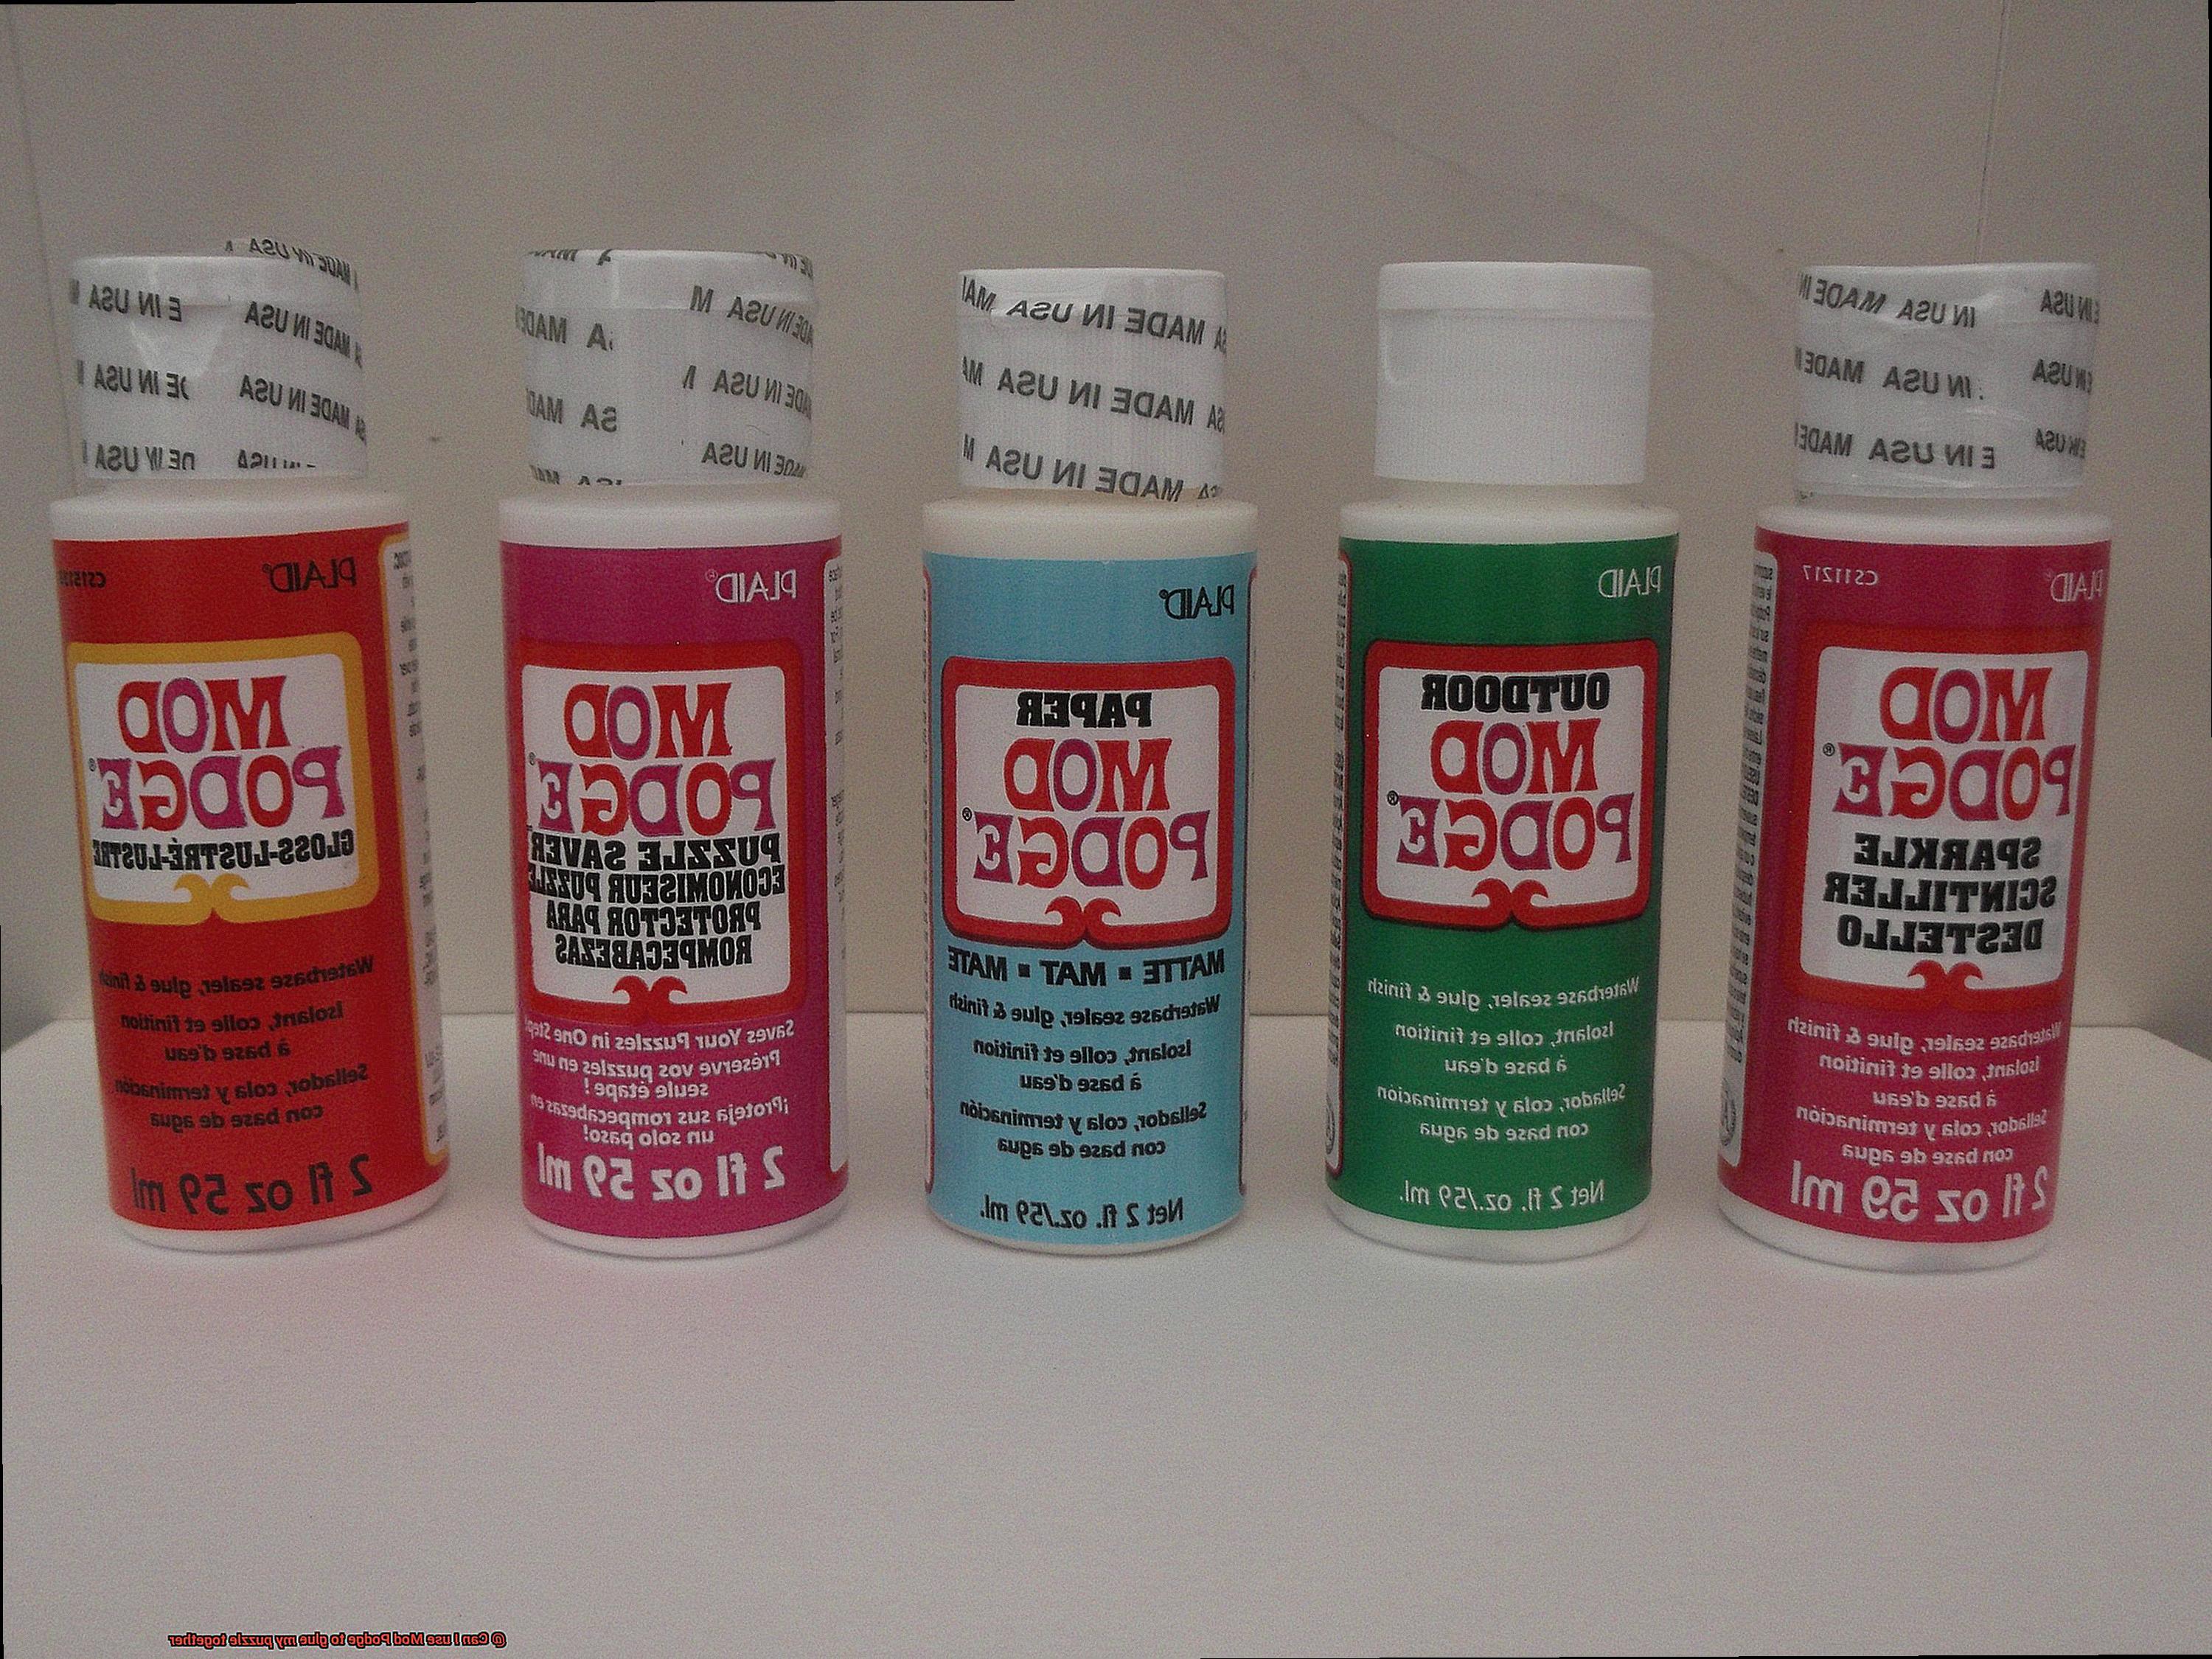
Alternatives to Mod Podge for Puzzle Glue
While Mod Podge is a go-to option, there are exciting alternatives worth exploring. Join us as we dive into the captivating realm of puzzle glue alternatives and discover their distinctive characteristics. Prepare to find the ideal adhesive that will bring your puzzles to life, ensuring they endure the test of time.
Clear Drying Craft Glue:
Craft glues are versatile and adaptable for various projects. Look for a clear drying craft glue explicitly labeled as safe for paper or cardboard. These glues provide a robust bond suitable for puzzle preservation. With their transparent drying properties, your masterpiece will retain its visual allure.
Puzzle Conserver:
Specially designed for preserving puzzles, puzzle conservers offer strength and protection against damage. Packaged in bottles with applicator brushes, these specialized glues allow effortless and precise application to the entire puzzle surface. Puzzle conservers are a remarkable choice for those seeking enhanced durability.
Epoxy Resin:
For an exceptionally enduring and waterproof finish, consider epoxy resin. This two-component adhesive is blended and then applied using a brush or applicator. Epoxy resin forms a resilient layer that not only preserves your puzzle but also imparts a glossy sheen. It is particularly well-suited for larger and more intricate puzzles.
Diluted Mod Podge:
As an alternative to using Mod Podge directly from the bottle, some crafters suggest diluting it with water. This thins out the glue, making it easier to spread evenly across the puzzle surface. However, bear in mind that diluted Mod Podge may not provide as firm of a bond as other specialized puzzle glues.
Factors to Consider:
When selecting an alternative to Mod Podge for puzzle glue, take into account the size and complexity of your puzzle. Certain glues may be better suited for smaller puzzles with fewer pieces, while others excel with larger and more intricate designs. Additionally, consider the desired finish of your puzzle, as glues may yield varying levels of glossiness or matte effects.
Testing for Compatibility
Today, we venture into the realm of puzzle glue compatibility testing, where the perfect adhesive can make all the difference.
Before we dive in, let’s talk about the superstar of crafting adhesives – Mod Podge. Known for its versatility and ability to bond different materials, it’s a popular choice. But is it the right fit for gluing puzzles together? Let’s find out.
First things first, consider the puzzle type. Most puzzles are made from cardboard or chipboard, making them a great match for Mod Podge. However, if your puzzle has a glossy or laminated surface, a little extra prep work might be needed. Grab some sandpaper and create a rougher texture to help the adhesive grip better.
Now, let’s talk finishes. Mod Podge comes in matte, glossy, and satin varieties. Each offers its own unique characteristics and appearance. Choose one that enhances your style and elevates the overall look of your puzzle.
It’s time for the compatibility test. Apply a small amount of Mod Podge on a discreet area of your puzzle, spreading it evenly with a brush or sponge applicator. Let it dry completely, then inspect for any discoloration or warping. If everything looks good, move on to the durability test.
Gently flex or bend your glued puzzle to see if the adhesive holds up. If the pieces stay firmly in place without cracking or separation, congratulations. You’ve found a compatible match. However, if things start falling apart or showing weakness, it might be time to consider a stronger adhesive designed specifically for puzzles.
UixBw2tC2Fo” >