Are you ready to dive into the world of Mod Podge and discover its magical abilities? Today, we’re going to explore whether this craft glue can work wonders when it comes to gluing fabric to cardboard. So, grab your favorite fabric scraps and let’s get crafty.
Advantages:
Contents
- 1 Benefits of Using Mod Podge for Gluing Fabric to Cardboard
- 2 Preparing the Surface Before Applying Mod Podge
- 3 How to Apply Mod Podge to Glue Fabric to Cardboard
- 4 Tips for Working with Mod Podge
- 5 Is Mod Podge Suitable for Heavy-Duty Applications?
- 6 Different Finishes Available with Mod Podge
- 7 Testing a Small Piece Before Starting Your Project
- 8 Common Mistakes When Working with Mod Podge
- 9 Conclusion
Let’s talk about the incredible versatility of Mod Podge. This all-purpose decoupage medium is like a superhero in the crafting world. With its range of matte and glossy finishes, Mod Podge provides a sturdy bond that can withstand even the busiest areas of your project. Plus, when you seal those fabric edges within layers of Mod Podge, fraying becomes a thing of the past. Say hello to a sleek and professional finish.
Disadvantages:
Now, let’s keep it real for a moment. While Mod Podge is pretty awesome, not all fabrics are created equal in its eyes. Delicate or heavily textured fabrics might put up a bit of a fight during the gluing process. And be careful not to go overboard with layering – too much Mod Podge can result in stiffness that limits your fabric’s natural movement and flow. But fear not. A little experimentation with small swatches beforehand will save you from any potential crafting disasters.
A Casual Affair:
If you’re all about adding your personal touch to everyday items or sprucing up your home decor, using Mod Podge to glue fabric to cardboard is an absolute game-changer. It’s affordable, accessible, and oh-so-fun. Get ready to personalize photo frames with funky patterns or create one-of-a-kind wall art that screams “you.” And don’t forget about custom gift boxes that will make any present extra special. These creations will not only showcase your artistic flair but also bring a whole lot of personality to your living space.
A Professional Touch:
Now, let’s step into the world of professional crafting. If you’re a fashion designer or packaging guru, attention to detail is your middle name. When using Mod Podge to attach fabric to cardboard for these purposes, precision is key.
You want flawless execution and a smooth finish that wows your clients or customers. Choosing the right fabric and mastering expert techniques will make Mod Podge your trusty sidekick on the road to crafting excellence.
Benefits of Using Mod Podge for Gluing Fabric to Cardboard
Crafting is a gateway to creativity, and when it comes to adhering fabric to cardboard, Mod Podge stands out as a versatile and reliable adhesive. In this article, we will explore the reasons why Mod Podge should be your go-to choice for all your fabric and cardboard projects. From its versatility to its smooth finish and protective qualities, Mod Podge offers a range of benefits that enhance the crafting experience.
Versatility:
Mod Podge is a true jack-of-all-trades adhesive, capable of bonding fabric and cardboard with ease. This versatility opens up a world of possibilities for crafters, allowing them to create fabric-covered cardboard boxes, stunning fabric wall art, or even homemade greeting cards. With Mod Podge, your creativity knows no bounds.
Secure and Durable Bond:
When it comes to gluing fabric to cardboard, a strong and durable bond is crucial. Mod Podge excels in this aspect, forming a clear, flexible, and permanent bond that ensures the fabric remains firmly attached over time. Delicate fabrics prone to fraying or coming loose are no match for the reliable grip of Mod Podge.
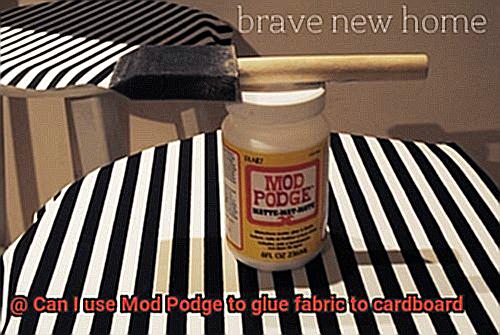
Easy Application:
Crafting should be enjoyable from start to finish, and Mod Podge makes the process delightful with its easy application. Its liquid form can be effortlessly spread onto fabric and cardboard surfaces using a brush or foam applicator. The adhesive dries relatively quickly, allowing you to continue working without long waiting times. Plus, any spills or mistakes can be easily cleaned up with just soap and water.
Smooth Finish:

Aesthetics play a vital role in crafting, and Mod Podge delivers a smooth and even finish when gluing fabric to cardboard. It eliminates wrinkles or creases in the fabric, resulting in a professional-looking final product. The low-sheen finish of Mod Podge allows the fabric’s colors and patterns to shine through, enhancing the overall visual appeal.
Protection and Sealing:
Mod Podge not only bonds fabric to cardboard but also acts as a protective sealant. It creates a barrier that shields the fabric and cardboard from moisture, dirt, and other external factors that can damage or cause fraying. This level of protection is especially valuable for fabric-covered cardboard items that may be frequently handled or exposed to environmental elements.
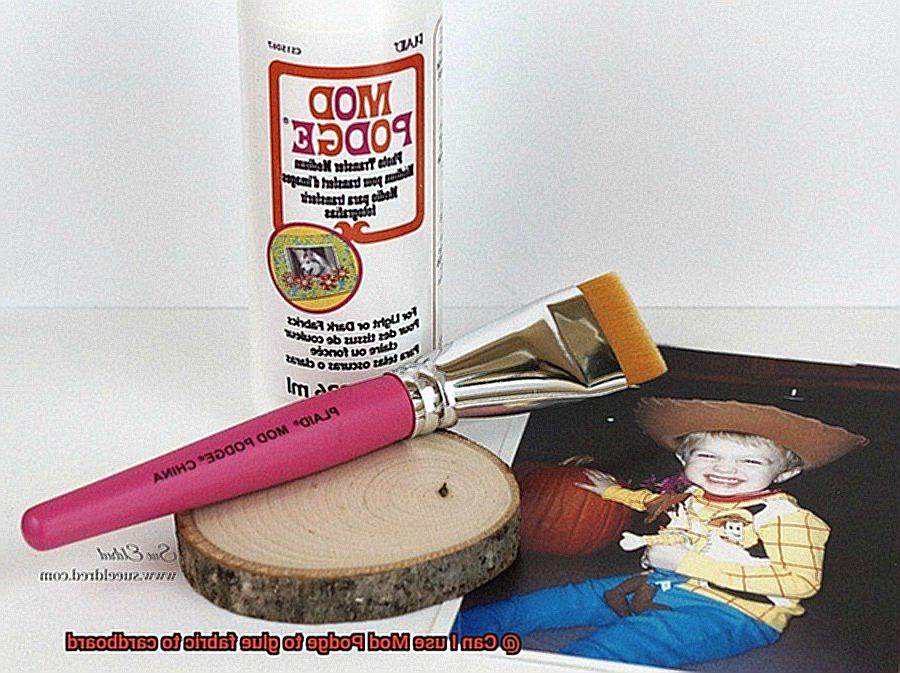
Customization and Personalization:
Crafting is all about expressing individuality, and Mod Podge enables endless customization and personalization options. With a wide variety of fabric designs, colors, and textures available, you can create unique crafts that reflect your style and personality. From decorative boxes to scrapbook covers or home decor items, Mod Podge provides a reliable and versatile solution for adhering fabric to cardboard.
Preparing the Surface Before Applying Mod Podge
Preparing the surface before applying Mod Podge is a crucial step that ensures a strong and durable bond between the fabric and the cardboard. By following these essential steps, you’ll be well on your way to creating a beautiful and long-lasting project.
- Clean the surface: Begin by giving the cardboard a thorough cleaning to remove any dirt, dust, or grease that might hinder the adhesive properties of the Mod Podge. Use a damp cloth or sponge to wipe down the surface, ensuring it is free from contaminants.
- Sand the surface: Next, lightly sand the surface of the cardboard using a fine-grit sandpaper. This creates a rough texture that helps the Mod Podge grip onto the surface better. Gently rub in circular motions, being careful not to damage or tear the cardboard.
- Remove debris: After sanding, clear away any lingering dust or debris using a clean, dry cloth or a soft brush. This step ensures a clean and smooth surface for the Mod Podge application.
- Apply primer: To improve adhesion and ensure an even bond with the Mod Podge, apply a suitable primer to the cardboard. Choose a primer that works for both fabric and cardboard and follow the manufacturer’s instructions for application.
- Allow drying time: Patience is key after priming. Give the primer enough time to dry completely before moving on to the next step. Drying times can vary depending on the type of primer used, so be sure to check the instructions.
- Perform a test run: Before diving in headfirst, apply a small amount of Mod Podge on an inconspicuous area of both the fabric and the cardboard. This will allow you to check for any adverse reactions or discoloration before proceeding with the project.
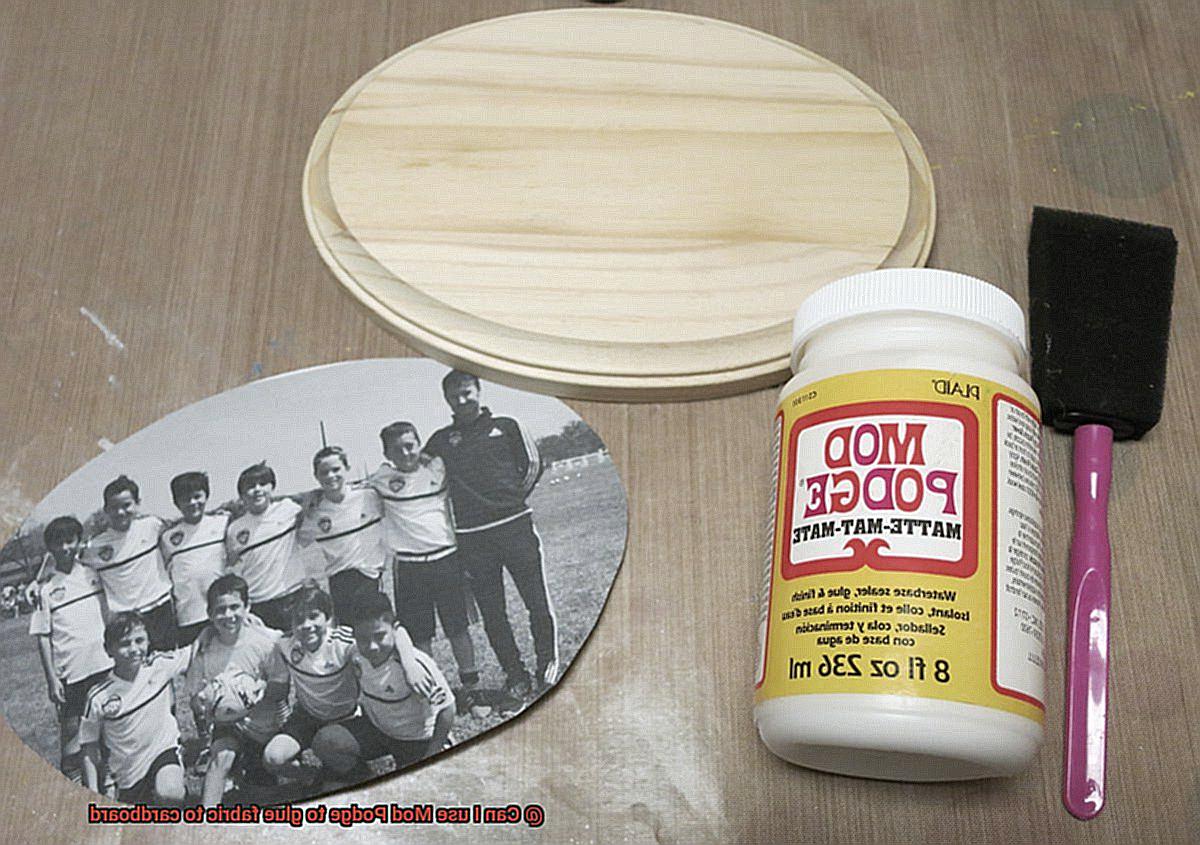
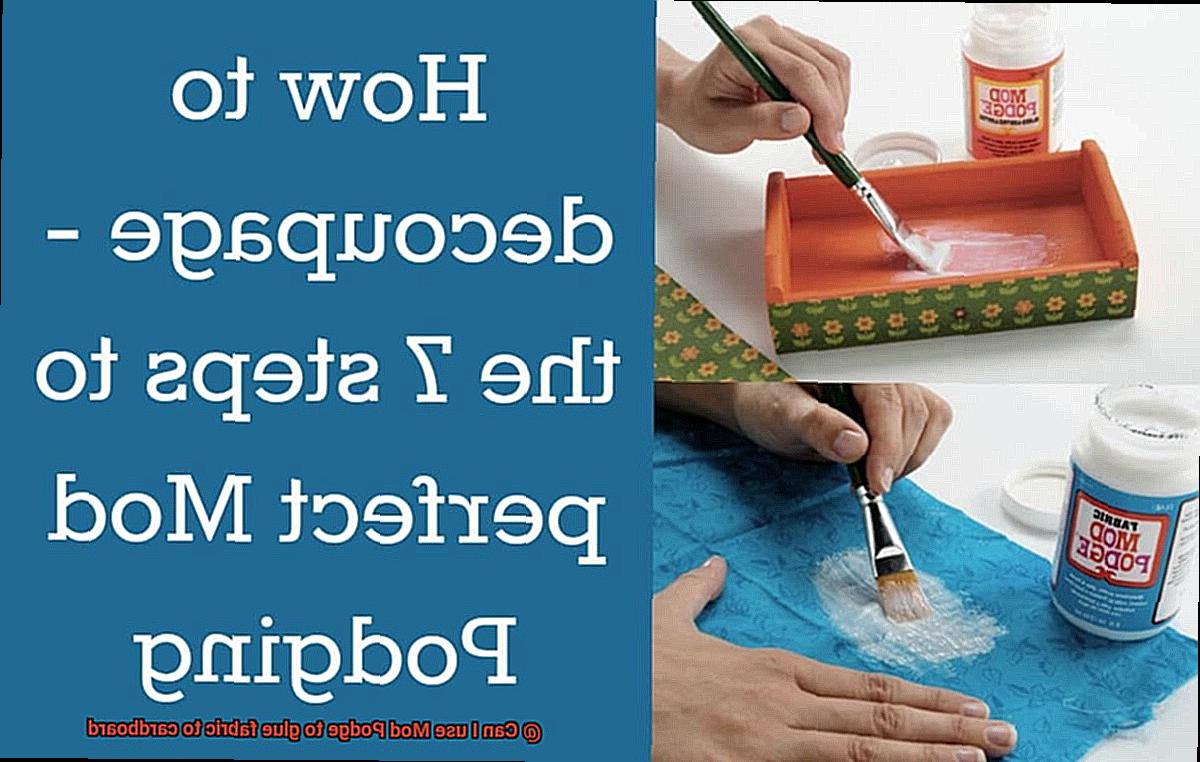
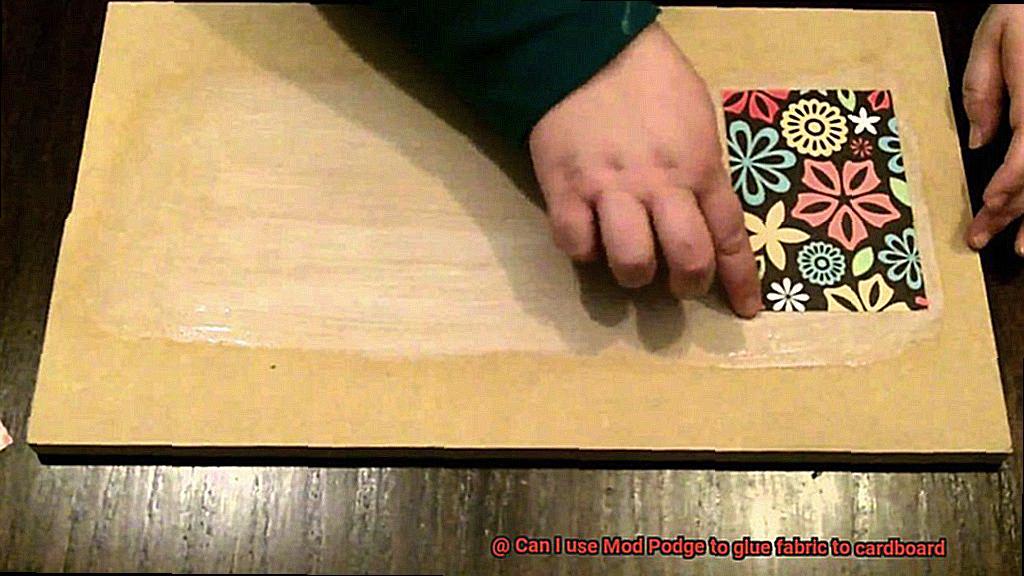
How to Apply Mod Podge to Glue Fabric to Cardboard
Transforming your cardboard crafts with a fabric touch is made easy with the help of Mod Podge. This versatile adhesive and sealer will not only glue fabric to cardboard but also protect it from fraying. In this step-by-step tutorial, we will guide you through the process of using Mod Podge to achieve a strong bond and ensure your fabric-covered projects stand the test of time.
Step 1: Prepare the Fabric and Cardboard
Before applying Mod Podge, ensure that your fabric is clean and wrinkle-free. Ironing the fabric beforehand will guarantee a smooth application. Additionally, it’s crucial to have a clean and dry cardboard surface that is free from any dirt or grease. A pristine surface will provide optimal adhesion for the Mod Podge.
Step 2: Apply a Thin Layer of Mod Podge
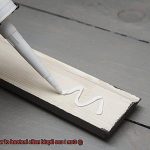
Using a foam brush or paintbrush, apply a thin layer of Mod Podge onto the cardboard surface. It’s important to cover the entire area where the fabric will be placed. This thin layer acts as a solid foundation for the fabric to adhere to.
Step 3: Place the Fabric on the Mod Podge-Coated Cardboard
Gently lay the fabric onto the Mod Podge-coated cardboard, ensuring proper alignment. Press down firmly to eliminate any wrinkles or bubbles and create a secure bond between the fabric and cardboard. Working swiftly at this stage is essential since Mod Podge dries rapidly.
Step 4: Apply Another Layer of Mod Podge
Once the fabric is in place, apply another thin layer of Mod Podge over the fabric using the same brush. This additional layer serves to seal the fabric in place and provide a protective barrier against moisture and wear.
Step 5: Allow Mod Podge to Dry
Patience is key at this stage. Allow the Mod Podge to dry completely before handling or moving your project. Typically, it takes around 24 hours for Mod Podge to dry, but drying times can vary. Giving it ample time to dry thoroughly will yield the best results.
Step 6: Optional Additional Layers
For added durability and protection, you can apply additional layers of Mod Podge if desired. Each layer should be completely dry before applying the next one. By doing so, you’ll give your fabric a robust seal, ensuring your project lasts longer.
Tips for Working with Mod Podge
Look no further than Mod Podge, the ultimate adhesive for this task. However, there are a few tips and tricks you should keep in mind to ensure seamless results. In this article, we will explore the best techniques for working with Mod Podge and provide step-by-step instructions to help you create stunning fabric and cardboard crafts.
Prepare the Surface:
Before delving into gluing, it is crucial to prepare both the fabric and cardboard surfaces. Ensure they are pristine and free from any dust or debris that could hinder adhesion. To guarantee a strong bond between the fabric and cardboard, wipe both surfaces using a damp cloth, removing any dirt or dust. Allow them to dry fully before applying Mod Podge.
Apply Thin Layers:
Achieving impeccable results requires applying thin layers of Mod Podge rather than one hefty coat. This technique prevents unsightly wrinkles or bubbles from forming in the fabric. Begin by generously applying a thin, even layer of Mod Podge to both the fabric and cardboard surfaces using a brush or sponge applicator. Take your time, ensuring complete coverage.
Smooth Out Wrinkles:
Should any wrinkles or bubbles appear in the fabric after applying Mod Podge, gently smooth them out with your fingers or a soft cloth. Starting from the center of the fabric, work your way towards the edges, ensuring a smooth and even surface. This step is essential for achieving a professional-looking finish.
Allow Ample Drying Time:
Patience is key when using Mod Podge. Allow each layer of Mod Podge to dry fully before applying another layer or handling the project. The drying time can vary based on factors such as humidity and temperature, so diligently follow the instructions on the Mod Podge label. Rushing this step can compromise the bond between the fabric and cardboard.
Seal the Edges:
To ensure a durable bond, it is vital to seal the edges of the fabric with Mod Podge. This step prevents fraying and securely anchors the fabric in place. Apply a thin layer of Mod Podge along the edges of the fabric, ensuring complete coverage all the way to the cardboard. This precaution is especially important if you plan on handling or displaying your craft.
Is Mod Podge Suitable for Heavy-Duty Applications?
When it comes to heavy-duty applications, Mod Podge may not be the best choice for gluing fabric to cardboard. This beloved crafting adhesive is known for its versatility and ease of use, making it perfect for lightweight projects. However, there are a few reasons why it may not hold up well under heavier materials and stress.
Firstly, Mod Podge’s water-based formula, while great for easy cleanup and everyday crafting, can be affected by moisture. This means that if your project encounters any moisture, the bond between the fabric and cardboard may weaken or warp, leading to potential issues and a less durable result.
Secondly, Mod Podge may not have the strength and durability needed for heavy-duty applications. While it can provide a decent bond for lightweight materials, it may not be able to withstand excessive weight or stress. If you want a sturdy and long-lasting bond, it’s best to choose an adhesive specifically formulated for heavy-duty purposes.
Luckily, there are plenty of alternatives on the market that are better suited for heavy-duty projects. Epoxy glues, industrial-strength glue sticks, and fabric-specific adhesives like fabric glue or fabric tape are all excellent options that can handle heavier materials and provide a stronger bond.
Different Finishes Available with Mod Podge
When it comes to unleashing your creative potential, Mod Podge is a crafting adhesive that knows no bounds. Whether you’re a seasoned crafter or just beginning your artistic journey, Mod Podge offers an extensive range of finishes that can transform your projects from ordinary to extraordinary. In this article, we will delve into the different finishes available with Mod Podge and explore how each one can add texture and intrigue to your fabric-to-cardboard creations.
The Matte Masterpiece:
For those seeking a subtle and natural finish, the matte option is an excellent choice. With its smooth and non-shiny appearance, the matte finish imparts a touch of rustic elegance to your project. Achieving this finish is as simple as selecting the Mod Podge matte formula or applying a thin layer of matte Mod Podge on top once the initial layer has dried.
The Glamorous Gloss:
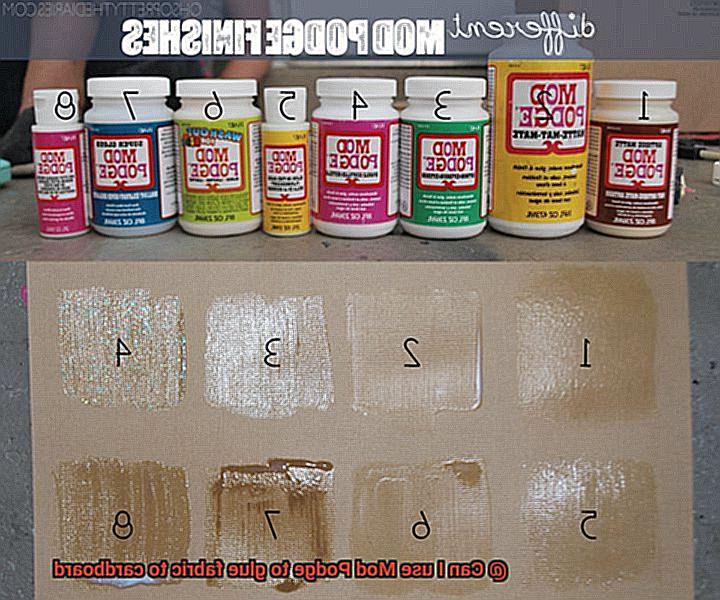
If you desire projects that catch the light and radiate brilliance, the glossy finish is a showstopper. Its reflective surface adds polish and vibrancy to your fabric-to-cardboard masterpiece. Opt for the glossy formula or apply additional layers of glossy Mod Podge after each layer has dried for an extra pop of shine.
The Subtle Sheen:
For those who find it difficult to choose between matte and glossy, the satin finish offers the best of both worlds. With its delicate sheen, it adds an elegant touch without overwhelming your project. Achieve this sophisticated look by utilizing the satin formula or applying multiple layers of satin Mod Podge.
Tips for Success:
- Prepare your fabric by ironing it beforehand to eliminate wrinkles or bubbles.
- Consider using an adhesive spray on both the fabric and cardboard surfaces before applying Mod Podge for enhanced adhesion.
- Apply Mod Podge thinly and evenly to avoid stiffness or uneven textures.
- Smooth out any wrinkles or bubbles by gently pressing the fabric onto the cardboard using a brayer or a clean, dry cloth.
- Allow each layer of Mod Podge to dry completely before applying the next.
- Experiment with different finishes and techniques to find the perfect combination for your project.

Testing a Small Piece Before Starting Your Project
If you’re ready to embark on a fabric-to-cardboard project using the versatile Mod Podge glue, then this blog post is a must-read. Today, we’ll explore the significance of testing a small piece before diving headfirst into your creative endeavor. So grab your brushes and sponge applicators, because we’re about to unlock the secrets to achieving a flawless adhesive bond.
The Power of Testing:
Think of testing a small piece as your dress rehearsal before the grand performance. It allows you to identify any potential issues and guarantees that your final masterpiece will stand the test of time. Moreover, it provides an opportunity to refine your techniques and make necessary adjustments along the way.
Step-by-Step Testing:
To conduct your small piece test, collect fabric and cardboard scraps. Apply a thin, even layer of Mod Podge onto the cardboard using your trusty brush or sponge applicator. Gently lay the fabric onto the glued surface, ensuring a smooth appearance free from pesky wrinkles or bubbles. Once dry according to the instructions, inspect the adhesion and strength by giving the fabric a slight tug.
Troubleshooting Potential Issues:
Throughout your testing phase, keep an eagle eye out for signs of poor adhesion or lifting fabric. Different fabrics present unique challenges when bonding with Mod Podge, especially those with slick or water-resistant surfaces. Don’t fret if you encounter any issues. There are alternative adhesive options specifically designed for fabric-to-cardboard projects, ready to save the day.
The Finish Factor:
We all know that presentation is everything. Mod Podge offers various finishes, such as matte or gloss, each adding its own charm to your project. Testing a small piece allows you to determine which finish best complements your fabric and cardboard combination. A matte finish might enhance a rustic aesthetic, while a glossy sheen adds a touch of glamour.
Common Mistakes When Working with Mod Podge
Crafting with Mod Podge can be a delightful experience, but it’s easy to stumble upon some common mistakes that can hinder your creative journey. Fear not, for I am here to guide you through the pitfalls and help you achieve flawless results every time.
Let’s start with the first mistake: applying too much Mod Podge. Remember, a little goes a long way. Using an excess amount can lead to uneven application and unsightly wrinkles or bubbles in your fabric or paper. So, thin is in. Spread a thin layer evenly over the surface to avoid these issues.
Next up, not allowing enough drying time between layers. Patience is key here. Mod Podge needs time to dry and adhere properly. If you rush and apply the next layer too soon, you’ll end up with a sticky mess. Give each layer at least 15-20 minutes to dry before moving on to the next one. And don’t forget to let your project fully dry before handling or displaying it.
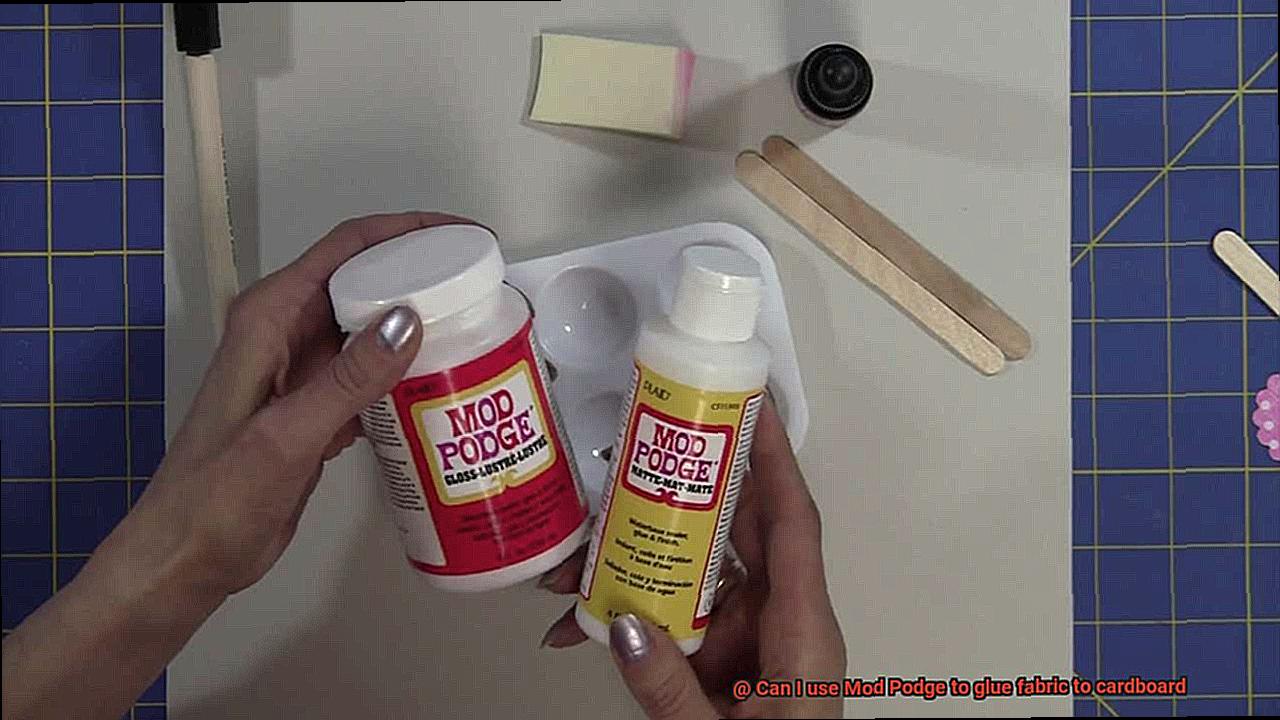
Choosing the wrong type of Mod Podge is another common mistake. With so many formulas available, it’s essential to pick the right one for your project. Matte, gloss, satin, outdoor – each has its own unique properties and finishes. So, take a moment to do your research and choose wisely.
Preparing the surface properly is also crucial for a strong bond. Clean and dry the surface thoroughly before applying Mod Podge. Dust, dirt, and oils can hinder its ability to adhere properly.
Now, let’s talk about taking your time. Rushing through the application process can lead to sloppy results. Pay attention to details, like smoothing out wrinkles or bubbles as you apply the adhesive. Take a deep breath, enjoy the process, and let your creativity shine.
Last but not least, seal the deal. Mod Podge provides some protection, but adding a topcoat or sealer will ensure the longevity of your project. Protect it from moisture, dirt, and wear and tear by taking this extra step.
dYJ-Wyv8ALc” >
Also Read: Is there a Mod Podge Alternative? – Glue Things
Conclusion
Yes, you can absolutely use Mod Podge to adhere fabric to cardboard.
It’s a fantastic adhesive that not only sticks the fabric securely in place but also provides a protective seal. With Mod Podge, your fabric will stay firmly attached, even when subjected to wear and tear.
This versatile glue is perfect for various craft projects where you want to add a touch of fabric to cardboard surfaces.