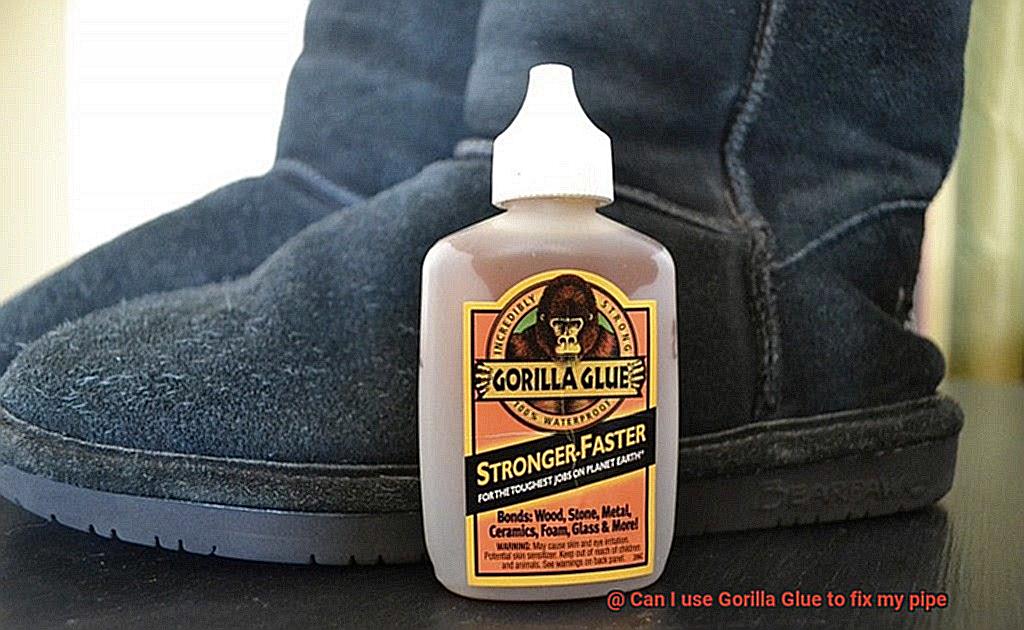
Imagine this: you’re snuggled up on the couch with a warm cup of cocoa on a frosty winter evening. Suddenly, you hear an ear-splitting noise coming from your kitchen. You rush in to find that your water pipe has burst, and water is spurting out like a fountain. Panic sets in as you frantically search for a quick fix. Your eyes land on Gorilla Glue, the go-to adhesive for many DIYers. But can you use it to repair your pipe?
While Gorilla Glue is known for its robustness and versatility, it may not be the best solution to mend your pipe. Pipes bear immense pressure and stress, and using an inadequate adhesive could lead to a patch job that quickly wears off, causing more damage than the initial leak.
In this post, we’ll explore the pros and cons of using Gorilla Glue to fix your pipe. We’ll delve into what Gorilla Glue is and how it works, including its recommended uses and limitations. Additionally, we’ll discuss alternative options available that are better suited for fixing pipes, ensuring that you have all the information necessary to make an informed decision that will provide a long-lasting solution. So buckle up and let’s dive in.
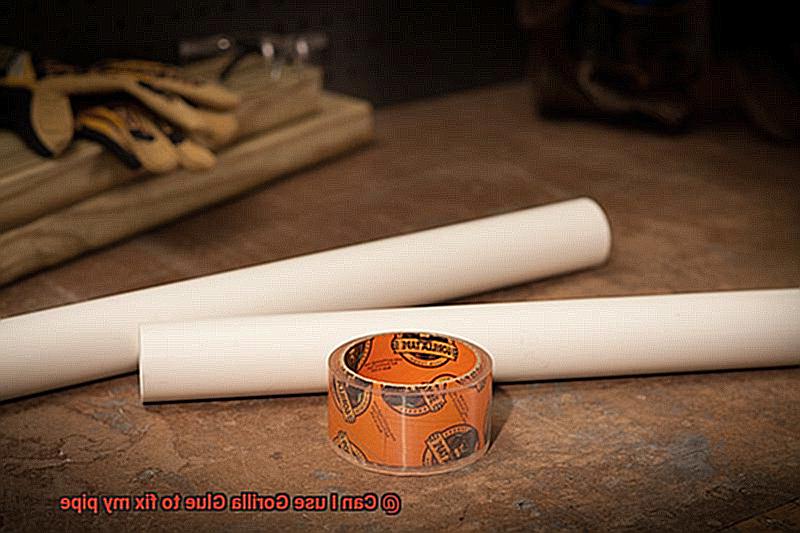
Identifying the Type of Pipe to be Fixed
Contents
- 1 Identifying the Type of Pipe to be Fixed
- 2 Where is the Pipe Located?
- 3 Preparing the Pipe for Repair
- 4 Applying Gorilla Glue to the Pipe
- 5 Curing and Drying Time for Gorilla Glue
- 6 Troubleshooting Common Issues with Gorilla Glue Repairs
- 7 Advantages of Using Gorilla Glue to Fix Pipes
- 8 Disadvantages of Using Gorilla Glue to Fix Pipes
- 9 Conclusion
This knowledge will help you choose the right glue and repair method, preventing further damage and costly repairs in the future.
The most common types of pipes used in households are PVC, copper, PEX, and galvanized steel. PVC pipes are lightweight and easy to install, ideal for drainage systems. However, they can be brittle and break easily. To fix a PVC pipe, use a PVC primer and cement specifically designed for PVC pipes.
Copper pipes are durable and long-lasting, making them perfect for water supply lines and heating systems. However, they can be expensive to replace. To fix a copper pipe, use soldering tools and materials such as flux, solder, and a torch.
PEX pipes are flexible plastic tubes that are easy to install and have fewer connections than copper pipes. They are great for water supply lines and radiant heating systems. To fix a PEX pipe, use PEX fittings and crimping tools.
Galvanized steel pipes were commonly used in older homes but have been replaced by newer materials due to their tendency to rust and corrode over time. If you need to fix a galvanized steel pipe, use a specialized galvanized steel repair kit that includes epoxy putty or tape.
When identifying the type of pipe that needs fixing, consider the location of the pipe. If it’s exposed to high temperatures or pressure, Gorilla Glue may not be enough as it may not be strong enough to hold up under these conditions. If the pipe is in an area exposed to water or other liquids, make sure the glue used is waterproof.
To ensure a successful repair, always follow manufacturer instructions carefully. If in doubt, consult a professional plumber for advice on the best way to fix a damaged pipe. Remember, taking extra time to accurately identify the type of pipe will save you time and money in the long run.
Where is the Pipe Located?
When you’re faced with a leaky pipe, it can be tempting to grab a tube of Gorilla Glue and attempt a DIY fix. But before you start slathering on the adhesive, consider where the pipe is located. This crucial factor can make all the difference when it comes to the success of using Gorilla Glue as a solution.
First off, if the pipe is nestled in a hard-to-reach area, such as inside a wall or buried underground, applying Gorilla Glue can be a real challenge. Without proper access, it’s difficult to apply the glue accurately and ensure that it adequately seals the leak or crack in the pipe. If you’re not confident in your ability to reach the problem area, it may be best to call in a professional plumber for assistance.
Another important factor to consider is the level of heat or pressure that the pipe is exposed to. In areas where there are high levels of heat or pressure, Gorilla Glue may not hold up over time and could eventually fail. So, if your pipe is located in an area like this, it’s best to seek alternative solutions.
That said, if your pipe is in a more accessible area and isn’t exposed to extreme conditions, Gorilla Glue could be a viable solution. It can seal small leaks or cracks effectively and provide a temporary fix until a professional plumber can address the issue.
In summary, when deciding whether or not to use Gorilla Glue for your plumbing problems, always consider where the pipe is located. To help you make an informed decision, here is a quick checklist:
- Is the pipe located in an area that’s easy to reach?
- Is the pipe exposed to high levels of heat or pressure?
- Is Gorilla Glue likely to provide an effective and long-lasting solution?
Preparing the Pipe for Repair
When it comes to repairing a leaky pipe with Gorilla Glue, preparation is key. Before reaching for that tube of glue, take the time to follow these necessary steps to ensure a successful repair.
First and foremost, identify the location of the leak and shut off the water supply to the affected area. It’s important to allow the pipe to dry completely before attempting any repairs.
Once dry, cleaning the pipe thoroughly is crucial. Use a wire brush or sandpaper to remove any rust, debris, or build-up that may prevent the glue from adhering properly. Don’t forget to clean both the inside and outside of the pipe, as well as any fittings or joints that will be part of the repair.
Next, rough up the surface of the pipe to create a better bonding surface for the glue. This can be achieved by using sandpaper or a wire brush to create small scratches or grooves in the surface of the pipe. Always remember to wipe away any debris or dust created during this process before moving on.
Finally, before applying Gorilla Glue, ensure that the pipe is completely dry and free of any moisture. Any water or moisture left on the surface can prevent the glue from setting properly, leading to a weak bond and potential future leaks.
By following these simple yet essential steps, your Gorilla Glue repair job is sure to hold up over time. However, if you’re not confident in tackling this on your own or if your pipe is in a hard-to-reach area or exposed to high levels of heat or pressure, it’s always best to call in a professional plumber.
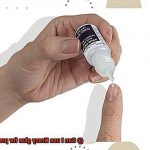
Applying Gorilla Glue to the Pipe
The key to a successful fix is in the application process. Here are some expert tips on how to apply Gorilla Glue to your pipe for a durable and robust bond.
To begin, make sure that the area around the pipe is clean and dry before applying any glue. This is crucial as moisture or debris can compromise the effectiveness of the glue. Take extra care to ensure that the surface is thoroughly prepped before moving on.
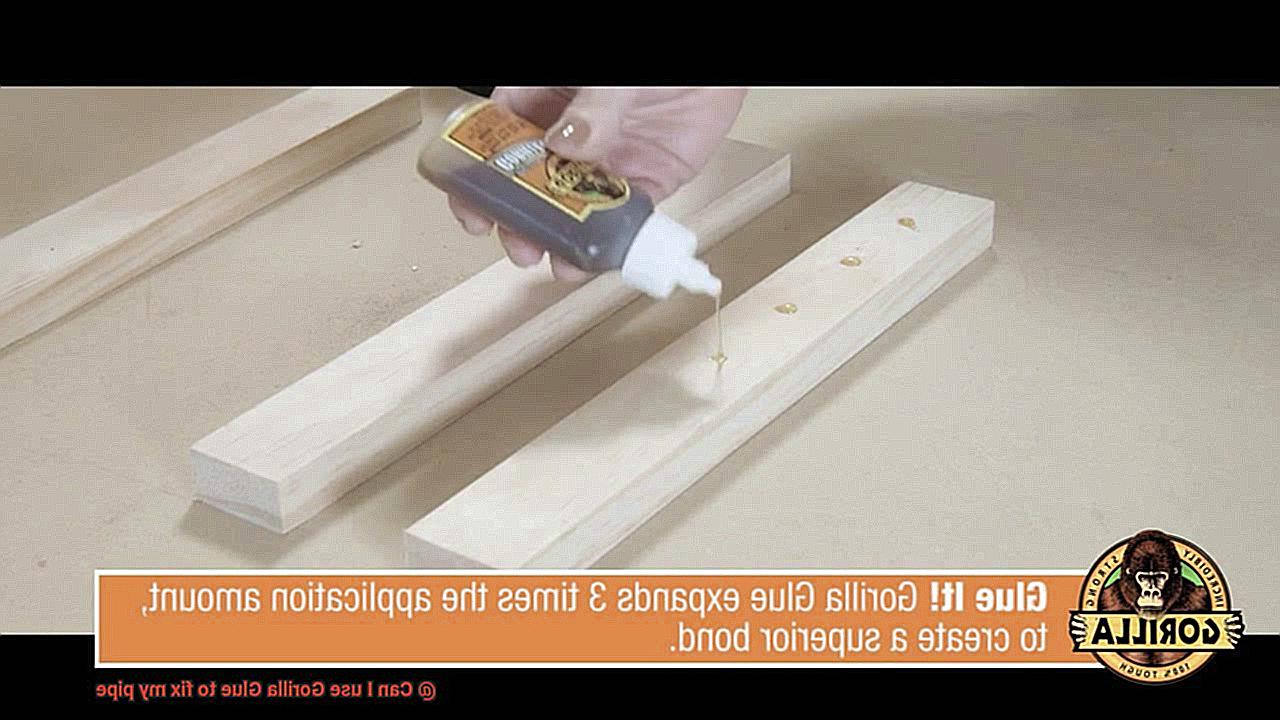
Now it’s time to apply the Gorilla Glue. Use a small amount of glue directly onto the damaged area of the pipe, making sure not to over-apply. Too much glue can create a mess or even damage surrounding areas, so be mindful of the amount you use. Importantly, excess glue can also expand and cause pressure on the pipe, leading to further damage.
Once you’ve applied the glue, hold the damaged area of the pipe together for several minutes to allow it to bond properly. You can use clamps or tape to hold it in place while it dries. This step is essential in ensuring that the bond is strong enough to last over time.
It’s important to note that Gorilla Glue is not recommended for pipes under constant pressure or exposed to high temperatures. In these cases, seek professional help from a plumber who can provide appropriate repairs.
Curing and Drying Time for Gorilla Glue
To get the most out of this miracle adhesive, you need to understand its curing and drying time.
Let’s start with the curing time. This refers to the amount of time it takes for the glue to fully set and bond. Factors such as temperature, humidity, and the materials being bonded can affect the curing time. Generally, Gorilla Glue will reach maximum strength within 24 hours of application. But don’t be fooled into thinking that’s all there is to it. The glue will continue to cure and strengthen over time, reaching optimal strength after 72 hours. So if you want your repair job to last, be patient and give the glue enough time to work.
Now let’s talk about drying time. Gorilla Glue takes about 10-20 minutes to become dry to the touch, which may seem like a short amount of time. However, it’s important to wait at least 1-2 hours before handling or applying any stress on the glued area. Even though the glue may appear dry, it may not have fully cured yet. So if you’re tempted to test the strength of your repair job right away, you may end up having to do it all over again.
It’s also worth noting that Gorilla Glue expands as it cures, so it’s crucial to use it sparingly when applying it. You don’t want excess glue oozing out and causing a mess. In addition, clamping or applying pressure on the glued area for at least 1-2 hours during the curing process will ensure optimal bonding.
Troubleshooting Common Issues with Gorilla Glue Repairs
Gorilla Glue can be a lifesaver when it comes to repairing them. However, like any adhesive, it’s important to know how to troubleshoot common issues that can arise during the repair process. As an expert on the topic, I’m here to share some tips on how to troubleshoot these issues and achieve a successful repair.
One of the most common issues with using Gorilla Glue is improper adhesion to the pipe surface. This can happen if the surface is not clean or if there is moisture present. To avoid this, take the time to thoroughly clean and dry the surface before applying the glue. If necessary, rough up the surface with sandpaper or a wire brush for better adhesion. A clean and rough surface is essential for the glue to bond correctly.
Another issue that can occur is excessive expansion of the glue during the curing process. This can cause excess glue to overflow and potentially block the pipe. The solution is simple – apply the glue sparingly and only use as much as necessary for the repair. This way, you can avoid any mess and ensure that the pipe remains unobstructed. Additionally, consider using a clamp or tape to hold the pipe in place while the glue cures to prevent any movement or shifting.
If your repair is not holding up over time, it could be due to improper application or a lack of proper curing time. Always follow the manufacturer’s instructions for application and curing time, and avoid using the repaired pipe until the glue has fully cured. It’s important to note that Gorilla Glue may not be suitable for all types of pipes or materials, so always check the label and do your research before attempting any repairs.
Advantages of Using Gorilla Glue to Fix Pipes
As a pipe repair expert, I can confidently say that Gorilla Glue has several advantages when it comes to pipe repairs.
First and foremost, Gorilla Glue is incredibly strong and durable. It creates a permanent bond that can withstand pressure and tension, making it an ideal choice for fixing pipes. You won’t have to worry about the repair giving way any time soon.
But that’s not all – Gorilla Glue is also incredibly versatile. Its adhesive properties allow it to be used on a variety of materials, including metal, plastic, wood, ceramic, and more. This means that no matter what type of pipe you’re dealing with, Gorilla Glue can get the job done.
Waterproofing is also essential when it comes to pipe repairs, and Gorilla Glue has got you covered there as well. It can withstand exposure to water without losing its strength or effectiveness. This makes it perfect for pipes that are constantly exposed to moisture.

And here’s the icing on the cake – Gorilla Glue dries clear. This means that once the repair is complete, it won’t be visible. This is particularly useful if the pipe is in a visible location where appearance is important. You won’t have to worry about an unsightly patch job ruining the look of your space.
It’s important to note that proper application is key when using Gorilla Glue for pipe repairs. Before applying the glue, make sure the surface is clean and dry to ensure maximum effectiveness.
Disadvantages of Using Gorilla Glue to Fix Pipes
There are several disadvantages to using this type of adhesive that should be considered before attempting to repair pipes with it.
One major disadvantage of Gorilla Glue is its expansion as it dries. While this can be useful for filling gaps or cracks, it can also cause problems when used on pipes. The expanding glue creates pressure within the pipe, leading to further damage or even causing the pipe to burst. So, if you’re looking for a bigger problem than you started with, Gorilla Glue is not the solution for you.
Moreover, Gorilla Glue’s resistance to water may seem like an advantage, but it can actually be detrimental when dealing with pipes that carry water. Over time, the glue breaks down when exposed to water, causing the repair to fail and potentially leading to leaks or water damage. So, if you want a long-term solution for your pipe problems, Gorilla Glue might not be the best choice.
In addition to its expansion and water resistance issues, Gorilla Glue is also not designed for use on plastic pipes. Using it on PVC or other types of plastic pipes can result in the glue not adhering properly or even melting the plastic altogether. This could lead to further damage that will require even more costly repairs in the future.
Lastly, it’s important to note that Gorilla Glue is not a permanent fix for pipe issues. Most manufacturers recommend only using it as a temporary solution until a more permanent fix can be made. So while it may provide a quick fix in the short term, it may not hold up over time and could lead to further problems down the line.
g96iKBgL8wg” >
Conclusion
In conclusion, while Gorilla Glue may appear to be a quick and effortless solution for fixing your leaky pipe, it’s crucial to take into account its limitations and potential drawbacks. Before attempting any repairs, it’s important to identify the type of pipe and the location of the damage or leak. This will enable you to determine whether Gorilla Glue is a suitable solution or if you need professional assistance.
If you decide to use Gorilla Glue for your pipe repair, proper preparation and application are critical. Ensure that you thoroughly clean and dry the surface before applying the glue, rough up the surface for better adhesion, and apply sparingly to avoid excess expansion. Remember that curing and drying time are essential for a successful repair.
While Gorilla Glue has several advantages such as strength, versatility, waterproofing, and clear drying properties, it also has disadvantages such as expansion issues, water resistance problems on pipes that carry water, unsuitability for plastic pipes, and temporary fixes only.
Ultimately, when it comes to fixing your pipe, taking the time to properly assess the situation and choose the right adhesive or repair method will save you time and money in the long run.