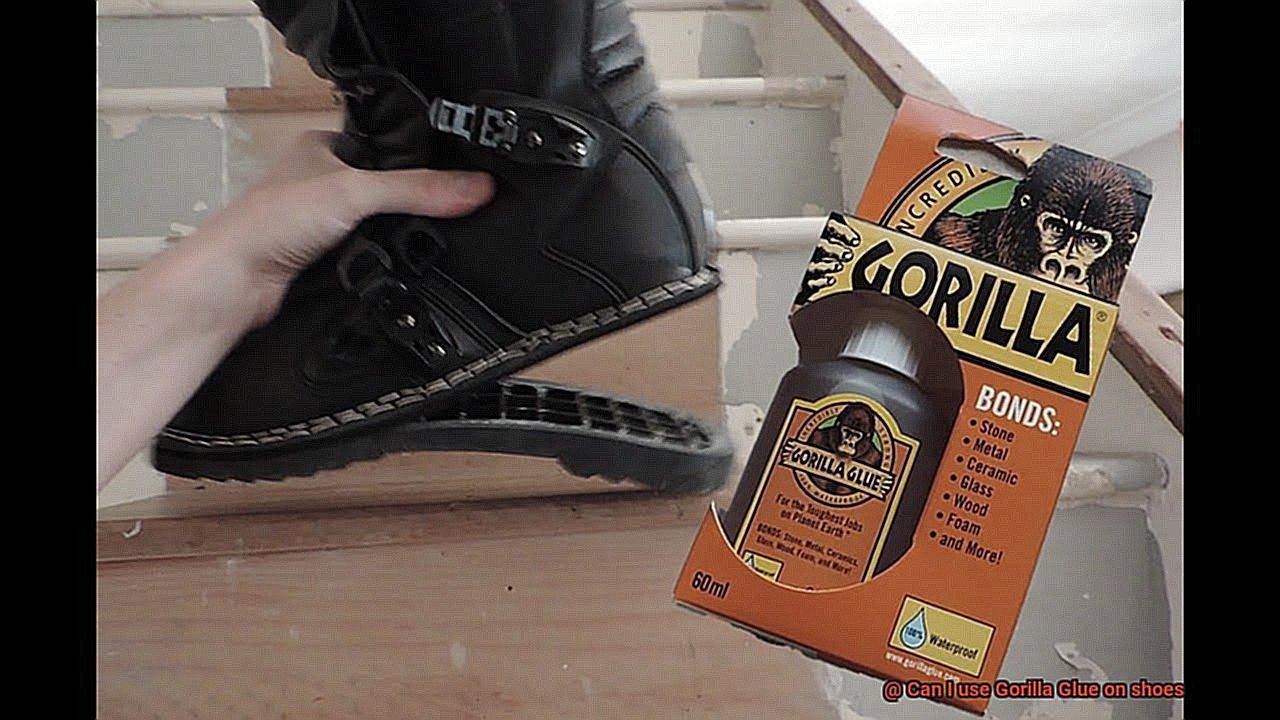
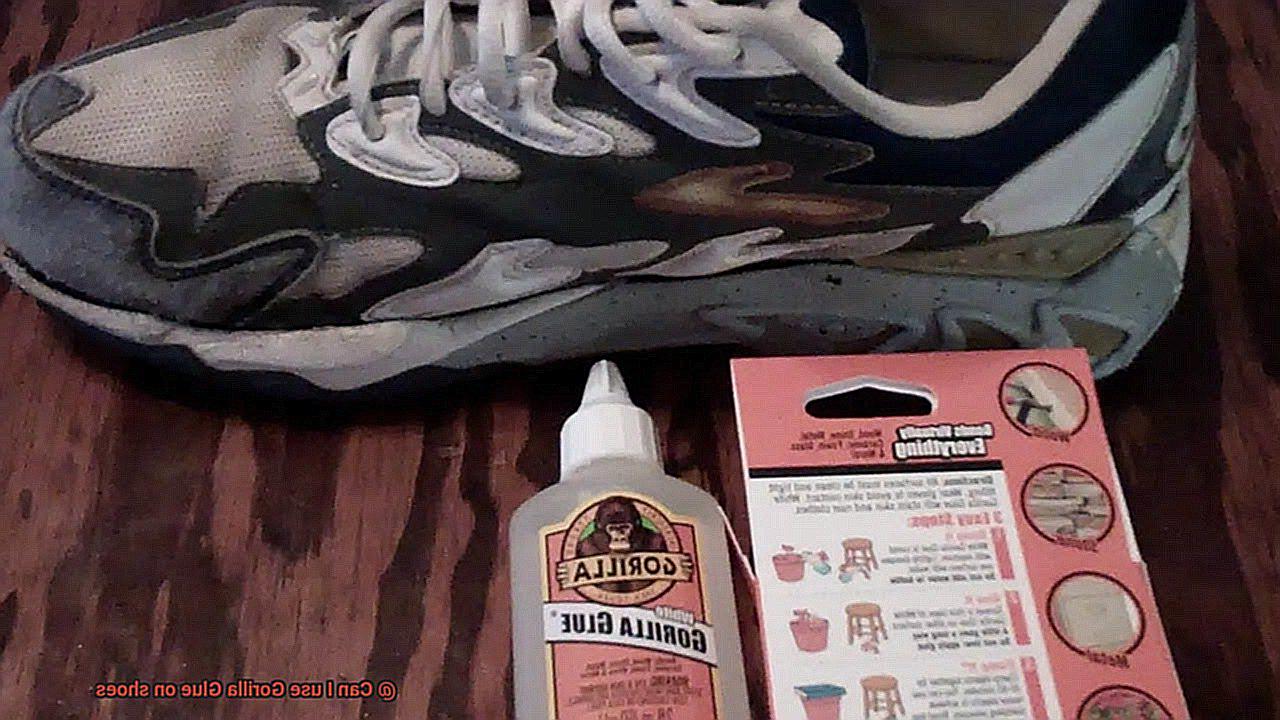
Imagine this: you just scored the sneakers of your dreams, the ones that make heads turn and envy swirl. But then, disaster strikes. The sole starts to separate from the upper, threatening to ruin your carefully curated style. Panic sets in as you desperately wonder, “Can I use Gorilla Glue on shoes?”
Worry not, my fellow sneaker enthusiasts. In this blog post, we’re diving into the world of using Gorilla Glue on shoes. We’ll explore its potential benefits, cautionary risks, and the steps you need to take for a crafty fix.
Gorilla Glue is like a secret weapon for restoring your beloved kicks’ impeccable condition. Its industrial strength and superior bonding properties might just be what you need. However, before you embark on this adventure, let’s understand the pros and cons.
Benefits:
Contents
- 1 Can Gorilla Glue be Used on Shoes?
- 2 Considerations Before Using Gorilla Glue on Shoes
- 3 Cleaning and Preparing the Surface for Gorilla Glue
- 4 Applying Gorilla Glue to Shoes
- 5 Following Instructions for Best Results
- 6 Professional Shoe Repair vs. DIY with Gorilla Glue
- 7 Pros and Cons of Using Gorilla Glue on Shoes
- 8 Safety Precautions When Using Gorilla Glue
- 9 Conclusion
The primary benefit of using Gorilla Glue on your shoes lies in its incredible bonding strength. Unlike regular adhesives, Gorilla Glue creates a durable and long-lasting bond that can withstand everyday wear and tear. Plus, it works wonders on various shoe materials like leather, rubber, and canvas – talk about versatility.
Risks:
Now comes the cautionary part. While Gorilla Glue is a powerful adhesive ally, it requires careful handling when applying it to your shoes. Using too much or applying it incorrectly can lead to messy outcomes that may ruin the aesthetics of your beloved kicks. Additionally, not all shoe materials are compatible with Gorilla Glue; so remember to consider your footwear’s composition before proceeding.
Steps:
Let’s get down to business with a step-by-step guide to using Gorilla Glue on your shoes. Keep in mind that specific instructions may vary depending on your shoe type and repair needs. Here’s a general outline to get you started:
- Gather your materials: You’ll need Gorilla Glue, rubbing alcohol, cotton swabs, and clamps or heavy objects for pressing.
- Clean those surfaces: Use rubbing alcohol and cotton swabs to thoroughly clean the areas you plan to glue. Get rid of any dirt, debris, or old adhesive residue that might hinder a strong bond.
- Apply with care: Squeeze a small amount of Gorilla Glue (about the size of a pea) onto one surface of your shoe.
Can Gorilla Glue be Used on Shoes?
Gorilla Glue is renowned for its exceptional strength and versatility, making it a popular choice for various bonding needs. However, before using Gorilla Glue on shoes, there are several important factors to consider. In this article, we will explore these factors and provide a step-by-step guide on safely and effectively using Gorilla Glue on shoes.
Factors to Consider:
- Shoe Material: The type of material your shoes are made of is crucial in determining whether Gorilla Glue is suitable. Avoid using it on leather or synthetic fabrics, as the expanding nature of the glue can potentially damage or discolor these materials. Instead, opt for shoes made of rubber or specific types of plastic that are more compatible with Gorilla Glue.
- Appearance Alteration: It’s important to note that using Gorilla Glue on shoes may alter their appearance. The repair might not be seamless, so consider this before proceeding. If aesthetics are a top priority, specialized shoe adhesives may be a better option.
- Long-Term Repairs: Gorilla Glue forms a strong bond, which can make future repairs or modifications challenging. If you anticipate needing to repair or modify your shoes in the future, it may be wise to use a specialized shoe adhesive designed for flexibility and durability.
Safe Application:
- Surface Preparation: Before applying Gorilla Glue, thoroughly clean and prepare the damaged area. Remove any dirt or debris and ensure the surface is dry for optimal bonding.
- Small Amounts: Apply a small amount of Gorilla Glue to the damaged area. Remember that a little goes a long way with this adhesive, so avoid over-application.
- Firm Bonding: Hold the glued parts firmly together until the glue sets. Follow the instructions provided by Gorilla Glue for optimal results to ensure a strong and lasting bond.
Pros:
- Exceptional strength and durability for bonding various materials.
- Versatility in its application, suitable for certain shoe materials like rubber or plastic.
Cons:
- Not recommended for leather or synthetic fabrics due to potential damage or discoloration.
- Alteration of shoe appearance may occur, so consider aesthetics before using Gorilla Glue.
- Challenging to repair or modify in the future due to the strong bond it creates.
Risks:
- Potential damage or discoloration of certain shoe materials if not compatible with Gorilla Glue.
- Difficulty in removing or repairing glued parts due to the strong bond formed.
Considerations Before Using Gorilla Glue on Shoes
When your favorite pair of shoes needs a little TLC, finding the right adhesive is crucial for a successful repair job. Among the many options available, Gorilla Glue stands out for its incredible strength and versatility. But before you dive into a sticky situation with this powerful adhesive, it’s important to consider a few key factors.
Here, we’ll explore the essential considerations you need to keep in mind before using Gorilla Glue on your beloved shoes. From material compatibility to surface preparation and beyond, we’ll cover it all.
Material Compatibility: A Bond Made in Heaven or Headed for Disaster?
The first thing to determine is whether Gorilla Glue is compatible with the material of your shoes. This adhesive works wonders on wood, metal, fabric, and most plastics, but it may not bond well with rubber, vinyl, or synthetic leather. To avoid disappointment, always check if Gorilla Glue is compatible with your specific shoe material before proceeding with any repairs.
Surface Preparation: The Key to a Rock-Solid Connection.
Achieving a strong and long-lasting bond requires proper surface preparation. Before diving into glue application, give your shoes a thorough cleaning to eliminate dirt, dust, and grease. A gentle detergent or rubbing alcohol should do the trick. Additionally, lightly roughening the shoe surface with sandpaper will enhance adhesion. By taking these steps, you’ll maximize the bonding strength and ensure durability in your repair.
Application Technique: A Delicate Dance of Precision and Perfection.
Applying Gorilla Glue correctly is essential for optimal results. Use a small brush or applicator to apply a thin and even layer of glue onto the shoe surface. Steer clear of excessive amounts as they can lead to messy and uneven bonding. Remember to align and firmly hold both surfaces together until the glue dries, preventing any shifting or misalignment during the bonding process.
Drying Time: Patience Pays Off for a Bond That Stands the Test of Time.
Patience is a virtue when it comes to Gorilla Glue on shoes. The adhesive requires sufficient drying time to reach its maximum strength. Temperature, humidity, and the amount of glue used can affect drying time. To ensure a strong bond, consult the manufacturer’s instructions for specific drying times and resist the urge to rush the process. Trust us, a little extra waiting time will be well worth it.
Cleaning and Preparing the Surface for Gorilla Glue
Reviving your beloved shoes with the powerful Gorilla Glue is a crafty solution for repairing and rejuvenating your footwear. However, before embarking on this adhesive adventure, it is essential to understand the art of cleaning and preparing the surface of your shoes to ensure a flawless repair. In this comprehensive guide, we will walk you through the necessary steps, providing expert advice to help you achieve optimal bonding and step back into style with confidence.
Step 1: The Magic of Cleanliness:
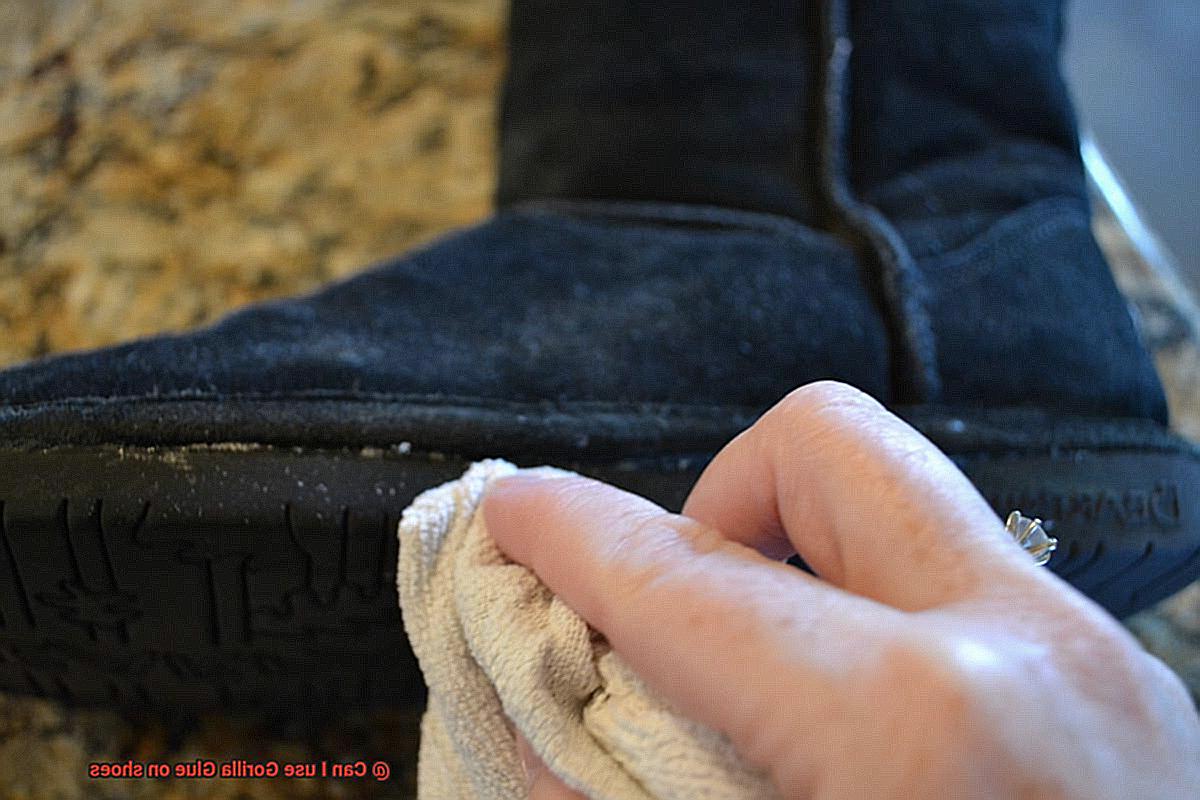
The foundation for a strong bond lies in eliminating any dirt, dust, or grime from the shoe surface. For leather shoes, use a mild soap or leather cleaner; fabric or synthetic materials can be cleaned with a gentle detergent or rubbing alcohol. Employ a soft cloth or sponge to gently scrub the surface, paying extra attention to scuffed or stained areas that require a little extra care.
Step 2: Patience Is Key:
Once your shoes are impeccably clean, grant them ample time to dry completely. This vital step prevents moisture interference and ensures an ideal bond with the adhesive. Drying times may vary depending on the material and weather conditions, so exercise patience and resist the temptation to rush.
Step 3: Embrace Your Inner Smooth Operator:
For smooth or glossy surfaces, consider lightly sanding the area to enhance adhesion. With fine-grit sandpaper in hand, gently roughen up the surface using circular motions. Exercise caution and refrain from aggressive sanding, as we seek to preserve your shoe’s original charm.
Step 4: Test Drive for Peace of Mind:
Before fully committing to Gorilla Glue, conduct a small test on a less visible area of your shoes. Apply a minute amount of glue and let it cure according to the manufacturer’s instructions. This precautionary measure ensures that the glue does not cause any discoloration or damage to your treasured kicks.
Applying Gorilla Glue to Shoes
Don’t bid them farewell just yet. Armed with the indomitable Gorilla Glue, you can breathe new life into your beloved footwear. In this guide, we’ll take you through the steps of applying Gorilla Glue to your shoes, ensuring a bond so unyielding that you’ll strut with unwavering confidence.
Step 1: Assess the Material
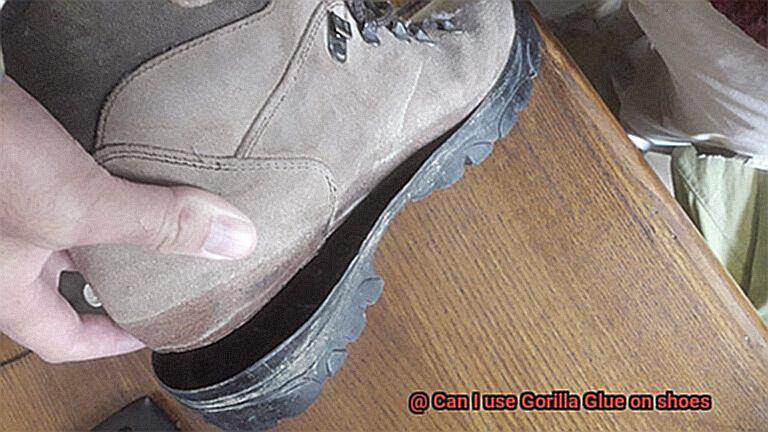
Before embarking on the gluing process, take a moment to consider the material of your shoes. Gorilla Glue works its magic best on rubber or leather surfaces. Keep this in mind as you determine if your shoes are suitable candidates for this adhesive. Delicate materials like suede or fabric may not fare well in the face of Gorilla Glue’s might.
Step 2: Clean and Prepare

To forge a successful bond, it’s crucial to cleanse and prime the surface of your shoes. Banish any dirt or debris and ensure that the area is dry and devoid of oils or coatings. This meticulous preparation will create an optimal surface for the glue to cling to.
Step 3: Apply Sparingly
Remember, less is more when it comes to Gorilla Glue. A mere whisper of this adhesive is enough to work wonders. Apply a thin layer to one surface of your shoe and press the surfaces together resolutely. Exercise caution not to drown your shoe in glue, as excess can lead to messy repercussions and potential harm.
Step 4: Secure and Enhance
To keep your shoe steadfast as the glue sets, employ clamps or hefty objects. Additionally, a gentle misting of water on the glued area can activate Gorilla Glue’s bonding properties further, bolstering the strength of the union.
Step 5: Patience is Key
Cultivate patience as you await the adhesive’s transformation from liquid to solid. Allow ample time for it to dry and cure, which may span several hours or even an entire night, depending on the specific Gorilla Glue product employed. Resist the temptation to test the bond prematurely – patience shall reward you with a formidable repair.
Step 6: Test and Adjust
Once the glue has hardened, it’s time to scrutinize the repaired area. Verify that the bond is sturdy and unwavering before gallivanting in your resurrected shoes. If any adjustments are necessary, make them promptly to avert further damage.
Step 7: Beware of Expansion
Remember that Gorilla Glue expands as it cures. Therefore, exercise caution not to exert excessive pressure during the bonding process. An undue force may cause the glue to seep out from the repair area, yielding less-than-desirable results.
While Gorilla Glue possesses exceptional prowess in shoe repair, it’s vital to acknowledge that intricate or fragile repairs may necessitate the expertise of a professional shoe repair specialist. Don’t hesitate to seek professional guidance when the need arises.
Following Instructions for Best Results
With Gorilla Glue by your side, you can restore those beloved kicks to their former glory. But here’s the catch – if you want the best results, meticulous adherence to the instructions is key. So, grab a cup of coffee and get ready to learn the secrets to using Gorilla Glue on shoes.
Step 1: Cleanliness is Crucial
Before diving into the gluing process, ensure that the surfaces you’re bonding are squeaky clean and completely dry. Any grime, moisture, or dust can hinder the glue’s effectiveness and leave you with less than perfect results. So, grab a cloth and banish those impurities.
Step 2: Roughen Up for a Reliable Bond
To create a bond that can withstand the test of time, lightly roughen up the surfaces that need gluing. A gentle sanding or filing will do the trick, allowing the glue to grip onto the shoe material more securely.
Step 3: Embrace the Power of Instructions
Now, it’s time to become best friends with the product instructions. Gorilla Glue comes with detailed guidelines that provide invaluable insights into its proper application and handling. Don’t skip this step – it’s like having a secret recipe for success.
Step 4: Less is More
Remember, Gorilla Glue expands as it dries. Applying too much glue can lead to an unsightly mess as excess seeps out from the sides. Instead, use a small brush or applicator to apply a thin layer on both surfaces. A little goes a long way.
Step 5: Press and Hold for a Solid Bond
Once you’ve applied the glue, firmly press the surfaces together and hold them in place for the recommended time specified in the instructions. This step ensures a tight bond and allows the glue to cure effectively.
Step 6: Patience is a Virtue
We know it’s hard to resist trying on your newly glued shoes, but patience is essential. Allow the glue to dry fully before subjecting your shoes to any stress or strain. This typically takes at least 24 hours, though factors like temperature and humidity can influence drying time.
Step 7: Material Matters
Keep in mind that Gorilla Glue isn’t a one-size-fits-all solution. While it works wonders on fabrics, leathers, and rubber soles, it may not bond effectively with silicone or certain plastics. Always test a small, inconspicuous area before committing to gluing the entire shoe.
Professional Shoe Repair vs. DIY with Gorilla Glue
In this article, we will explore the benefits and limitations of each option, helping you make an informed decision. So, grab a cup of coffee, sit back, and let’s dive deep into the world of shoe repair.
Professional Shoe Repair:
If you want your shoes to receive the royal treatment they deserve, professional shoe repair is the way to go. These skilled craftsmen and women are experts in their field, armed with extensive knowledge, years of experience, and specialized tools. Here’s why professional shoe repair might be the perfect choice for you:
Benefits:

- Expert Assessment: Professionals possess the expertise to accurately assess the damage and suggest the most suitable solution for your shoes.
- Quality Materials: Shoe repair shops use high-quality materials specifically designed for footwear, guaranteeing long-lasting repairs.
- Customized Solutions: Different shoes require different approaches – professionals can tailor their repairs based on the shoe type, material, and extent of damage.
- Restored Functionality: Professional repairs not only enhance the appearance of your shoes but also ensure they maintain their original comfort and functionality.
Limitations:
- Cost: Professional shoe repairs may come at a higher price compared to DIY fixes as they involve labor costs and specialized equipment.
- Time: Depending on the workload of the repair shop, it may take some time before you can reunite with your beloved shoes.
DIY with Gorilla Glue:
If you’re feeling crafty and want to save some bucks, DIY shoe repairs with Gorilla Glue might seem tempting. However, this option requires careful consideration due to a few key factors:
Benefits:
- Strong Bonding Properties: Gorilla Glue is renowned for its exceptional adhesive properties, making it ideal for minor repairs such as loose soles or small tears.
- Cost-Effective: DIY repairs can save you money, as Gorilla Glue is readily available and more affordable than professional services.
Limitations:
- Material Compatibility: Gorilla Glue may not be suitable for delicate or porous shoe materials, potentially leading to damage or discoloration.
- Application Precision: Applying Gorilla Glue requires meticulous handling to avoid mess or accidental damage to your shoes.
- Limited to Minor Fixes: While Gorilla Glue works wonders for small repairs, it may not be suitable for more complex or significant damages.
Pros and Cons of Using Gorilla Glue on Shoes
When it comes to repairing shoes, Gorilla Glue is a popular adhesive choice due to its strong bond and versatility. However, like any product, there are pros and cons to consider before using it on your beloved footwear. This article will explore the advantages and disadvantages of using Gorilla Glue on shoes, helping you make an informed decision.
Pros:
- Strong Bond: Gorilla Glue’s main advantage lies in its ability to create a bond that is as tough as nails. When repairing shoes with loose soles or separated shoe uppers, this adhesive ensures they withstand even the harshest wear and tear.
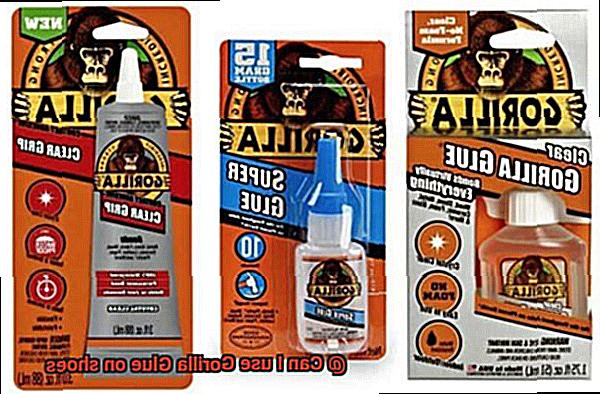
- Versatility: Gorilla Glue works like magic on various shoe materials, be it leather, rubber, fabric, or plastic. No matter the type of shoe you need to repair, Gorilla Glue can be your reliable companion.
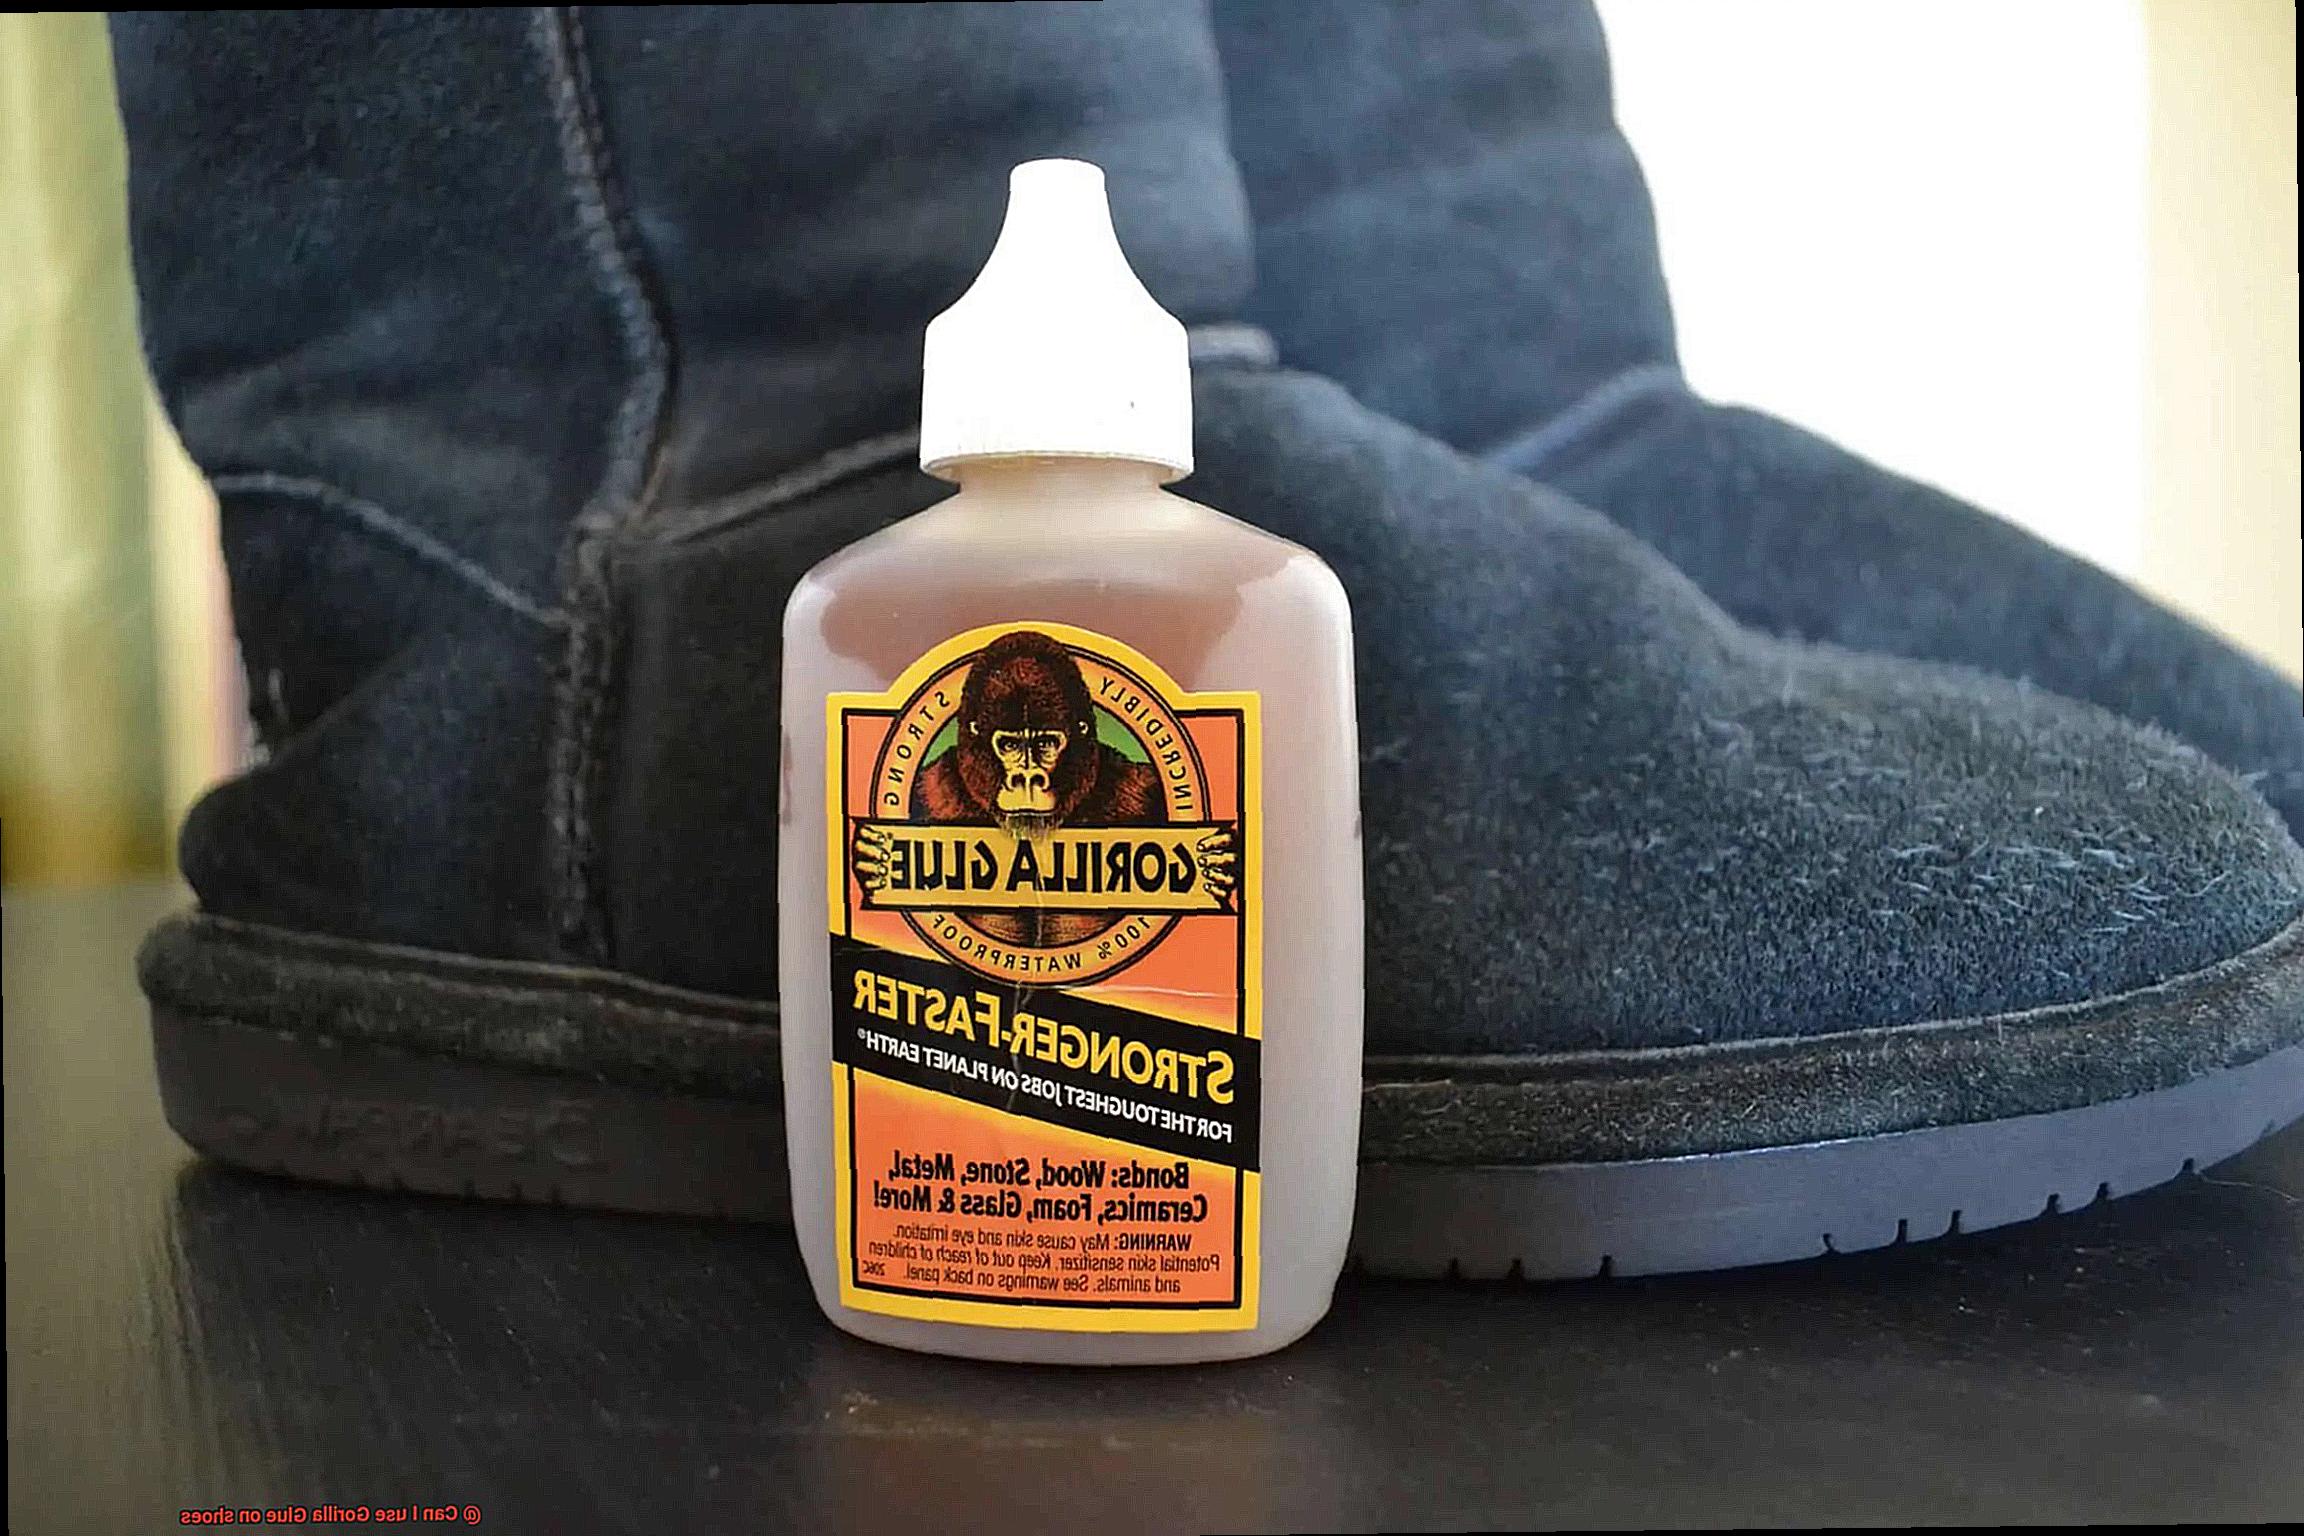
- Waterproofing: Once Gorilla Glue dries, it forms a waterproof seal. This feature adds an extra layer of protection to your repaired shoes, making them suitable for rainy days or outdoor activities where moisture exposure is likely.
Cons:
- Messy Application: Like a mischievous toddler wielding a paintbrush, Gorilla Glue’s foaming action can be both a blessing and a curse. While it helps fill gaps and create a strong bond, careless application can result in excess glue seeping out and leaving unsightly residue on your shoes.
- Drying Time: Patience becomes both a virtue and a burden when using Gorilla Glue. It requires sufficient drying time to reach its maximum strength. Depending on the product and conditions, it can take anywhere from hours to over 24 hours for the glue to fully dry and cure. This aspect can be inconvenient if you need your shoes repaired quickly.
- Potential for Damage: The tenacity of Gorilla Glue makes it a formidable adversary when it comes to undoing a repair or making adjustments. Once it has dried, correcting a mistake can be like untangling a tight knot without causing further damage to your shoes.
Safety Precautions When Using Gorilla Glue
Gorilla Glue is a powerful adhesive that can work wonders when it comes to repairs and projects. However, it is important to prioritize safety when using this adhesive. In this article, we will discuss the safety precautions to take when using Gorilla Glue. From working in a well-ventilated area to wearing protective gear and handling spills, these precautions will help ensure a safe and successful experience.
Work in a Well-Ventilated Area:
Gorilla Glue emits fumes that can be harmful if inhaled. To protect yourself, always work in a well-ventilated area. Consider using the glue outdoors or in a room with open windows or good airflow. This will help minimize your exposure to the fumes.
Wear Protective Gloves and Eye Protection:
When using Gorilla Glue, it is crucial to protect your skin and eyes. Wear protective gloves to shield your skin from direct contact with the adhesive. This will not only prevent any potential allergic reactions but also keep your hands clean. Additionally, wear safety goggles or glasses to safeguard your eyes from accidental splashes or drips that could cause irritation or damage.
Avoid Unnecessary Contact:
Minimize contact with the glue as much as possible. If any glue gets on your skin, wipe it off immediately with a dry cloth or paper towel. For dried glue, gently rub it off using a pumice stone or mild abrasive. By avoiding unnecessary contact, you can prevent any potential skin irritation or discomfort.
Follow Manufacturer’s Instructions:
To achieve the best results with Gorilla Glue, carefully follow the manufacturer’s instructions. This includes applying the recommended amount of glue and ensuring that both surfaces being bonded are clean and dry. Proper surface preparation will lead to a stronger bond and better overall performance.
Use Sparingly:
Gorilla Glue expands as it cures, so it is important to use it sparingly. Applying too much glue can lead to excessive expansion, messy application, and weakened bonding strength. Use just enough glue to create a strong bond without overdoing it.
Keep Out of Reach of Children and Pets:
Gorilla Glue should be stored in a secure place away from children and pets. This will prevent accidental ingestion or misuse, as the glue is not intended for consumption. By keeping it out of reach, you can ensure the safety of your loved ones.
Cleaning Up Spills:
If you accidentally spill Gorilla Glue on your clothes, let it dry completely before attempting to remove it. Once dry, carefully peel or scrape it off using a blunt object. However, it is important to test any removal method on a small, inconspicuous area first to avoid damage to the fabric. Take caution when cleaning up spills to avoid further mess and potential harm.
Ej9QrxvFb_w” >
Conclusion
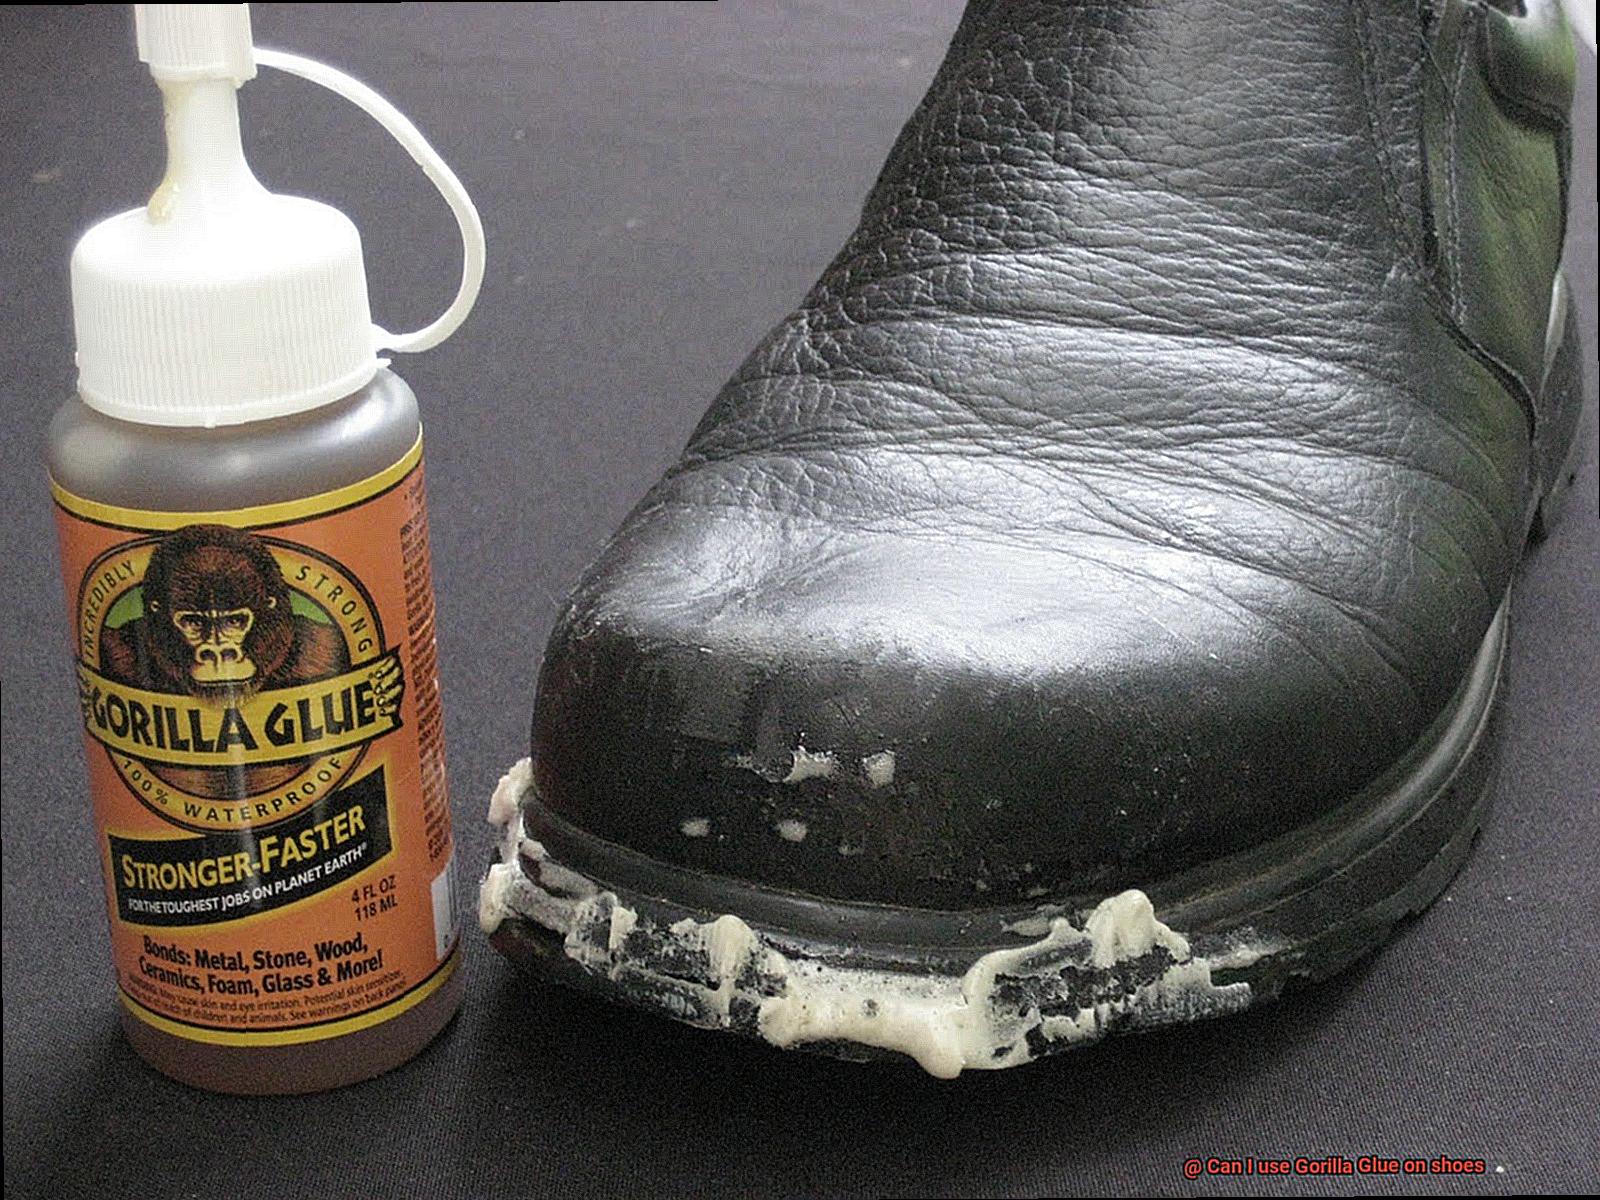
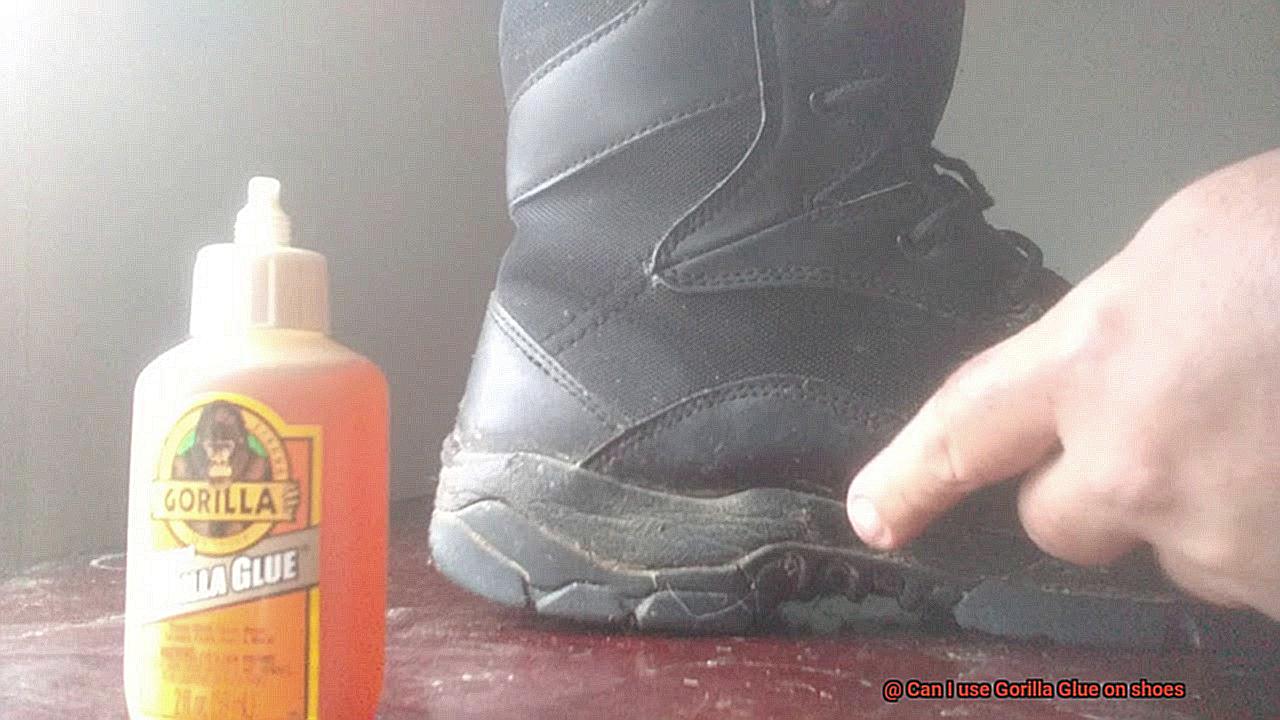
Yes, you can use Gorilla Glue on shoes. However, it’s important to proceed with caution. Gorilla Glue is a powerful adhesive that can bond almost anything together, including shoes. Its strong and durable formula makes it ideal for repairing worn-out soles or reattaching detached parts.
But before you grab that bottle of Gorilla Glue and start applying it to your favorite pair of kicks, there are a few things you should know. First and foremost, make sure the surface of your shoes is clean and free from any dirt or debris. This will ensure that the glue adheres properly.
Next, apply a thin layer of Gorilla Glue to the area you want to repair or bond. Remember, a little goes a long way with this stuff. Too much glue can cause messy overflow and ruin the appearance of your shoes.
Once you’ve applied the glue, press the surfaces firmly together and hold them in place for at least 24 hours. This will allow the adhesive to fully cure and create a strong bond. It’s also important to note that Gorilla Glue expands as it dries, so be mindful of any excess glue that may seep out during the curing process.
After the recommended drying time has passed, inspect your shoes to ensure that the bond is secure. If needed, you can trim away any excess dried glue using a sharp knife or scissors.
While Gorilla Glue can be an effective solution for shoe repairs, it’s not a magical fix-all. It may not work well on certain materials like rubber or silicone-based shoe soles. Additionally, excessive wear and tear may cause the glued areas to weaken over time.
In conclusion, using Gorilla Glue on shoes can be a viable option for minor repairs or bonding tasks. Just remember to follow proper application techniques and consider the limitations of this adhesive.