Imagine stumbling upon a jaw-dropping granite countertop, only to be crushed by a deep crack slicing through its stunning surface. Or picture discovering a shattered granite sculpture that once radiated timeless elegance. In these moments of despair, you can’t help but wonder: is there any hope for salvaging these seemingly irreparable treasures? Can granite truly be glued back together?
Granite, with its mesmerizing patterns and incredible durability, has been the go-to choice for homeowners, artists, and builders seeking unparalleled beauty and strength. But accidents happen, even to this mighty natural stone. Thankfully, there’s a glimmer of light for those desperately seeking to restore the splendor of their beloved granite possessions.
In this blog post, we’ll dive headfirst into the captivating world of granite repair and unveil whether it’s genuinely possible to glue granite back together. We’ll reveal the techniques, materials, and expert insights that surround this art form, equipping you with all the information needed to make an informed decision.
Main Points:
Unleashing the Secrets of Granite:
- Discovering its composition and properties that make it an unrivaled choice.
- Understanding how its crystalline structure influences repair techniques.
The Daunting Challenges of Granite Repair:
- Unraveling the factors that affect your ability to mend broken granite.
- Emphasizing the importance of identifying the extent and type of damage.
Mastering Techniques and Materials for Granite Repair:
- Unveiling epoxy resin adhesives as your ultimate weapon for bonding granite.
- Revealing special considerations for colored and patterned granite.
- Gaining invaluable tips from experts on achieving seamless results.
Professional Restoration vs. DIY Daring:
- Weighing up the pros and cons of each approach.
- Unveiling the crucial factors to consider before embarking on a DIY repair project.
Can Granite be Glued Back Together?
Contents
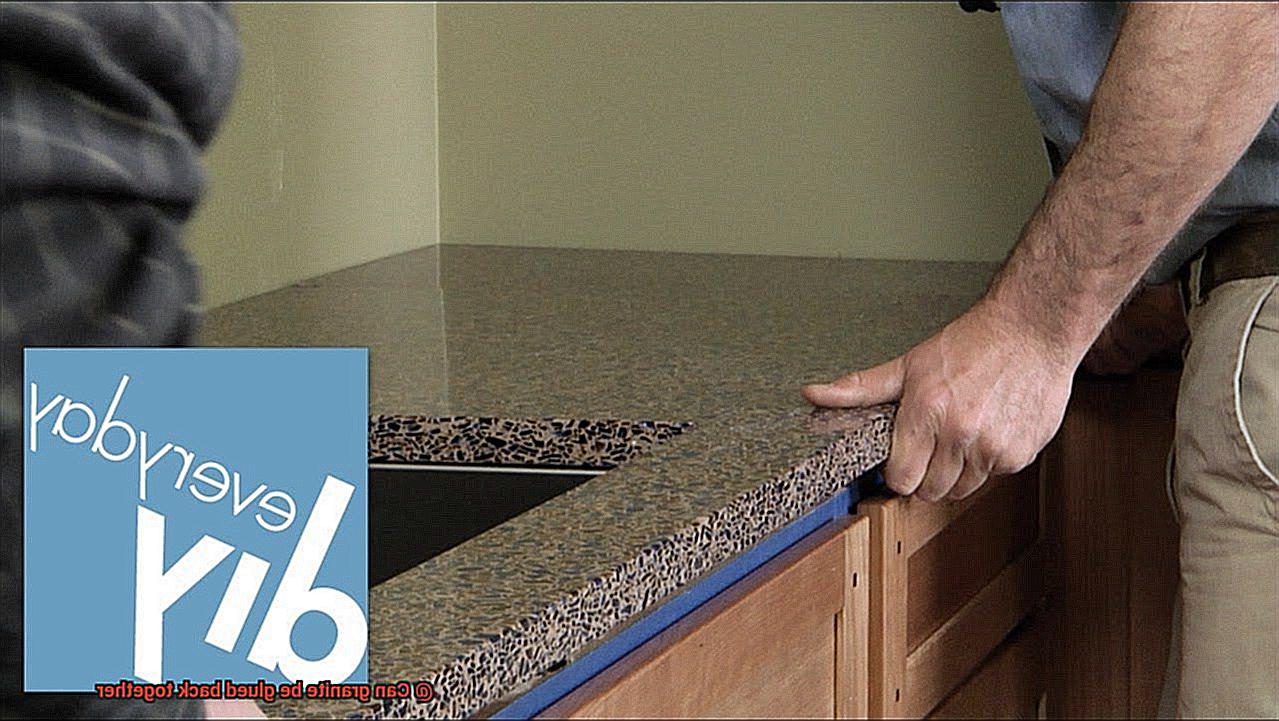
A testament to strength and beauty, granite is a natural stone widely cherished for its durability and aesthetic appeal. Yet, accidents happen, and this majestic stone may suffer chips, cracks, or even break into pieces. The burning question arises: can granite be glued back together? In this section, we delve into the process, materials, and techniques required to restore the integrity of this remarkable stone.
Assessing the Damage: Determining the Extent of Repair
Before embarking on any repair mission, it is crucial to assess the severity of the damage. Minor chips or cracks can often be addressed through DIY repairs, while more substantial breaks or extensive damage may necessitate professional intervention.
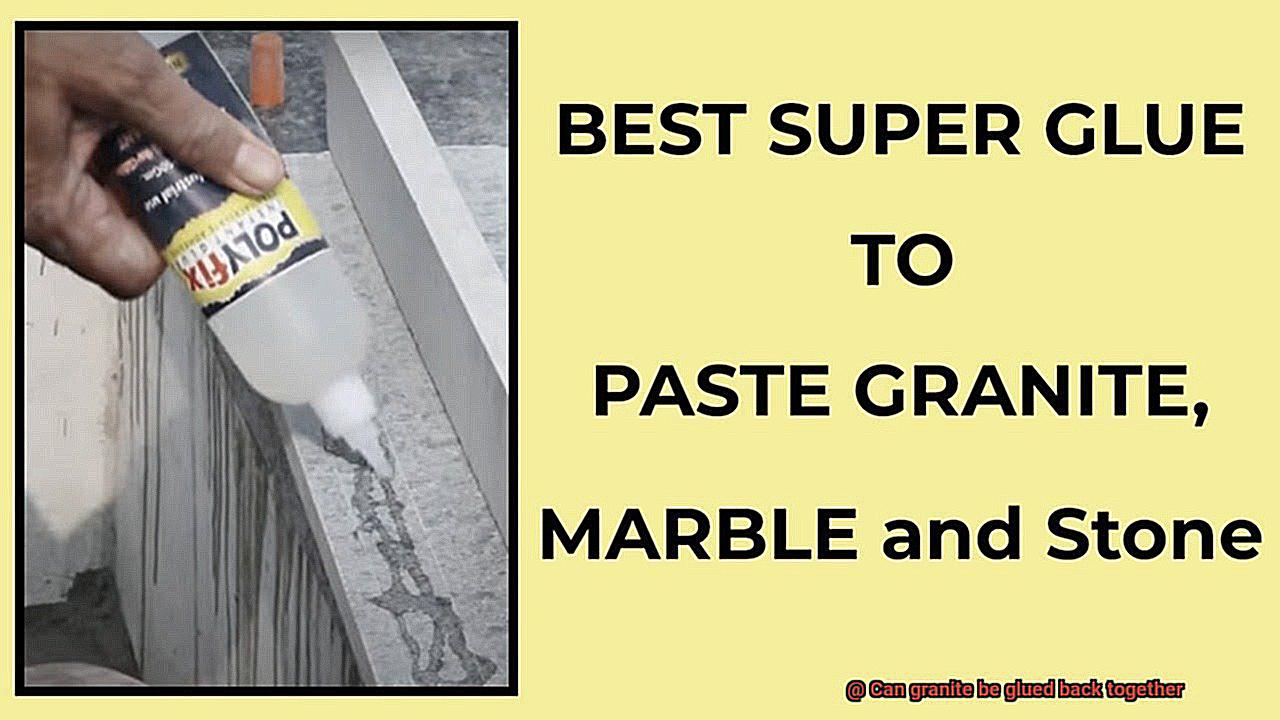
Choosing the Unyielding Bond: Selecting the Right Adhesive
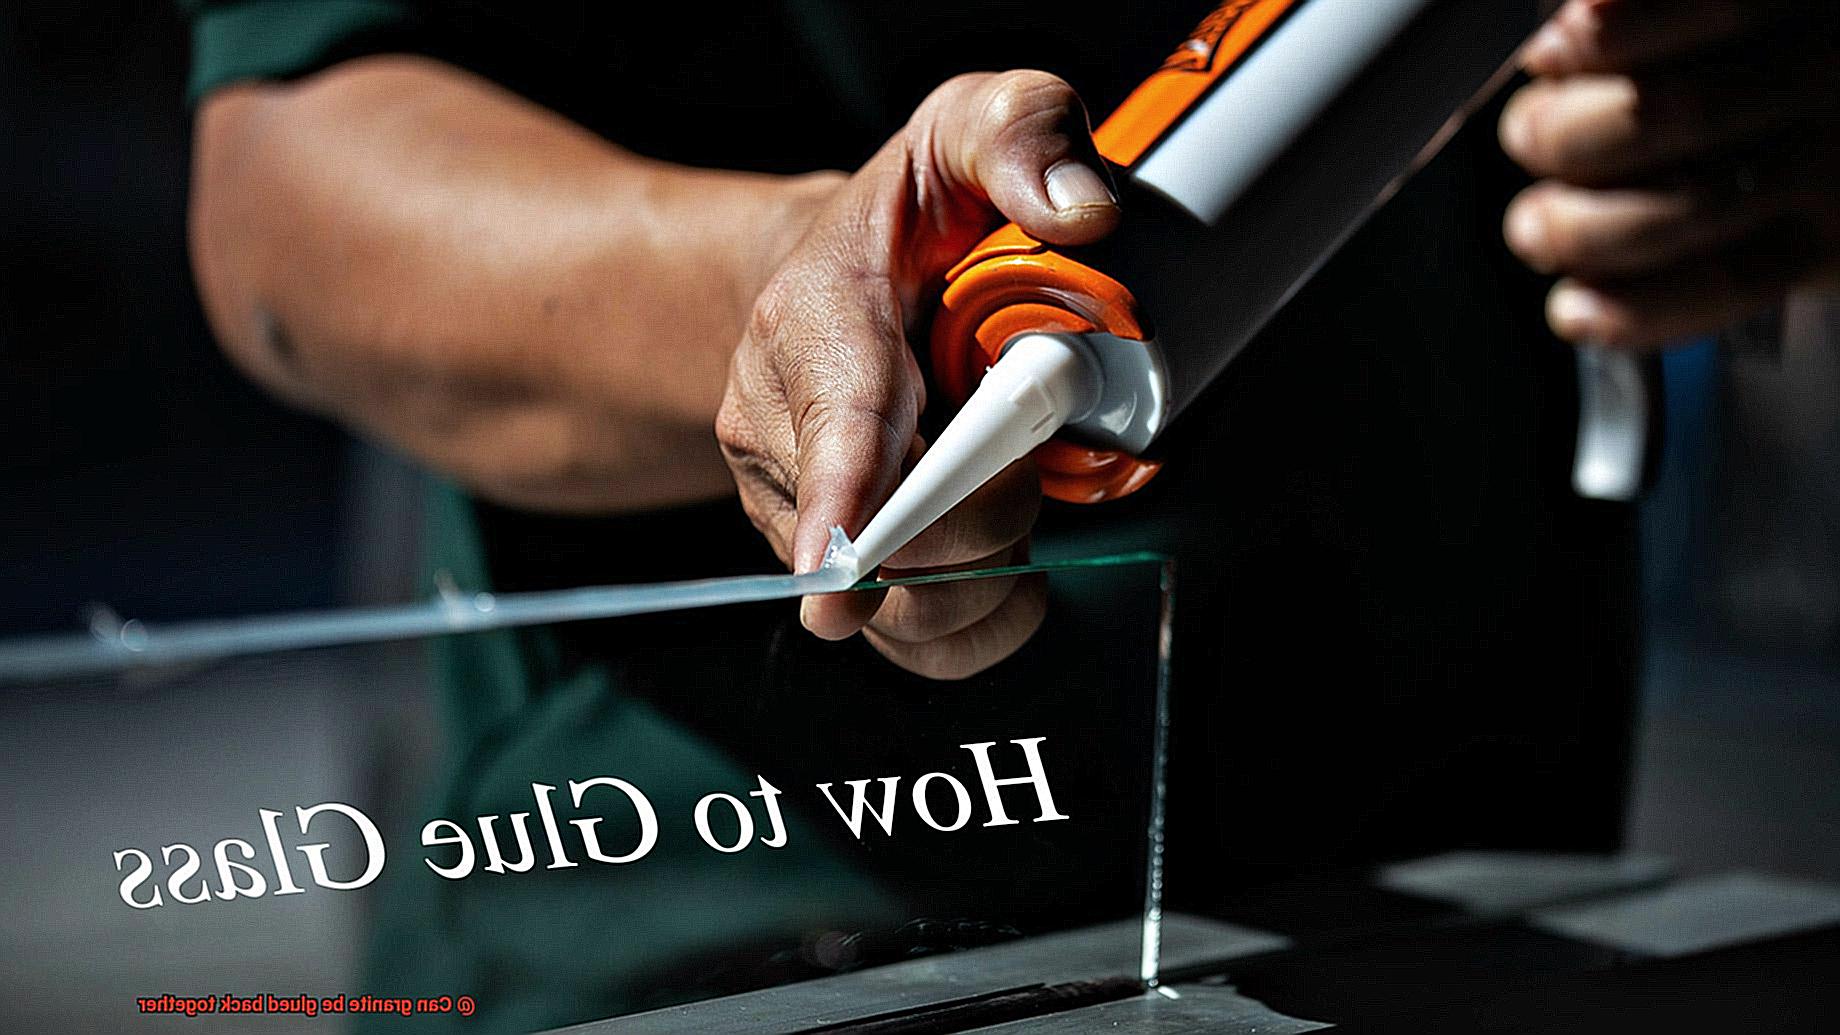
When it comes to repairing minor damage, a clear epoxy adhesive specifically formulated for bonding stone emerges as the champion. Epoxy resin boasts extraordinary adhesive properties, forging a robust bond capable of withstanding the weight and stress that granite may encounter.
Preparing the Surface: Laying the Foundation for Restoration
To ensure a successful repair, meticulous preparation is paramount. Begin by thoroughly cleaning the damaged area using a mild detergent and warm water. This step rids the surface of any dirt or debris, allowing for optimal adhesion. Additionally, ensuring the surface is completely dry is of utmost importance. If necessary, gently roughen or sand the area to increase the bonding surface area for the adhesive.
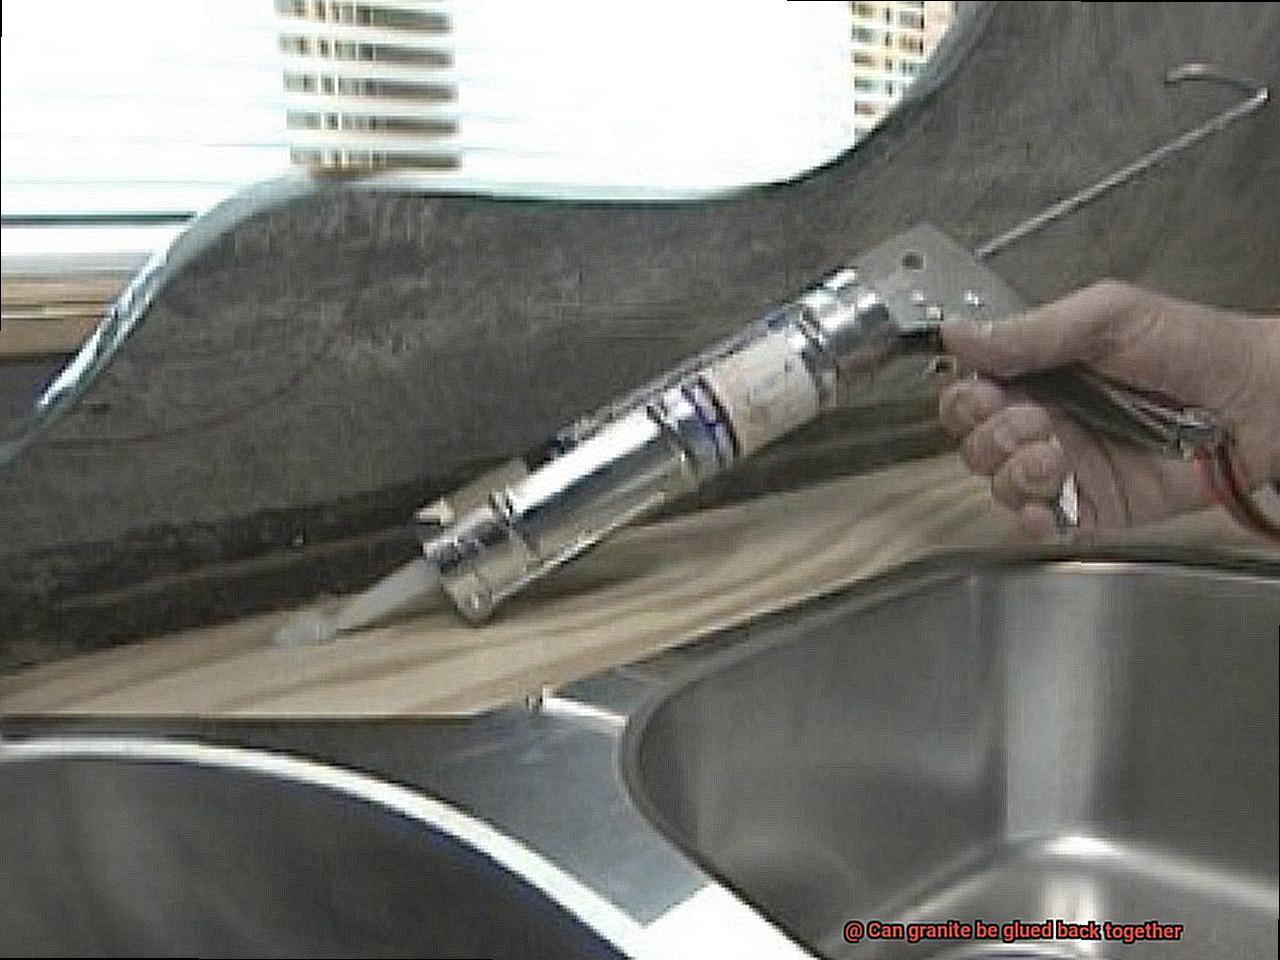
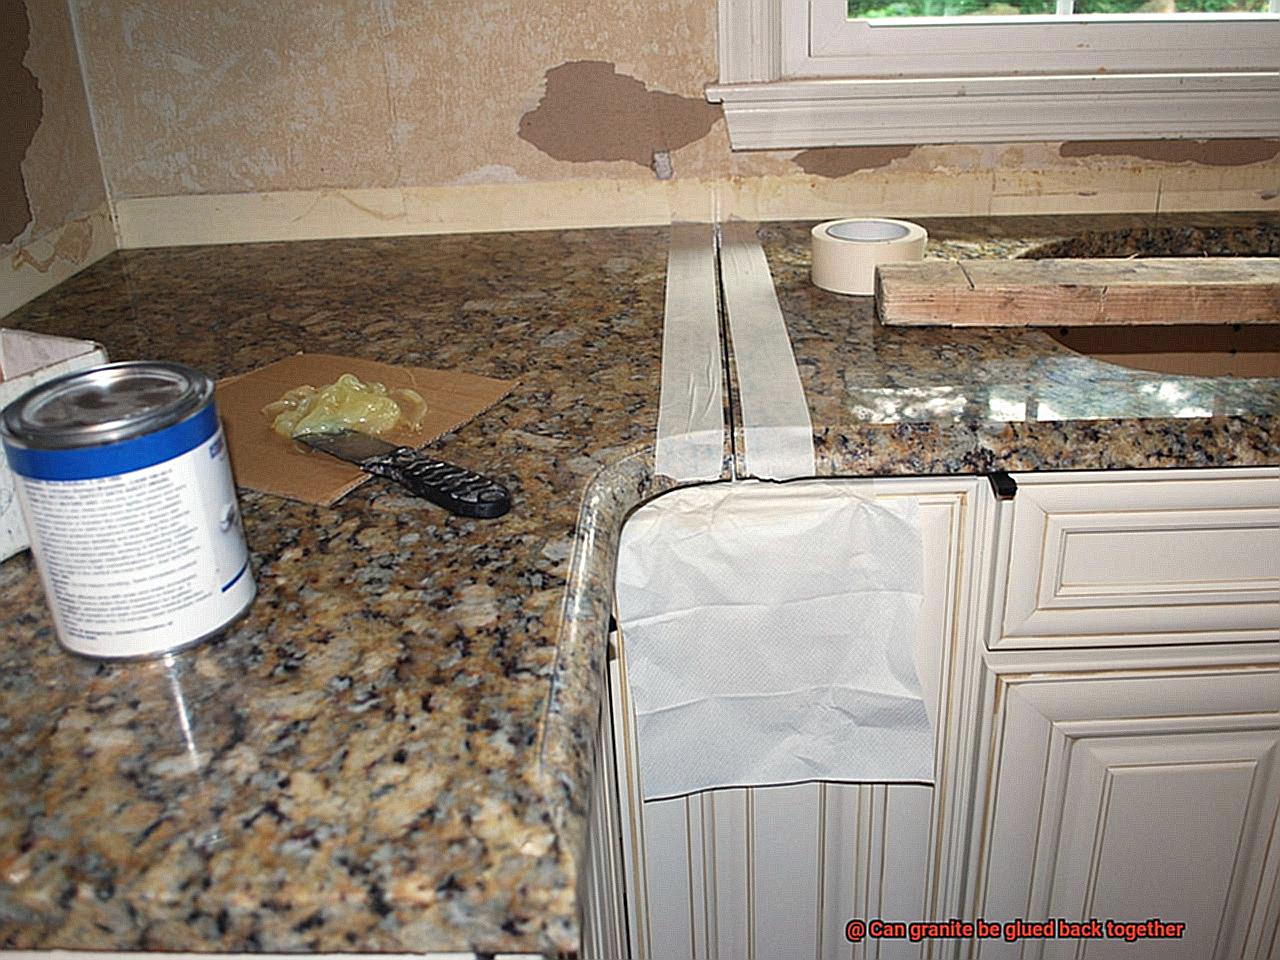
Applying the Adhesive: The Art of Precision
With all preparations in place, it’s time to begin the restoration process. Follow the manufacturer’s instructions meticulously to mix the epoxy resin and apply it evenly to both surfaces being rejoined. Take care to align the fractured pieces with utmost precision and apply firm pressure to fuse them seamlessly together. For added support during the curing process, clamps or heavy objects can be utilized to hold the granite in place.
Curing Time and Excess Adhesive Removal: Patience Meets Perfection
A crucial step in the restoration journey is adhering to the recommended curing time provided by the epoxy manufacturer. This patience ensures a strong bond and lasting repair. Once fully cured, any excess adhesive can be carefully removed using a razor blade or a similar tool. Exercise caution to avoid scratching or damaging the surface of the granite while removing excess adhesive.
What Type of Adhesive Should be Used?
In our quest to restore broken granite to its former glory, we now embark on a journey into the mystical world of adhesives. Prepare to discover the secret to selecting the perfect glue that will breathe new life into your precious stone. So don your lab coat and join us as we unravel the art of adhesive selection.
The Mighty Epoxy:
When it comes to repairing granite, one adhesive reigns supreme – epoxy. This potent glue boasts exceptional bonding strength and an unwavering ability to withstand extreme conditions. With its dynamic two-part formula, epoxy requires a harmonious union of resin and hardener before application. But remember, not all epoxies are created equal. Seek out those tailor-made for stone applications, fortified with additives that enhance their bonding prowess on porous surfaces like granite.
Why Epoxy Steals Our Hearts:
Epoxy adhesives forge bonds capable of withstanding heavy loads and relentless vibrations, making them the perfect choice for repairing cracks or reuniting shattered granite pieces. These robust glues fearlessly navigate fluctuating temperatures, ensuring your repaired granite remains unyielding in scorching summers or freezing winters. With epoxy by your side, your granite will stand tall, defying the test of time.
A Match Made in Granite Heaven:
In the realm of granite repair, beauty resides in the smallest details. It is crucial to consider the color and finish of your granite when selecting an adhesive. Beware the potential blemishes and discoloration that may mar your precious stone if you choose an adhesive that fails to harmonize with its natural shade. To avoid such mishaps, embark upon a sacred ritual of testing the adhesive on a discreet patch of your granite. Only then can you achieve a seamless repair that leaves no trace of its past wounds.
Polyurethane: The Trusty Sidekick:
While epoxy basks in the spotlight, let us not forget the dependable companion that is polyurethane adhesive. This versatile glue boasts remarkable flexibility and an unwavering resistance to moisture, making it the perfect partner for bonding materials that may expand or contract due to environmental conditions. Whether your granite repair venture takes you indoors or outdoors, rest assured that polyurethane adhesives will forge a bond that defies the elements, ensuring longevity and strength.
Cleaning and Preparing the Surface
Today, we embark on a captivating journey, exploring the secrets behind cleaning and preparing the surface before reuniting those fractured fragments. Prepare to witness the magic unfold.
Sweeping away Imperfections: A Gentle Touch
Our first task on this enchanting quest is to rid the broken edges of any impurities that dare to mar the beauty of our beloved granite. Armed with a soft brush or cloth, we delicately sweep away dirt, debris, and loose fragments. With each stroke, we preserve the delicate balance between cleanliness and reverence for this majestic stone.
Unleashing the Gentle Touch of a Stone Cleaner
To achieve true restoration, we summon the power of a mild detergent or stone cleaner specially crafted for granite surfaces. These pH-neutral potions hold the key to unlocking a thorough cleansing experience without causing harm. Diligently following the manufacturer’s instructions, we witness stains surrendering to their inevitable demise.
Rinse away the Remnants: A Purifying Baptism
To ensure an immaculate canvas for our adhesive masterpiece, we turn to the cleansing embrace of water. With precision and care, we bathe the surface in its cool embrace, rinsing away any remnants of cleaning products that dare to linger. No trace shall remain to hinder our adhesive’s triumphant bonding mastery.
Embrace a Rougher Side: Unleashing Texture’s Power
Now that purity reigns supreme, we venture into uncharted territory – roughening up the edges ever so slightly. Fear not. We don’t seek destruction; rather, we invoke transformation through sandpaper with a grit between 120 and 220. By gently caressing the edges, we awaken a roughened texture that amplifies our adhesive’s grip. A subtle enhancement that sets the stage for an unwavering bond.
Applying the Adhesive
In our previous section, we embarked on a captivating journey, discovering the secrets behind reviving fractured fragments of granite. Today, we delve deeper into the heart of the restoration process as we explore the art of applying adhesive to repair granite. So, grab your tools and let’s unleash the adhesive magic.
Choosing the Right Adhesive:
Before we dive into the nitty-gritty of applying adhesive, it’s crucial to understand that not all glues are created equal when it comes to repairing granite. Regular household adhesives simply won’t cut it due to granite’s unique properties and durability. Instead, we need to turn to a trusted companion – epoxy resin.
Epoxy Resin – The Superhero of Adhesives:
Epoxy resin is our superhero for repairing granite. Its strength and durability make it the perfect adhesive for bonding this majestic stone. Available in liquid and paste forms, epoxy resin provides versatility for various repair needs. Liquid epoxy fills cracks and gaps effortlessly, while paste epoxy securely bonds larger pieces of granite.
Step 1: Preparing the Surface:
To ensure a flawless repair job, we must prepare the surface carefully. Cleanse away any dirt or debris using a clean cloth or brush, leaving behind a pristine canvas. Remember, a dry surface is essential for optimal adhesion.
Step 2: Mixing the Epoxy Resin:
Now that our stage is set, let’s mix up some magic. Follow the manufacturer’s instructions meticulously when preparing the epoxy resin. These guidelines ensure precise mixing ratios and account for temperature requirements that guarantee an unbreakable bond.
Step 3: Applying the Adhesive:
With our concoction ready, it’s time to unleash its power. Armed with a putty knife or small brush, apply the epoxy resin evenly to one side of the cracked or broken granite. Spread it like an artist, ensuring every inch is covered for a seamless repair. But tread carefully, for too much adhesive may cause overflow or uneven bonding.
Step 4: Bring It All Together:
Now for the thrilling moment – reuniting the fractured pieces. With careful precision, align and press the fragments firmly, allowing the adhesive to work its wonders. Should you require extra reinforcement, clamps or weights become your trusty allies, exerting additional pressure during this critical bonding phase.
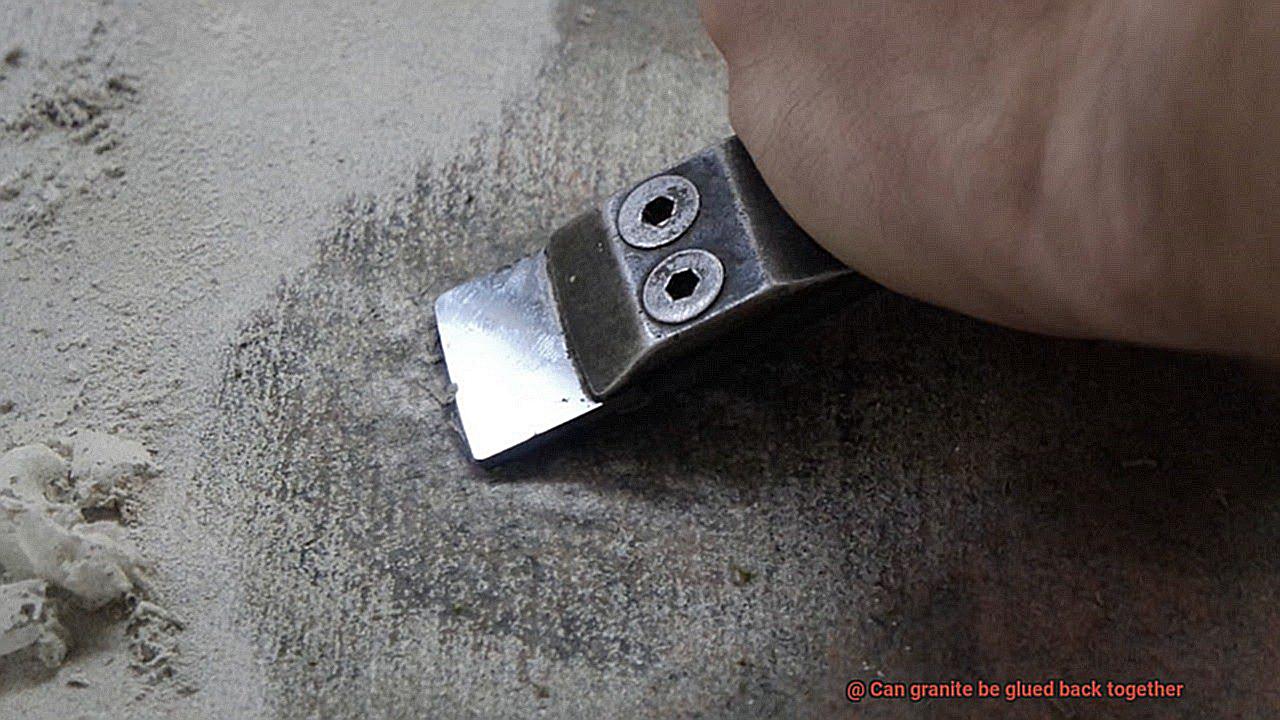
Removing Excess Adhesive
Today, we embark on an exhilarating journey through the fascinating world of removing excess adhesive from granite. As we all know, a flawless repair is the key to restoring the majestic glory of this remarkable stone. So, gear up with your trusty tools and prepare to unveil the secrets of achieving a clean and seamless finish.
Method 1: The Gentle Scraper
Method 2: Solvent Solutions
For those who prefer a chemical approach, fear not. The market offers adhesive removers specially designed for granite surfaces. But before unleashing their powers, conduct a small test on an inconspicuous area to ensure they won’t cause any discoloration or damage. Once you’ve found the perfect match, apply the solvent to a clean cloth and gently rub over the excess adhesive until it dissolves into thin air. A dash of damp cloth and thorough drying later, voila. Your granite will be spotless once again.
Method 3: Heat to Release
Now, let’s turn up the heat a little (pun intended.). Heat becomes your ally in softening the adhesive for easier removal. But fret not; we’re not talking about turning your granite into a fiery inferno. Instead, a heat gun or hairdryer warms up the adhesive just enough to make it more pliable. Gently lift off the softened adhesive with a scraper or putty knife. Remember, moderation is key; excessive heat can cause damage. So, proceed with caution, my adhesive apprentices.
Method 4: Adhesive-Specific Techniques
Different adhesives call for different tactics. Take, for example, epoxy-based adhesives that demand a more assertive approach like grinding or sanding. However, these advanced techniques should only be attempted by seasoned professionals who have mastered the art of working with granite. Safety first, my friends.
When to Consult a Professional
Embark on an exhilarating journey through the world of granite repair. In our previous section, we explored the thrilling techniques for removing excess adhesive from granite. But what lies beyond the realm of DIY repairs? Today, we venture into the territory of when it is essential to consult a professional for granite repair. So sit back, relax, and let’s delve into the sub-topics that will empower you to make an informed decision.
Extensive Damage:
Imagine the heart-wrenching sight of severe cracks and fractures marring your cherished granite countertop. The symphony of drama begins. This is where the expertise of a professional becomes paramount. These damages demand specialized techniques and equipment possessed only by seasoned professionals. Don’t risk further complications or irreparable harm – summon the experts.
Lack of Experience:
Picture yourself as someone who isn’t exactly a handyman or has limited experience with home repairs. Fear not, for you are not alone. Granite is a delicate material that demands specific knowledge and skills for proper handling. Professionals have undergone rigorous training, acquiring the necessary expertise to repair granite effectively without causing additional harm. Entrust it to the pros.
Value and Importance:
Ah, the allure of high-end countertops or opulent furniture adorned with exquisite granite surfaces. These masterpieces deserve nothing short of perfection, don’t they? This is where professional repair services shine. Armed with experience and resources, they can restore your granite to its former glory without compromising quality or aesthetic appeal. Preserve value and integrity – consult a professional.
Time Constraints:
We all navigate life’s whirlwind, leaving us with limited time for repairs. Whether you’re pressed for time or simply desire efficiency, professional assistance is your savior. Equipped with indispensable tools and materials, professionals swiftly complete repairs with finesse. Save precious time and effort – leave it to the experts.
Safety First:
Last but certainly not least, let’s prioritize safety. Working with granite often involves hazardous substances like adhesives and solvents. The chilling realization. Professionals are well-versed in handling these materials safely, minimizing potential risks. By enlisting a professional, you ensure a secure and protected repair process. Shield yourself and your loved ones – consult a professional.
Replacing the Entire Granite Piece
When it comes to repairing broken or damaged granite, sometimes there’s no other option but to replace the entire piece. This is usually the case when the damage is extensive or irreparable, leaving no choice but to remove the old granite and install a new one.
Before making the decision to replace the entire granite piece, it’s crucial to assess the extent of the damage. If only a small portion of the granite is chipped or damaged, it may be possible to repair it using adhesive or epoxy. However, if the damage is severe and compromises the structural integrity of the granite, replacement is often the best course of action.
Replacing a granite piece comes with its own set of challenges. One of the main difficulties lies in finding an exact match in terms of color, pattern, and texture. Granite is a natural stone with unique variations, making it a daunting task to find a replacement piece that closely resembles the existing granite. To overcome this hurdle, it’s recommended to work with a professional contractor or supplier who specializes in granite. Their expertise and resources can help ensure that the replacement piece harmonizes with the rest of your granite surfaces.
The process of replacing a granite piece involves carefully removing the old one and installing the new one. This delicate task requires cutting through the adhesive or epoxy that holds the granite in place without causing further damage to surrounding areas. Specialized tools and equipment are used for this purpose.
Once the old granite piece is successfully removed, proper preparation is essential before installing the new one. This includes cleaning and leveling the surface and applying adhesive or epoxy to securely attach the replacement piece. Attention to detail during this stage ensures a seamless integration of the new granite with its surroundings.
It’s important to note that replacing an entire granite piece can be both time-consuming and costly. Skilled labor and specialized equipment are necessary, which contributes to the overall expenses. Additionally, if the granite piece is part of a larger countertop or structure, there may be additional costs involved in disconnecting and reconnecting plumbing fixtures or other elements.
However, there are cases where homeowners choose to replace an entire granite piece not only due to damage but also for aesthetic reasons. Granite can become outdated or may not match the desired style and color scheme of a space. In such instances, replacing the granite provides an opportunity to update the look and feel of the area.
Preventative Measures for Maintaining Granite Integrity
The allure of granite countertops is undeniable, but without proper care, their magnificence can dwindle over time. Protecting the integrity and longevity of your granite surfaces requires preventative measures. In this captivating article, we will unveil expert tips on maintaining the pristine condition of your granite, ensuring it remains a breathtaking centerpiece for years to come.
Choose Gentle Cleaners for Optimal Care:
Maintaining the lustrous surface of your granite demands the use of mild, non-abrasive cleaners specially formulated for this exquisite stone. These gentle yet effective cleansers effortlessly eradicate dirt and grime, preserving the sealant and safeguarding against scratches or dullness.
Banish Harsh Chemicals from Your Cleaning Arsenal:
Remember, granite is a natural marvel that can be sensitive to harsh chemicals. Bid farewell to ammonia-based cleaners, vinegar, and abrasive scrub brushes as they are known culprits behind sealant damage and unsightly stains. Embrace gentler options to keep your granite gleaming.
Swift Action Against Spills:
Unleash your inner superhero by promptly addressing spills on your granite surface. Acidic liquids such as lemon juice or vinegar can etch into the stone, leaving behind stubborn stains. Grab a clean cloth and tackle spills head-on to defend the integrity of your countertops.
Shield Against Heat Damage:
While granite is known for its heat-resistance, it’s wise to employ coasters or mats beneath scorching dishes or pots to ward off any potential harm. Sudden temperature changes can induce cracks or discoloration, so embrace precautionary measures to maintain a flawless countertop.
Balance the Weight:
Though granite possesses remarkable durability, it’s crucial not to overload unsupported areas. Placing heavy objects on these vulnerable spots risks cracks or even breakage. Exercise mindfulness in distributing weight across your countertops to prevent any unwanted mishaps.
Fortify the Protective Seal:
A well-sealed granite surface acts as an impenetrable shield against stains and moisture. Regularly inspect the sealant and reapply as necessary. This simple yet vital step ensures that your granite remains impervious to spills, upholding its innate elegance.
HSY8xWAYgR0″ >
Conclusion
Yes, granite can indeed be glued back together.
This natural stone may suffer from cracks or breaks over time, but with the right adhesive and technique, it can be restored to its former glory. Whether it’s a small chip or a larger fracture, skilled professionals can carefully align the pieces and apply a strong adhesive to bond them back together.
So, don’t fret if your granite countertop or floor has suffered damage – there’s hope for restoration.