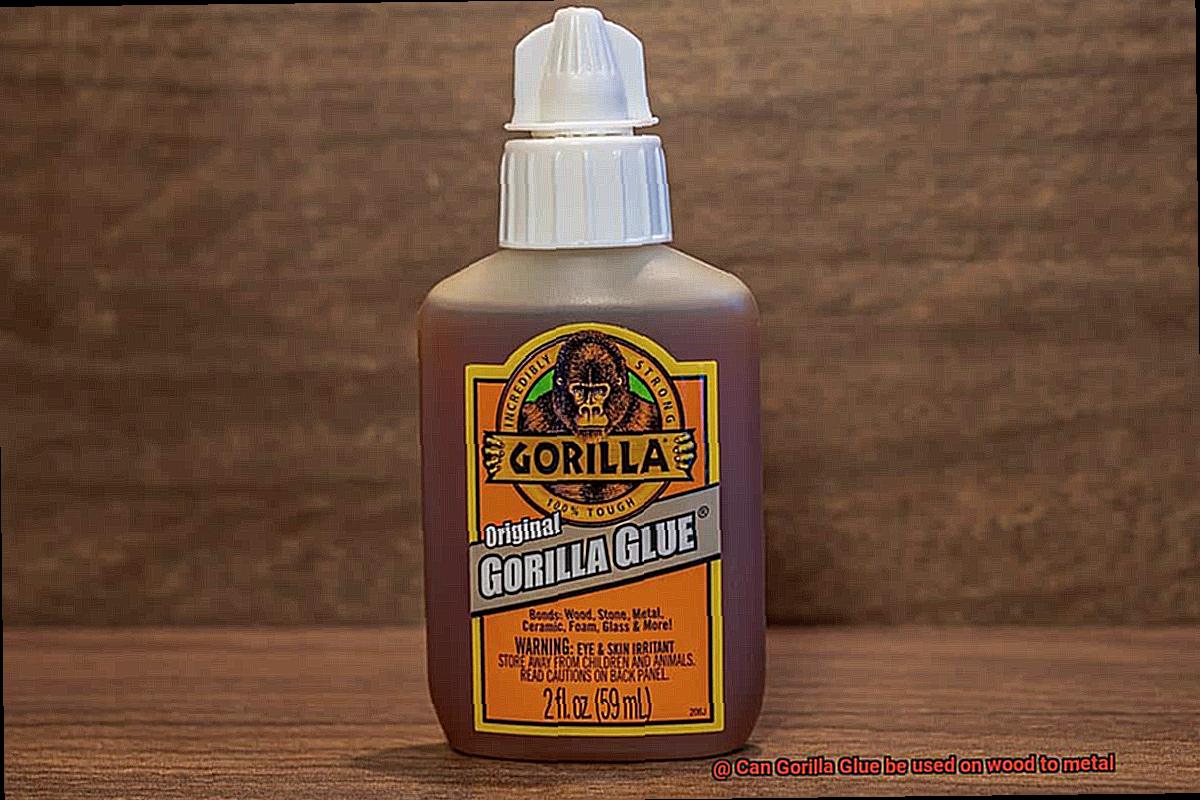
Are you a DIY enthusiast or professional looking for an adhesive that can bond wood to metal? Look no further than Gorilla Glue. This versatile adhesive is known for its exceptional strength and ability to bond various materials, including wood, metal, ceramic, plastic, and more.
But can Gorilla Glue really be used on wood to metal? The answer is yes. However, achieving a strong and durable bond requires finesse and attention to detail. In this blog post, we’ll explore the best practices for using Gorilla Glue on wood to metal.
We’ll start by identifying the advantages and disadvantages of using this adhesive for your project. From there, we’ll provide tips and tricks for surface preparation, application techniques, curing time, and other important factors that will ensure a successful bond.
Whether you’re a seasoned DIYer or just starting out, this blog post will give you valuable insights into using Gorilla Glue on wood to metal. Get ready to discover the possibilities and take your projects to the next level with this powerful adhesive.
So, what are you waiting for? Let’s dive in and find out how Gorilla Glue can help you achieve a strong and durable bond between wood and metal.
Can Gorilla Glue be Used on Wood to Metal?
Contents
- 1 Can Gorilla Glue be Used on Wood to Metal?
- 2 Preparing the Surfaces for Bonding
- 3 Applying Gorilla Glue to the Joint
- 4 Curing Time and Expansion of Gorilla Glue
- 5 Limitations of Using Gorilla Glue on Wood to Metal
- 6 Alternatives to Consider When Bonding Wood to Metal
- 7 Tips for Successful Bonding with Gorilla Glue
- 8 Conclusion
If you’re looking to bond wood to metal, Gorilla Glue can be a great option. But before you start gluing away, there are a few things you need to know.
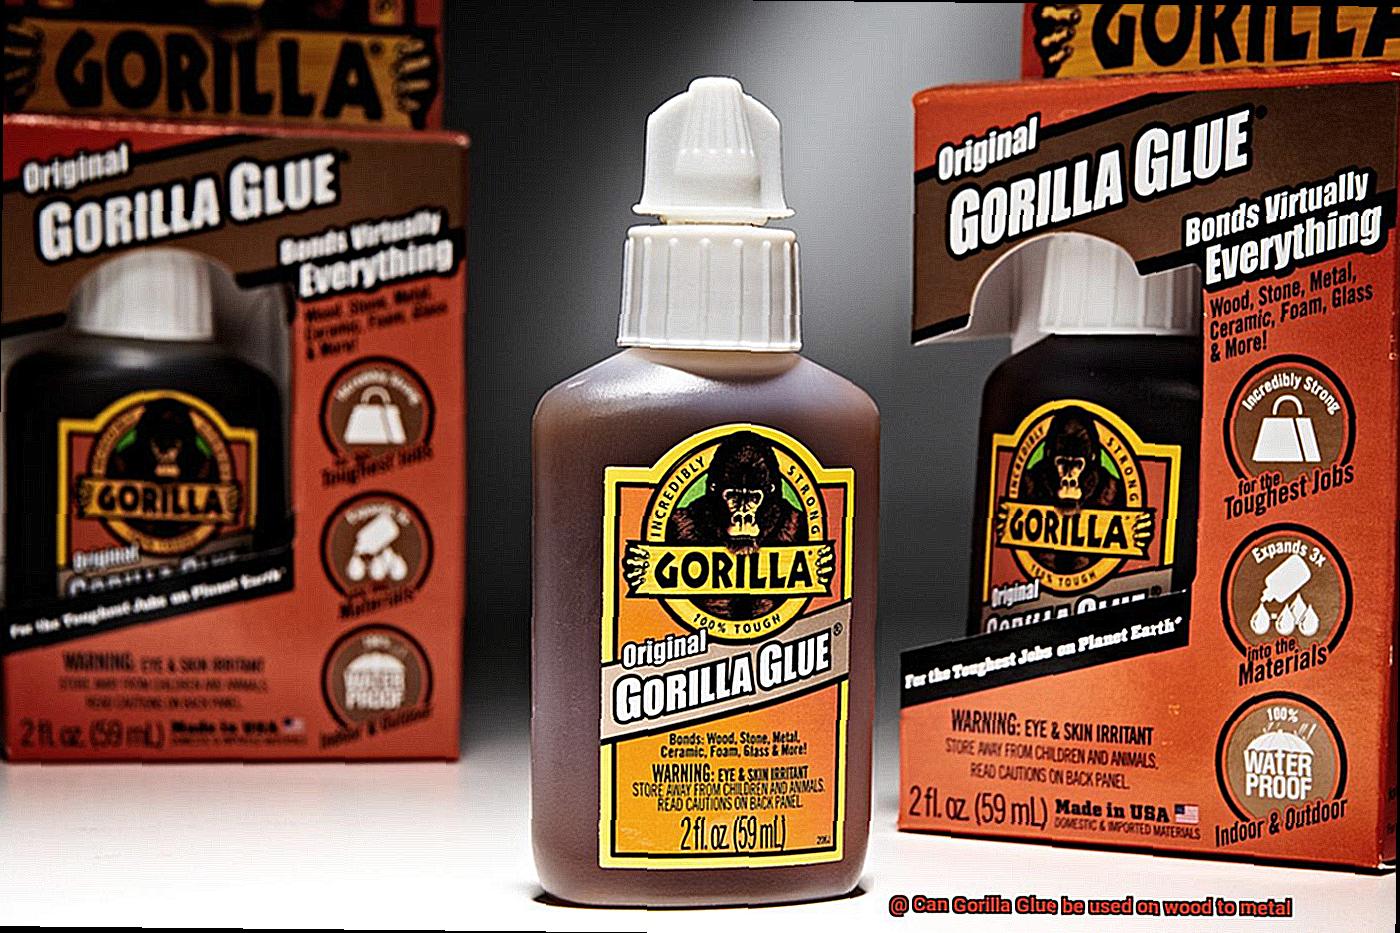
Gorilla Glue is a polyurethane-based adhesive that creates a strong bond by expanding within the material’s pores. This means that it can work well with porous materials like wood but may have difficulty adhering to non-porous ones like metal. However, with proper preparation and application, Gorilla Glue can be used on wood to metal.
To ensure a strong bond, it’s crucial to prepare the surfaces properly. Both the wood and metal surfaces should be clean, dry, and free of any grease or oil. Using sandpaper or steel wool can help rough up the metal surface, giving the glue more to grip onto. It’s also important to note that Gorilla Glue requires moisture to activate and cure, so dampening the wood prior to applying the glue is necessary.
When it comes time to apply the glue, remember that a little goes a long way. Gorilla Glue expands as it cures, so using too much can cause the joint to become uneven or even break apart. Apply a small amount of Gorilla Glue onto one of the surfaces, press the two surfaces firmly together, and hold them in place for at least 30 minutes until the glue sets.
It’s important to keep in mind that Gorilla Glue is not recommended for load-bearing joints or joints that will be exposed to high levels of stress or strain. For these types of applications, a stronger adhesive such as epoxy may be more appropriate.
Lastly, patience is key when using Gorilla Glue. It takes longer to cure than other adhesives, often taking 24 hours or more to fully set. During this time, it’s important not to disturb the bond or apply any weight or stress on it.
Preparing the Surfaces for Bonding
If you’re looking to bond wood to metal, you need to properly prepare the surfaces beforehand to achieve a strong and long-lasting bond. As an expert in preparing surfaces for bonding, I can tell you that this step is crucial to ensure that both surfaces are free of contaminants and have been roughened up enough to create a strong bond.
To start, it’s essential to thoroughly clean both surfaces. Wipe them down with a clean, dry cloth to remove any loose debris or dust, then use a mild detergent solution and a scrub brush to clean the surfaces thoroughly. Rinse with clean water and let them dry completely before proceeding.
Next, roughen up the surfaces to provide better adhesion for the glue. You can achieve this by sanding or scoring both surfaces with sandpaper or a wire brush. The goal is to create small grooves or scratches on the surface to give the glue something to grip onto.
After roughening up the surfaces, wipe them down again with a clean, dry cloth to remove any dust or debris created during sanding. This step ensures that both surfaces are completely clean before applying Gorilla Glue.
Now it’s time to apply Gorilla Glue according to the manufacturer’s instructions. Remember that patience is key when using Gorilla Glue as it takes longer to cure than other adhesives. It’s not recommended for load-bearing joints or high-stress applications, but when applied correctly, it can create a durable and long-lasting bond between wood and metal.
In summary, here are the key steps to prepare surfaces for bonding using Gorilla Glue:
- Thoroughly clean both surfaces using a mild detergent solution and scrub brush.
- Roughen up the surfaces by sanding or scoring them with sandpaper or a wire brush.
- Wipe down both surfaces again with a clean, dry cloth to remove any dust or debris created during sanding.
- Follow the manufacturer’s instructions carefully when applying Gorilla Glue.
Applying Gorilla Glue to the Joint
While it may seem daunting, by following a few simple steps you can create a bond that is both strong and long-lasting.
To start off, it’s crucial to prepare both surfaces before applying the glue. Begin by cleaning them thoroughly with a degreaser or rubbing alcohol to remove any dirt, oil, or debris that could impact the bond. Then, use sandpaper or a wire brush to roughen up the surfaces for better grip. It’s especially important to pay extra attention to metal surfaces, as they tend to be smoother than wood.
With the surfaces properly prepped, it’s time to apply the Gorilla Glue. Keep in mind that this glue expands as it dries, so use only a small amount. Apply a thin layer of glue on one surface and then press both surfaces together firmly. If possible, use clamps or apply pressure on the joint for at least an hour while the glue dries.
One final step is to wipe away any excess glue that may have squeezed out of the joint before it dries. Leaving excess glue behind can be difficult to remove and could negatively affect the appearance of the bond.
Curing Time and Expansion of Gorilla Glue
Before you dive in, let’s delve into two important factors to consider when using this mighty glue: curing time and expansion.
Curing time is a crucial element to factor in. Unlike other adhesives, Gorilla Glue demands patience since it has a longer curing time of at least 24 hours. You might need to wait longer depending on the temperature and humidity of the environment. However, this waiting period is well worth it since it produces a long-lasting bond that can withstand any stress.
Expansion is another significant factor to consider. Gorilla Glue expands as it cures. This property is both advantageous and disadvantageous, depending on the application. The expansion can help fill gaps and create a more robust bond.
However, if you use too much glue or fail to clamp the surfaces tightly together, the expansion may cause warping or distortion. To avoid these issues, ensure you use the right amount of glue and clamp the surfaces tightly together.
Additionally, lightly misting both surfaces with water before applying the glue can activate the curing process and prevent excessive expansion.
Limitations of Using Gorilla Glue on Wood to Metal
While Gorilla Glue is a versatile adhesive that can bond different materials, it may not be the best option for all cases. As an expert on the limitations of using Gorilla Glue on wood to metal, I have some insights to share.
Firstly, let’s talk about temperature sensitivity. Gorilla Glue cures through a chemical reaction that requires moisture, but high temperatures can cause it to cure too quickly, leading to a weak bond. Conversely, if the temperature is too low, the glue may not cure at all. It’s crucial to find the right temperature range and follow the instructions carefully to ensure a strong bond.
Another factor to consider is surface preparation. Metal surfaces are usually smooth and non-porous, making it difficult for the glue to penetrate and create a strong bond. Therefore, it’s essential to roughen up the metal surface before applying Gorilla Glue to increase its effectiveness.
It’s also important to note that Gorilla Glue may not be strong enough for load-bearing applications. If you’re bonding wood to metal in a situation where there will be heavy loads or constant stress, you may need a stronger adhesive. It’s crucial to assess the weight and pressure that the bond will be subjected to and choose an appropriate adhesive accordingly.
Lastly, keep in mind that Gorilla Glue can expand as it cures, which can create gaps between the materials or even push them apart if too much glue is used or if the surfaces aren’t aligned correctly. This can compromise the strength of the bond and require additional work to fix.
Alternatives to Consider When Bonding Wood to Metal
While Gorilla Glue is a popular choice, it may not always be the best option. As an expert in this field, I have researched and compiled a list of alternative adhesives to consider for your project.
Firstly, let’s talk about epoxy. This two-part adhesive consists of a resin and hardener and has a strong bond that can be used on a variety of surfaces, including wood and metal. Epoxy also has a longer curing time than Gorilla Glue, which allows for more time to adjust and position the materials before the bond sets.
If you prefer super glue, also known as cyanoacrylate glue, it can bond wood to metal. However, it may not be as strong or durable as other adhesives. Super glue can become brittle over time and may not hold up well under stress or weight.
For projects requiring flexibility, silicone adhesive may be your best bet. This adhesive has excellent flexibility and can be used on both wood and metal surfaces. However, it may not have the same strength as other adhesives and may take longer to cure.
Lastly, mechanical fasteners such as screws, bolts, and nails could provide a strong and reliable bond between wood and metal. While they may not be as aesthetically pleasing as adhesive bonds, they are often more durable and can withstand heavier loads.
When deciding which adhesive or fastener to use, it’s essential to consider the specific materials involved and the demands of the project. While Gorilla Glue can work in some cases, there are alternatives that may provide stronger or more flexible bonds depending on the situation.
Tips for Successful Bonding with Gorilla Glue
Gorilla Glue is a powerful adhesive that can bond wood to metal, but it needs to be handled with care. Here are five tips for successful bonding with Gorilla Glue:
Tip 1: Prepare the surfaces properly
The first step to successful bonding is to prepare the surfaces properly. Both the wood and metal surfaces should be clean and free of any dust, dirt, or debris. You can clean them by wiping them down with a clean cloth and using sandpaper to rough up the surface slightly for better adhesion.
Tip 2: Use the right amount of glue
When using Gorilla Glue, it’s important not to apply too much glue as it can expand and foam up during the curing process. A thin layer of glue is all that is needed. Apply a small amount of Gorilla Glue to one of the surfaces being bonded.
Tip 3: Clamp the parts together
Once the glue has been applied, join the two surfaces together and clamp them in place. The clamps should be tight enough to hold the surfaces together but not so tight that excess glue is squeezed out. This will ensure that the bond is tight and even.
Tip 4: Add moisture
Gorilla Glue requires moisture to cure properly, so it’s recommended to lightly mist the glued area with water before clamping. This will help the glue cure more effectively.
Tip 5: Allow ample curing time
Lastly, allow ample time for the glue to cure. Gorilla Glue typically takes 24 hours to fully cure, but this can vary depending on factors such as temperature and humidity. It’s important not to rush this process as it can compromise the strength of the bond.
1BmQgg5dM3U” >
Conclusion
In summary, Gorilla Glue is a reliable option for bonding wood to metal, provided that the surfaces are appropriately prepared and the adhesive is applied correctly. This multi-purpose glue is renowned for its exceptional strength and versatility in bonding various materials, including ceramic, plastic, and more.
However, it’s important to keep in mind that Gorilla Glue has its limitations when used on wood to metal applications. For load-bearing projects, epoxy or mechanical fasteners may be a better choice.
To ensure a successful bond with Gorilla Glue, you must first prepare the surfaces by thoroughly cleaning them and roughening up the metal surface for optimal adhesion. Applying a small amount of glue and clamping the parts together while allowing ample curing time will yield a sturdy and long-lasting bond.
It’s worth noting that patience is crucial when using Gorilla Glue since it takes longer to cure than other adhesives. Additionally, avoid using too much glue as it can expand and foam up during the curing process.
By following these tips and tricks for using Gorilla Glue on wood to metal projects, you can elevate your DIY game with this potent adhesive.

