Are you a DIY enthusiast looking for a reliable adhesive to bond your metal projects? Look no further than Gorilla Glue. This powerful glue is capable of fixing and repairing metal surfaces with ease. But before you dive in, it’s important to know how to prepare your surfaces properly.
First things first: clean and dry the surfaces thoroughly. Any rust, grease, or debris on the metal can prevent the glue from adhering properly. It’s also recommended to sand the surfaces to create a rough texture for maximum hold.
Now, onto the big question: can Gorilla Glue be used on metal? The answer is a resounding YES. Whether you’re bonding metal to metal, plastic, or other materials, Gorilla Glue has got you covered.
In this blog post, we’ll delve into everything you need to know about using Gorilla Glue on metal. We’ll cover which types of metals work best with the glue, as well as its pros and cons for various projects.
So, whether you’re a seasoned pro or just starting out in the world of DIY, sit tight and get ready to learn all about using Gorilla Glue on your next metal project.
What is Gorilla Glue?
Contents
- 1 What is Gorilla Glue?
- 2 Can Gorilla Glue be Used on Metal?
- 3 Preparing the Metal Surface
- 4 Applying the Glue to the Metal Surface
- 5 Curing and Drying Time for Gorilla Glue on Metal
- 6 Benefits of Using Gorilla Glue on Metal
- 7 Potential Challenges When Using Gorilla Glue on Metal
- 8 Alternatives to Using Gorilla Glue on Metal
- 9 Conclusion
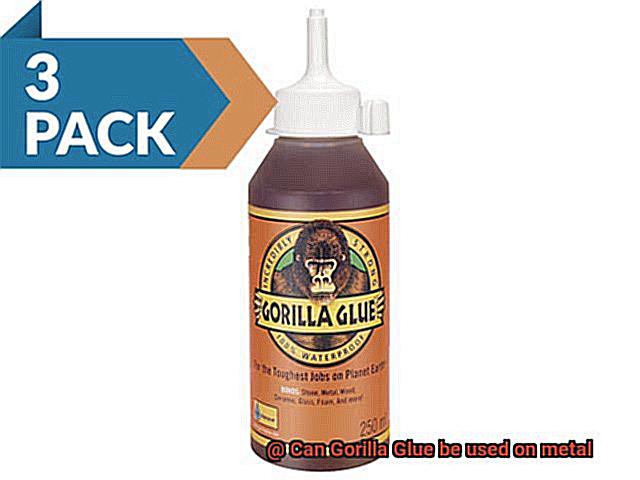
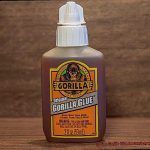
Are you in search of a reliable and versatile adhesive that can bond almost anything? Look no further than Gorilla Glue. This polyurethane-based adhesive is popular among DIY enthusiasts and professionals for its exceptional bonding properties and ability to bond to a variety of surfaces, including wood, ceramics, stone, metal, and more.
Introduced in 1994 by Cincinnati-based company Gorilla Glue Company, this high-performance adhesive has become one of the most widely used adhesives due to its exceptional quality, strength and versatility. Gorilla Glue sets with moisture and expands slightly while curing, allowing it to fill gaps and create a strong bond that lasts. Once cured, it dries to a clear, durable finish that can be sanded and painted over.
Gorilla Glue offers different specialized formulas for various applications such as a fast-drying formula for quick projects and a waterproof formula for outdoor use. However, many people wonder whether Gorilla Glue can be used on metal surfaces. The answer is yes. Although not specifically designed for metal bonding, Gorilla Glue can still be effectively used on metal with proper preparation and application techniques.
Before applying the glue to metal, ensure that the surface is clean and free of any grease or dirt which may weaken the bond. A simple cleaning with degreaser or rubbing alcohol will do the trick. Applying too much glue will cause it to expand and create an uneven bond while applying too little glue may result in a weak bond that breaks easily. Therefore, the key is to apply just enough glue to create a thin and even layer that covers the entire surface.
It’s essential to give the adhesive enough time to dry and cure before handling or using the bonded object. A full cure will take about 24 hours, so be patient and avoid any unnecessary movement or stress on the bonded area during this time.
Can Gorilla Glue be Used on Metal?
The answer is a resounding yes, but there are a few important factors to consider. As an expert in this field, I can tell you that the type of Gorilla Glue used and proper preparation techniques are crucial when using Gorilla Glue on metal surfaces.
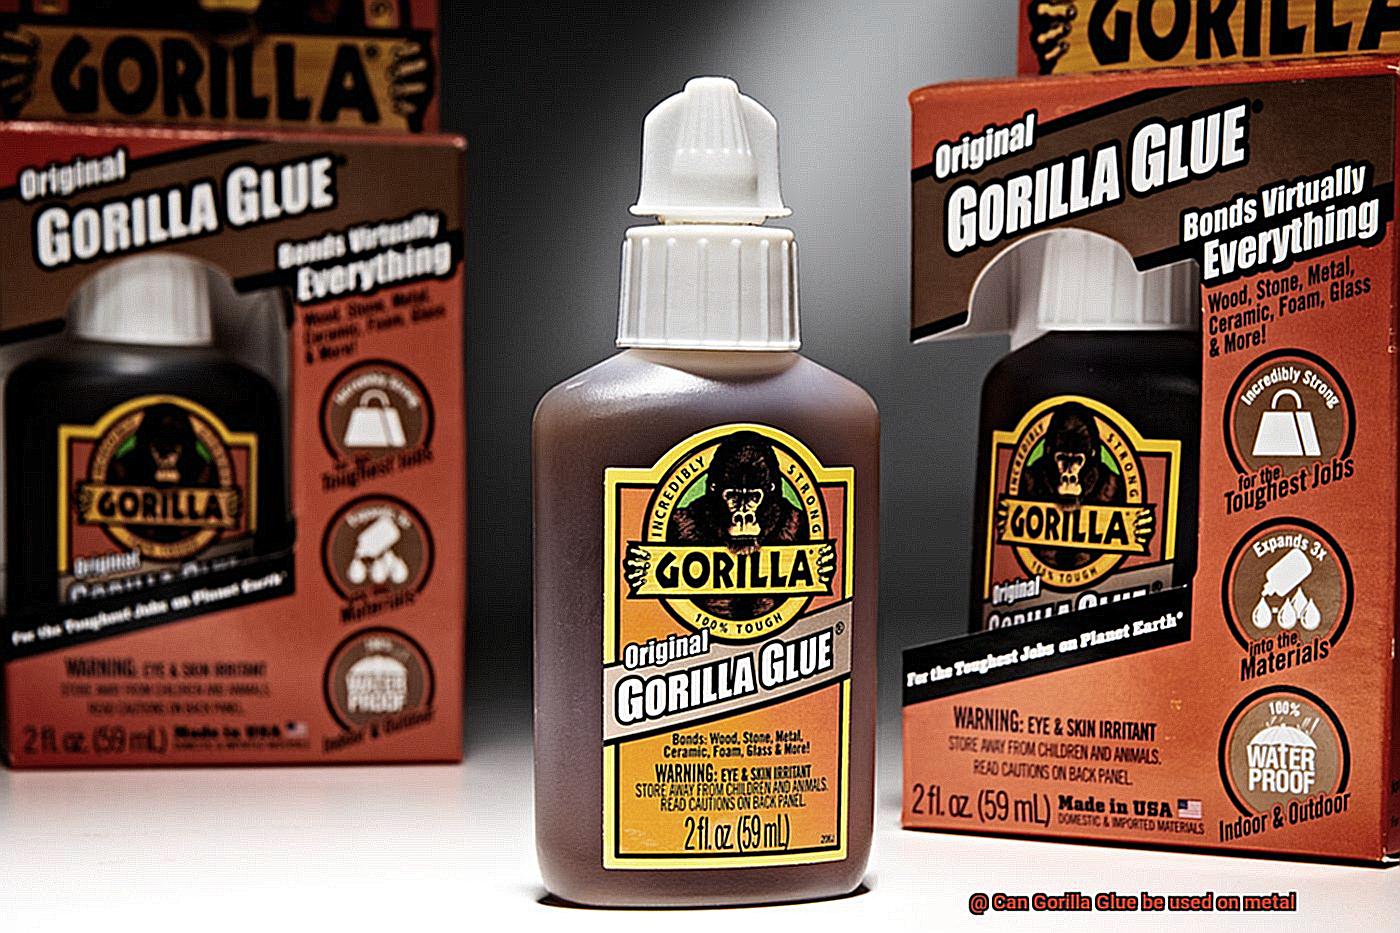
Firstly, it’s essential to note that there are different types of Gorilla Glue available on the market. The original Gorilla Glue and Gorilla Epoxy are the best options when bonding metal surfaces due to their exceptional bonding strength and ability to create a strong bond between different materials.
However, before applying Gorilla Glue to metal surfaces, it’s vital to prepare the surface properly. This means ensuring the surface is clean, dry, and free from any rust or dirt. Sandpaper can also be used to roughen the surface and improve adhesion.
When applying Gorilla Glue to metal surfaces, it’s crucial to use the right amount of glue to ensure a strong bond. Applying too little glue may result in a weak bond while applying too much can cause the glue to expand and overflow.
To summarize, using Gorilla Glue on metal can be an excellent solution for your DIY projects. Here are some important points to keep in mind:
- Choose the right type of Gorilla Glue for your specific application (Original or Epoxy).
- Prepare the metal surface properly by cleaning, drying, and removing any rust or dirt.
- Roughen the surface with sandpaper if necessary.
- Apply the glue carefully and use the right amount for a strong bond.
Preparing the Metal Surface
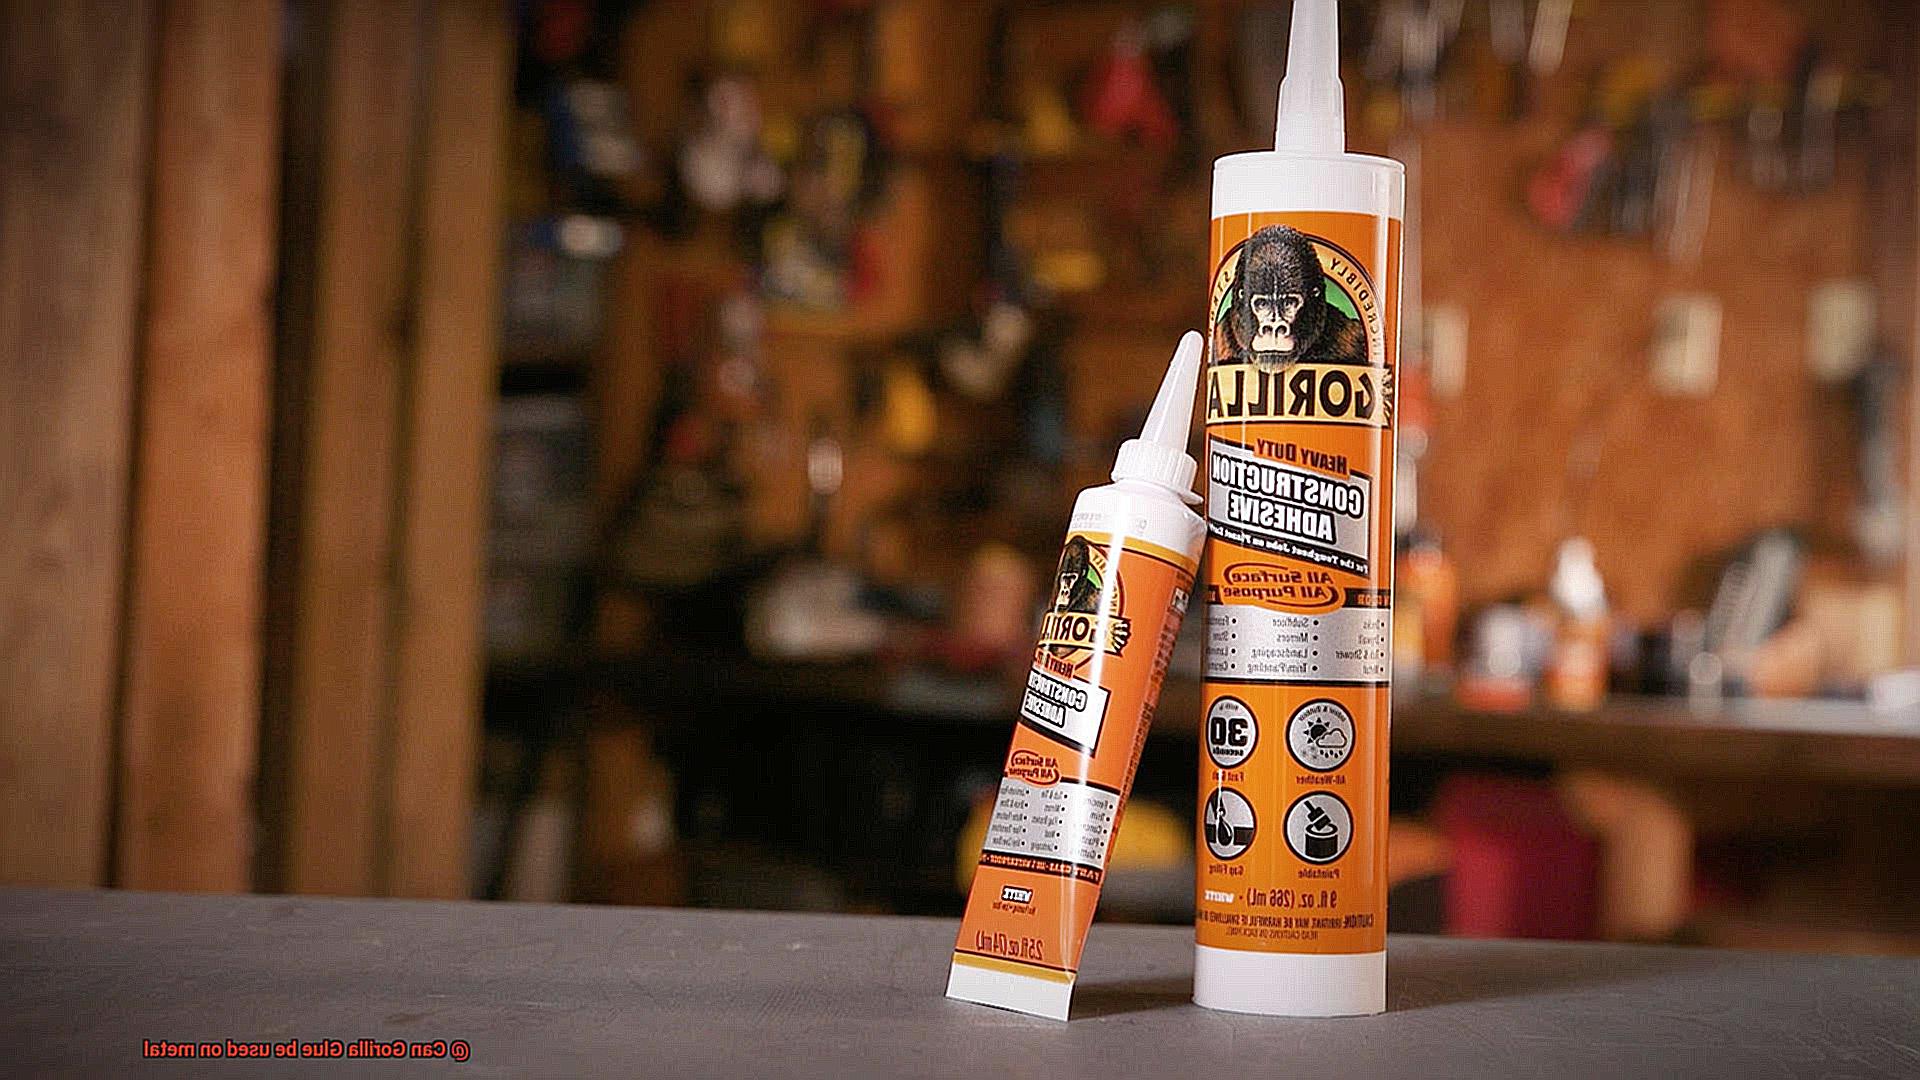
If you’re planning to use Gorilla Glue on a metal surface, then preparation is key to achieving a strong bond. As an expert in preparing metal surfaces for adhesive applications, I’m here to share some tips on how to ensure that your metal surface is ready for Gorilla Glue.
Before starting, it’s crucial to understand that preparing the metal surface is an essential step before using Gorilla Glue on it. This step ensures that the glue will adhere correctly and create a reliable bond. Here are some steps to follow:
Clean the Metal Surface Thoroughly
Any dirt, grease, or oil will hinder the glue’s ability to bond with the metal, so it is crucial to remove them. To clean the surface, use a degreaser or rubbing alcohol and a clean cloth. Apply the degreaser or rubbing alcohol to the cloth and then wipe down the metal surface until it is clean and dry. Make sure to pay extra attention to any nooks or crannies where dirt might be hiding.
Sand Down Rough Spots
If there are any rough spots on the metal surface, sand them down with sandpaper until they are smooth. This step ensures that the glue will have a flat and even surface to adhere to, which can help create a stronger bond.
Prime the Metal Surface
After cleaning and sanding, it is recommended to prime the metal surface. Priming helps create a barrier between the metal and the glue, which can prevent any corrosion or oxidation from occurring. Apply a thin layer of metal primer to the surface and let it dry completely before applying Gorilla Glue.
Consider Different Types of Metal
It’s important to note that different types of metal may require different preparation methods. For example, non-ferrous metals like aluminum, copper, and brass may require special primers designed specifically for those metals.
Applying the Glue to the Metal Surface
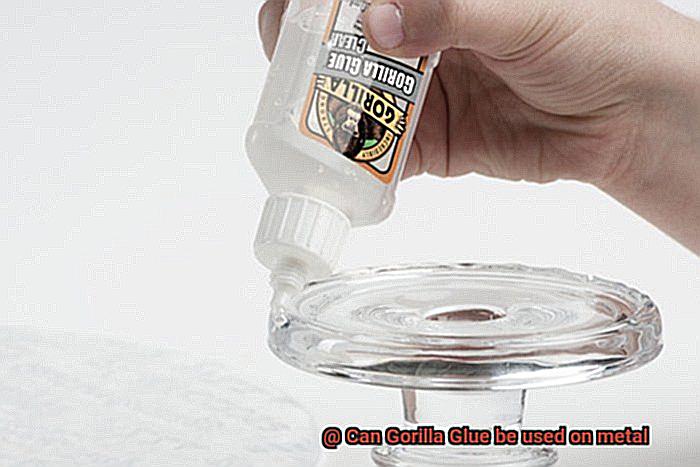
First and foremost, prepare the surface by cleaning it thoroughly with a degreaser or rubbing alcohol. This is crucial as any dirt, oil, or other contaminants can interfere with the bond. Next, roughen up the surface using sandpaper or a wire brush. This creates more surface area for the glue to adhere to and improves the overall bond strength.
Now it’s time to apply the glue. Keep in mind that Gorilla Glue is a polyurethane adhesive that reacts with moisture to create a strong, waterproof bond. However, be careful not to apply too much glue as the expansion during curing can cause excess glue to squeeze out and create a mess. A small amount of glue is typically all that’s needed for a strong bond.
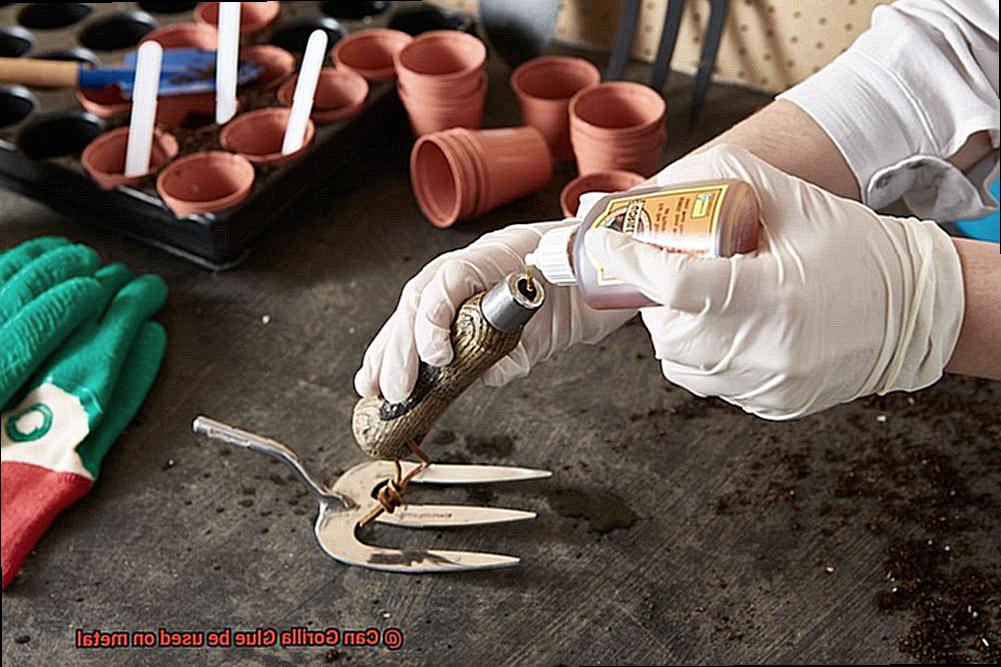
To apply the glue, use a brush or applicator tip to spread a thin layer over the metal surface. Be quick as Gorilla Glue begins to cure within minutes of contact with moisture. Once applied, clamp the two surfaces together firmly for at least an hour to allow the bond to cure fully.
While Gorilla Glue can be used on metal, it may not be suitable for all applications. If the metal will be exposed to high temperatures or extreme weather conditions, consider using a specialized adhesive for optimal bonding. Additionally, some types of metal may require a different approach to bonding, such as welding or soldering.
Curing and Drying Time for Gorilla Glue on Metal
Gorilla Glue is known for its impressive bonding capabilities, but it’s essential to understand the curing and drying time when using it on metal. As an expert in this field, I’ve gathered some helpful tips to ensure your project is a success.
The curing time for Gorilla Glue on metal surfaces can vary depending on environmental factors and the type of metal being used. Generally, it takes around 24 hours for the glue to cure fully. However, humidity and temperature can affect the curing time. Higher humidity levels and colder temperatures can slow down the process, while lower humidity levels and warmer temperatures can speed it up.
It’s important to note that even though the glue may feel dry to the touch within a few hours, it’s not fully cured until after the 24-hour mark. To ensure maximum strength and durability, avoid putting any pressure or stress on the bond until after the full curing time has elapsed.
Before applying Gorilla Glue to metal surfaces, make sure they’re clean and free from any debris or oils. This will allow for a stronger bond and faster curing time. A helpful tip is to use sandpaper to roughen up the surface, ensuring better adhesion.
Lastly, during the curing process, using a clamp or other method to hold the metal surfaces together can help ensure a stronger bond. This technique helps distribute pressure evenly across the bond and enables it to reach its maximum strength potential.
Benefits of Using Gorilla Glue on Metal
If you’re looking for a versatile and reliable adhesive for your metal projects, look no further than Gorilla Glue. This powerful adhesive has numerous benefits that make it a popular choice for DIYers.
First and foremost, Gorilla Glue is known for its exceptional bonding capability. It creates a tight and secure bond between metal surfaces that can withstand heavy loads and vibrations. Whether you’re repairing metal parts or creating a metal sculpture, you can trust Gorilla Glue to keep your project sturdy and in place.
But that’s not all – Gorilla Glue is also water-resistant and can withstand extreme temperatures, making it ideal for outdoor projects or items that will be exposed to different weather conditions. Its resistance to water also prevents rust formation, which can weaken the bond between metal surfaces.
In addition, Gorilla Glue is incredibly versatile and can be used on various types of metals, including steel, aluminum, brass, and copper. With its ability to attach metal to other materials or repair damaged metal parts, this adhesive is perfect for all your metal-related DIY projects.
And if appearance matters to you, Gorilla Glue has got you covered. It dries clear without leaving any visible residue or marks on the surface, ensuring a seamless finish for your projects.
Last but not least, Gorilla Glue is easy to use with no mixing or clamping required. Simply apply it directly from the bottle and watch as it dries quickly, allowing for faster project completion times. Plus, it has a long shelf life so you can keep it on hand for future projects.
Potential Challenges When Using Gorilla Glue on Metal
While this adhesive is known for its strength and reliability, there are some potential challenges to keep in mind.
First and foremost, cleanliness is key when working with Gorilla Glue on metal. Any dirt, oil, or debris on the surface can prevent the glue from adhering properly and weaken the bond. So, take the time to thoroughly clean the metal surface before applying the glue.
Another challenge to watch out for is the expansion of Gorilla Glue as it dries. When working with metal, over-applying the glue can lead to a messy finish and even cause warping or bending of the surface, which can compromise the bond. To avoid this, use only a small amount of glue and apply it precisely.
Moisture is another factor that can affect the performance of Gorilla Glue on metal. While the adhesive needs moisture to activate and cure properly, excessive moisture can cause it to foam excessively and create a weak bond. Be sure to use only a minimal amount of water when applying Gorilla Glue to metal and avoid exposing it to excess moisture during the curing process.
Finally, not all metal surfaces are created equal when it comes to bonding with Gorilla Glue. While it works well on smooth, non-porous metals like aluminum or stainless steel, it may not be suitable for porous or textured metals like cast iron or brass. To avoid disappointment, test the glue on a small area first before committing to a larger project.
Alternatives to Using Gorilla Glue on Metal
There are other options available that can provide you with a stronger and more durable bond. As an expert in metal bonding, I have thoroughly researched and listed five alternatives to using Gorilla Glue on metal.
First on our list is the mighty epoxy. This two-part adhesive is renowned for its strength and durability and is capable of bonding a wide range of surfaces, including metal. It can withstand high levels of stress and strain, making it perfect for outdoor projects or items that will be exposed to harsh conditions.
If you’re looking for an even stronger bond, consider welding. This process involves melting the metal surfaces together to create a bond that is incredibly difficult to break. While it requires some skill and equipment, welding can be used for both industrial and smaller metal projects.
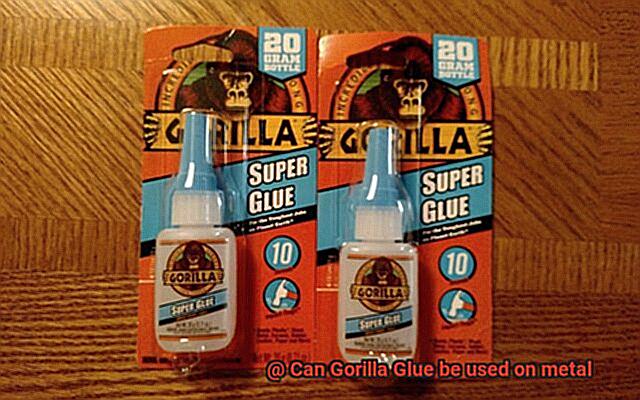
In need of a quick fix? Super glue may be the way to go. This fast-drying adhesive can bond metal surfaces together but isn’t quite as strong as epoxy or welding. Keep in mind that super glue can become brittle over time and may not be able to withstand heavy loads or stress.
J-B Weld is another two-part epoxy that deserves a spot on this list. Specifically designed for bonding metal surfaces together, it’s known for its strength and durability. J-B Weld works well for larger metal projects or items that will be exposed to harsh conditions. It’s also resistant to water and heat, making it a great option for outdoor projects.
Finally, if you’re unable to find an adhesive that will work for your project, mechanical fasteners such as screws, bolts, or rivets can be a great alternative. These types of fasteners create a strong bond between the metal surfaces and can be used in conjunction with an adhesive for added strength.
1BmQgg5dM3U” >
Conclusion
In summary, Gorilla Glue proves to be a reliable and versatile adhesive that can be used on metal surfaces with proper preparation and application techniques. Its exceptional bonding properties make it a go-to choice for various surfaces, including wood, ceramics, stone, plastic, and metal.
However, it is crucial to select the right type of glue for your specific application and prepare the surface appropriately by cleaning and sanding it down if necessary.
When using Gorilla Glue on metal, applying the glue carefully in the right amount is essential for a strong bond. It is also important to allow enough time for it to dry and cure before handling or using the bonded object.
lthough this adhesive has numerous benefits like water-resistance, versatility, clear finish, ease of use without mixing or clamping required, there are potential challenges to keep in mind.
The cleanliness of the surface before applying the glue is crucial as any dirt or debris can weaken the bond. Additionally, over-application of Gorilla Glue can cause warping or bending of the surface due to its expansion as it dries. Moisture can also affect its performance during curing if exposed excessively or not enough applied initially causing weak bonds on porous or textured metals.
If you need an even stronger bond than what Gorilla Glue can provide on metal surfaces or cannot find an adhesive suitable for your project, consider alternatives such as epoxy or welding (for industrial projects).
For quick fixes or bonding small parts together super glue may work well while J-B Weld is specifically designed for bonding metal surfaces together. Mechanical fasteners like screws/bolts/rivets are also reliable alternatives.

