We’ve all been there, battling with those stubborn glue dots that just won’t let go. Whether you’re a crafting wizard, a packaging pro, or simply someone who always seems to end up in sticky situations, you’ve probably wondered, “Can these glue dots actually be removed?”
Well, fear not. In this blog post, we’re diving headfirst into the captivating world of glue dots and exploring all the tricks and techniques to banish them for good. From unraveling the science behind their adhesive powers to uncovering nifty hacks and must-have tools, we’re here to restore your faith in the possibility of undoing those glue dot mishaps.
So grab your trusty toolkit and get ready to embark on a journey of ungluing mastery as we unveil the secrets to conquering those pesky glue dots once and for all.
What are Glue Dots?
Contents
- 1 What are Glue Dots?
- 2 Advantages of Using Glue Dots
- 3 Disadvantages of Using Glue Dots
- 4 Heat Removal Method for Glue Dots
- 5 Adhesive Remover or Solvent Removal Method for Glue Dots
- 6 Household Items That Can Act as Solvents to Remove Glue Dots
- 7 Freezing as a Method to Remove Glue Dots
- 8 Factors That Affect the Effectiveness of Removal Methods for Glue Dots
- 9 Conclusion
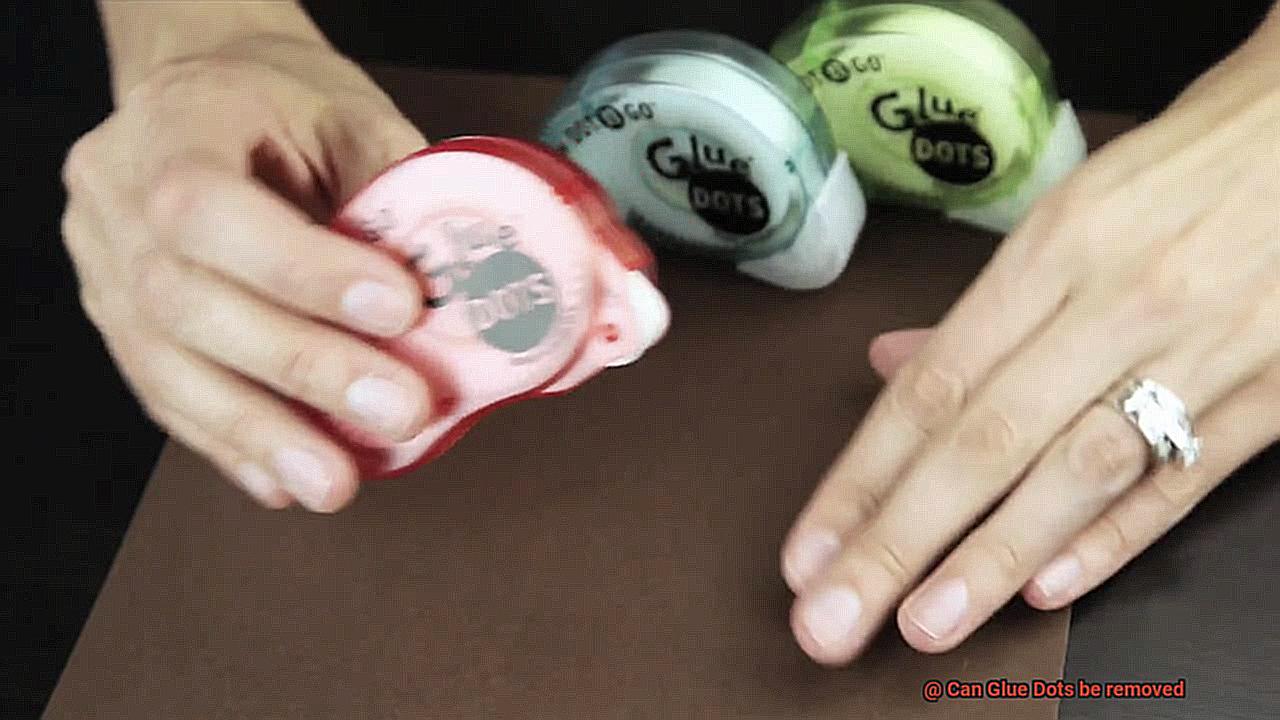
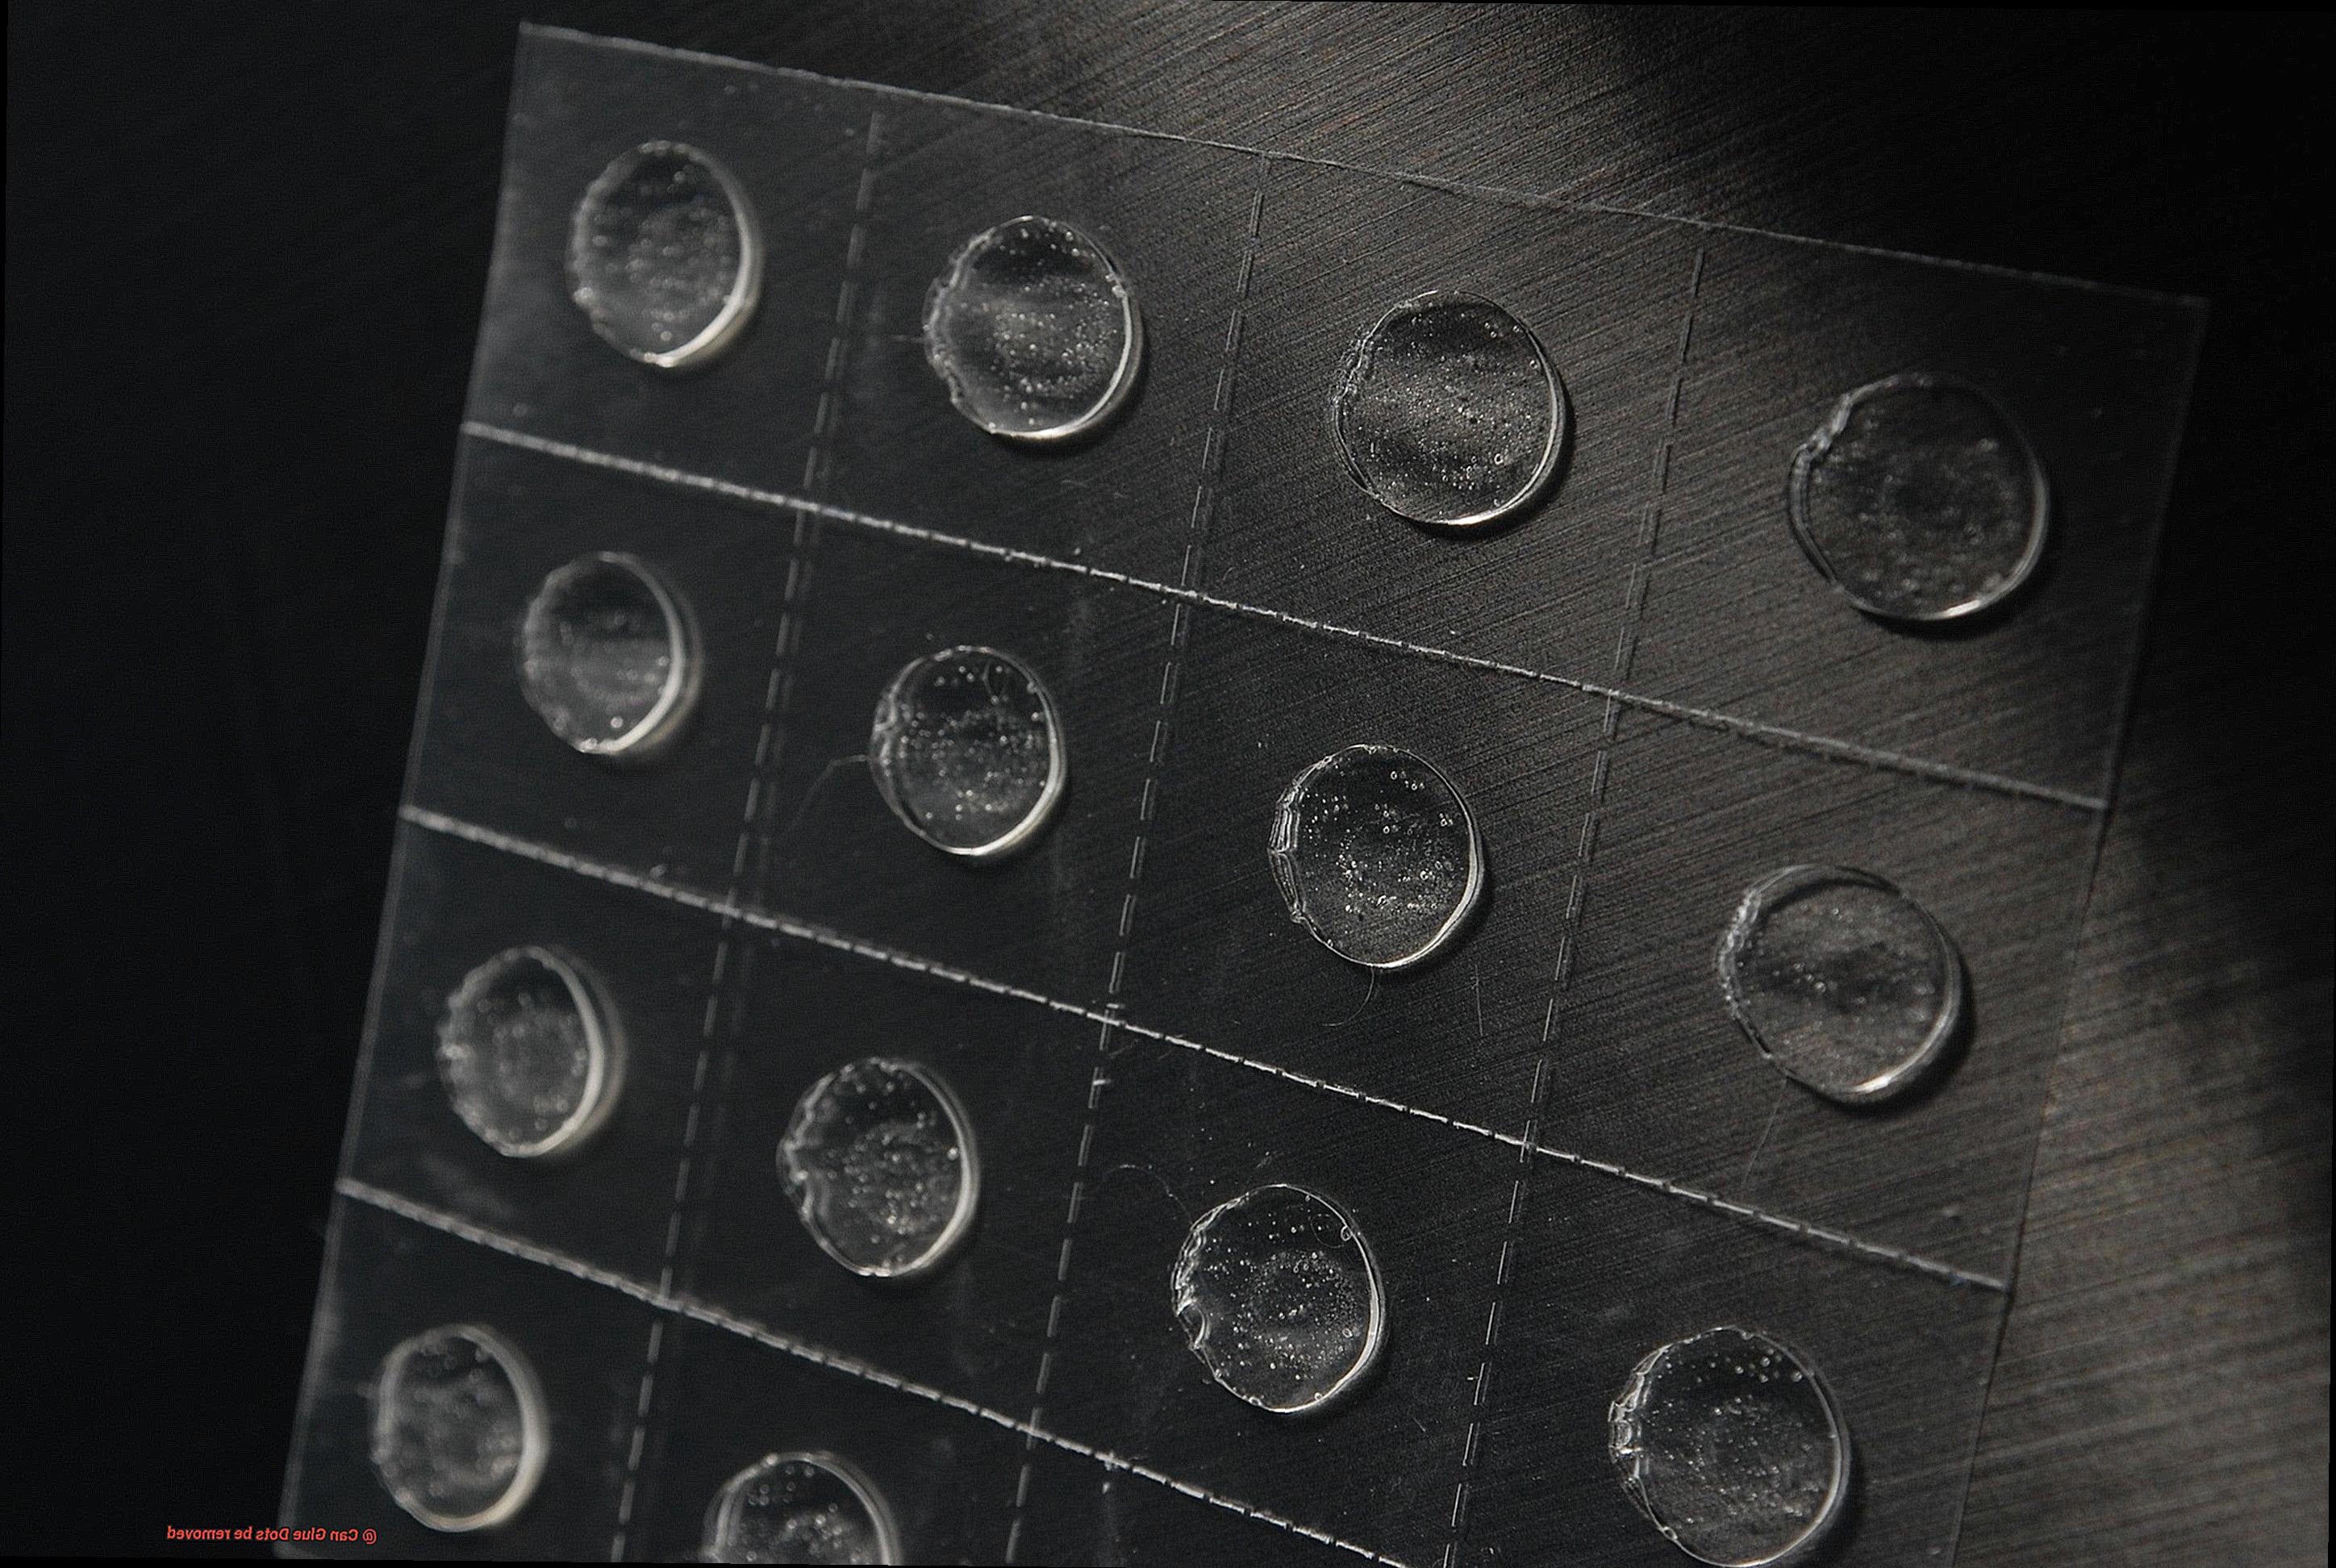
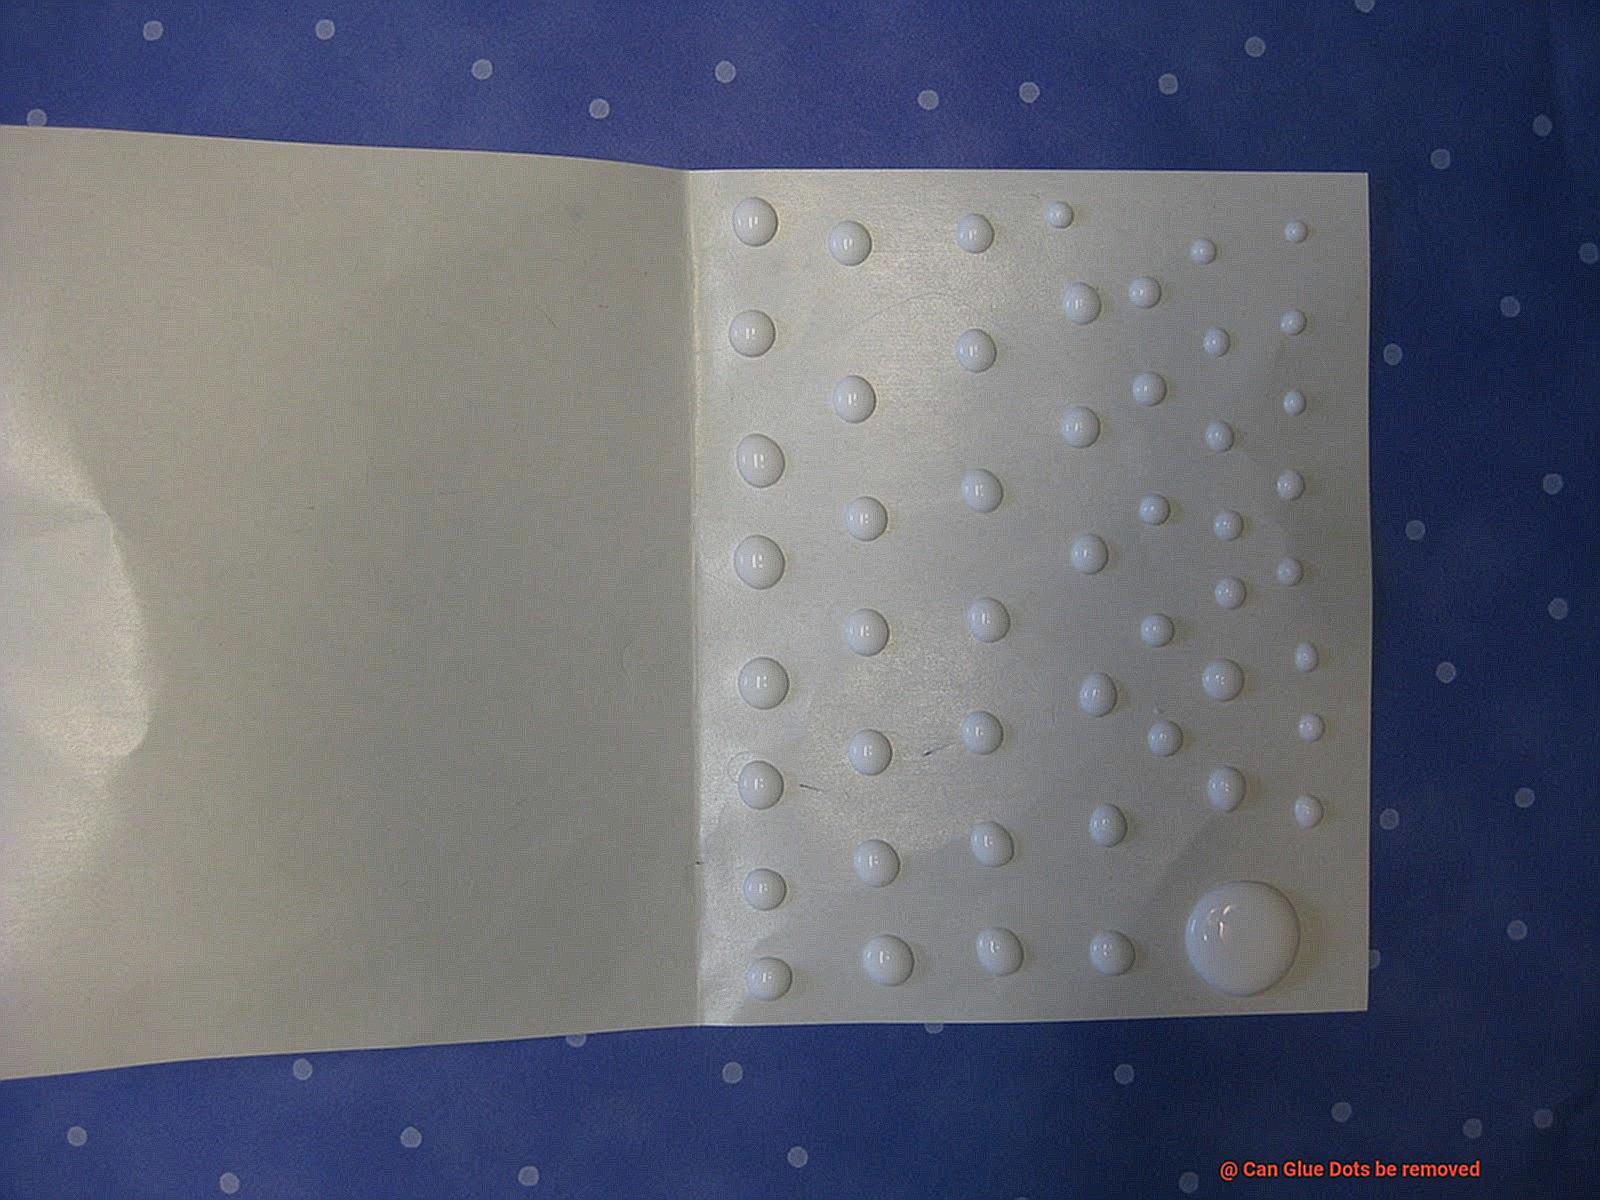
These small, round adhesive dots have transformed the way we bond materials together. In this article, we will embark on a journey to explore the limitless possibilities of Glue Dots, including their remarkable benefits, diverse applications, and even how to remove them when needed.
Benefits of Glue Dots:
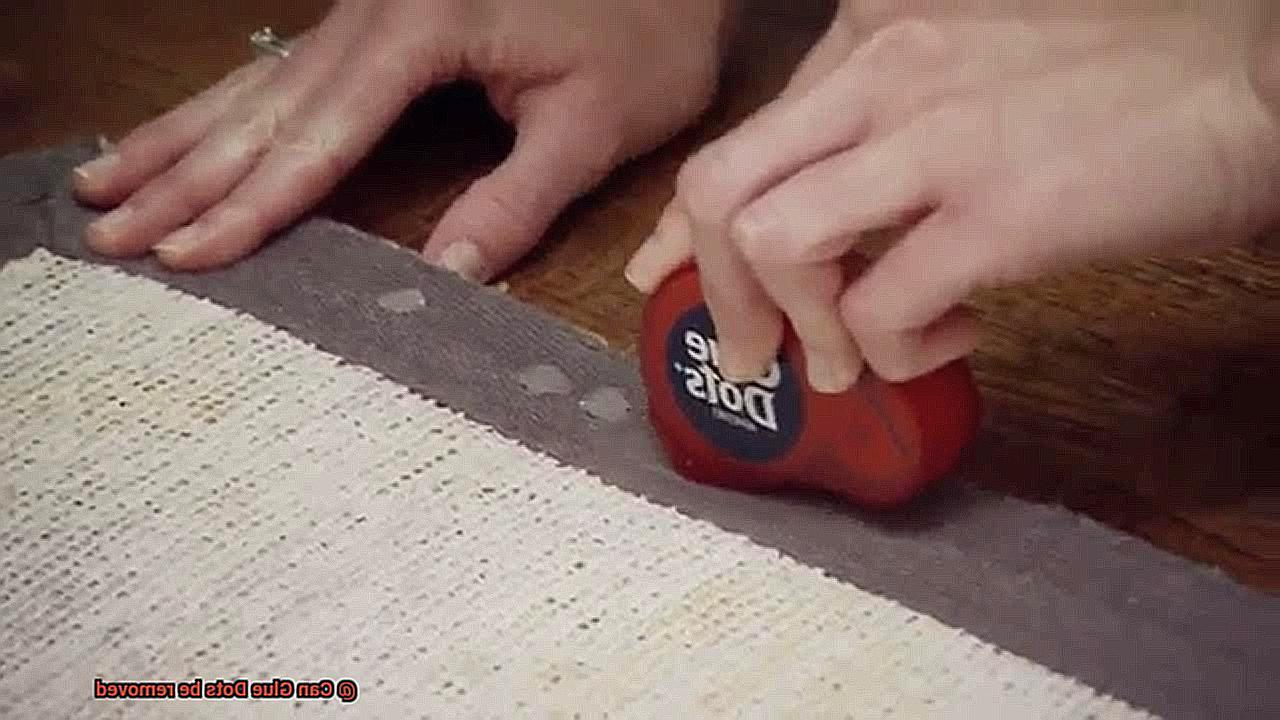
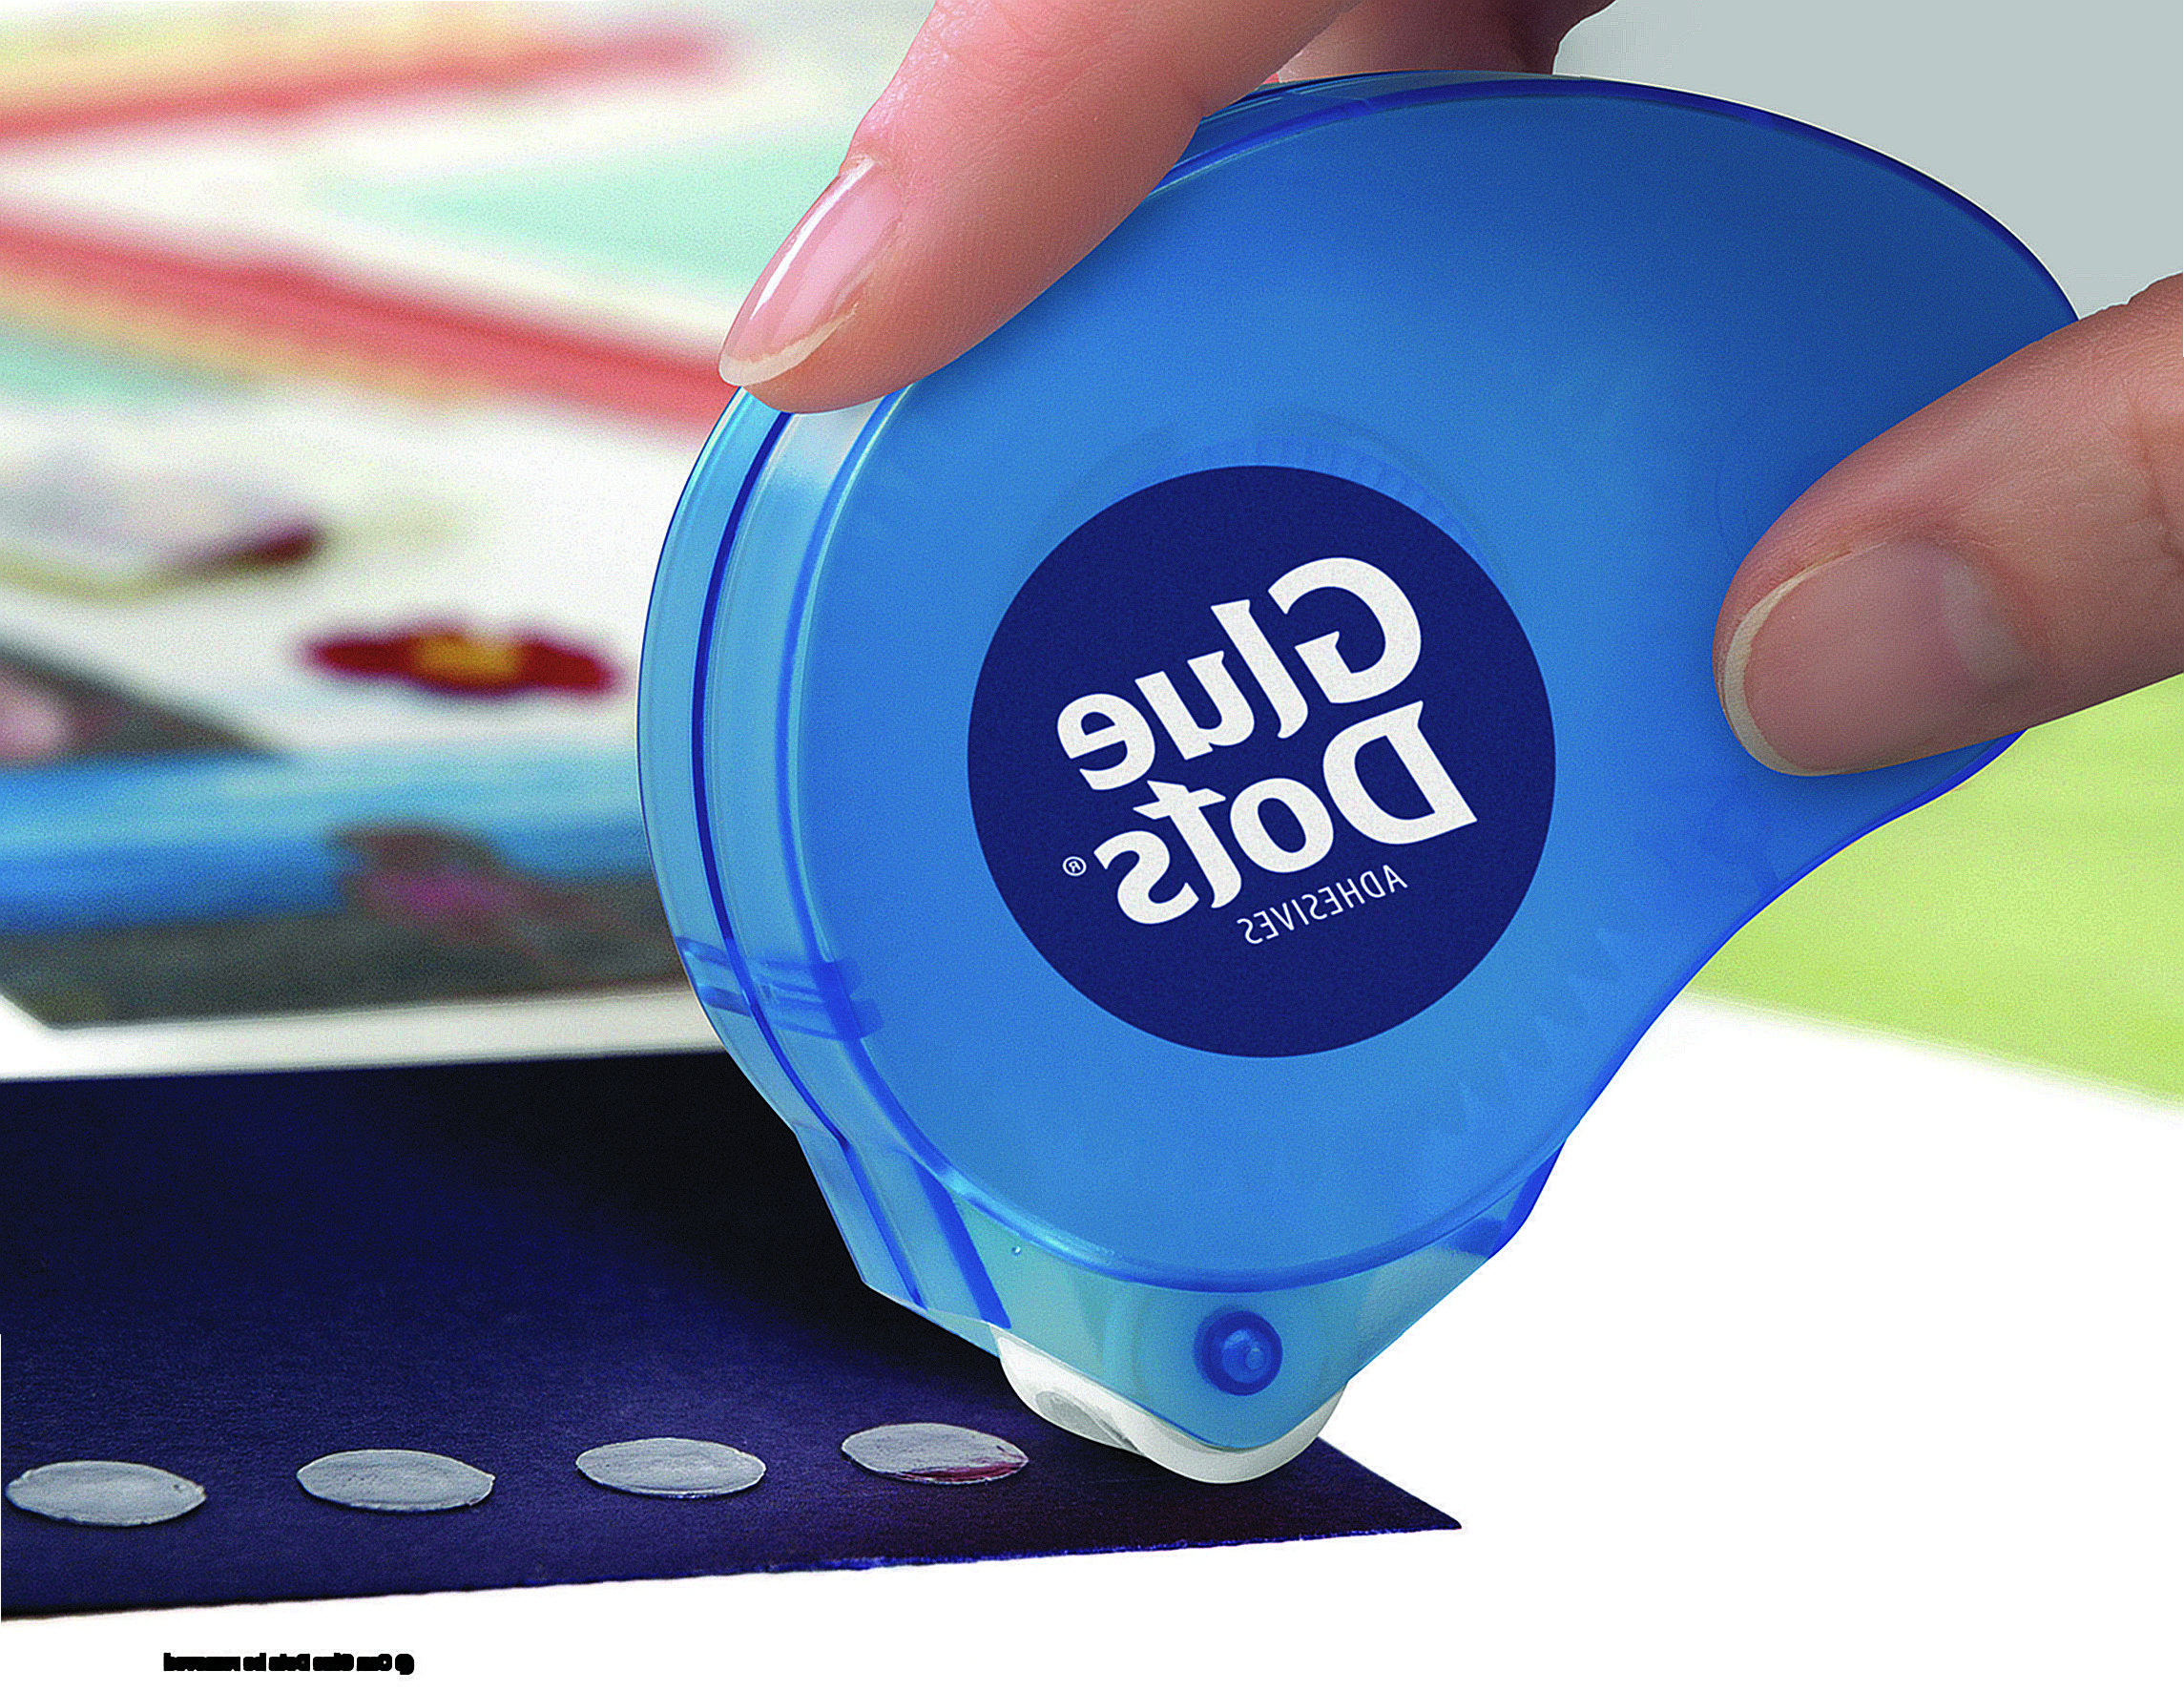
- Ease of Use: Say farewell to messy glue bottles and sticky tape. Glue Dots are pre-formed and ready to go. Simply peel them from their protective backing and effortlessly adhere them to your desired surface. This hassle-free application saves precious time and ensures a clean, precise bond every time.
- Versatility: Glue Dots possess the extraordinary ability to adhere to an extensive range of materials. Whether it’s paper, plastic, metal, fabric, or wood, these versatile dots have got you covered. From scrapbooking projects to creating intricate 3D masterpieces, or even securing packaging materials, Glue Dots are your ultimate adhesive companion.
- Temporary or Permanent Bonding: Glue Dots come in a variety of formulations tailored to your specific bonding needs. Removable Glue Dots offer a temporary bond that can be effortlessly removed without leaving behind any residue or damaging the surface. Permanent Glue Dots provide a robust hold for long-term projects. And for those extra-demanding tasks, super-strength Glue Dots are here to save the day.
Applications:
- Arts and Crafts Marvels: Unleash your creativity with confidence as you embark on stunning scrapbooking projects, create enchanting handmade cards, or craft intricate paper wonders using Glue Dots. Their precise application ensures your projects remain intact without any unsightly glue smudges spoiling your masterpiece.
- Packaging Perfection: Whether you’re sealing envelopes, attaching labels, or securing small items in gift boxes, Glue Dots are the epitome of adhesive perfection. Their formidable hold ensures your packages stay sealed until they reach their eagerly awaiting recipients.
- Home Decor Dreams: Mounting treasured photos and posters on your walls has never been easier. Glue Dots offer a secure hold without causing any damage to your precious memories or leaving behind any unsightly residue.
- Quick Fixes and Temporary Solutions: In need of a swift repair for a broken item? Glue Dots can provide an ingenious temporary solution until you can properly mend it. Their remarkable versatility allows them to bond various materials, offering a temporary fix until a more permanent solution can be implemented.
Advantages of Using Glue Dots
These small adhesive wonders offer a multitude of advantages over traditional liquid glue or tape, making them a must-have for all your crafting and bonding needs.
First and foremost, let’s talk about the mess-free application of glue dots. Unlike liquid glue, glue dots don’t drip or leave behind any sticky residue. That means no more sticky fingers or ruined projects. This makes them perfect for delicate projects or when working with children who tend to get a little too enthusiastic with the glue.
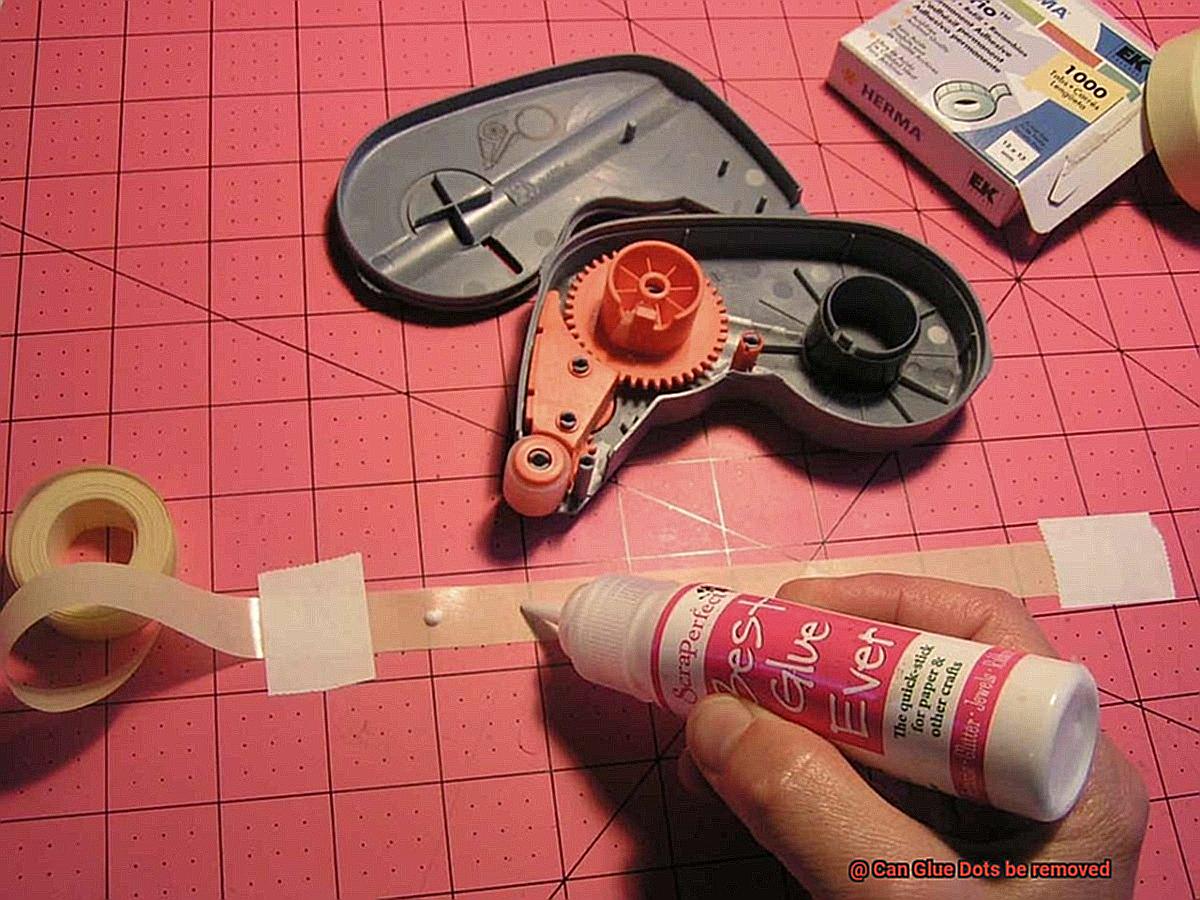
Not only are glue dots mess-free, but they are also incredibly easy to use. They come in various formats, such as rolls, sheets, or individual dots, allowing you to choose the right size and shape for your needs. All you have to do is press the dot onto the desired surface, eliminating the need for specialized tools or equipment.
But don’t let their small size fool you – glue dots are mighty in strength and durability. Despite their tiny stature, they have a strong adhesive bond that can hold various materials together. From paper and cardstock to fabric and plastic, glue dots can handle it all. They are perfect for crafting, scrapbooking, packaging, and even product assembly.
One of the best things about glue dots is their versatility. They work on different surfaces, whether smooth, rough, or uneven textures. Whether you’re working on a glass surface or a textured cardboard box, glue dots will provide a reliable bond.
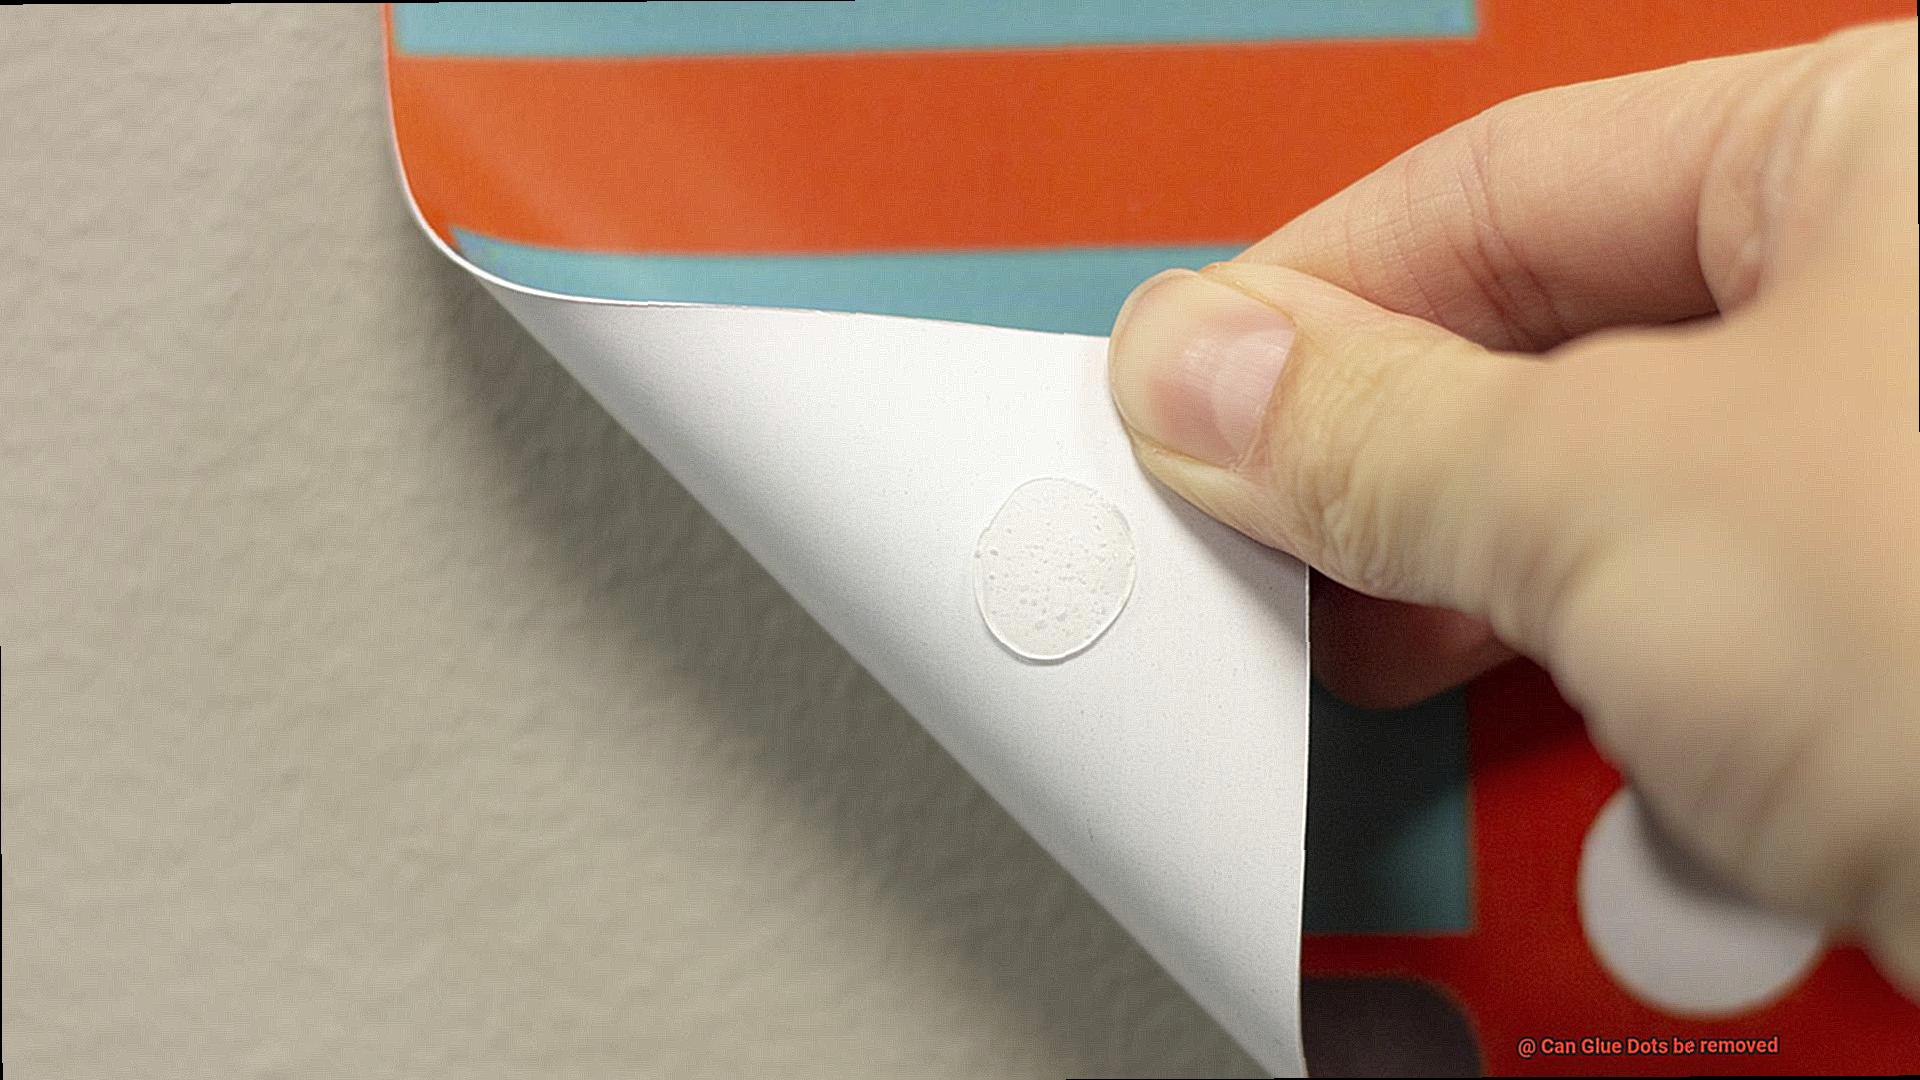
What if you make a mistake or need to adjust the positioning of an item? No worries. Glue dots are often repositionable. You can simply peel off the dot and reapply it elsewhere without damaging the surface or leaving any residue behind. This feature is particularly useful in projects that require precision or trial and error.
Time is precious, and that’s why quick drying time is another advantage of using glue dots. Unlike liquid glue that requires time to dry and set, glue dots instantly create a strong bond upon application. This saves valuable time and allows for immediate handling of the bonded items.
Furthermore, glue dots come in different levels of adhesive strength. Whether you need a temporary bond or a permanent one, there is a glue dot option to suit your needs. This customization ensures that you have the perfect solution for each project.
Disadvantages of Using Glue Dots
Glue dots are undeniably a convenient and efficient adhesive solution for various crafting and bonding projects. However, it is crucial to recognize that they come with their fair share of disadvantages. Let’s delve deeper into the drawbacks of using glue dots to gain a comprehensive understanding of their limitations.
Firstly, one of the prominent issues with glue dots is their tendency to leave behind a sticky residue. This residue can pose a significant challenge when it comes to removal, particularly on surfaces that require cleanliness and pristine conditions, such as glass or electronics. Removing the residue often necessitates the use of solvents or other cleaning agents, adding an extra step to the project and potentially causing damage to the surface.
Another disadvantage is the limited repositioning capabilities of glue dots. Once an item is stuck down with a glue dot, adjusting or moving it becomes challenging without causing damage. This limitation can be extremely frustrating when working on projects that demand precise placement or when errors need to be corrected.
Moreover, glue dots may not adhere well to certain surfaces. Textured paper or fabric, for example, can pose difficulties for glue dots to stick effectively. Additionally, adhesive bonding may not be successful on oily or greasy surfaces, further limiting their versatility.
The visibility of glue dots is another disadvantage worth mentioning. Depending on their size and color, glue dots can be conspicuous on the surface of your project. This drawback can be particularly disheartening for crafts or decorative items where aesthetics hold great importance.
Furthermore, glue dots have limited strength. Although they are suitable for lightweight materials, they may not provide enough adhesive power for heavier items or thick materials that require a stronger bond. If you need to secure heavy embellishments or join thick materials together, glue dots may not be the most reliable option.
Lastly, temperature sensitivity is a factor that cannot be overlooked when using glue dots. Extreme heat or cold can cause them to lose their adhesive properties, resulting in items becoming unsecured or falling off. This limitation becomes especially problematic when using glue dots in environments with fluctuating temperatures or when working on projects that will be exposed to varying conditions.
Heat Removal Method for Glue Dots
Glue dots, those unsung heroes of the adhesive world, provide a quick and easy bonding solution for countless applications. But what about when you need to remove them without leaving behind a sticky mess? Fear not. Enter the heat removal method, a secret weapon in the battle against stubborn glue dots.
So, how does heat work its magic on these pesky adhesive dots? It’s all about softening up the glue to make it easier to peel off. And lucky for us, there are several ways to apply heat and achieve this magical result.
Hairdryer or Heat Gun:
- Aim hot air at the glue dot for a few seconds.
- Feel the warmth as the glue dot becomes more pliable.
- Gently peel it off using your fingers or a plastic scraper.
Iron:
- Set it to a low heat setting.
- Place a thin cloth or parchment paper over the glue dot.
- Press the iron onto the cloth for a few seconds.
- Feel the heat transfer through the fabric and soften the glue dot.
- Peel it off with ease using a plastic scraper or your nimble fingers.
Heat Press Machine:
- Perfect for larger glue dots or bigger areas.
- Place your item with the glue dot between two sheets of parchment paper.
- Run it through the heat press machine at a low temperature for a short duration.
- Watch as the heat works its magic, making it a breeze to remove that stubborn glue dot.

Before unleashing the full force of heat, it’s crucial to test any method on a small, inconspicuous area first. This precaution ensures that you won’t cause any damage or discoloration to your precious belongings. And if you’re handling heat-sensitive materials, exercise extra caution, as excessive heat can cause warping or melting.
Once you’ve successfully removed the glue dot using the heat method, you might encounter some residual adhesive left behind. No worries. A mild solvent like rubbing alcohol or adhesive remover will come to the rescue. Apply a small amount of the solvent to a cloth or cotton ball, and gently rub the residue until it lifts off, leaving your surface clean and glue-free.
Adhesive Remover or Solvent Removal Method for Glue Dots
Glue dots are a convenient way to stick things together temporarily, but removing them can be a sticky situation. Thankfully, adhesive removers and solvents are the superheroes that can save the day.
Here, we will explore the best methods for removing glue dots, comparing the use of adhesive removers and solvents. By the end, you’ll have the knowledge to bid farewell to stubborn glue dots without leaving behind any residue.
Types of Adhesive Removers:
When it comes to removing glue dots, different surfaces call for different solutions. Here are three common types of adhesive removers:
Citrus-Based Solvents:
Gentle and safe for delicate surfaces like glass or plastic, citrus-based solvents work by breaking down the adhesive bond of glue dots. To use them, apply a small amount onto a clean cloth or cotton ball and gently rub it over the glue dot. Allow it a few minutes to penetrate and soften the adhesive.
Alcohol-Based Solvents:
For surfaces like metal or wood, alcohol-based solvents are ideal. They dissolve the adhesive, making it easier to remove. Isopropyl alcohol is a commonly used solution in this category. Apply it in the same manner as citrus-based solvents and give it some time to work its magic.
Acetone-Based Solvents:
While effective at removing glue dots, acetone-based solvents should be used with caution as they can damage certain surfaces, particularly plastics. Nail polish remover is an example of an acetone-based solvent. Test it on a small, inconspicuous area before use and proceed carefully if it proves safe for your surface.
The Removal Process:
To remove glue dots effectively using an adhesive remover or solvent, follow these steps:
- Test a small area: Before applying any adhesive remover or solvent, test it on a small, hidden area of the surface to ensure it won’t cause damage or discoloration.
- Apply the remover: Once you’ve selected the appropriate adhesive remover, apply a small amount onto a clean cloth or cotton ball.
- Soften the adhesive: Gently rub the remover over the glue dot, allowing it to penetrate and soften the adhesive. Be patient and give it a few minutes to work its magic.
- Peel off the glue dot: Once the adhesive has softened, use your fingers or a plastic scraper to gently peel off the glue dot. Be careful not to scratch or damage the surface in the process.
- Repeat if necessary: If any residue remains, reapply the adhesive remover or solvent and repeat the process until all traces of the glue dot are gone.
- Clean the surface: After removing the glue dots, clean the surface with soap and water to remove any leftover residue from the adhesive remover or solvent.
Household Items That Can Act as Solvents to Remove Glue Dots
Glue dots can be a real nuisance, leaving behind sticky residue that seems impossible to remove. But fear not. In your very own household, there are several heroes that can act as solvents to dissolve those pesky glue dots. Get ready to bid farewell to sticky situations with these household items.
Rubbing Alcohol – The Unsung Hero:
Trusty rubbing alcohol is a master at breaking down adhesive bonds. Simply soak a cotton ball or cloth in rubbing alcohol and gently rub it over the glue dot. Let the alcohol work its magic for a few minutes before attempting to remove the glue dot. Adhesive no more.
Vinegar – The Acidic Warrior:
In every household, vinegar is the unsung hero that saves the day in many cleaning endeavors. Its acidic properties make it an excellent solvent for glue dots. Soak a cloth or cotton ball in vinegar, apply it to the glue dot, and let it sit for a few minutes. The vinegar will weaken the adhesive bond, allowing you to remove the glue dot with ease.
Cooking Oil – The Slippery Savior:
Who knew that cooking oil was not only good for cooking but also for defeating glue dots? Apply a small amount of vegetable or olive oil onto a cloth or cotton ball and rub it onto the stubborn glue dot. Allow the oil to sit for a few minutes to dissolve the adhesive. Then watch as the glue dot slides right off.
Nail Polish Remover – The Acetone Avenger:
Nail polish remover contains acetone, known for its adhesive-dissolving powers. Apply a small amount of nail polish remover to a cloth or cotton ball, gently rub it over the glue dot, and let it sit for a few minutes.
Hand Sanitizer – The Germ-Killing Superstar:
Hand sanitizer’s high alcohol content acts as a solvent, breaking down the adhesive bond of glue dots. Apply a small amount onto a cloth or cotton ball, gently rub it over the glue dot, and let it work its magic for a few minutes. Adhesive conquered.
WD-40 – The Lubricating Legend:
Who knew that WD-40 was not only great for squeaky hinges but also for removing glue dots? This versatile lubricant penetrates the adhesive, making it easier to remove. Spray a small amount onto a cloth or cotton ball, rub it over the glue dot, and let it sit for a few minutes. Watch in awe as the glue dot surrenders.
Freezing as a Method to Remove Glue Dots
Glue dots are formidable adhesive warriors, designed to stick things together with tenacity and strength. However, when the time comes to bid adieu to these sticky foes, removing them can become a battle of its own.
In this blog post, we will explore an effective and chilly method to conquer those stubborn glue dots – freezing.
Why Freezing Works:
Freezing has long been hailed as a reliable method for weakening the adhesive properties of glue dots. By subjecting them to cold temperatures, the once-mighty adhesive becomes brittle and less sticky, rendering it easier to remove from surfaces. So, let’s delve into the step-by-step process of using freezing as a glue dot removal technique.
Step 1: Prepare for Freezing
Begin by placing the item adorned with glue dots into a freezer-safe bag or container. Ensure that the dots are facing upwards, away from any other surfaces or items that may impede their liberation.
Step 2: Into the Freezer
With a sense of anticipation, gently place the bag or container into the frosty realm of the freezer. Allow it to reside there for a few hours or, for optimal results, overnight. Remember, patience is key in this icy endeavor.
Step 3: Thaw Time
Once the freezing period has concluded, retrieve the item from its icy abode and allow it to thaw at room temperature for a few minutes. This crucial step helps make the adhesive less brittle, ensuring an easier removal process.
Step 4: Peel Away
With thawing complete, summon your finesse and gently peel off the glue dots using your fingers or a plastic scraper. Should any residue persist, fear not. A mild adhesive remover or rubbing alcohol can swoop in to save the day.
Important Considerations:
While freezing proves effective for most glue dots and surfaces, it may not work universally. Some adhesive formulas are more resistant to freezing, necessitating additional techniques for their removal. Furthermore, delicate or sensitive surfaces may be susceptible to damage or discoloration when exposed to freezing temperatures. Exercise caution and test this method on a small, inconspicuous area before tackling larger surfaces.
Factors That Affect the Effectiveness of Removal Methods for Glue Dots
Here, we will discuss the various factors that can affect the effectiveness of removal methods for glue dots. Armed with this knowledge, you’ll be equipped to tackle those pesky glue dots head-on.
First and foremost, let’s talk about surface material. The type of surface material you’re dealing with can greatly influence the success of removing glue dots. Smooth and non-porous surfaces like glass or metal are generally easier to work with, as the adhesive doesn’t penetrate deeply into the material. However, porous materials like fabric or cardboard can absorb the adhesive, making it more challenging to remove glue dots completely.
Next up is adhesive strength. Glue dots come in different adhesive strengths, ranging from low-tack to high-tack. The adhesive strength directly impacts how easily or difficult it is to remove glue dots. Low-tack glue dots are designed to be easily removable without leaving any residue behind. High-tack glue dots, on the other hand, provide a stronger bond and may require more effort to remove.
The duration of bonding is another factor to consider. If the glue dots have been bonded to a surface for a long time, they may become more firmly attached, making it harder to remove them. In such cases, additional techniques or products may be required to loosen the adhesive bond.
Environmental factors like temperature and humidity also come into play. High temperatures can soften the adhesive, making it easier to remove the glue dots. So if you’re dealing with stubborn glue dots, try applying some heat to loosen their grip. Conversely, low temperatures can make the adhesive more brittle and facilitate their removal.
Now let’s talk about the removal method itself. There are several techniques available, including peeling off by hand, using heat or solvents, freezing, or using specialized adhesive removers. The choice of method depends on factors such as the surface material and adhesive strength. It’s important to select a method that is suitable for the specific situation to ensure effective removal without causing any damage.
Lastly, even after successfully removing glue dots, there may be some adhesive residue left behind. The ease of removing this residue can vary depending on the surface material and adhesive type. Some surfaces may require additional cleaning or the use of specific solvents to eliminate any remaining residue.
aMgth8XVq74″ >
Conclusion
Yes, Glue Dots can be easily removed without leaving any residue or damaging the surface they were applied to.
Whether you’re using them for crafts, home improvement projects, or office tasks, removing Glue Dots is a breeze. Simply peel them off gently and watch as they effortlessly detach from the surface.
No need to worry about sticky residue or unsightly marks – Glue Dots are designed to be removable and leave no trace behind.