Forget what you’ve always known about soldering copper pipes together. It’s time to explore a whole new world of possibilities – gluing. Yes, you heard that right. You can actually glue copper pipes together.
So, if you’re tired of the hassle and mess of soldering, this blog post is for you. Get ready to dive into the exciting realm of gluing copper pipes as we uncover the process, advantages, and important things to consider.
With plumbing projects becoming more complex and diverse, gluing copper pipes has emerged as a reliable alternative that simplifies installation and eliminates the need for fancy soldering equipment. Join me on this adventure as we unravel the secrets behind bonding copper pipes using adhesives. Whether you’re a seasoned pro or just starting out with your DIY dreams, this guide will equip you with all the knowledge you need to make confident decisions when it comes to installing copper pipes.
So, grab your glue gun (figuratively speaking) and get ready to discover how gluing copper pipes can revolutionize your plumbing game.
What is Copper Pipe?
Contents
Copper pipe, a versatile material used in plumbing and heating systems, is celebrated for its durability, conductivity, and corrosion resistance. Let’s explore the world of copper pipe in more detail to understand why it is such a popular choice in the industry.
First and foremost, copper pipes boast exceptional durability, capable of withstanding high temperatures and pressures. This makes them suitable for both hot and cold water supply systems. Additionally, their excellent resistance to chemicals allows them to transport various fluids without degradation.
One of the key advantages of copper pipes is their ease of installation. They can be easily bent and shaped to fit the required layout, minimizing the need for additional fittings and joints. This not only simplifies the installation process but also reduces the risk of potential leaks.
Beyond functionality, copper pipes bring aesthetic appeal to plumbing systems. The natural reddish-brown color of copper adds a touch of elegance, making them visually pleasing.
Furthermore, copper pipes have proven to be highly reliable over time. They are commonly used in residential, commercial, and industrial applications, especially in areas with harsh water conditions or aggressive soils. Copper’s corrosion resistance helps prolong the lifespan of plumbing systems, saving money on repairs and replacements.
Maintenance-wise, copper pipes require minimal upkeep. They do not rust or corrode easily and do not require protective coatings like other metals.
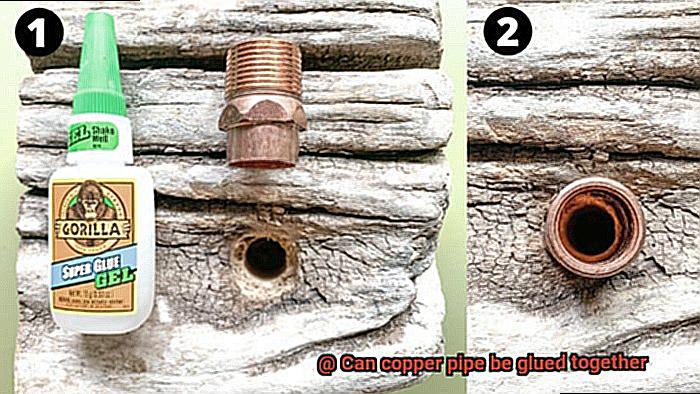
Can Copper Pipe be Glued Together?
Today, we embark on an exciting journey through the world of copper pipes, delving into the realm of gluing as an alternative method for joining them together. Yes, you heard it right – we’re exploring the art of gluing copper pipes. While soldering and brazing have long been the go-to techniques, gluing can offer a convenient option for specific situations. So, grab your tool belt, put on your thinking caps, and let’s dive in.
The Force of Epoxy Adhesive:
When it comes to gluing copper pipes, one adhesive claims the spotlight – epoxy. This superhero-like adhesive consists of two components: a resin and a hardener. When these two powerful elements mix together, they create an unbreakable bond that stands the test of time.
Prepping for Success:
Before embarking on the gluing process, proper preparation is crucial. Cleanliness is key here. Equip yourself with sandpaper or a wire brush to banish any dirt, grease, or oxidation from the surfaces. Wipe them down with a cleaner or solvent to ensure a pristine canvas for adhesive application.
Applying the Adhesive:
Now comes the thrilling part – applying the epoxy adhesive. Follow the manufacturer’s instructions meticulously for mixing the resin and hardener. Once blended to perfection, apply the adhesive evenly across the clean copper pipe surfaces. Leave no inch untouched.
Bonding Time:
It’s time to bring those pipes together. Press the glued surfaces firmly and hold them in place until the adhesive sets. Depending on the specific product used, this may take a few hours or even several days. Embrace clamps or other securing methods to ensure a tight fit during curing.
Quality Assurance:
While gluing copper pipes can be a remarkable option, it’s important to note that it may not offer the same level of strength as soldering or brazing. Therefore, consulting a professional or adhering to local plumbing codes and regulations is always recommended. Safety should prevail.
Adhesives Used for Copper Piping
Strap on your safety goggles and prepare to embark on a journey into the world of adhesives designed specifically for those gleaming copper pipes.
Solder – The Classic Choice:
Ah, soldering. It’s the Fred Astaire of joining methods, elegant and timeless. Solder, a metal alloy of tin and lead (or lead-free alternatives), creates a robust bond when heated. But beware, soldering requires skill and practice.
Advantages:
- Provides a strong and permanent bond.
- Ideal for high-pressure systems.
- Suitable for small repairs and large plumbing projects.
Disadvantages:
- Requires heat application with a torch or soldering iron.
- Demands skilled technique honed over time.
- Restricted in some regions due to environmental concerns about lead-based solder.
Soldering Paste – Convenience Meets Bonding Power:
For a user-friendly option, look no further than soldering paste. This mixture of flux compound and solder powder comes in paste or gel form.
Advantages:
- Flux in the paste cleans and prepares surfaces for bonding.
- No need for separate flux application.
- Offers a strong bond when heated.
Disadvantages:
- Still requires heat application for bonding.
- Messy if not applied correctly.
- May not offer the same strength as traditional solder.
Exploring Alternatives:

In recent years, epoxy and polyurethane-based adhesives have gained popularity as alternatives for gluing copper pipes. These adhesives boast faster curing times, no need for heat application, and compatibility with various materials.
Advantages:
- Faster curing times.
- No need for heat application.
- Suitable for smaller repairs and non-critical plumbing connections.
Disadvantages:
- May not provide the same strength and durability as solder.
- Not recommended for high-pressure systems or critical plumbing connections.
- Compatibility with copper and other materials may vary.
Preparing the Copper Pipes for Gluing
Welcome to the captivating realm of copper pipe gluing. Get ready to feel like a master plumber as we embark on a journey that will leave you with a strong and reliable bond. Preparing copper pipes for gluing is a crucial step, so let’s break it down, step by step.
Step 1: Cleanliness is Key
Before reaching for that glue, ensure your copper pipes are squeaky clean. Scrub them with a pipe cleaning brush or an abrasive cloth, paying close attention to the areas where the pipes will be joined. Debris or grease can hinder the bonding process. Remember, a clean pipe is a happy pipe.
Step 2: Priming for Success
Once your pipes are sparkling clean, apply a primer. This magical elixir removes any remaining dirt or residue and promotes adhesion between the pipe and the glue. Apply the primer evenly and let it dry completely before moving on to the next step.
Step 3: Choose Your Glue Wisely
Now comes the fun part – choosing the glue. Pick one specifically designed for copper pipes. Whether it’s solvent-based or epoxy adhesive, do your research and select the perfect fit for your project.
Step 4: Glue Application 101
Take a deep breath because it’s time to apply the glue. Follow the manufacturer’s instructions carefully – they know what they’re talking about. Apply a thin layer of glue to both the inside of the fitting and the outside of the pipe. Coat all surfaces evenly, but don’t go overboard. Too much glue can result in excess oozing out when you insert the pipe into the fitting.
Step 5: The Perfect Union
With the glue applied, join those pipes together. Insert the pipe into the fitting with a gentle twisting motion for a snug fit. Hold it in place for a few seconds to allow the glue to work its magic and set.
Step 6: Patience is a Virtue
Resist the urge to test the joint’s strength immediately. Give the glue enough time to fully cure before applying any pressure or strain. The curing time varies, so consult the manufacturer’s instructions for guidance.
Applying the Adhesive to the Copper Pipes
In this comprehensive guide, we’ll take you step by step through the process of applying adhesive to copper pipes. So grab your tools and let’s dive in.
Step 1: Cleanliness is Key
To ensure a successful bond, cleanliness is paramount. Use a pipe cleaning brush or abrasive cloth to remove any dirt, debris, or grease from the copper pipes. Pay extra attention to the areas where the pipes will be joined, as cleanliness is the foundation of a strong connection.
Step 2: Priming for Success
Once the pipes are clean, apply a primer to promote better adhesion between the pipe and the adhesive. This primer removes any lingering residue and ensures a solid bond. Allow the primer to dry completely before proceeding to the next step.
Step 3: Choose Your Glue Wisely
Select an adhesive specifically designed for copper pipes. Whether you prefer solvent-based adhesives or epoxy wonders, do your research and find the best fit for your project. Using the right glue is crucial for creating a durable connection.
Step 4: Glue Application 101
Follow the manufacturer’s instructions carefully when applying the glue. Apply a thin layer of glue to both the inside of the fitting and the outside of the pipe. It’s important to coat all surfaces evenly without going overboard. Remember, too much glue can result in messy joints or weak connections.
Step 5: The Perfect Union
With the glue applied, it’s time to bring those pipes together in a harmonious union. Insert the pipe into the fitting with a gentle twisting motion, ensuring a snug fit. Hold it in place for a few seconds, allowing the glue to work its magic and set. This step is crucial for creating a strong and secure connection.
Step 6: Patience is a Virtue
After joining the pipes, allow sufficient time for the adhesive to cure and form a robust bond. The curing time may vary depending on the type of adhesive used, so refer to the manufacturer’s instructions. Avoid disturbing or putting stress on the joint during this period.
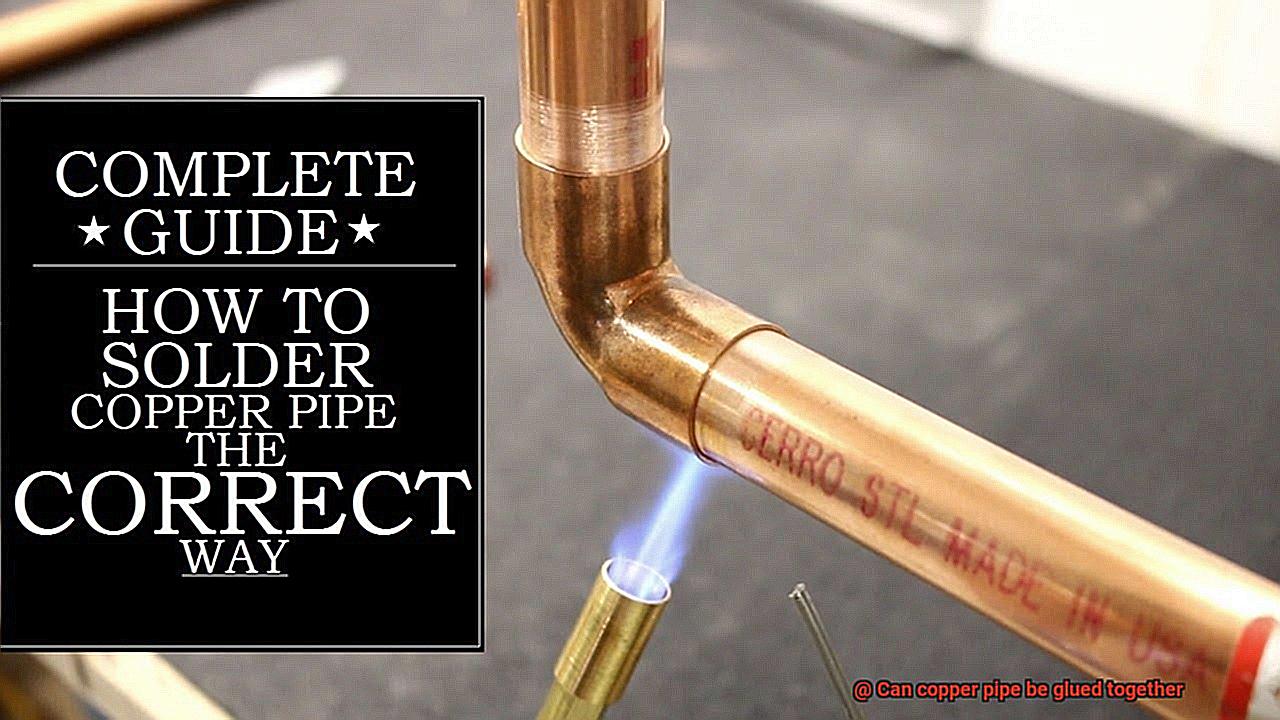
Joining the Pipes Together
In this masterclass, we will unveil the steps to achieve a strong and watertight connection through the mesmerizing process of soldering. Get ready to become a true maestro in the realm of pipes.
Step 1: Prepare the Pipes
Begin your journey by cleaning the ends of the copper pipes with a wire brush or specialized emery cloth. This essential step ensures that no obstacles hinder the bonding process, allowing you to create flawless connections.
Step 2: Flux It Up.
Now that your pipes are gleaming, it’s time to apply the magical touch of flux. Acting as the cupid of soldering, flux removes oxidation and enables proper adhesion between copper and solder. Choose a high-quality flux that prevents oxidation during heating, ensuring a long-lasting bond.
Step 3: Fit Them Snugly
With flux in place, carefully fit the cleaned ends of the copper pipes together. Take your time to ensure a tight and snug fit. Remember, a single gap or space can spell disaster in the form of pesky leaks – and we won’t stand for that.
Step 4: Heat Things Up
Now, prepare to be amazed as you add heat to the equation. Grab your trusty propane torch or soldering iron and gently heat the joint area. Witness as the heat melts the solder, drawing it into the joint through capillary action. Keep in mind that even heat distribution is key, as overheating can weaken or damage the copper.
Step 5: The Perfect Amount of Solder
As the solder melts like liquid gold, it fills in the spaces between the pipes, creating an unbreakable connection. However, be mindful not to use too much or too little solder, as it can affect the strength and integrity of the joint. Practice makes perfect, so hone your skills to achieve soldering mastery.
Alternative Methods:
In certain scenarios, soldering may not be practical or feasible. Fear not, for there are alternative methods to save the day. For larger diameter pipes or unique situations, consider utilizing compression fittings or mechanical connectors. These specialized fittings provide secure connections without the need for soldering, offering versatility in your plumbing endeavors.
Curing and Finishing the Bonded Joints
Gluing copper pipes is no ordinary task. It requires finesse and attention to detail, especially when it comes to curing and finishing the bonded joints. In this article, we will delve into the essential steps that will guarantee not only strong and durable joints but also visually stunning results. Whether you’re a seasoned DIY enthusiast or a professional plumber, these techniques will elevate your copper pipe gluing game to new heights.
Curing Time: The Foundation of Strength
The key to a rock-solid joint lies in the curing time. During this critical period, the adhesive sets and establishes an unbreakable bond between the surfaces. It is imperative to adhere to the manufacturer’s recommendations for the specific adhesive you are using. Any movement or disturbance during this time can compromise the strength of the bond and jeopardize the integrity of your joint.
Removing Excess Adhesive: Achieving Flawlessness
Once the curing process is complete, meticulous inspection of the joint is essential to identify any excess adhesive. With precision and care, remove any remnants using a suitable solvent or employ gentle scraping techniques. Remember to prioritize safety precautions outlined by the adhesive manufacturer, ensuring proper handling of solvents for optimal results.
Finishing Touches: The Art of Refinement
To attain a flawless, polished look, introduce sandpaper or an abrasive material into your arsenal. These tools will buff away any rough edges or imperfections on the joint’s surface, leaving behind a smooth and professional finish. Exercise caution throughout this process to avoid inflicting damage on the bond or creating uneven surfaces.
Sealing for Protection and Aesthetics
For added protection against corrosion and to enhance visual appeal, consider applying a compatible sealant or coating over the bonded joint. However, exercise caution to ensure that the chosen sealant or coating does not compromise the strength of the adhesive. By striking the perfect balance between protection and aesthetics, you will achieve a stunning final product.
Benefits of Gluing Copper Pipe vs Soldering
When it comes to joining copper pipes, there are two main methods: soldering and gluing. While soldering has long been the traditional choice, gluing copper pipes is gaining popularity due to its ease of use, time efficiency, cost-effectiveness, and versatility. In this article, we will explore the numerous benefits of using glue for copper piping, providing you with valuable insights into this alternative technique.
Ease of Use:
- Gluing offers a more accessible option for both DIY enthusiasts and beginners.
- Unlike soldering, which requires specialized skills and equipment, gluing only requires a suitable adhesive and proper pipe surface preparation.
- With a simple application process, gluing ensures hassle-free installations every time.
Time Efficiency:
- Save valuable time by opting for gluing instead of soldering.
- Gluing simply requires applying adhesive to prepared surfaces and joining them together, while soldering involves heating the pipe and fittings to melt solder.
- This streamlined process allows for quicker installations, reducing project completion times significantly.
Cost Effectiveness:
- Gluing is a cost-effective solution for joining copper pipes.
- Soldering requires additional materials such as flux and solder, which can add up in terms of costs.
- Gluing typically only requires the adhesive itself, which is often more affordable than soldering materials.
- By choosing gluing over soldering, you can save money without compromising the strength or durability of your joints.
Versatility:
- Gluing offers greater versatility compared to soldering when it comes to joining copper pipes.
- Glued joints can be used in various applications, including underground or concealed installations where soldering might be challenging or impractical.
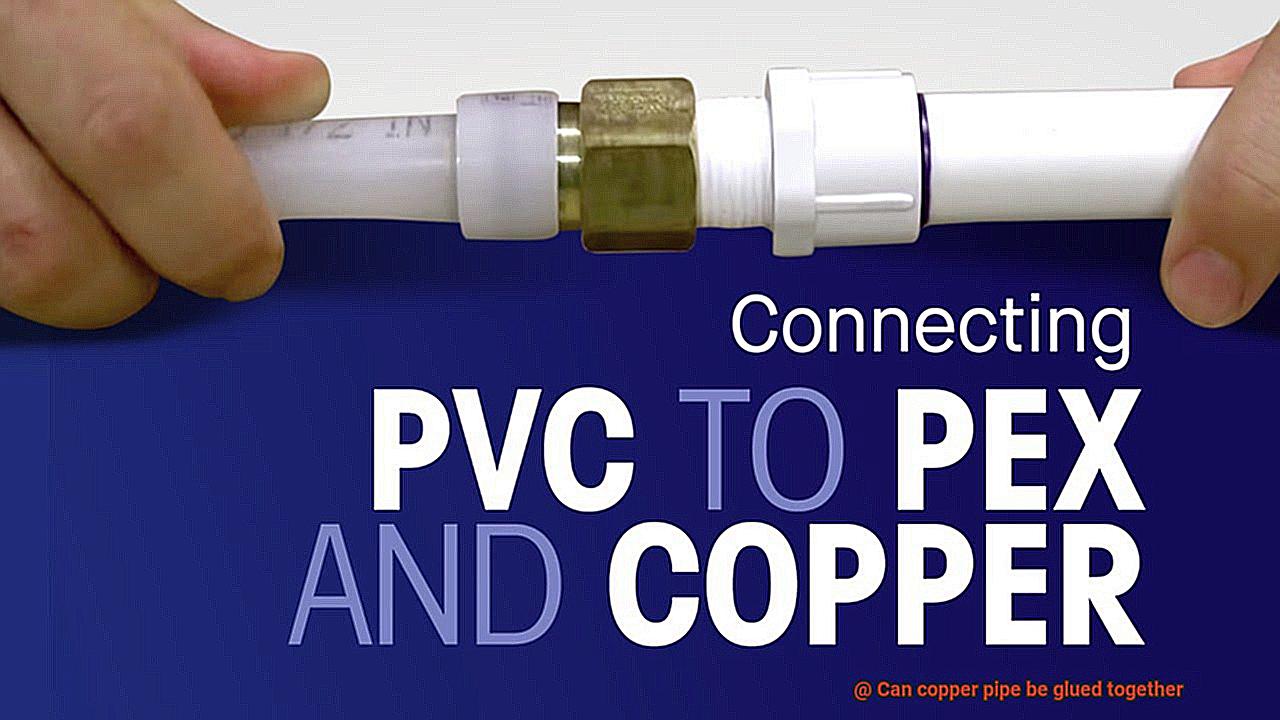
- Additionally, gluing allows for joining copper pipes with different diameters or even different materials, expanding the range of possibilities in plumbing projects.
No Heat Damage:
- With gluing, there is no need for heat, eliminating the risk of heat damage to surrounding components or materials.
- Soldering involves applying heat to melt solder, which can potentially cause damage to nearby objects that are sensitive to high temperatures.
- Gluing ensures a safer and more convenient installation process without compromising the quality of the joints.
Durability:
- Glued connections offer excellent long-term durability.
- The adhesive used for gluing copper pipes is designed to provide a reliable bond that can withstand pressure, temperature fluctuations, and other stress factors.
- Properly glued joints can last for many years without any issues, ensuring a reliable and robust plumbing system.
zb9mEsRInrk” >
Conclusion
In conclusion, it is not possible to glue copper pipes together.
Copper pipes are typically joined using soldering or brazing techniques that involve heating the metal and applying a filler material to create a strong bond. Gluing copper pipes would not provide the same level of durability and reliability as soldering or brazing.
Gluing copper pipes would not be able to achieve this level of strength and stability.