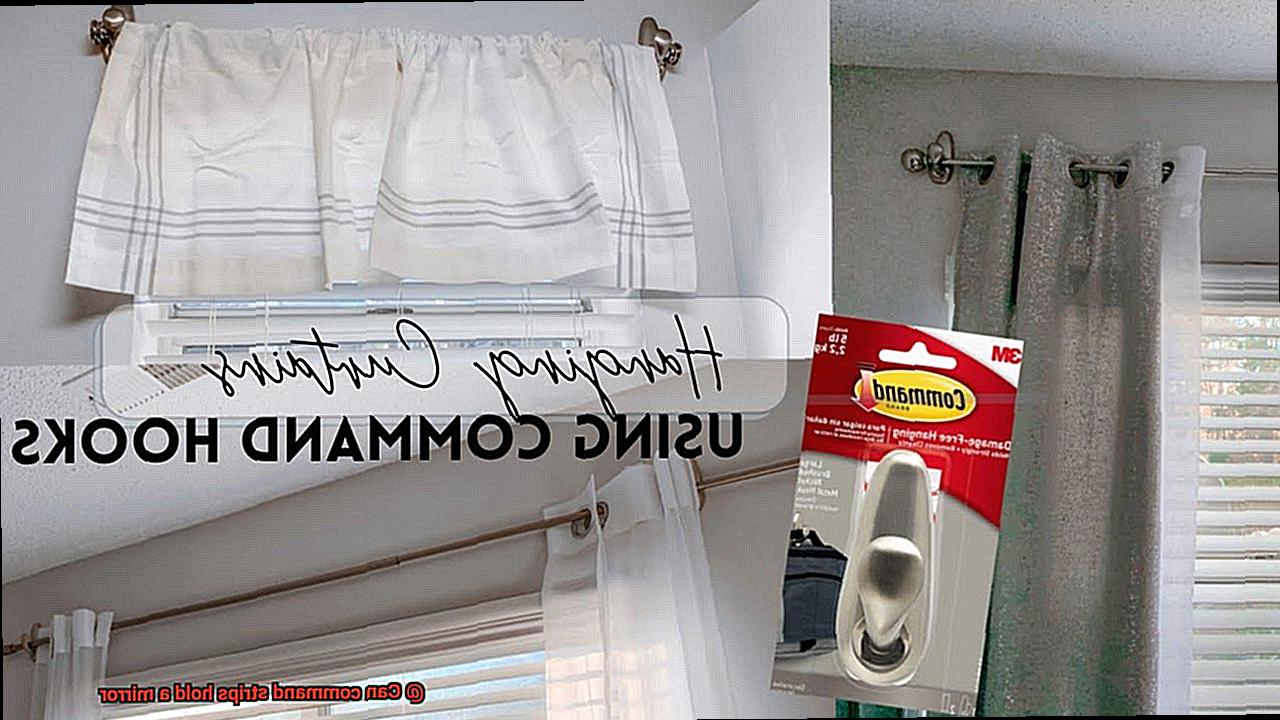
Want to jazz up your living space without drilling holes or causing damage? Well, guess what? Command Strips are here to save the day and hold your precious mirrors securely in place.
No more relying on nails and screws. Command Strips are the ultimate game-changer when it comes to hanging mirrors. From small vanity mirrors to big statement pieces, these magical adhesives offer a hassle-free solution that won’t wreck your walls or require a degree in DIY.
So, how do they work their magic? It’s all about the special adhesive technology. Command Strips are designed with an adhesive strip and a hook or clip combo. The strips stick like glue to the back of your mirror, while the hook or clip locks into place for extra security.
But wait, before you go sticking strips everywhere, there are a few things you need to know. Consider the weight of your mirror, the type of surface you’re working with, and the conditions of your space. These factors will help you choose the right type of Command Strip for your needs.
Stick around (pun intended) as I spill all the details. We’ll explore different types of Command Strips, weight limits, and give you a step-by-step guide to ensure your mirror stays put. Trust me, this practical and time-saving solution offered by Command Strips is something you don’t want to miss out on.
The Weight Limit of Command Strips
Contents
- 1 The Weight Limit of Command Strips
- 2 Preparing the Surface for Command Strips
- 3 How to Apply Command Strips
- 4 Distributing Weight Evenly with Multiple Strips
- 5 Following Manufacturer Guidelines for Maximum Adhesion
- 6 Alternatives to Command Strips for Heavier Mirrors
- 7 Regularly Check Adhesive Performance
- 8 Conclusion
Hanging a mirror can be a tricky task, especially if you’re concerned about damaging your walls. Luckily, Command Strips offer a convenient and damage-free solution. But can they really hold your mirror securely? Let’s dive into the weight limit of Command Strips to find out.
Determining the Weight:
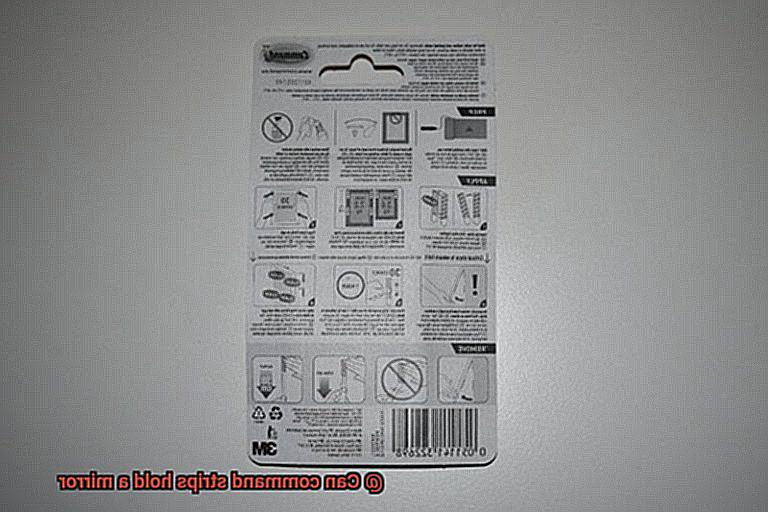
Before using Command Strips to hang your mirror, it’s crucial to know their weight limit. Various types of Command Strips are available, each with its own weight capacity. Typically, these limits range from a few pounds to around 16 pounds. To determine the weight of your mirror, use a scale or refer to the manufacturer’s specifications. Don’t forget to factor in any additional accessories like frames or decorative elements.
Choosing the Right Strip:
To ensure a secure hold, it’s essential to select the appropriate Command Strip that matches or exceeds your mirror’s weight. It’s always recommended to choose a strip with a higher weight limit than your mirror’s actual weight for added peace of mind.
Surface Preparation:
Properly preparing the surface is key to achieving maximum adhesion with Command Strips. Ensure the area is clean and dry by using rubbing alcohol. Command Strips work best on smooth and clean surfaces like painted walls, metal, glass, or tile.
Proper Application:
Following the manufacturer’s instructions is crucial when applying Command Strips. Most strips require you to firmly press them for a specific duration to activate the adhesive properly. Applying sufficient pressure and holding it for the recommended time ensures a strong and secure hold.
Consider Environmental Factors:
Keep in mind that extreme temperatures or high humidity levels can weaken the adhesive’s effectiveness. Avoid using Command Strips in areas prone to temperature fluctuations or excessive moisture.
Monitoring and Maintenance:
Regularly check the performance of your Command Strips and replace or reinforce them if necessary. This proactive approach helps prevent accidents or damage and ensures your mirror stays securely in place.
Preparing the Surface for Command Strips
These handy adhesive strips are perfect for hanging mirrors without the hassle of drilling holes in your walls. But before you start sticking them on, it’s essential to properly prepare the surface to ensure a secure hold. After all, no one wants their beautiful mirror crashing down unexpectedly.
The first step in preparing the surface is to make sure it is squeaky clean and dry. Dust and moisture can seriously interfere with the adhesive’s ability to stick like a champ. Grab some mild detergent or rubbing alcohol and give that surface a good scrub. Follow the instructions on the cleaning agent carefully to avoid any accidental damage.
Once you’ve cleaned the surface, be patient and let it dry completely. Moisture is the enemy of adhesion, so take a deep breath and let that surface air-dry like a boss before moving forward.
Now, let’s talk about different types of surfaces. Command Strips are pretty versatile and can work their magic on painted walls, tiles, metal, wood, and even glass. However, some surfaces may require a little extra TLC.
If you’re dealing with freshly painted walls, hold your horses for at least a week before applying those strips. We want that paint to cure and harden properly for optimal stickiness.
Smooth surfaces like glass or metal might need a little sanding action. Grab some fine-grit sandpaper and gently roughen up the surface to create a slightly textured area for the Command Strips to grip onto. Remember, we’re going for “gently” here – we don’t want to go overboard and ruin anything.
Now, if you’re dealing with a porous or uneven surface like brick or textured wallpaper, it’s time to bring in reinforcements. Command Strips are awesome, but they have their limits. In this case, consider using screws or nails along with the strips to secure your mirror. Better safe than sorry.
When it comes to tiles or other smooth surfaces, avoid placing the strips over grout lines. The adhesive might not adhere as well to grout, and we want that mirror to stay put, right?
Before you go full-on mirror mode, do a little test run. Stick the Command Strips onto a small, inconspicuous area and let them sit for a few hours. This way, you can check if they’re strong enough to hold the weight of your mirror and if they’re properly adhering to the surface.
How to Apply Command Strips
If you’re looking for a hassle-free way to hang a mirror without the use of nails or screws, Command strips are the perfect solution. These adhesive strips are designed to securely hold lightweight objects like picture frames, posters, and decorations. But can they hold a mirror? Let’s find out.
Choosing the Right Command Strips
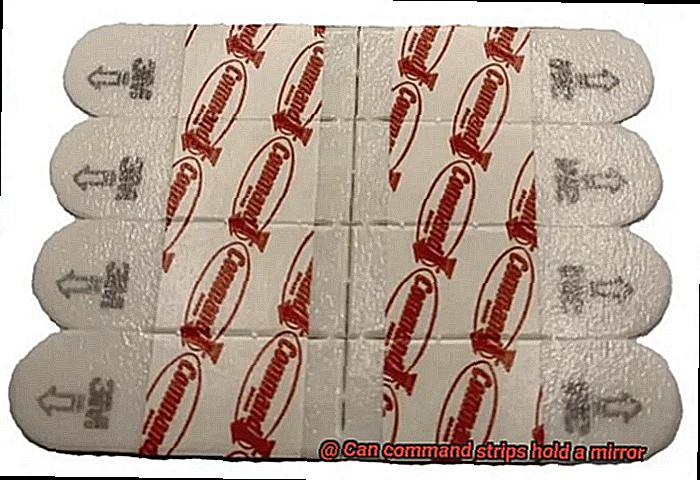
Before we dive into the steps, it’s crucial to choose the right command strips for your mirror. Command strips come in various sizes and weight capacities, so be sure to check the packaging or instructions to determine how much weight they can hold. If your mirror is heavier or larger, it’s best to use multiple command strips for added support.
Preparing the Surface
To ensure a strong bond, it’s important to prepare the surface where you’ll be attaching the command strips. Use rubbing alcohol or a mild cleaner to remove any dirt, dust, or grease. This will help the command strips adhere better and prevent them from falling off.
Measuring and Marking
Measure the dimensions of your mirror and mark the desired placement on the wall. It’s always a good idea to use a level to ensure your mirror will hang straight. After all, nobody wants a wonky mirror.
Applying the Command Strips
Now it’s time to apply the command strips. Start by removing one side of the backing from the strip and press it firmly onto the back of the mirror. Make sure it aligns properly with the edges of the mirror. Then, remove the remaining backing from the strip and press the mirror against the wall at the marked spot. Apply firm pressure for at least 30 seconds to ensure a strong bond.
Waiting and Hanging
After you’ve applied the command strips, it’s important to wait at least one hour before adding any additional weight or stress to them. This allows enough time for the adhesive to fully bond with both surfaces. Once the wait is over, go ahead and hang your mirror on the command strips. Take a step back and admire your handiwork.
Removing the Mirror
If you ever need to remove the mirror in the future, don’t worry. Command strips are known for their easy removal without leaving any residue or damaging surfaces. Carefully grasp one corner of the strip and slowly stretch it straight down along the wall. Avoid pulling it towards you or at an angle, as this may damage the wall surface.
Distributing Weight Evenly with Multiple Strips
Distributing weight evenly with multiple strips is essential for securely hanging a mirror using Command strips. To achieve this, follow these straightforward steps.
- Determine the weight of your mirror: Check the product specifications or weigh the mirror yourself to find its weight.
- Divide the weight evenly: Once you know the mirror’s weight, divide it equally among the Command strips you plan to use. For example, if your mirror weighs 20 pounds and you’re using four Command strips, aim for 5 pounds of weight per strip.
- Prepare the surface: Clean and dry the wall where you’ll attach the Command strips. This ensures a strong bond between the strip and the wall.
- Apply and activate the adhesive: Follow the manufacturer’s instructions to properly apply and activate the adhesive on each Command strip.
- Position the Command strips on the mirror: Space them evenly on the back of the mirror, placing one near each corner. Align them both horizontally and vertically to distribute the weight across the entire surface.
- Attach the Command strips: Firmly press each strip onto both the mirror and the wall for at least 30 seconds. This activates the adhesive and creates a strong bond.
- Give it time: Wait for at least an hour before hanging the mirror. This allows the adhesive to fully bond and provide maximum support.
Remember, always check the manufacturer’s guidelines as weight capacity may vary depending on specific products and surface conditions.
Following Manufacturer Guidelines for Maximum Adhesion
When it comes to hanging mirrors, Command strips are the answer to achieving maximum adhesion. These adhesive wonders provide a strong hold on various surfaces, but to ensure your mirror stays securely in place, it’s crucial to follow the manufacturer’s guidelines. Let’s dive into the research notes I’ve compiled to guide you through this sticky situation.
First and foremost, cleanliness is key. Before applying the Command strips, thoroughly clean the surface. Use rubbing alcohol or a similar cleaning solution to wipe away any dirt, dust, or grease. This will create a pristine canvas for your adhesive masterpiece. Remember, patience is a virtue – allow the surface to dry completely before moving on.
Now, let’s talk strategy. Command strips work best when the weight of the mirror is distributed evenly. Don’t be stingy – use multiple command strips for better support. Follow the instructions on the package to affix the strips properly. And here’s a pro tip: press firmly for at least 30 seconds to activate the adhesive and ensure a rock-solid bond.
Next comes the waiting game. Give those command strips some time to work their magic. Wait for at least one hour before hanging your mirror on them. This allows the adhesive to bond securely with the surface, ensuring maximum adhesion.
However, not all surfaces are created equal. Command strips may not adhere well to wallpaper, vinyl surfaces, or other delicate materials that could be damaged by their adhesive powers. If your mirror is heavier than what the command strips are rated for, it’s time to consider alternative mounting options like brackets or hooks designed specifically for heavy objects.
Once your mirror is up and shining brightly, don’t forget to give it some love and attention. Regularly check those command strips and make sure they’re still holding strong. If any strip becomes loose or shows signs of weakening, promptly replace it. After all, we don’t want any accidental mirror mishaps.
Alternatives to Command Strips for Heavier Mirrors
The power of a mirror to instantly transform a space is unparalleled. While command strips work wonders for lightweight mirrors, they often fall short when it comes to supporting heavier ones. If you’re on the hunt for alternative methods that provide a secure hold, fear not. This article explores various options beyond command strips, giving you the confidence to hang even the weightiest of mirrors.
Adhesive Hooks:
When it comes to hanging heavier mirrors, adhesive hooks designed for heavier objects are a game-changer. These hooks utilize stronger adhesives and boast a higher weight capacity than regular command strips. With a simple attachment to the wall, your mirror will be securely held in place.
Mirror Mounting Brackets or Clips:
Mirror mounting brackets or clips are purpose-built to keep mirrors firmly in position. By attaching these brackets to the wall using screws or other hardware, you can provide exceptional support for heavier mirrors.
Anchor Bolts or Toggle Bolts:
For mirrors with extreme weight, anchor bolts or toggle bolts are heavy-duty fasteners that anchor the mirror directly into the wall. This method guarantees an ironclad hold and eliminates any chance of accidents or damage.
Remember:
- Always consult the manufacturer’s guidelines and weight specifications before selecting an alternative method.
- If you’re uncertain about the best approach for hanging a heavy mirror, seek professional assistance to ensure proper installation and avoid mishaps.
Regularly Check Adhesive Performance
Well, before you get lost in your reflection, let’s talk about something crucial – adhesive performance. Yes, it may not sound thrilling, but trust me, it’s the secret to keeping that mirror securely in place.
The Wobble Test:
Don’t let disaster strike while you’re lost in admiration. Regularly give your mirror a gentle press to check for any signs of wobbling or instability. If it wiggles or feels loose, take immediate action.
Visual Inspection:
Take a closer look at those command strips. Are they peeling? Discolored? Damaged? These are red flags indicating weakening adhesive bond. Don’t wait for a catastrophe; replace those strips ASAP.
Weight Matters:
Not all command strips are created equal. Make sure to choose ones that can handle the weight of your mirror. If it keeps falling or seems unstable despite using the right strips, it might be time to explore other mounting options.
Humidity and Temperature:
Mother Nature can play havoc with adhesives. High humidity and extreme temperature changes can gradually weaken the bond over time. So, if you live in a tropical paradise or experience wild weather swings, keep an eye on your adhesive and replace strips more often.
Now, this advice isn’t just for mirrors mounted with command strips – it applies to any object held by adhesive. Safety first.
If your mirror is on the heavy side or you’re feeling adventurous, check out alternative methods like adhesive hooks, purpose-built mounting brackets, or heavy-duty anchor bolts that guarantee an ironclad grip.
Regularly checking adhesive performance is the secret to keeping your mirror securely in place. Because let’s face it, nobody wants a shattered reflection or a mirror crashing down during their most fabulous moments.
eoeEjC970z8″ >
Conclusion
In conclusion, Command Strips offer an ingenious solution for hanging mirrors with ease and precision. Say goodbye to the hassle of drilling holes or damaging your walls – these magical adhesive strips provide a convenient and damage-free way to securely hold your mirrors in place.
When it comes to using Command Strips, weight consideration is paramount. Ensure that you select a strip that matches or exceeds the weight of your mirror. With weight limits ranging from a few pounds to approximately 16 pounds, consult the packaging or manufacturer’s specifications for the perfect fit.
Preparation is key for achieving maximum adhesion with Command Strips. Give your surface a thorough clean and dry before applying the strips. Smoothness is crucial, so banish dust and grease from sight. Different surfaces may require specific preparation techniques – sanding for smooth surfaces or additional mounting options for porous or uneven ones.
Applying Command Strips correctly is essential for a secure hold. Follow the manufacturer’s instructions diligently – no shortcuts allowed. Apply firm pressure for at least 30 seconds, activating the adhesive’s full potential. And remember patience is a virtue; wait at least one hour before hanging your prized mirror on those trusty strips.
Keep an eagle eye on your Command Strips’ performance and replace any that show signs of weakening. Environmental factors such as temperature and humidity can impact adhesive effectiveness, so stay vigilant.
For those hefty mirrors that exceed the weight limit of Command Strips, fear not. There are alternative methods available. Adhesive hooks, mirror mounting brackets, or anchor bolts designed specifically for heavy objects can come to your rescue.
Always adhere (pun intended) to the manufacturer’s guidelines and consult professionals if needed when dealing with heavy mirrors. And don’t forget to regularly check adhesive performance – security first.
With Command Strips and proper installation techniques in hand, you can confidently adorn your living space with stunning mirrors without sacrificing style or harming your walls.