If you’ve ever found yourself in a sticky situation (pun intended) with permanent Glue Dots, you’re not alone. These tiny dots have become the go-to for all things crafty and DIY, but what happens when you want to break free from their unyielding grip? Can they really be removed, or are we stuck with them forever?
Today, we’re diving headfirst into this adhesive quandary. We’ll uncover whether these seemingly unstoppable dots have a secret escape plan up their sleeve (or dot), dish out some insider knowledge on their strength, and reveal surprising tricks for safely removing them. So buckle up and get ready to explore the wild world of permanent Glue Dots – it’s about to get sticky.
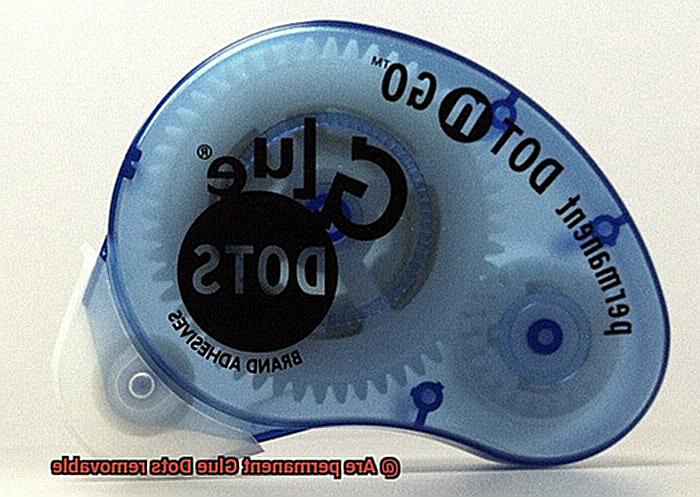
What are Permanent Glue Dots?
Contents
- 1 What are Permanent Glue Dots?
- 2 Can Permanent Glue Dots Be Removed?
- 3 Heat Removal Method
- 4 Solvent or Adhesive Remover Method
- 5 Rubbing Alcohol or Acetone Method
- 6 Scraping with a Plastic Scraper or Credit Card Method
- 7 Manufacturer Instructions and Safety Precautions
- 8 Residue or Adhesive Remnants After Removal
- 9 Conclusion
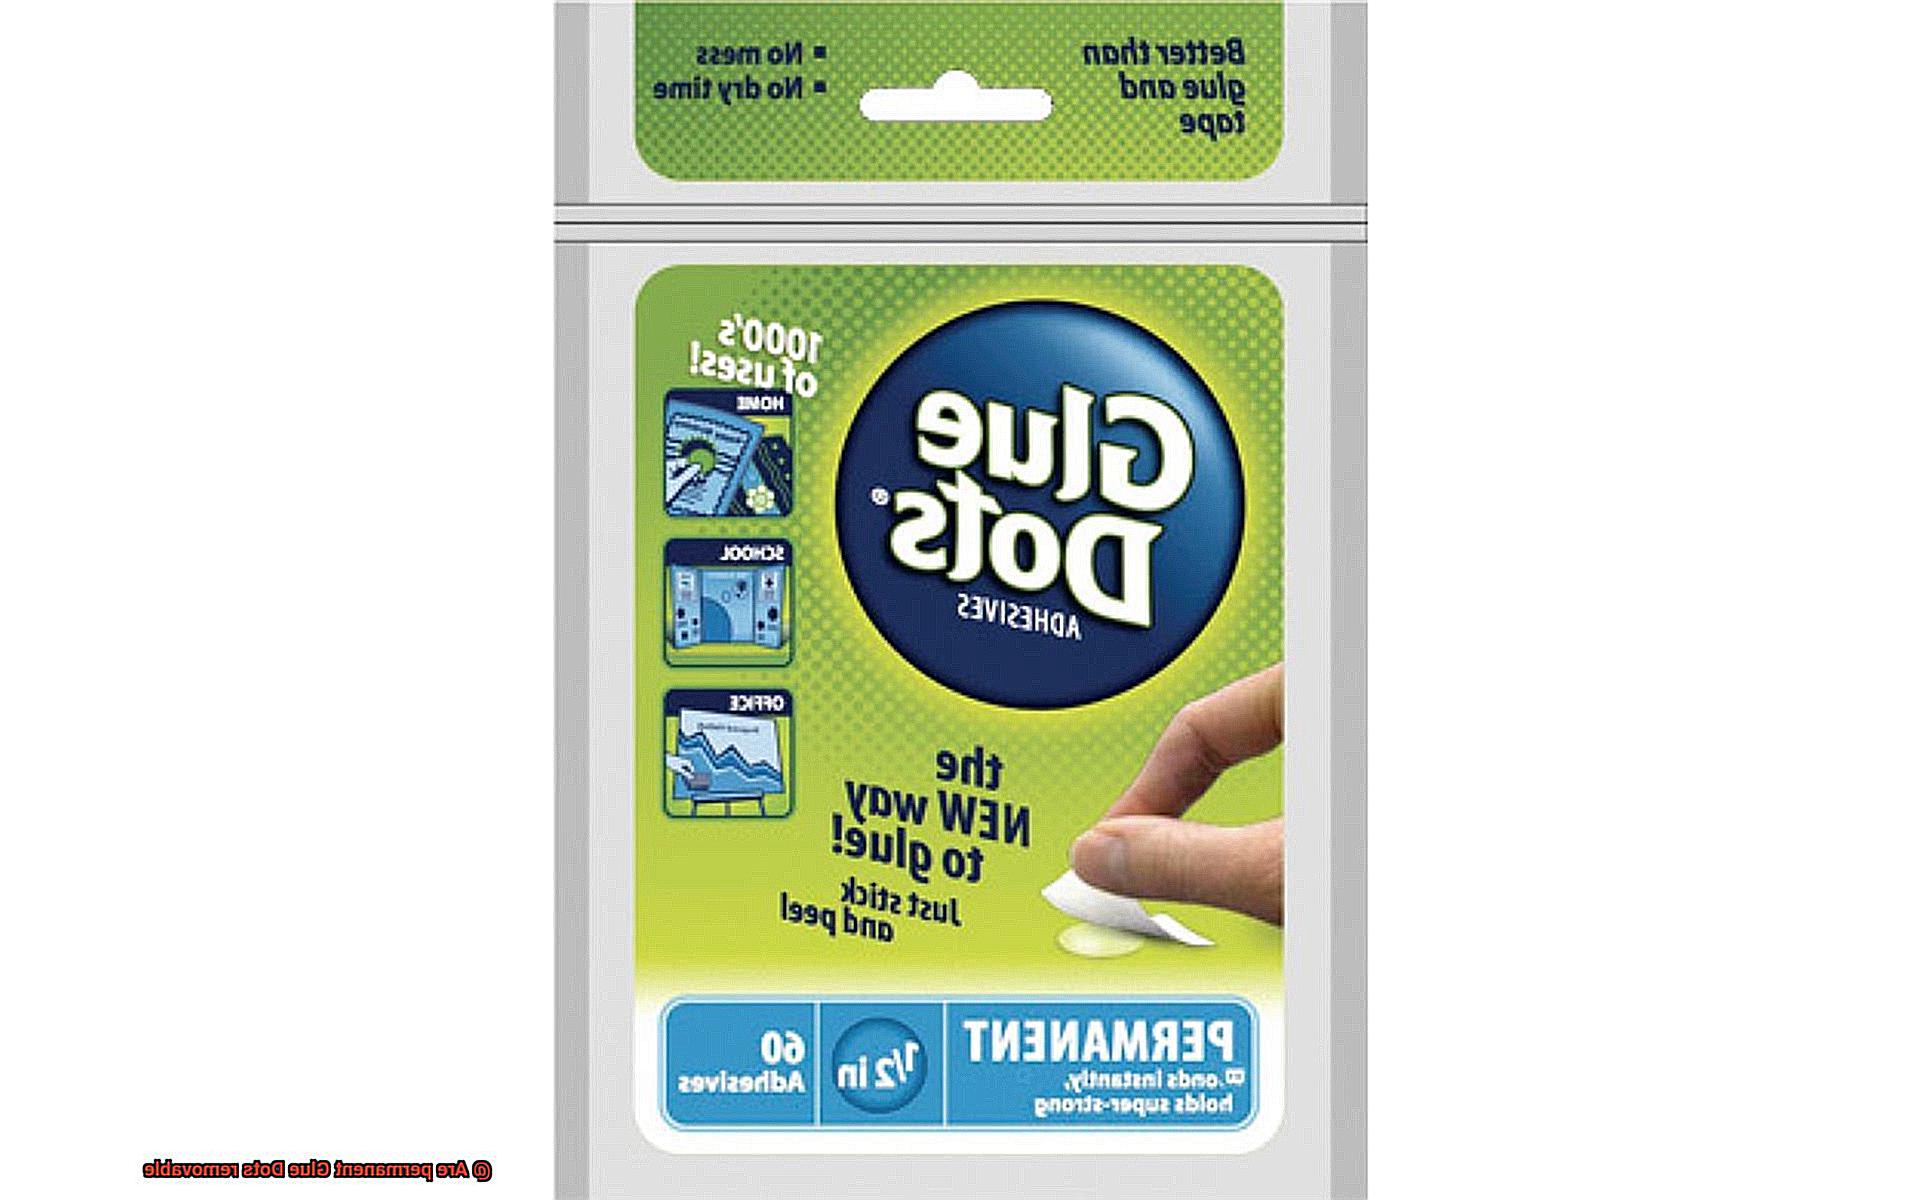
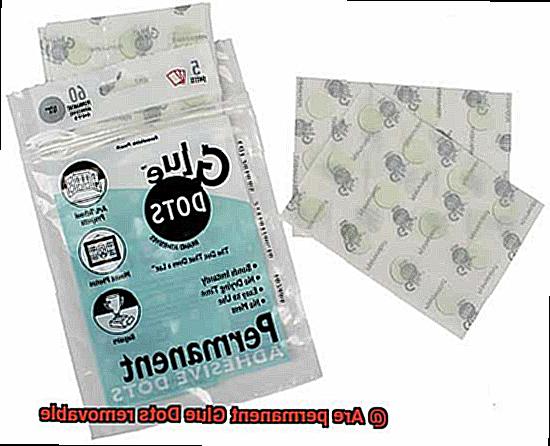
Prepare to be amazed by the wonders of Permanent Glue Dots. These adhesive products have taken the crafting, art, and DIY communities by storm. With their incredible strength and long-lasting bond, they offer a mess-free alternative to traditional liquid glues and tapes. Let’s dive into the world of Permanent Glue Dots, discovering their composition, versatile uses, and even how to remove them when necessary.
Composition and Application:
Imagine tiny dots or circles that possess extraordinary bonding abilities – that’s what Permanent Glue Dots are all about. These dots consist of a pressure-sensitive adhesive applied to a backing material, such as paper or film. Their unique composition allows for easy handling and application. The adhesive itself is typically a synthetic polymer renowned for its exceptional bonding properties. This magical formula enables the dots to adhere firmly to an array of materials, including paper, plastic, metal, fabric, and more.
Versatile Uses:
Prepare to be inspired by the endless possibilities offered by Permanent Glue Dots. Here are just a few scenarios where these adhesive dots shine:
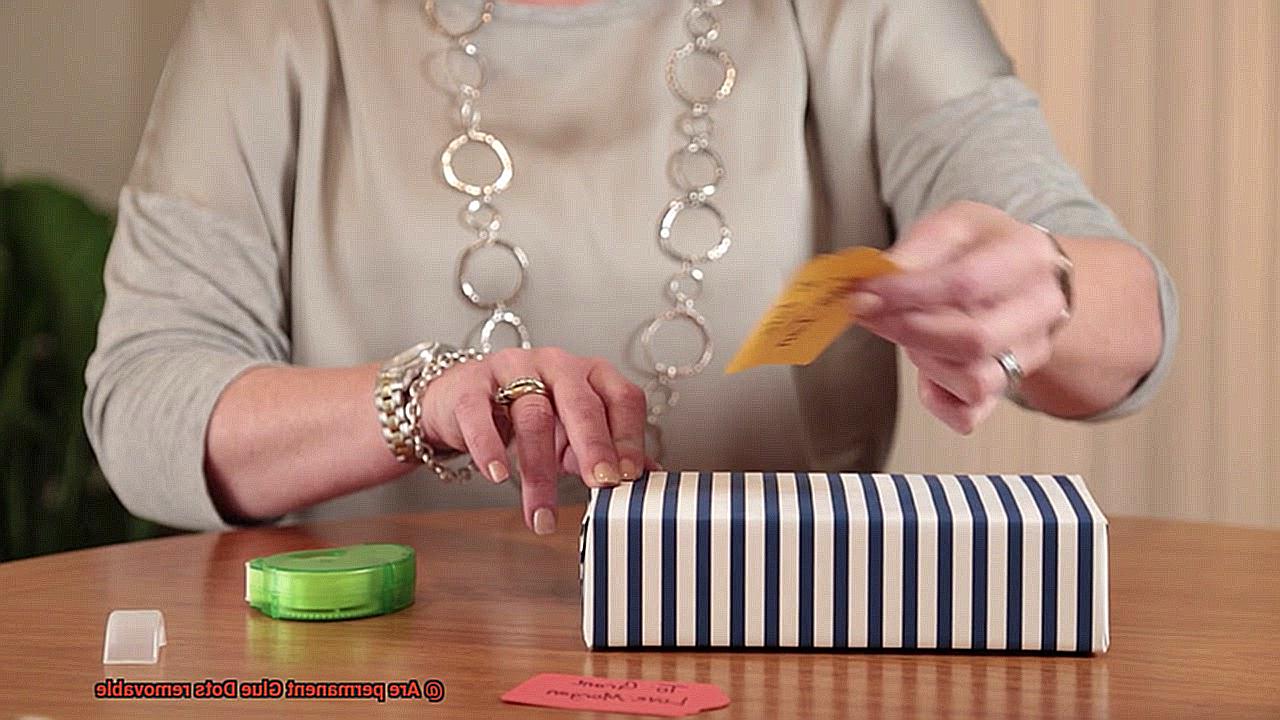
- Crafting and DIY projects: Whether you’re creating handmade cards, scrapbooking memories, or assembling intricate 3D models, Permanent Glue Dots provide a reliable and durable bond without the mess.
- Home décor extravaganza: Transform your living space with ease using Permanent Glue Dots to attach decorations, hang lightweight items on walls, or secure fabric trims to furniture.
- Industrial marvels: Embrace the strength and durability of Permanent Glue Dots in industrial settings. Mount components, secure labels, or fasten packaging materials with confidence.
Removability:
Don’t let the name fool you – Permanent Glue Dots can be removed in select circumstances. The ease of removal depends on factors such as the surface they are applied to and the removal technique used. Here are a few tried-and-true methods for safely removing Permanent Glue Dots:
- Heat application: Apply heat using a hairdryer or heat gun to soften the adhesive. This gentle approach makes it easier to peel off the Glue Dot without causing damage.
- Solvent or adhesive remover: Harness the power of specific products designed to dissolve adhesives. Remember to test the solvent on a small, inconspicuous area before applying it to the entire Glue Dot.
- Rubbing alcohol or acetone: These magical substances can dissolve the adhesive, facilitating its removal. However, exercise caution and ensure compatibility with the surface being cleaned.
Can Permanent Glue Dots Be Removed?
Yes, they can. Despite their name, Permanent Glue Dots can indeed be removed with the right techniques and tools. So, if you’re worried about making a mistake or need to reposition your project, fear not. Let’s dive into the details of how you can safely and effectively remove those stubborn Glue Dots.
Method 1: Heat it up
One of the easiest ways to remove Permanent Glue Dots is by applying heat. Use a hairdryer or a heat gun to soften the adhesive. Direct the heat towards the Glue Dot for a few seconds, then gently lift one corner and slowly peel it away. Be careful not to overheat the surface, as this can cause damage.
Method 2: Adhesive removers or solvents
If heat alone doesn’t do the trick, turn to adhesive removers or solvents. There are commercial products designed to dissolve adhesives. Apply the remover or solvent to the Glue Dot, allowing it to penetrate for a few minutes. Then, use a plastic scraper or credit card to gently scrape off the softened adhesive. Test the remover on a small area first to avoid potential damage.
Method 3: Rubbing alcohol or acetone
In some cases, rubbing alcohol or acetone can help dissolve the adhesive. Apply a small amount onto a cloth or cotton ball and gently rub it over the Glue Dot. This weakens the bond, making it easier to remove. Avoid using these substances on delicate surfaces or materials that may be sensitive to them.
Method 4: Patience and perseverance
Sometimes, removing Permanent Glue Dots requires extra effort. Combine different removal methods or repeat the process multiple times if necessary. Start from one corner and slowly lift or peel off the Glue Dot, taking care not to damage the surface.
Remember, the effectiveness of the removal process may vary depending on factors like the surface and the age of the Glue Dot. Always follow the manufacturer’s instructions for the best results.
Heat Removal Method
When it comes to removing permanent glue dots, the heat removal method is your secret weapon. In this article, we’ll unveil the secrets of using heat to effortlessly and safely remove those pesky adhesives. Prepare to bid farewell to sticky situations.
Using a Hairdryer or Heat Gun:
One of the simplest ways to remove permanent glue dots is by harnessing the power of a hairdryer or heat gun. Here’s how to do it:
- Set your hairdryer or heat gun to a low or medium heat setting.
- Position the heat source approximately 4-6 inches away from the glue dot.
- Infuse the adhesive with hot air, moving the heat source in gentle, circular motions.
- As the glue dot heats up, it will soften and become easily peelable.
Pro Tip: When dealing with delicate surfaces like paper or fabric, begin with the lowest heat setting and gradually increase if necessary.
Using an Iron:
For larger areas or surfaces where a hairdryer may not suffice, an iron can save the day. Follow these steps:
- Cover the glue dot with a protective cloth or parchment paper.
- Set your iron to a low or medium temperature (without steam).
- Carefully press the iron over the protected glue dot for a few seconds.
- Lift the iron and check if the adhesive has melted.
- Using tweezers or your nimble fingers, delicately peel or scrape off the softened glue dot.
Safety First:
When employing heat as a removal method, safety should always be paramount. Keep these tips in mind:
- Never leave the heat source unattended.
- Avoid getting too close to flammable materials.
- Test the heat on a small, inconspicuous area first to prevent any unwanted damage or discoloration.
Solvent or Adhesive Remover Method
We’ve all been there – facing the daunting task of removing those pesky Glue Dots that seem to stick around forever. But fret not. In this blog post, we’ll explore the Solvent or Adhesive Remover Method, a simple yet effective technique that will help you bid farewell to sticky situations. So, grab your rubbing alcohol or adhesive remover, and let’s dive in.
Using Rubbing Alcohol:
- Gather your supplies: rubbing alcohol (isopropyl alcohol), clean cloth or cotton ball.
- Apply a small amount of rubbing alcohol onto the cloth or cotton ball.
- Gently dab the Glue Dot with the alcohol-soaked cloth, ensuring full coverage.
- Let the alcohol sit on the Glue Dot for a few minutes, dissolving the adhesive like magic.
- Begin peeling off the Glue Dot from one corner using your fingers or a plastic scraper, exerting gentle pressure.
- Repeat the process if any residue remains, until your surface is as good as new.
Using Adhesive Remover:
- Purchase an adhesive remover specifically designed for removing glue dots from hardware stores, craft stores, or online.
- Read and follow the instructions provided on the product packaging for best results.
- Apply a small amount of the adhesive remover directly onto the Glue Dot.
- Allow it to sit for a few minutes, letting its powerful chemicals break down the stubborn adhesive bonds.
- Use a cloth or scraper to gently lift off the Glue Dot from the surface with ease.
- Follow any additional steps outlined by the manufacturer to ensure a thorough clean.
Safety Precautions:
- Always work in a well-ventilated area to avoid inhaling any fumes and ensure proper air circulation.
- Test rubbing alcohol or adhesive remover on a small, inconspicuous area before using it on visible surfaces to prevent any potential damage.
- Handle solvents or adhesive removers with care, avoiding direct contact with your skin or eyes.
Rubbing Alcohol or Acetone Method
We have the ultimate solution for you – the rubbing alcohol or acetone method. These solvents are known for their ability to dissolve adhesives, making them perfect for removing those stubborn glue dots.
Rubbing alcohol, also known as isopropyl alcohol, is a versatile solvent that can be found in most households. It is commonly used as a disinfectant and cleaning agent. When it comes to removing permanent glue dots, rubbing alcohol can work wonders.
To use rubbing alcohol, soak a cotton ball or clean cloth with it. Then, gently rub the glue dot in a circular motion. Watch as the adhesive dissolves right before your eyes. Apply some pressure and repeat the process if needed until the glue dot is completely gone.
Now, let’s talk about acetone, the powerful solvent found in nail polish removers. While it is highly effective in dissolving adhesives, it’s important to note that acetone can be harsh on certain surfaces like plastic or painted materials. Test a small area first to avoid any damage.
To use acetone, dip a cotton swab or cloth into it and gently rub the glue dot in a circular motion. Apply some pressure if needed and repeat until the glue dot disappears.
Both rubbing alcohol and acetone can work wonders on various surfaces like glass, metal, and ceramics. However, always test the method on an inconspicuous area before applying it to the entire surface. These methods may not be suitable for delicate fabrics or surfaces.
Scraping with a Plastic Scraper or Credit Card Method
Here, we’ll guide you through the steps involved in using this powerful technique to eliminate those pesky permanent glue dots.
Step 1: Gather your arsenal
Before embarking on your mission, ensure you have all the necessary tools at your disposal. Arm yourself with a trusty plastic scraper or an old credit card, along with rubbing alcohol or adhesive remover, a clean cloth or paper towel, and a sprinkle of patience. It’s important to note that this method works wonders on hard surfaces but may not yield the same results on delicate or porous materials.
Step 2: Unleash the solvent
Apply a modest amount of rubbing alcohol or adhesive remover directly onto the glue dot. These magical solvents work tirelessly by breaking down the adhesive and making it more pliable for removal. Allow the solvent to work its magic for a few moments, loosening the grip of the glue dot.
Step 3: Liberate the glue dot
With your plastic scraper or credit card in hand, gingerly slide it under the edge of the glue dot. Employing a steady and controlled motion, triumphantly lift the glue dot off the surface. Exercise caution and avoid exerting excessive force to prevent any unintended damage to the underlying material.
Step 4: Persistence pays off
For those particularly stubborn glue dots, you may need to reapply the rubbing alcohol or adhesive remover and grant it additional time to work its enchantment. This allows the solvent to penetrate deeper, further weakening the adhesive and making it easier to scrape away.
Step 5: Eradicate any remnants
After successfully scraping off the glue dot, you may notice remnants lingering on the surface. Fear not. Dampen a clean cloth or paper towel with rubbing alcohol and delicately wipe the area. Alternatively, opt for an adhesive remover specially crafted for this purpose, ensuring a spotless finish.
Manufacturer Instructions and Safety Precautions
Glue dots have become a game-changer in the world of crafting, home decor, and industrial applications. These versatile adhesive solutions make projects a breeze for DIY enthusiasts and professionals alike. However, to ensure optimal results and safety, it is crucial to follow the manufacturer’s instructions and safety precautions. In this blog post, we will explore why adhering to these guidelines is essential for successful bonding with glue dots.
Manufacturer Instructions
To achieve the best results with your glue dots, it is important to understand and follow the specific application guidelines provided by the manufacturer. These guidelines will ensure that you are using the glue dots correctly for your intended purpose.
Additionally, cleanliness is key when using glue dots. Before applying them, make sure to properly prepare the surfaces by cleaning them thoroughly. This will ensure that no dust or oil interferes with the adhesive properties of the glue dots.
Temperature also plays a vital role in the effectiveness of glue dots. It is important to discover the recommended temperature range for applying them effectively. Extreme temperatures can affect the adhesive properties, so ensuring that you are working within the recommended range will help you achieve optimal bonding.
Lastly, familiarize yourself with manufacturer-recommended methods for removing glue dots. While these adhesive solutions are designed to provide a strong bond, there may come a time when you need to remove them safely. The instructions will guide you on techniques such as using heat or specific adhesive removers to dissolve and remove the glue dots without causing damage.
Safety Precautions
Safety should always be a top priority when working with any adhesive product, including glue dots. Keep them out of reach of children to prevent accidents or misuse. Additionally, protect your skin and eyes from potential irritation by wearing gloves and safety goggles when handling glue dots.
Working in a well-ventilated area is essential, especially when using adhesive removers or solvents. This will help prevent the inhalation of any fumes that may be emitted during the removal process.
Lastly, store glue dots in a cool and dry place to maintain their adhesive properties and prolong their shelf life.
Compatibility
Different glue dot brands may have varying compatibility with different materials. It is crucial to understand which materials are compatible with specific glue dot brands. Some glue dots are suitable for lightweight materials like paper, while others are designed for bonding heavier items like metal or plastic. Checking the manufacturer’s guidelines will ensure that you are using the appropriate glue dots for your intended surfaces and prevent potential damage.
Residue or Adhesive Remnants After Removal
We’ve all faced the frustration of removing glue dots only to be left with stubborn residue or adhesive remnants. But fear not. In this article, we’ll explore effective techniques and products that will help you bid farewell to that sticky mess. Get ready to say goodbye to sticky situations and hello to clean surfaces.
Gentle Peeling Technique:
Start by gently peeling off the glue dot from one edge using your fingers or a non-metallic tool like a plastic scraper or credit card. By applying light pressure and lifting the glue dot slowly, you prevent tearing and excessive residue. It’s like delicately unraveling a secret message without damaging the precious parchment.
Rubbing Alcohol:
Rubbing alcohol, also known as isopropyl alcohol, is your secret weapon against adhesive remnants. Apply a small amount onto a clean cloth or cotton ball and gently rub the affected area in circular motions. The alcohol dissolves the adhesive, making it easier to wipe away. It’s like a magical elixir that banishes sticky remnants with a flick of its wand.
Adhesive Removers:
Seek out adhesive removers specifically designed for sticky residue removal. These lifesavers can be found in spray or liquid form at most hardware or craft stores. Follow the manufacturer’s instructions for safe application and removal. These removers work like skilled detectives, meticulously eliminating any trace of sticky residue.
Test on Sensitive Surfaces:
Delicate materials and sensitive surfaces deserve extra care. Before diving into full-scale glue dot removal, test any adhesive removal method in a small, inconspicuous area first. This precaution ensures that your precious surface remains unharmed throughout the process. It’s like practicing a delicate dance step before taking center stage.
pXizNULUAfY” >
Conclusion
Yes, permanent Glue Dots are indeed removable.
Despite their name, these adhesive wonders can be easily taken off without leaving any residue or damage behind. Whether you’re using them for crafting, home decor, or any other project, rest assured that you can remove them effortlessly when needed.
So, go ahead and stick with confidence, knowing that you have the flexibility to change your mind or reposition your items without any hassle.