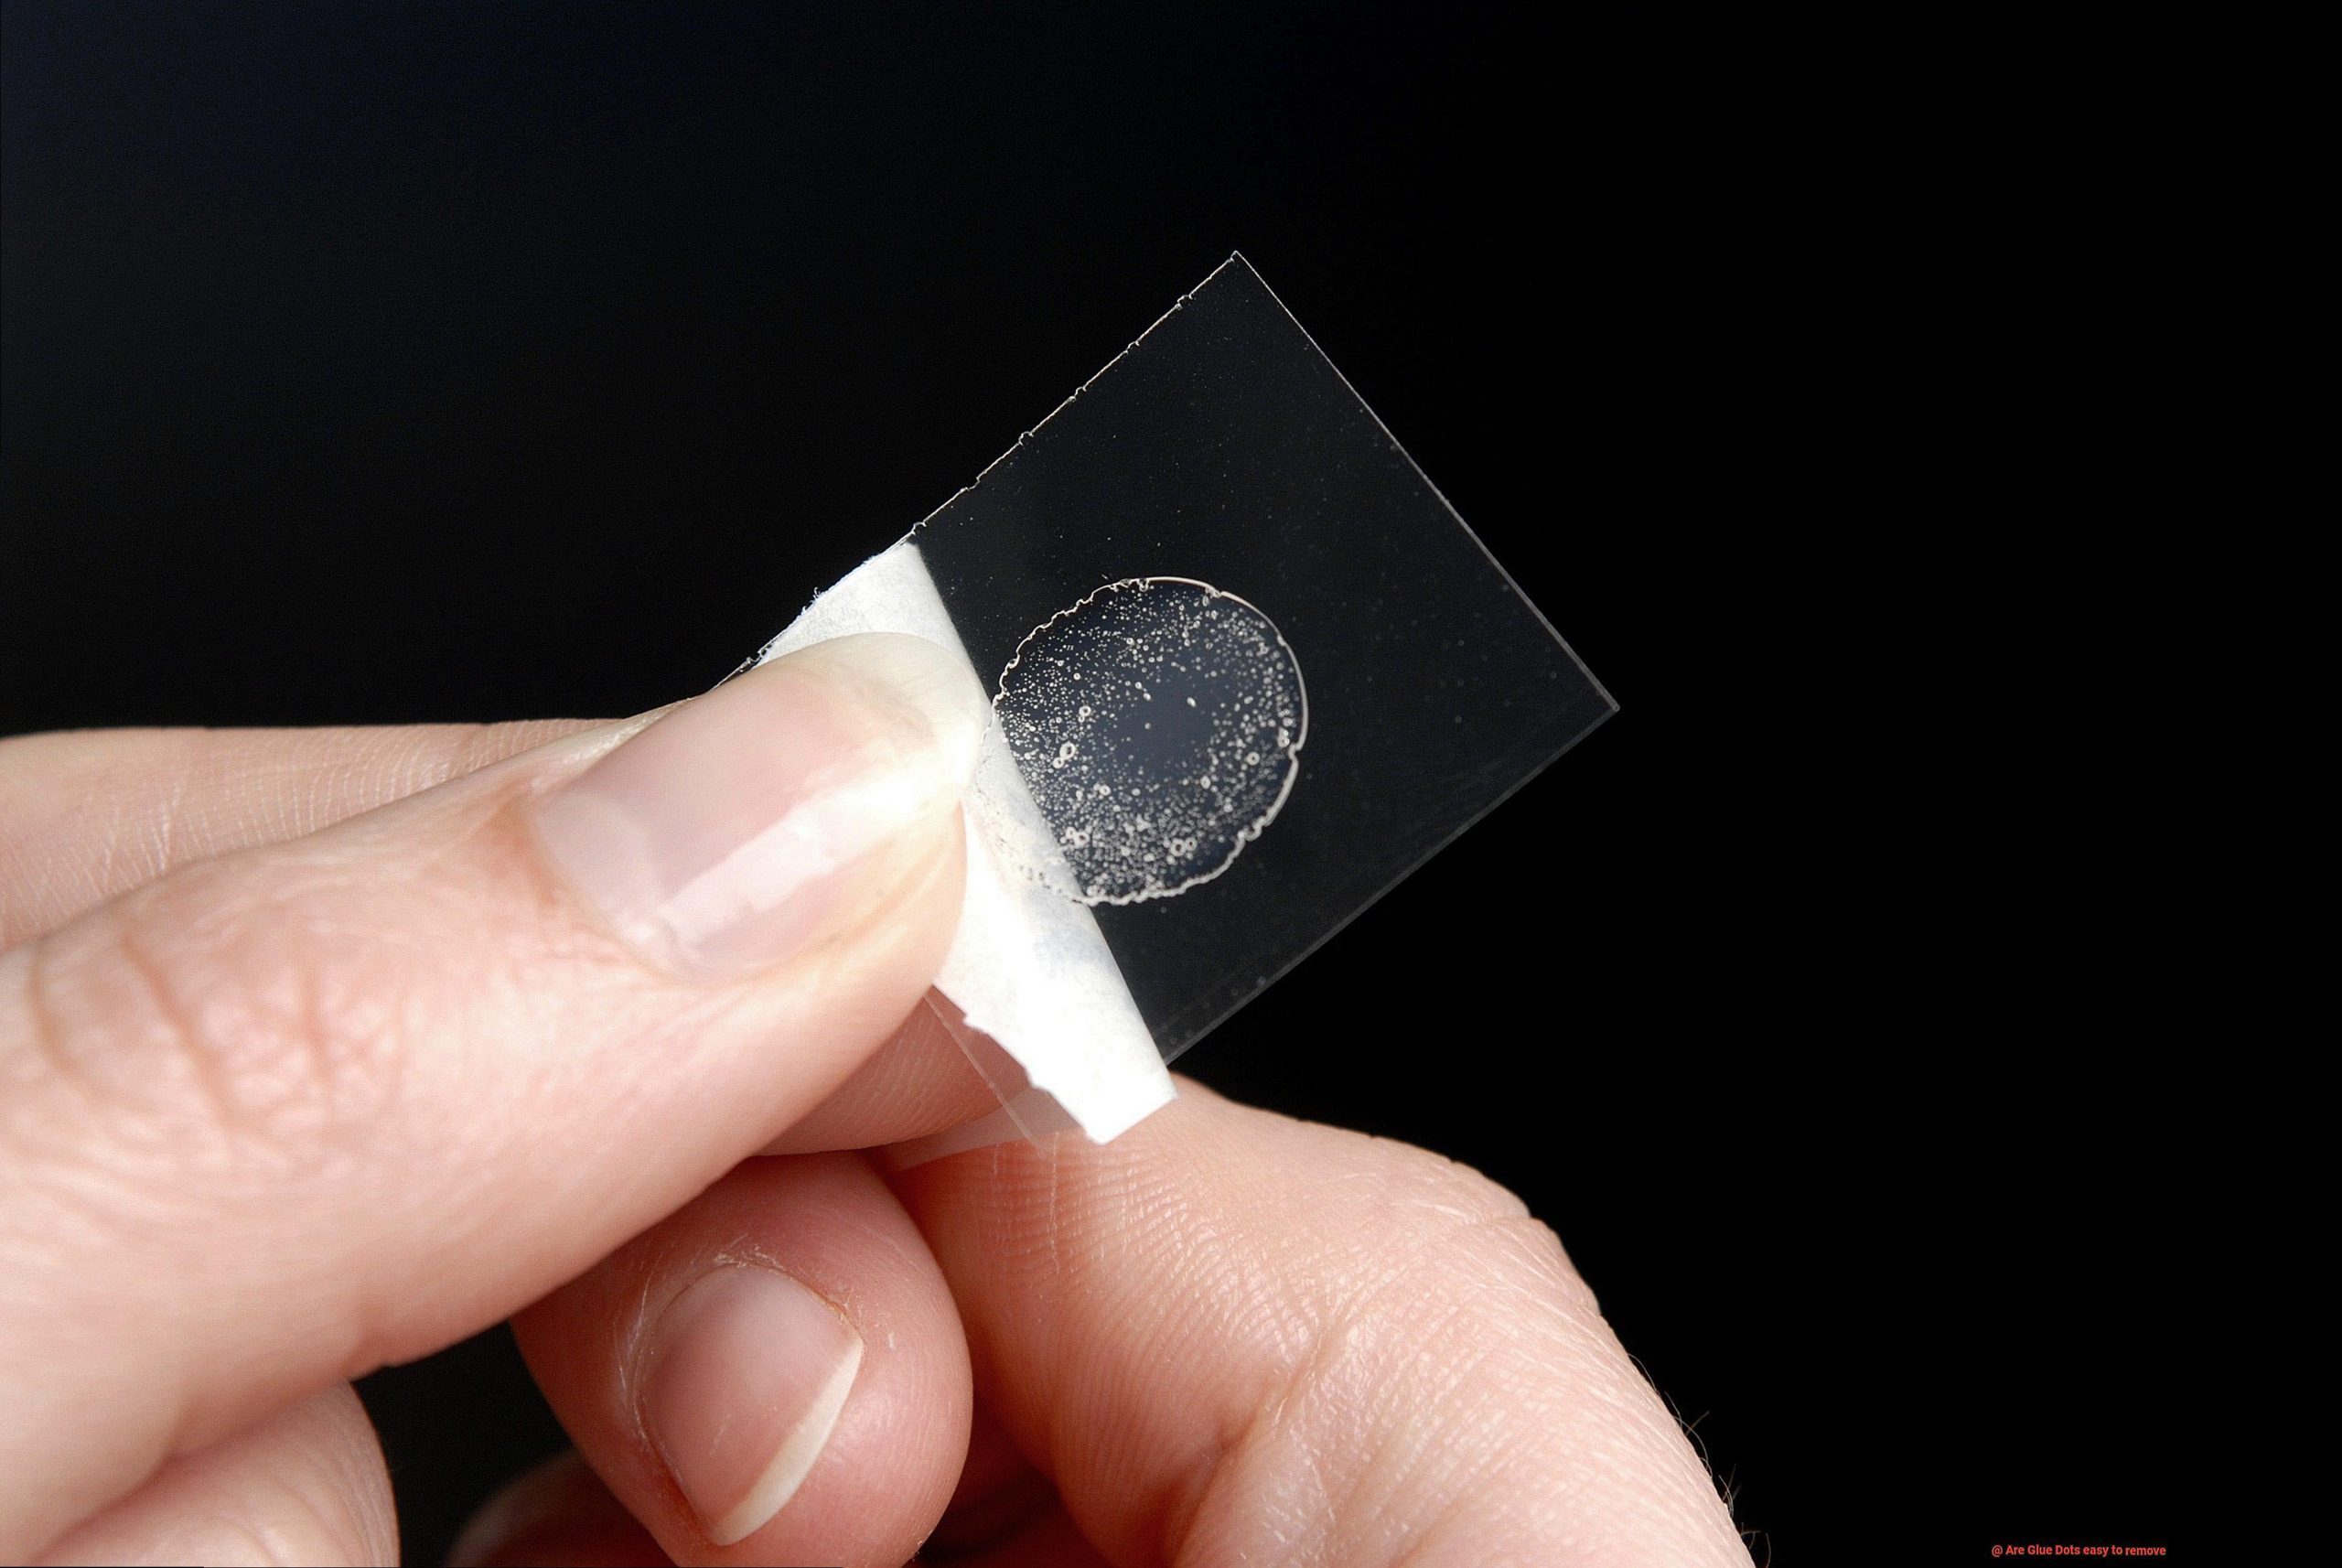
We all know the struggle of dealing with messy glues and sticky situations in our creative endeavors. That’s where Glue Dots come to the rescue. These little adhesive wonders offer a clean and hassle-free way to bond materials together. But let’s get real for a moment: are Glue Dots easy to remove?
In this blog post, we’re diving headfirst into the sticky world of Glue Dots to uncover the truth about their removal process. We’ll explore the different types of Glue Dots out there, how they fare on various surfaces, and whether they leave any damage behind when you finally decide it’s time for them to go. So whether you’re a seasoned pro seeking removal techniques or a curious newbie wanting to dip your toes in the adhesive pool, hang tight as we spill all the details.
Factors Affecting the Ease of Removing Glue Dots
Contents
- 1 Factors Affecting the Ease of Removing Glue Dots
- 2 Advantages of Using Pressure-Sensitive Adhesive in Glue Dots
- 3 Tips for Removing Glue Dots from Different Surfaces
- 4 How to Remove Residue or Adhesive Film Left by Glue Dots
- 5 What to do When Glue Dots are Difficult to Remove
- 6 The Benefits of Testing Before Applying Glue Dots
- 7 Conclusion
We have thoroughly explored the factors that affect the ease of removing glue dots and are excited to share our findings with you. Whether you’re an avid crafter, a packaging expert, or someone who frequently uses glue dots, understanding these factors will ensure a clean and hassle-free removal process.
Factor 1: Surface Type
Different surfaces impact the ease of removing glue dots. Smooth and non-porous surfaces such as glass or metal provide an ideal environment for adhesive bonds. Glue dots applied to these surfaces can be easily peeled off without any residue. However, porous surfaces like fabric or paper pose a challenge as the adhesive seeps into the fibers, making removal more difficult.
Factor 2: Adhesive Strength
The adhesive strength of glue dots varies depending on the brand and type of product. Low-tack adhesive glue dots are designed for easy removal without causing damage or leaving residue. High-tack adhesive glue dots may require more effort to remove and could potentially leave behind sticky residue. Consider the intended application and choose your glue dots accordingly.
Factor 3: Application Time
The duration for which glue dots have been in place affects their ease of removal. Glue dots that have been applied for a shorter period are generally easier to remove compared to those left in place for an extended period. Over time, the adhesive bonds more strongly with the surface, making it more challenging to peel off the glue dots.
Factor 4: Temperature and Humidity
Environmental factors like temperature and humidity can impact glue dot performance and ease of removal. Extreme temperatures, whether hot or cold, can alter the adhesive properties, making removal either harder or easier. Additionally, high humidity levels can affect adhesive strength, making it more challenging to remove glue dots.
Factor 5: Removal Technique
The technique used for removing glue dots greatly influences ease of removal. Applying gentle pressure and peeling off the glue dots slowly and steadily prevents damage to the surface and minimizes residue. Start at one edge and gradually work towards the center while peeling off the glue dots. This technique ensures a clean removal process.
Advantages of Using Pressure-Sensitive Adhesive in Glue Dots
Glue, the unsung hero of our DIY projects and packaging endeavors. But let’s be honest, traditional liquid adhesives can be messy, time-consuming, and downright frustrating to work with. Thankfully, there’s a better option – Glue Dots with pressure-sensitive adhesive (PSA).
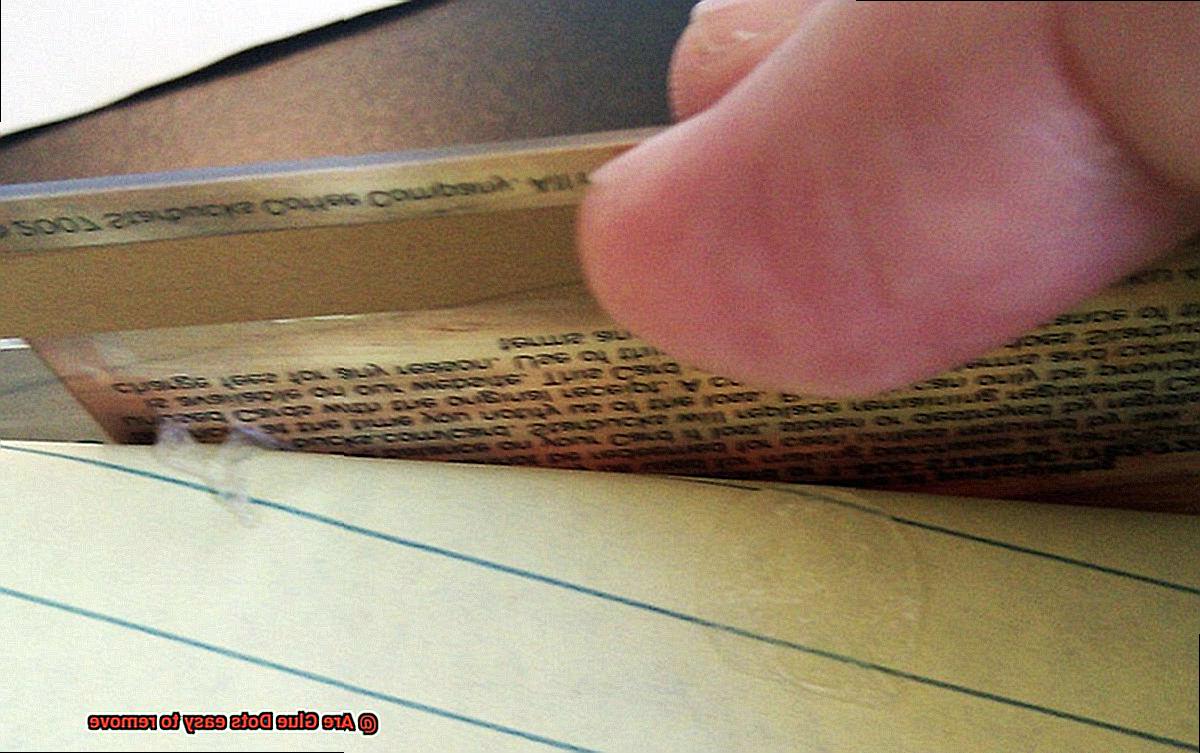
Let’s explore the multitude of advantages that come with using PSA in Glue Dots.
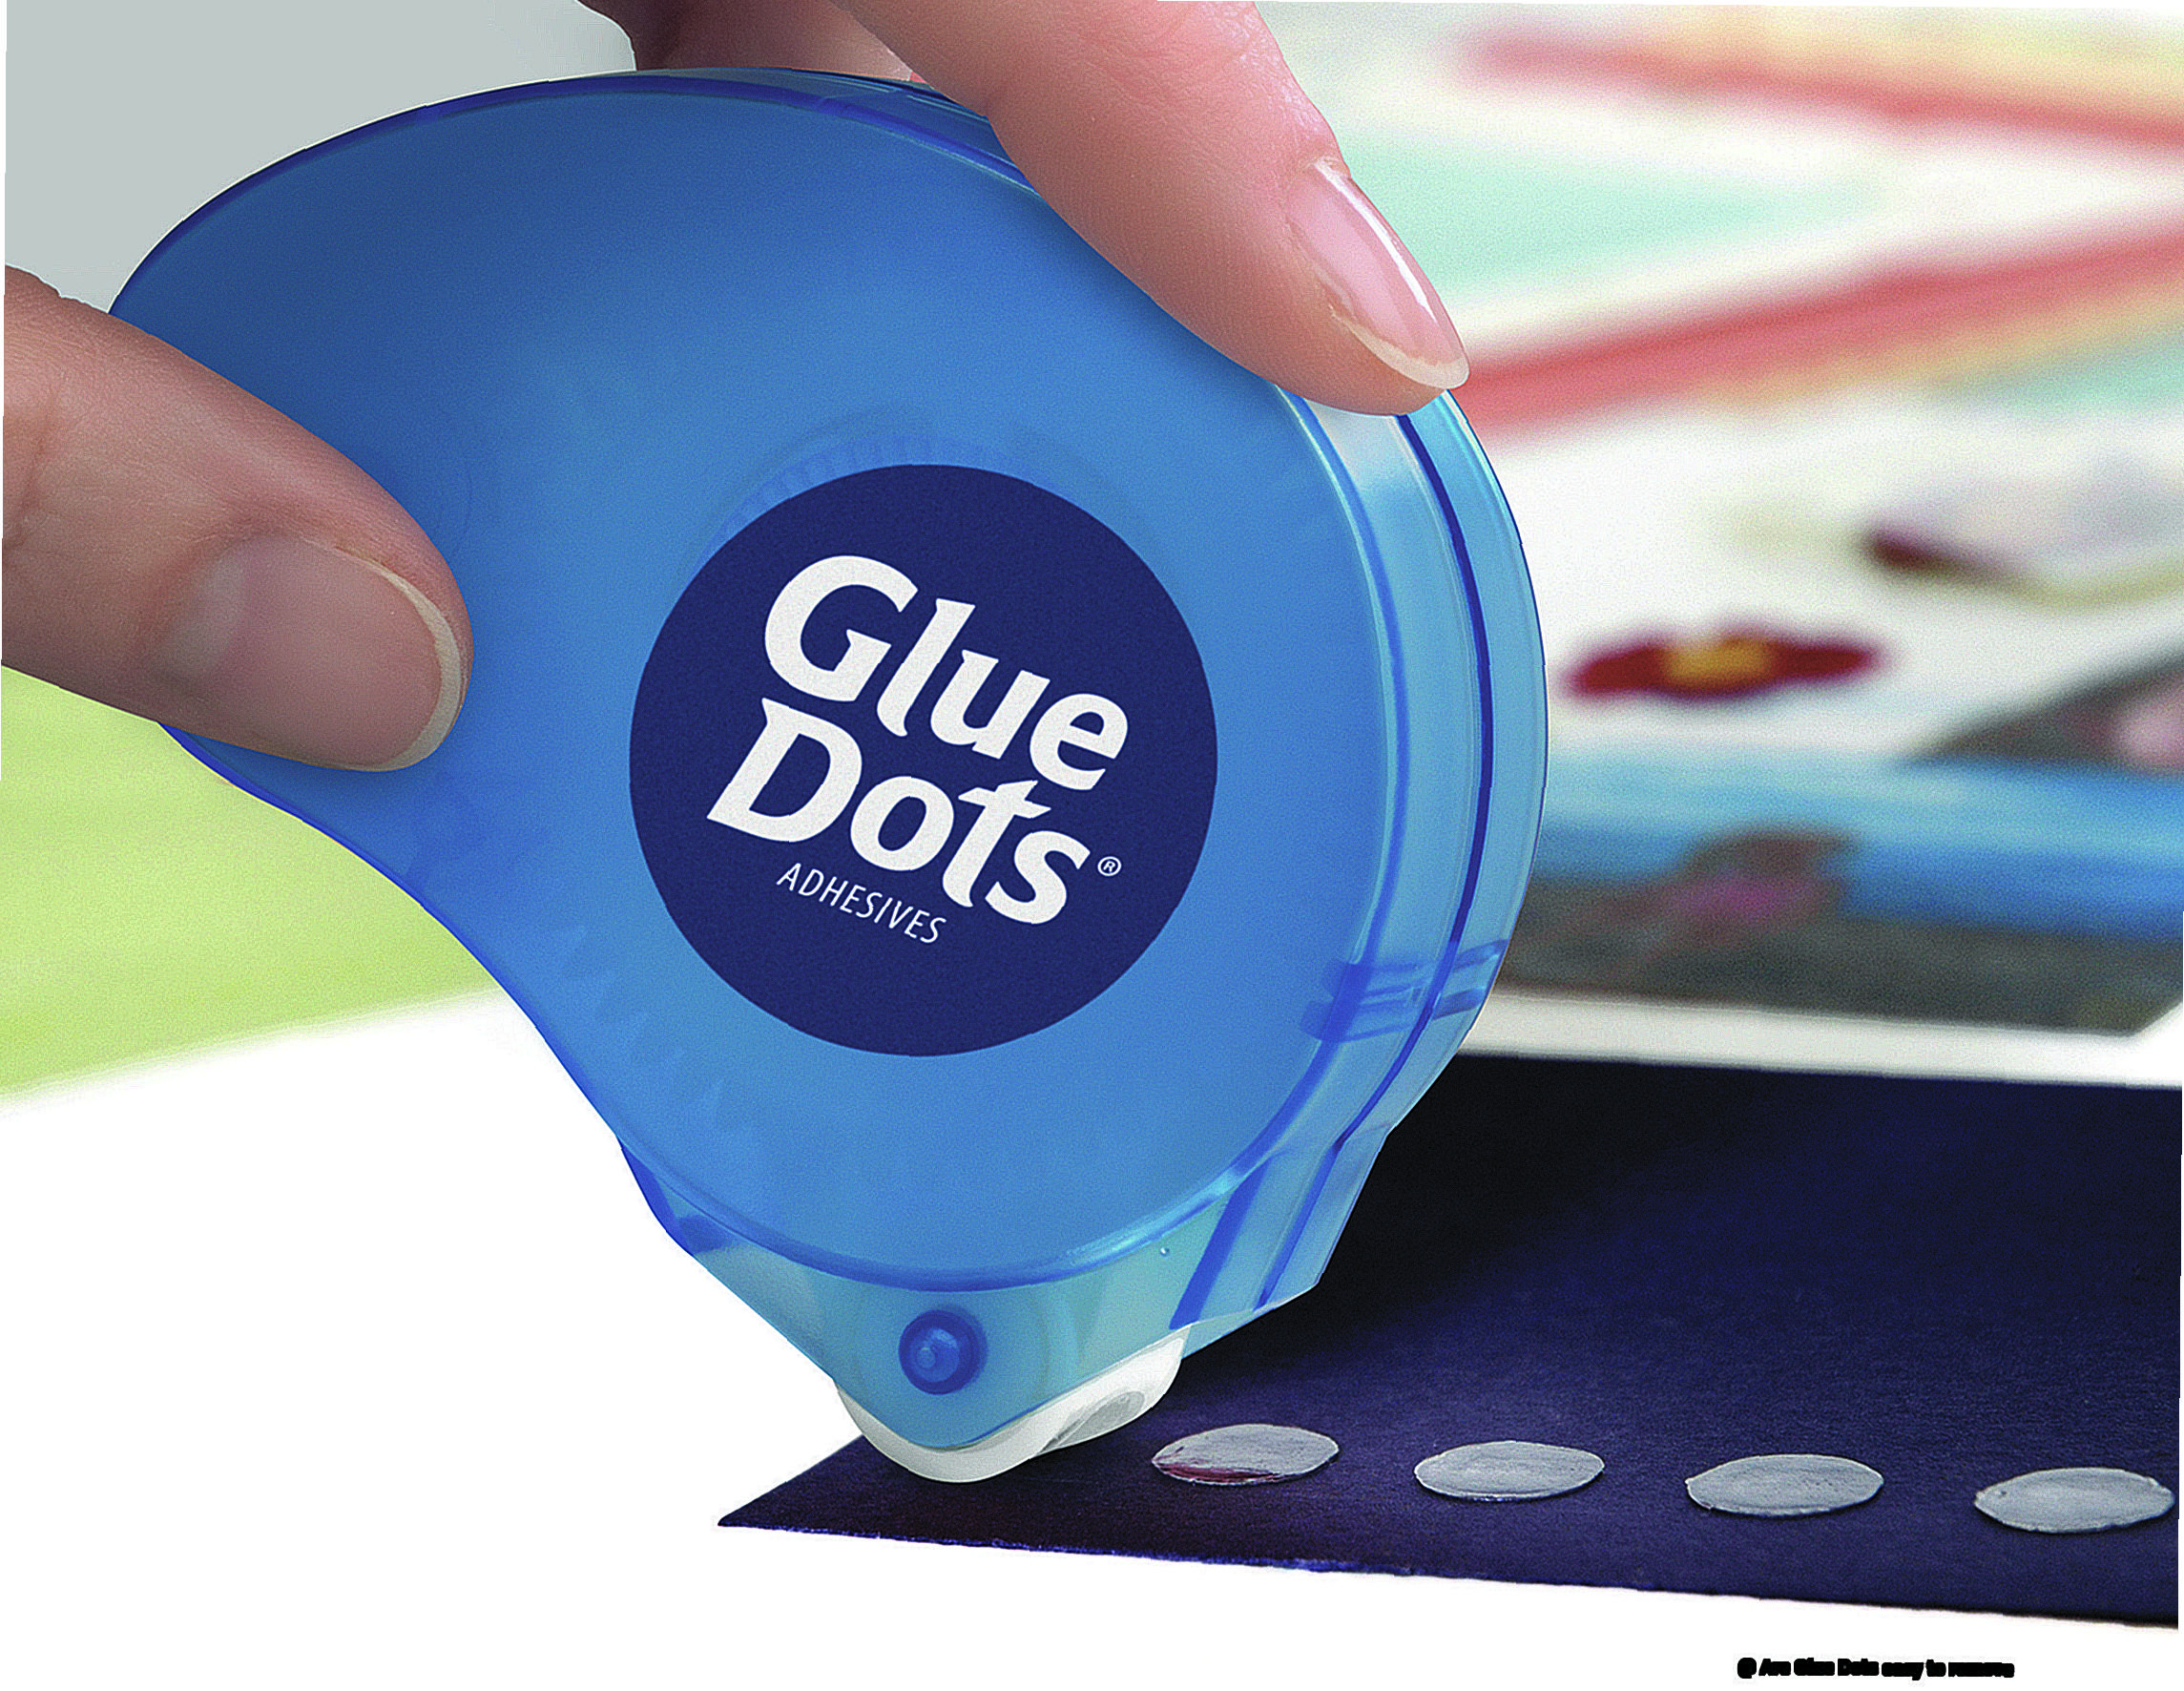
First and foremost, let’s talk about ease of application. Wave goodbye to the days of spreading or squeezing glue all over your project. With Glue Dots and their PSA goodness, all you need to do is press them onto the surface. It’s like magic – instant bonding without the fuss.
And speaking of instant bonding, PSA in Glue Dots ensures that your projects stick together right away. No more waiting around for glue to dry or set. Time is precious, and Glue Dots with PSA respect that.
PSA in Glue Dots is a true superhero when it comes to adhesion. It can cling to a wide variety of surfaces like paper, plastic, metal, fabric, and even wood. Talk about versatility. From delicate crafting projects to heavy-duty industrial use, Glue Dots with PSA have got you covered.
Now here’s a nifty feature – repositionability. Unlike those permanent adhesives that make you cringe at the thought of making adjustments, PSA allows you to easily reposition your Glue Dots without damaging the surface or leaving any residue behind. Perfect for those moments when you need to make some tweaks during the bonding process.
Did I mention that Glue Dots with PSA can be easily removed without causing any damage? Temporary bonding? No problem. Say goodbye to marks and residue.
PSA in Glue Dots can withstand temperature changes, moisture, and even UV exposure. Indoor or outdoor projects, these little wonders will stick around.
Last but not least, using PSA in Glue Dots eliminates the need for extra tools or equipment. No more brushes or spatulas. Just grab your dispenser, and you’re good to go.
Tips for Removing Glue Dots from Different Surfaces
Glue dots can be quite the challenge to remove from various surfaces, but fear not. We have compiled a comprehensive guide with tips and techniques to safely remove glue dots without causing any damage. Let’s dive in and say goodbye to those pesky adhesive dots.
Smooth Surfaces (Glass, Plastic, Metal):
When dealing with glue dots on smooth surfaces like glass, plastic, or metal, a delicate approach is usually the key to success. Soften the stubborn dot with a low heat hairdryer or heat gun. Then, gently peel it away using a plastic scraper or your nimble fingers.
Adhesive Removers or Solvents:
For smooth surfaces, adhesive removers or solvents can also be effective. These products dissolve the glue dot, making removal a breeze. Remember to follow the instructions carefully and test the product on a small area first to avoid any unwanted surprises.
Porous Surfaces (Fabric, Paper):
Removing glue dots from porous surfaces like fabric or paper requires finesse. Begin by carefully lifting the edges of the glue dot using a plastic scraper or your trusty fingernail. Then, apply rubbing alcohol or acetone to a cotton swab or cloth and dab it onto the adhesive. Be patient and repeat this process until the glue dot disappears.
Delicate Surfaces (Wallpaper, Painted Walls):
When tackling delicate surfaces such as wallpaper or painted walls, proceed with caution. Gently lift the edges of the glue dot using a plastic scraper or your dainty fingernail. If the dot refuses to budge, consider covering it up with something decorative rather than risking damage.
Surface-Specific Techniques:
Different surfaces require different techniques for glue dot removal. Glass may benefit from glass cleaner or rubbing alcohol, while plastic should steer clear of harsh chemicals. Wood can be treated to a little olive or vegetable oil, and metal may require a combination of heat and rubbing alcohol. As for paper and cardboard, they appreciate a gentle touch with warm soapy water or an eraser.
How to Remove Residue or Adhesive Film Left by Glue Dots
We’ve got you covered. In this blog post, we’ll share simple and effective methods to remove residue or adhesive film left by glue dots. Whether you’re a crafting enthusiast or a packaging pro, these tips will help you say goodbye to sticky situations in no time.
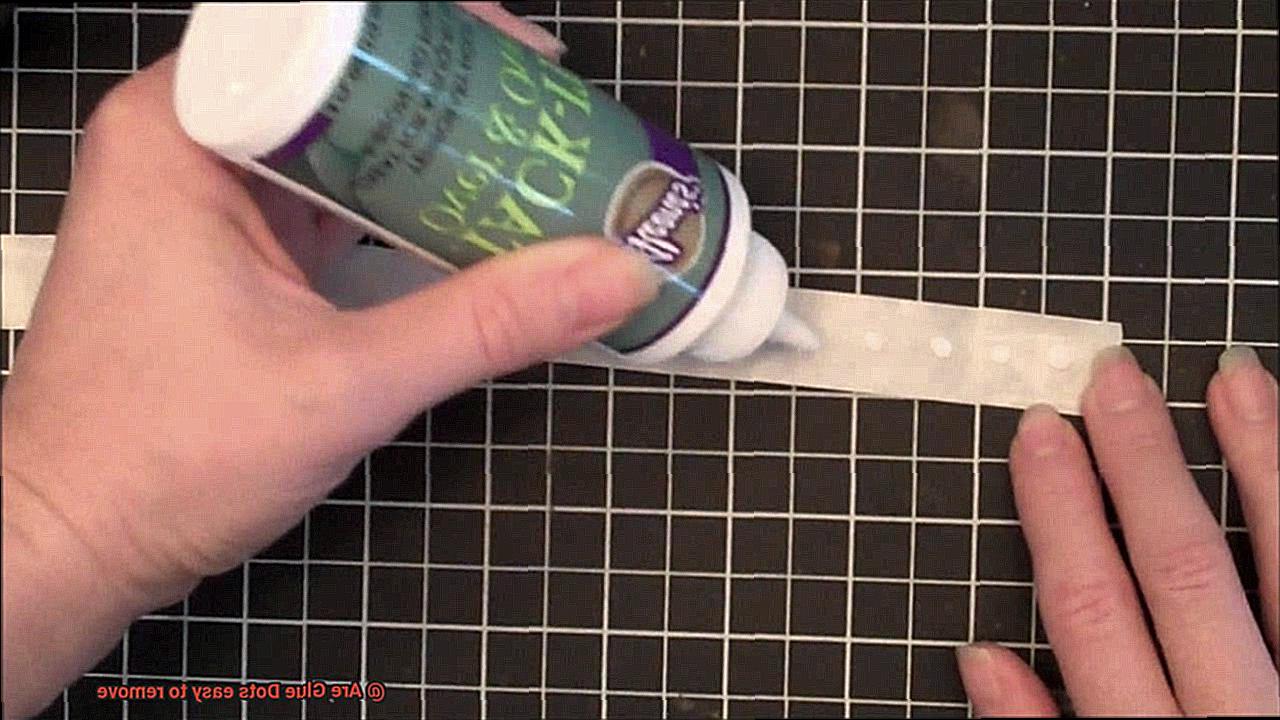
The Heat is On.
Use heat to remove glue dot residue. Grab your hairdryer or heat gun and gently warm up the residue. The heat softens the adhesive, making it easier to scrape off. But be careful not to overheat.
Oil to the Rescue
Household oils like vegetable oil, baby oil, or coconut oil can dissolve adhesive residue like magic. Apply a small amount of oil to the affected area and let it sit. Then, gently rub the residue until it lifts off. Wipe away excess oil with a clean cloth.
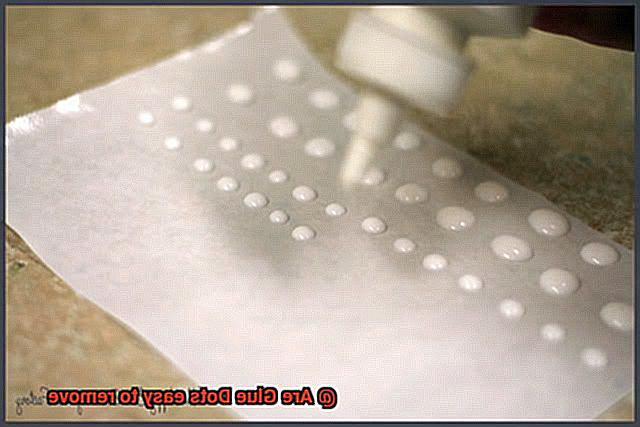
Alcohol: The Sticky Situation Solver
Isopropyl alcohol (rubbing alcohol) is a superhero when it comes to removing adhesives. Dab some alcohol onto a cotton ball or cloth and gently rub the residue. Rinse with water and pat dry.
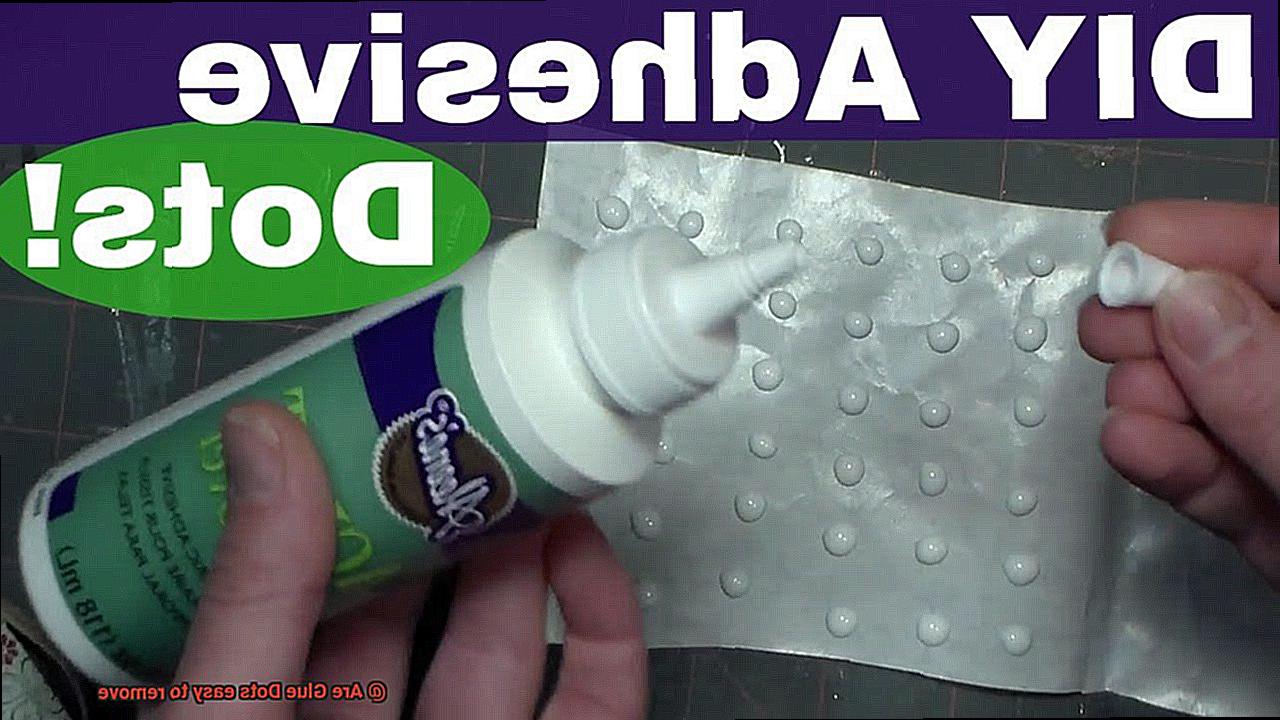
Suds Away
Mix warm water with a few drops of liquid dish soap for non-porous surfaces like glass or metal. Dip a sponge or cloth into the soapy solution and scrub away that sticky residue. Rinse with clean water and dry thoroughly.
Commercial Adhesive Removers
If all else fails, try a commercial adhesive remover designed for this purpose. Follow instructions carefully and ensure proper ventilation when using these products.
What to do When Glue Dots are Difficult to Remove
Removing glue dots can be a frustrating task, especially when they seem to be stuck for good. But fear not, there are several methods you can try to tackle those stubborn glue dots and get your surfaces glue-free once again. Here are some techniques you can use when glue dots are difficult to remove:
Heat it up
One effective method for removing stubborn glue dots is to apply heat. Grab your trusty hairdryer and set it to a low setting. Aim the warm air directly at the glue dot and gently heat it up. As the adhesive warms, it becomes softer and more pliable, making it easier to peel off. Just remember to be cautious and avoid burning yourself in the process.
Adhesive remover to the rescue
If heat doesn’t do the trick, you can turn to adhesive removers specifically designed for tackling sticky substances like glue dots. These magical potions can usually be found in hardware or craft stores. Simply apply the adhesive remover directly onto the glue dot and let it sit for a few minutes. The remover will work its magic by breaking down the adhesive, allowing you to easily peel off the glue dot.
Gentle scraping
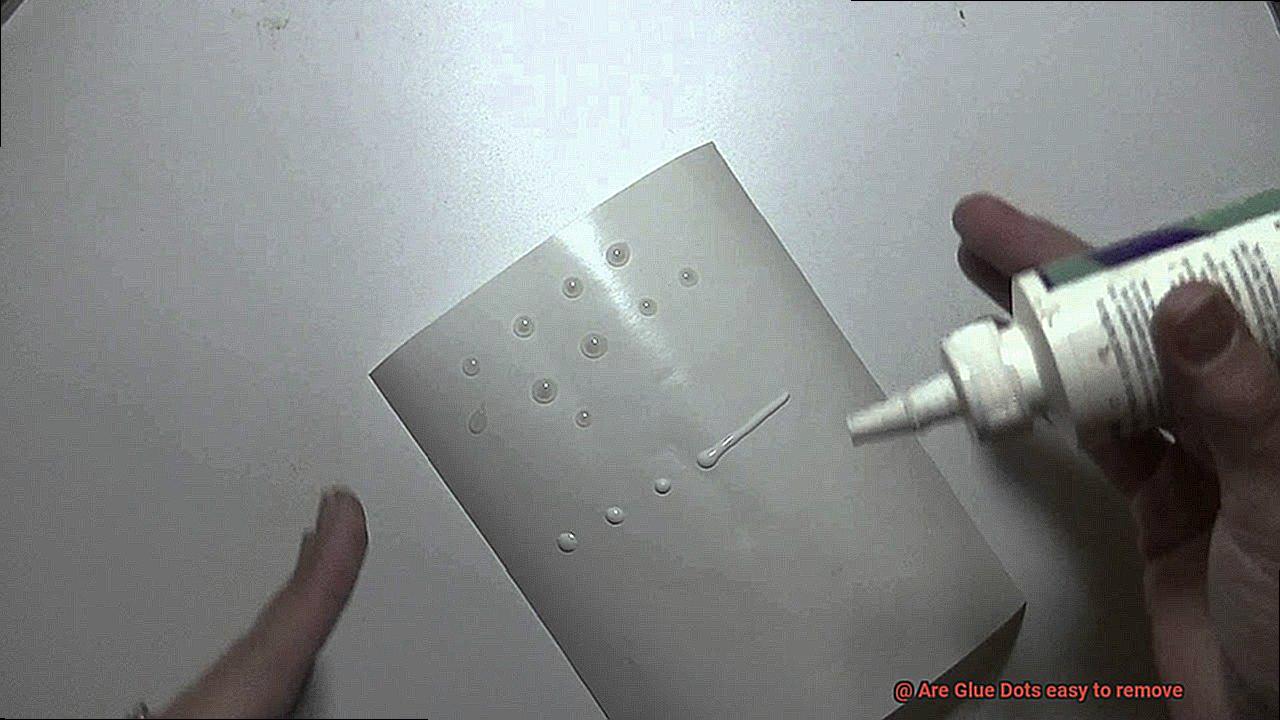
In some cases, neither heat nor adhesive removers will do the job. When faced with a particularly stubborn glue dot, you can try using a gentle scraping tool such as a plastic scraper or a trusty credit card. Starting at the edge of the glue dot, carefully scrape it off with gentle pressure. Be mindful not to scratch or damage the surface while doing so.
Rubbing alcohol or nail polish remover
When all else fails, it’s time to bring out the big guns. Rubbing alcohol or nail polish remover can be effective in dissolving stubborn glue dots. Soak a cotton swab with either of these liquids and gently rub it on the glue dot. The adhesive should start dissolving, making it easier to remove. However, be cautious when using these substances, as they can potentially damage certain surfaces. Always test them on a small, inconspicuous area first.
Call in the professionals
If you’ve tried all the DIY methods and the glue dot just won’t budge, it may be best to seek professional help. A professional cleaner or restorer will have the right tools and expertise to safely remove stubborn glue dots without causing any damage to your surfaces.
Remember, prevention is key. Before applying glue dots, consider the surface you’re sticking them to. If possible, opt for a less sticky option or use a protective barrier like wax paper to prevent the glue dots from adhering too strongly.
The Benefits of Testing Before Applying Glue Dots
Let’s dive into the world of glue dots – those magical adhesive wonders that bring our projects to life. But before we embark on our sticking adventure, let’s take a moment to explore the incredible benefits of testing before applying glue dots. Trust me, it’s a game-changer that will save you time, frustration, and maybe even a few tears down the road.
Save Time and Frustration:
Imagine spending hours meticulously placing glue dots, only to have them fail you when it matters most. Testing adhesive strength and removal process beforehand can prevent potential disasters. By testing, you can ensure that your glue dots will work effectively for your specific application, saving you valuable time and sparing you from the frustration of failed adhesion.
Find the Perfect Pressure:
Different surfaces demand different levels of pressure for optimal adhesion. Testing allows you to find the sweet spot, striking the perfect balance between too much and too little pressure. Bid farewell to glue dots that refuse to stick or worse, damage your precious materials. With testing, you’ll master the art of applying just the right amount of pressure for flawless results.
Compatibility Check:
Not all glue dots play nicely with every material. Testing on a small area lets you determine if they’ll adhere without causing damage or leaving behind sticky residue. Say goodbye to ruined masterpieces due to incompatible glue dots. With testing, you can ensure harmony between your chosen adhesive and your chosen canvas.
Effortless Removal:
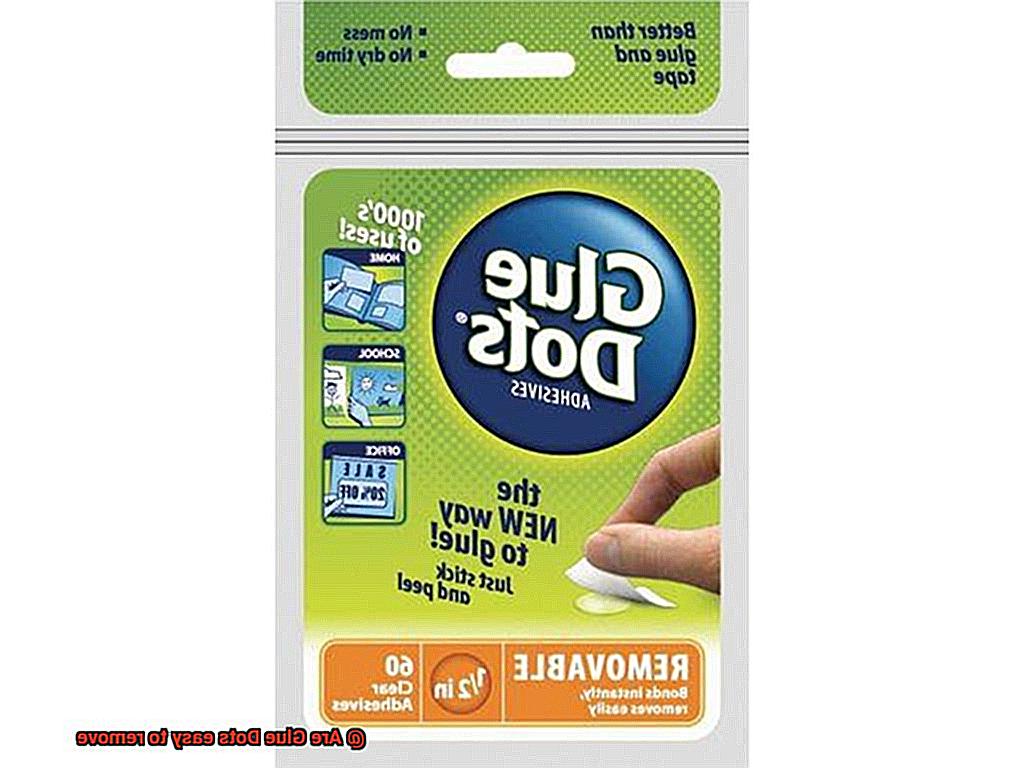
Glue dots are designed to be removable, but not all removal experiences are created equal. Through testing, you can ensure that your trusty glue dots come off easily without leaving any residue or damaging your surface. Your future self will thank you when it’s time for a new project, and the remnants of past gluing endeavors vanish without a trace.
Experiment with Removal Techniques:
Sometimes, glue dots can be stubborn during removal. But fear not. Testing gives you the opportunity to try different removal techniques, like gentle heat or adhesive removers. Discover the best method to bid farewell to those pesky little dots and reclaim your clean surface with confidence.
Assess Performance and Durability:
Observing how well glue dots hold up over time and under various conditions allows you to make an informed decision about their suitability for your needs. Nobody wants a project that falls apart after a day or loses its adhesive charm when exposed to different environments. With testing, you can ensure that your glue dots will deliver the performance and durability required for long-lasting success.
jn9cExmOQ8w” >
Conclusion
In conclusion, Glue Dots are generally a breeze to remove. However, the ease of removal can be influenced by several factors. The type of surface you’re working with is key – smooth and non-porous surfaces make removing glue dots a piece of cake. But beware, porous surfaces like fabric or paper can put up more resistance as the adhesive seeps into the fibers.
Another factor to consider is the adhesive strength of the glue dots. Low-tack adhesive glue dots are your best friend when it comes to easy removal. They won’t cause damage or leave behind any sticky residue. On the other hand, high-tack adhesive glue dots may require a bit more elbow grease to remove and could potentially leave some stubborn residue behind.
The length of time the glue dots have been in place also plays a role in their ease of removal. If they’ve only been sticking around for a short while, they’ll come off with minimal effort. But if they’ve been hanging out for an extended period, you might need to put in a little extra work.
Don’t forget about environmental factors too. Temperature and humidity can have an impact on how easily those glue dots come off. Extreme temperatures and high humidity levels can mess with the adhesive properties, making removal either harder or surprisingly easier.
To ensure a clean and hassle-free removal process, it’s best to take a gentle approach. Apply some gentle pressure and peel off those glue dots slowly but surely. This will protect your surfaces from damage and minimize any pesky residue left behind.
All in all, Glue Dots offer a convenient and user-friendly adhesive solution for all sorts of applications.

