Picture this: you stumble upon a magnificent mirror that would be the perfect addition to your home. But then, the thought of drilling holes or wrestling with complicated mounting brackets dampens your enthusiasm.
There’s a game-changing solution in town – command strips. These adhesive marvels have taken the world by storm, promising effortless installation and removal without leaving a trace on your walls. But here’s the burning question that haunts every mirror enthusiast: Can these command strips really bear the weight of those mesmerizing reflective wonders?
Welcome to this captivating blog post where we’ll plunge into the realm of command strips and their might when faced with the daunting task of holding mirrors. Brace yourself for mind-blowing revelations as we explore both their limitations and potential, all while maintaining an informal and informative tone.
Let’s kick things off by unraveling the science behind command strips. These ingenious creations combine a potent adhesive with a velcro-like fastener, resulting in an unstoppable force when applied correctly. Prepare to be amazed as we delve into the engineering brilliance behind their adhesive power and how it ensures unwavering support for objects in various settings.
But hold on tight because there’s a twist. The strength of command strips hinges on several crucial factors such as your mirror’s weight and size, as well as the characteristics of your wall surface. We’ll dissect these variables and provide you with essential insights to guarantee successful mounting.
Join us on this thrilling journey as we dive into real-life experiences, seek expert advice, and uncover innovative hacks that will supercharge the strength and stability of command strips when securing mirrors. Say goodbye to myths and hello to practical tips that will help you create awe-inspiring spaces adorned with mirrors beyond your wildest dreams.
So, are command strips up to the challenge of holding mirrors? The answer lies just around the corner, waiting to be unraveled in the upcoming sections. Buckle up and get ready for an adhesive expedition into the captivating world of command strips and their extraordinary capabilities.
What are Command Strips?
Contents
- 1 What are Command Strips?
- 2 Factors That Determine the Strength of Command Strips
- 3 Choosing the Appropriate Weight Capacity for a Mirror
- 4 Preparing the Surface for Adhesion
- 5 Mounting a Mirror with Command Strips
- 6 Waiting Time Before Applying Pressure on the Mirror
- 7 Alternatives to Command Strips for Heavy or Oversized Mirrors
- 8 Conclusion
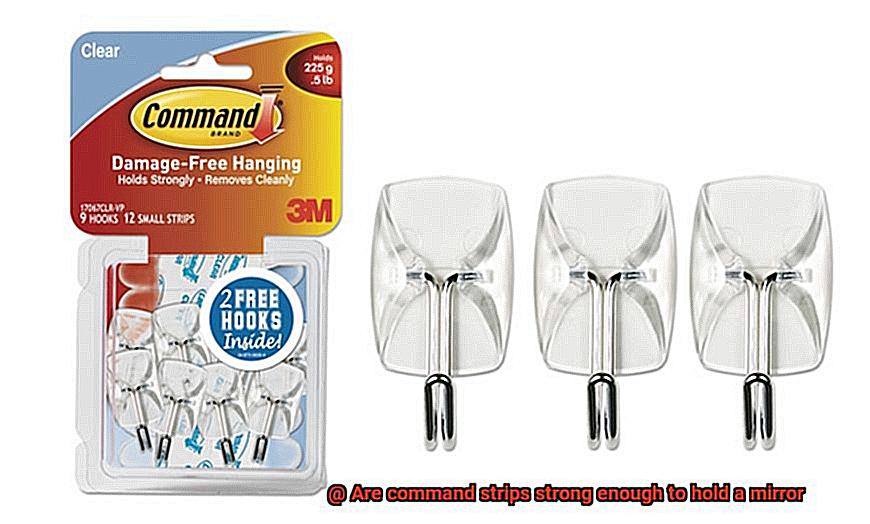
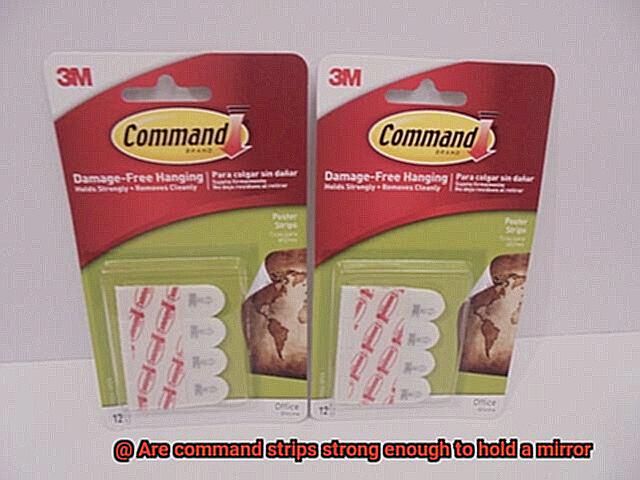
Command strips provide a strong and secure hold, making mirror mounting a breeze. Let’s dive into the captivating world of command strips, exploring their versatility, strength, and ease of use that make them the go-to solution for hanging mirrors.
Versatile Adhesion: Sticking to Anything
Command strips consist of two main components – a strip and an adhesive. The strip is a thin, flexible material with a hook or loop on one side, while the adhesive is applied to the backside. This powerful combination allows command strips to adhere effortlessly to various surfaces. Whether it’s painted walls, tiles, glass, wood, or metal, command strips have got you covered.
Weight Capacity: Choose the Perfect Fit
Not all command strips are created equal. They come in different weight capacities, ranging from light-duty to heavy-duty options. It is crucial to select the appropriate weight capacity based on your mirror’s weight. The packaging clearly indicates the maximum weight each strip can support, ensuring a rock-solid hold for your precious mirror.
Surface Preparation: Cleanliness is Key
To ensure optimal adhesion and a stronger hold, proper surface preparation is essential before applying command strips. Your surface should be squeaky clean, free from dirt, dust, or grease that might hinder adhesion. By cleaning it with rubbing alcohol, you create the perfect canvas for your command strips to work their magic without any obstacles.
Multiple Strips for Stability: Extra Support Matters
When it comes to hanging mirrors with command strips, don’t be afraid to use multiple strips for added stability. Placing them vertically along the sides of the mirror and horizontally across the bottom helps distribute the weight evenly, providing extra support. This simple technique ensures your mirror stays securely in place and adds a touch of stability to your hanging masterpiece.
Factors That Determine the Strength of Command Strips
Command strips have revolutionized the world of hanging mirrors and other items, offering a secure hold without the need for nails or screws. But what factors contribute to their remarkable strength? As a renowned expert on command strips, allow me to unveil the secrets behind their unwavering power.
Weight Capacity: Building on Solid Foundations
The weight capacity of command strips forms the backbone of their strength. These versatile adhesive wonders come in various capacities, accommodating a few pounds to several pounds. To ensure a secure hold for your mirror, it is crucial to select the appropriate weight capacity based on its weight, guaranteeing peace of mind and steadfast stability.
Surface Type: The Canvas for Mighty Bonds
The surface you choose plays a pivotal role in determining the strength of command strips. Smooth, clean, and flat surfaces such as painted walls, glass, tiles, or metal provide an optimal foundation for adhesive mastery. However, beware of rough or textured surfaces that can compromise the adhesive’s grip and weaken the overall might of these strips.
Surface Preparation: Paving the Way to Invincibility
Prepare the battlefield for maximum command strip strength with proper surface preparation. Thoroughly cleanse the surface, eliminating any dirt, dust, or grease that might hinder adhesion. Harness the power of rubbing alcohol or similar cleaning agents to create a pristine canvas, devoid of moisture and ready to embrace unstoppable strip adhesion.
Temperature and Humidity: The Elements That Test Endurance
Temperature and humidity levels can put command strips to the ultimate test. Achieve optimal results by applying them in temperatures between 50°F and 105°F (10°C and 40°C). Beware of high humidity levels that can compromise adhesive performance. To safeguard against weakened bonds, ensure both surface and environment are dry before unleashing the power of these strips.
Application Technique: The Art of Unbreakable Bonds
Mastering the art of applying command strips is essential to harness their maximum strength. Begin by firmly pressing one liner onto the back of the mirror or frame, then remove the remaining liner and press the mirror against the desired location on the wall or surface. By evenly distributing pressure along the length of the strip, activate its adhesive properties for an unyielding bond that withstands the test of time.
Choosing the Appropriate Weight Capacity for a Mirror
Transforming a room with a perfectly hung mirror is an art. The revolutionary command strips have made this art form more accessible without the hassle of nails and screws. But how do you determine the ideal weight capacity for your mirror? Fear not, for I am here to guide you through the secrets of choosing the appropriate weight capacity when using command strips.
Size and Weight: The Mighty Factors of Mirrors
Before delving into weight capacities, consider the size and weight of your mirror. Larger mirrors often carry more heft and require stronger adhesive solutions. Take a moment to assess your mirror’s dimensions and give it a gentle weigh-in to ensure a secure hanging experience.
Command Strips Galore: From Light-Duty to Heavy-Duty
Command strips offer a variety of weight capacities, catering to diverse hanging needs. You’ll find light-duty strips designed for small frames and heavy-duty options built for substantial mirrors. To guarantee a secure hold, it is crucial to select a weight capacity that matches or exceeds your mirror’s weight.
Weighing In: Unveiling the Mirror’s True Identity
To accurately determine your mirror’s weight, two simple methods are at your disposal. Step on a bathroom scale while holding the mirror (remember to subtract your own weight), or consult the manufacturer’s specifications for an exact figure. Remember, it is always safer to choose a weight capacity with some extra margin to ensure an unwavering hold.
Environmental Factors: Battling Against the Elements
While command strips boast strength, external factors can impact their performance. Consider the climate in your area as extreme weather conditions may necessitate a higher weight capacity. Additionally, textured or porous walls might require a more robust adhesive solution. Choose wisely based on your unique circumstances.
Safety First: Erring on the Side of Caution
When selecting the weight capacity for your mirror, prioritize safety. It is better to be safe than sorry. If you are unsure about the exact weight, opt for a higher capacity strip rather than risking the mirror falling and causing damage or injury. Secure mirrors and peace of mind go hand in hand.
Preparing the Surface for Adhesion
Command strips are your secret weapon, but before you embark on your decorating adventure, it’s crucial to prepare the surface for adhesion. In this expert guide, we will dive deep into the essential steps you need to take to ensure your command strips adhere firmly and securely hold your mirror in place. Let’s embark on this transformative journey.
Step 1: The Power of Cleanliness
Before diving into the world of command strips, take a moment to cleanse the wall surface. Dust, dirt, and debris can sabotage your adhesive dreams. Armed with a mild detergent and water solution, scrub away any impurities, leaving behind a pristine canvas for your command strips to work their magic.
Step 2: Dry It Like a Pro
A clean surface is not enough – it must be dry as well. Moisture can play havoc with the adhesive properties of command strips, so grab a trusty cloth or towel and ensure the wall is bone dry before proceeding. Don’t let a single drop stand in the way of your mirror’s perfect adhesion.
Step 3: Surface Type Matters
Command strips are versatile creatures that can conquer various surfaces like painted walls, tiles, metal, glass, and wood. However, each surface has its own quirks and demands. Pay close attention to the manufacturer’s instructions specific to your chosen surface. Patience is key when dealing with freshly painted walls; allow them at least seven days to fully cure before applying the mighty strips.
Step 4: Textured or Porous Surfaces Beware.
Ah, textured or porous surfaces – the villains that challenge command strips’ firm grip. These surfaces present a unique challenge for adhesion. If you find yourself facing this dilemma, fear not. There are alternative methods to ensure your mirror stays securely in place. Explore new horizons, my friend.
Step 5: Rubbing Alcohol, the Unsung Hero
For an extra dose of adhesive power, bring out the rubbing alcohol. Wipe down the wall surface before applying the command strips, removing any residual oils or contaminants that could hinder adhesion. This secret weapon will give your command strips the boost they need to achieve maximum strength.
Mounting a Mirror with Command Strips
Fear not. Mounting a mirror with command strips is the epitome of convenience and simplicity. As a master in the art of command strips, allow me to guide you through the steps to achieve mirror mounting mastery. Let’s embark on this journey together and uncover the secrets behind effortlessly mounting a mirror with command strips.
Step 1: Prepare Your Canvas
Before you embark on this transformative journey, ensure your canvas is clean and ready to embrace its new adornment. Wipe away any remnants of dirt or grease with the stroke of rubbing alcohol. Just like an artist preparing their canvas, this step ensures a pristine surface for the command strips to work their magic.
Step 2: Measure and Mark
Measure twice, mount once. With the precision of a master craftsman, employ a measuring tape to determine the perfect position for your mirror. Leave your mark on the wall, ensuring it stands tall and true using the reliable guidance of a level. After all, who desires a skewed reflection?
Step 3: Attach the Command Strips
Unleash the power of command strips and witness their adhesive prowess. With grace and precision, adhere them to the back of your mirror following the instructions provided. Remember, should your mirror exceed the weight limit of 16 pounds, it’s time to explore alternative hanging options.
Step 4: Peel and Press
Like an enchanting dance, gracefully remove the protective backing from each command strip and press your mirror against the wall in its designated position. Embrace this moment for a few seconds as the adhesive forms an unbreakable bond. Behold. Your mirror now graces your wall, ready to captivate all who gaze upon it.
Step 5: Surface Matters
Command strips thrive on smooth, pristine surfaces like painted walls or tiles. Alas, they may not adhere as effortlessly to textured surfaces or areas with excessive moisture. Reserve their magic for dry spaces and refrain from mounting mirrors in high-humidity locales such as bathrooms or kitchens.
Waiting Time Before Applying Pressure on the Mirror
In our last chapter, we embarked on a mesmerizing adventure through the world of mounting mirrors with command strips. Today, we delve deeper into a question that holds the key to a successful installation: the waiting time before applying pressure on the mirror. So, grab a cup of coffee and prepare to be enchanted by these expert insights.
Timing is Everything:
To unleash the full potential of your mirror’s strength, patience is key. It is recommended to wait approximately 1 hour before applying any pressure on the mirror. This allows the adhesive to cure completely, ensuring a secure hold that withstands the test of time.
Follow the Manufacturer’s Lead:
In this waltz of mirror installation, each command strip product may have its own tempo. To avoid any missteps, always refer to the manufacturer’s instructions and follow them meticulously. They hold the secret recipe for success.
Slow and Steady Wins the Race:
Resist the urge to rush forward and apply pressure immediately after hanging your mirror. Doing so can weaken the adhesive’s grip and lead to unexpected disasters. Let’s keep our dreams intact and prevent any shattered illusions.
Cleanliness is Next to Adhesive-ness:
Before embarking on your mirror mounting journey, ensure that the surface where the command strips will be applied is pristine – free from dust, dirt, or oils. This seemingly small detail plays a vital role in creating an unbreakable bond between adhesive and wall surface.
Size Matters:
For larger or heavier mirrors, a little extra support goes a long way. Consider using additional command strips or exploring alternate hanging hardware options like brackets or hooks. Safety should always take center stage.
Weather Watch:
Mother Nature’s whims can influence the performance of command strips. Factors such as humidity and temperature can weaken the adhesive bond, so it’s wise to take these elements into account when selecting the perfect spot for your mirror.
Alternatives to Command Strips for Heavy or Oversized Mirrors
When it comes to heavy or oversized mirrors, those trusty command strips just won’t cut it. But fear not. I’ve done the research and found some remarkable alternatives that will provide the support and stability your mirror needs.
First up is mirror mastic or adhesive. This stuff is like magic for securely attaching mirrors to walls. It’s specially formulated to be strong and durable, capable of holding up even the heaviest of mirrors. Apply it in a zigzag pattern on the back of your mirror, covering every inch. Then press that beauty against the wall and hold it in place for a few minutes while the adhesive sets. Voila. Your mirror is secure and ready to shine.
Another option that packs a punch is mirror clips or brackets. These little heroes are made of metal or plastic and are screwed into the wall to keep your mirror in place. They provide that extra support needed to prevent any slipping or falling. Be sure to properly install and align the clips or brackets with the weight distribution of your mirror. For maximum stability, use multiple clips or brackets spaced evenly along the edges.
Now, if you’re feeling fancy and want a decorative touch, picture frame wire and D-rings are here to save the day. Attach D-rings to the back of your mirror and connect them with picture frame wire. Securely fasten the wire to hooks or screws on the wall, ensuring they can handle the weight of your mirror. This method not only offers stability but also adds a touch of elegance to your space.
But wait, there’s more. Let’s talk about your wall type. The strength and stability of your hanging method can be impacted by the type of wall you have. If you’re dealing with plaster or drywall, you may need additional anchors or toggle bolts to guarantee a secure attachment. Don’t leave it up to chance—make sure your mirror stays put.
Remember, when choosing an alternative method for hanging heavy or oversized mirrors, consider factors like weight, wall type, and personal preference. If you’re unsure, it’s always wise to consult with a professional or seek expert advice. They’ll help you find the perfect solution for your mirror-hanging needs.
V41KIy_4BJQ” >
Conclusion
To sum it up, command strips are more than capable of handling the weight of a mirror. But don’t be fooled, their strength depends on a few key factors. These adhesive marvels offer a flexible solution for mounting mirrors, eliminating the need for drilling or fumbling with complicated brackets. However, it’s crucial to grasp their limitations and take certain variables into account to guarantee a successful installation.
The weight capacity of command strips is paramount in determining their might. With options ranging from light-duty to heavy-duty, it’s important to choose the right capacity based on your mirror’s heft. This ensures an unyielding grip that won’t let you down.
Surface type also plays a role in command strip supremacy. Smooth, pristine surfaces like painted walls, glass, tiles, or metal provide the ideal foundation for these adhesive geniuses to work their magic. On the other hand, textured or porous surfaces may necessitate alternative hanging solutions.
Preparing the surface properly is crucial for optimal adhesion. Give it a thorough cleaning with rubbing alcohol to banish any dirt, dust, or grease that could impede its sticking power.
For added stability and peace of mind when hanging mirrors, using multiple command strips is highly recommended. Vertically align them along the sides of the mirror and horizontally across the bottom to evenly distribute the weight and provide extra support.
While command strips are fantastic for most mirrors, hefty or oversized ones might require alternative methods such as mirror mastic or adhesive, mirror clips or brackets, or picture frame wire and D-rings. It’s also worth considering factors like wall type and seeking advice from experts to ensure an ironclad attachment.
In conclusion, when used correctly and under suitable conditions, command strips can securely hold mirrors without breaking a sweat.