Hey there, DIY enthusiasts and crafty folks.
Contents
- 1 What is Gorilla Glue?
- 2 Does Gorilla Glue Work on Leather?
- 3 Does Gorilla Glue Work on Metal?
- 4 Advantages of Using Gorilla Glue on Leather and Metal
- 5 Disadvantages of Using Gorilla Glue on Leather and Metal
- 6 How to Prepare Metal for Applying Gorilla Glue
- 7 Tips for Applying Gorilla Glue on Leather and Metal Surfaces
- 7.1 Proper Surface Preparation:
- 7.2 Thin and Even Application:
- 7.3 Imagine you’re repairing a torn leather jacket. Applying too much Gorilla Glue could result in glue seeping out from the edges of the tear and leaving visible residue. By applying a thin layer of glue and ensuring even distribution, you can achieve a seamless repair.
- 7.4 Consider a Primer:
- 7.5 For smooth metal surfaces like stainless steel or aluminum, consider using a primer specifically designed for metal bonding before applying Gorilla Glue. The primer enhances bonding strength and ensures a stronger and more durable bond. It creates a surface that is more receptive to the adhesive, improving the overall effectiveness of the bond.
- 7.6 Secure the Bond:
- 8 Alternatives to Using Gorilla Glue on Leather and Metal Surfaces
- 9 Conclusion
Today, we’re tackling a burning question in the world of repairs and projects: Does Gorilla Glue work its magic on leather and metal? Whether you’re trying to revive a worn-out leather bag or fix up a metal trinket, we’ve got the inside scoop.
So grab your favorite cuppa, kick back, and let’s unravel this sticky conundrum together.
What is Gorilla Glue?
Whether you’re an experienced DIYer or just beginning to explore the world of crafting and repairs, having a reliable adhesive in your arsenal is essential. Enter Gorilla Glue, the adhesive that has become a go-to choice for many professionals and hobbyists alike. In this article, we will dive into the wonders of Gorilla Glue, its impressive bonding capabilities, and its suitability for various materials.
The Power of Gorilla Glue:
Gorilla Glue is a polyurethane adhesive that packs a powerful punch when it comes to bonding. It is known for its unmatched ability to create strong connections between different materials. From wood to stone, metal to ceramics, glass to plastic, Gorilla Glue can securely bond them all. Its versatility makes it an indispensable tool for any project.
Expanding Properties:
One of the standout features of Gorilla Glue is its ability to expand as it cures. This unique property allows it to penetrate into the pores and irregularities of surfaces, ensuring a strong and durable bond. Say goodbye to worrying about uneven or rough surfaces – Gorilla Glue has got you covered.
Different Forms for Different Needs:
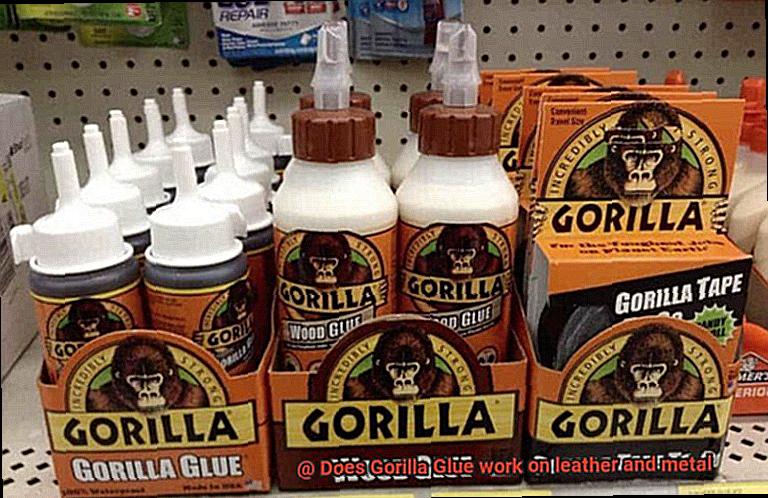
Gorilla Glue comes in various forms to cater to different applications. The liquid glue is perfect for general use, providing excellent adhesion in a wide range of projects. If you require a thicker consistency that stays put even on vertical surfaces, the gel glue is your best bet. Need something extra tough? Look no further than Gorilla Tape, a heavy-duty adhesive tape that can withstand even the harshest conditions. And if epoxy is what you’re after, Gorilla Glue has got you covered there too.
Waterproof and Temperature Resistant:
No need to fret about outdoor projects or exposure to water and extreme temperatures – Gorilla Glue is here to save the day. This adhesive is waterproof and can withstand both hot and cold conditions. So whether you’re repairing outdoor furniture or fixing a broken metal ornament, you can do it with confidence.
Tips for Success:
To ensure optimal bonding with Gorilla Glue, a crucial step is to dampen one of the surfaces with water before applying the glue. This activates the curing process and guarantees a strong bond. Remember to follow the instructions provided by the manufacturer for best results.
Does Gorilla Glue Work on Leather?
Gorilla Glue, a renowned adhesive with exceptional bonding properties, is often hailed as a go-to solution for various materials. However, when it comes to leather, it’s crucial to determine if this adhesive is the right choice. In this comprehensive guide, we will delve into the intricacies of using Gorilla Glue on leather. From surface preparation to application techniques and compatibility with different leather types, we will leave no stone unturned.
Preparing the Leather Surface:
Before embarking on any gluing endeavor, proper preparation of the leather surface is vital. Begin by banishing dirt, oils, or pesky coatings that might thwart the adhesive’s effectiveness. Employ a mild soap and water solution or a specialized leather cleaner to achieve a pristine canvas. Remember, patience is key; ensure the leather is completely dry before proceeding.
Applying Gorilla Glue:
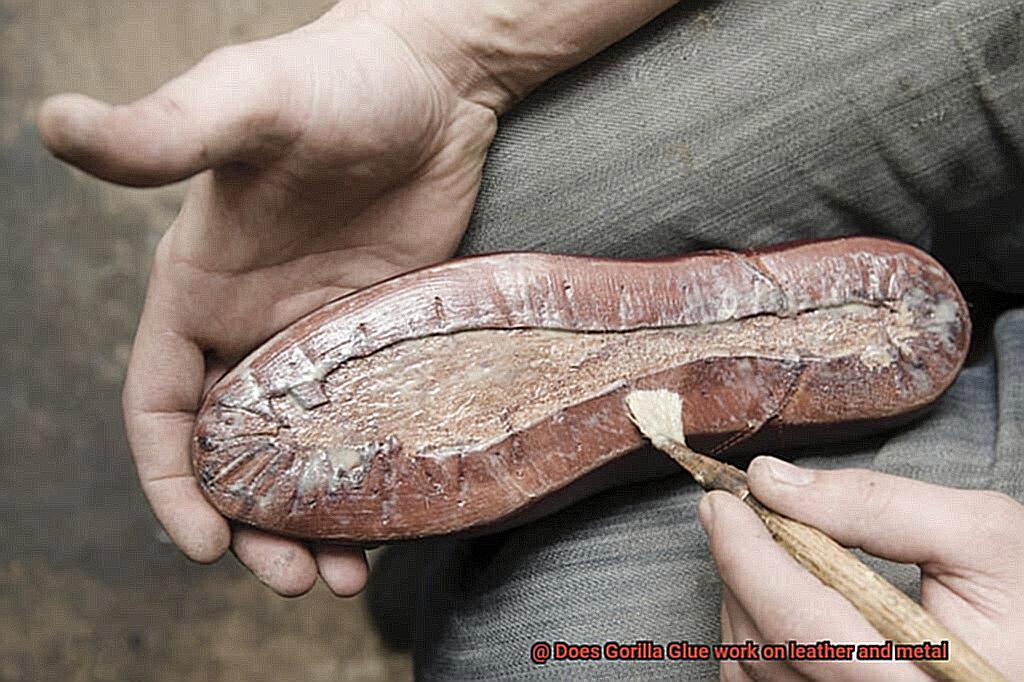
Embark on your gluing adventure by applying a modest amount of Gorilla Glue to the desired area for repair or bonding. To avoid unsightly seepage or messy results, apply the glue sparingly and evenly. Be mindful not to venture too close to the edges, as excess glue can lead to unwanted spreading.
Clamping or Holding:
Once the glue is in place, it’s time to secure the bonded parts together firmly. Allow them to bask in each other’s company for at least one to two hours. This period of intimate connection facilitates proper curing and guarantees an unbreakable bond between the leather pieces. Utilize clamps or hefty objects that distribute pressure evenly across the glued area for optimal results.
Considerations for Delicate or Thin Leather:
Leather can be as delicate as a fragile whisper or as thin as a paper’s veil. In such cases, caution must be exercised when employing Gorilla Glue. This adhesive expands during the curing process, which can lead to distortion or damage. To tackle this challenge head-on, consider gently roughening the surface with sandpaper or opting for an adhesive specifically designed for smooth leather surfaces.
Compatibility Testing:
While Gorilla Glue is a formidable adhesive, it may not mesh well with certain finishes or coatings applied to leather products. Safeguard yourself against unpleasant surprises by conducting a compatibility test in a small, inconspicuous area before diving into the deep end. This precautionary measure prevents any unwanted reactions or damage to your prized leather possessions.
Does Gorilla Glue Work on Metal?
A Comprehensive Guide
Introduction:
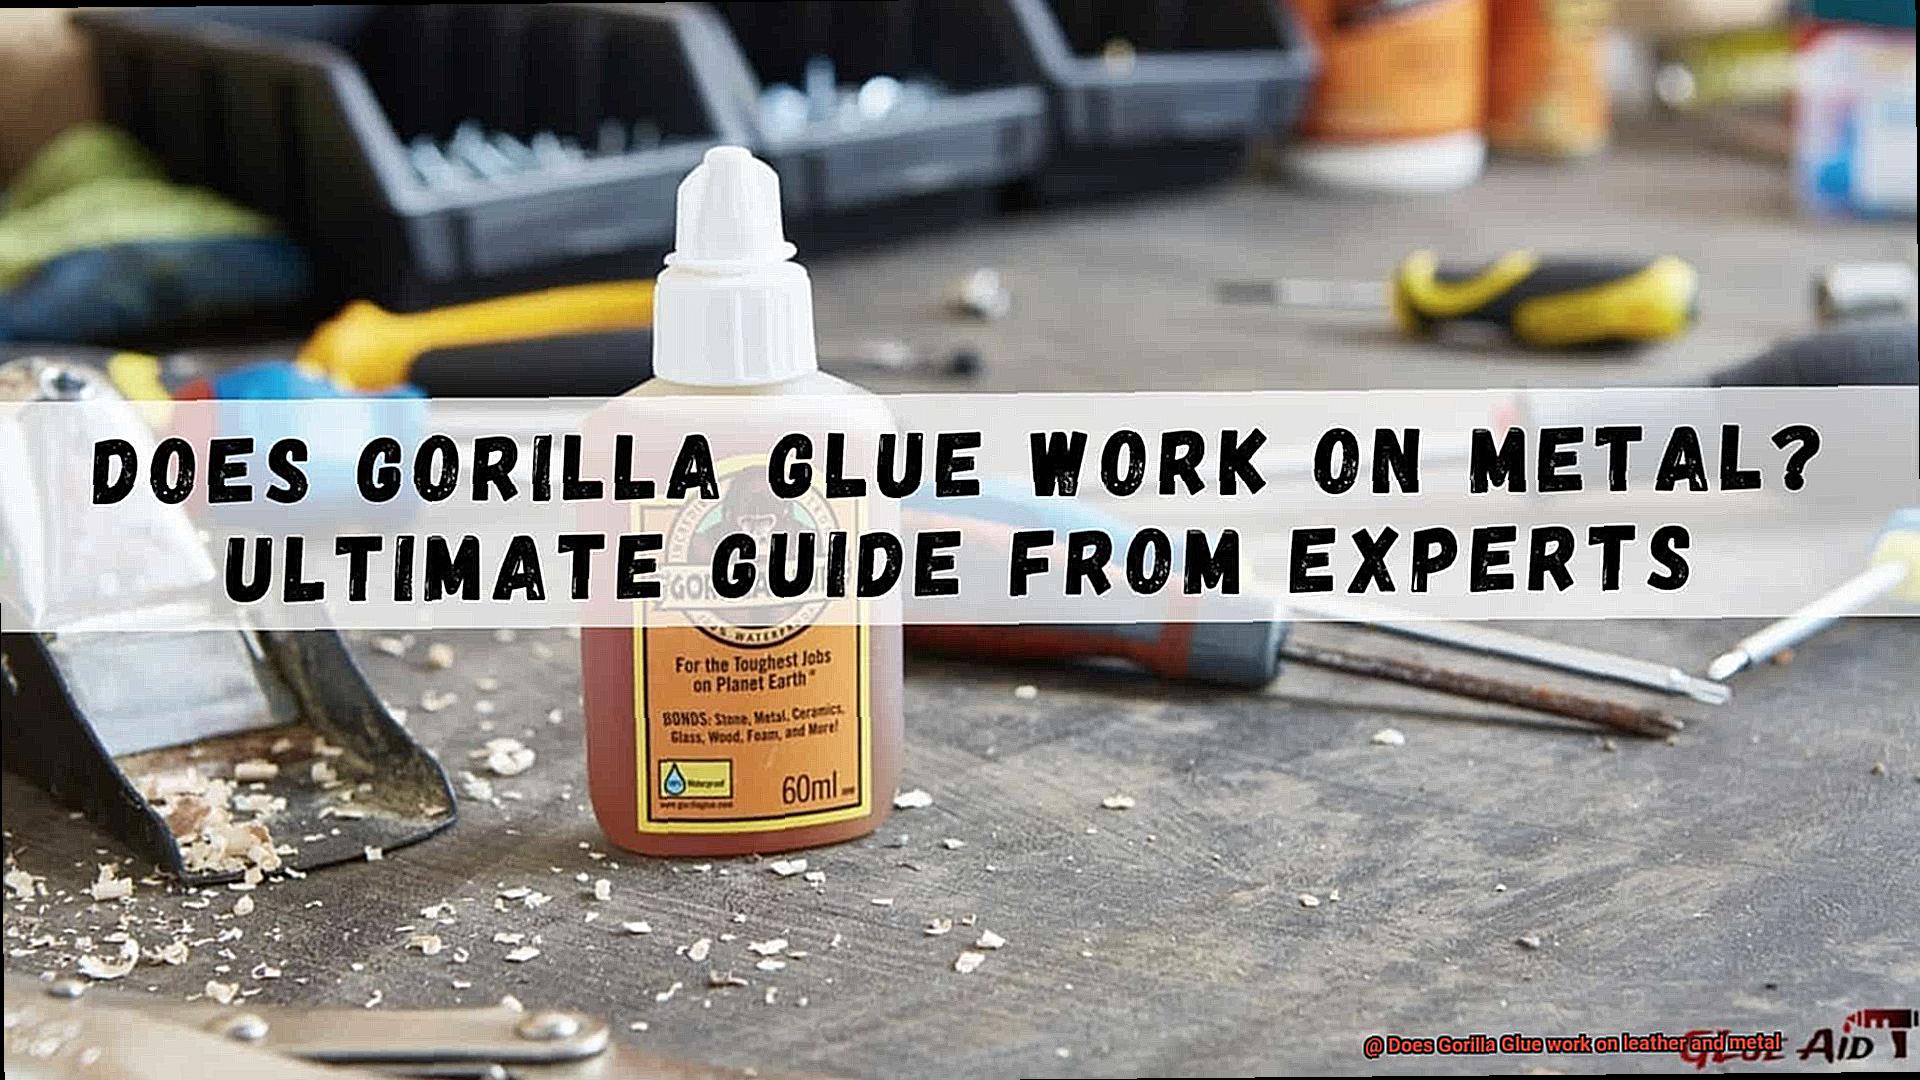
Gorilla Glue is a go-to adhesive for many DIY enthusiasts and craftsmen, but does it work on metal? The answer is yes, but there are a few factors to consider. In this comprehensive guide, we will delve into the specifics of using Gorilla Glue on metal, including the types of metal it works best on, surface preparation, application techniques, bond strength verification, limitations, and more. So, let’s explore the world of Gorilla Glue and metal bonding.
Types of Metal:
Gorilla Glue is known to bond effectively with metals like steel, aluminum, and copper. These metals have a porous surface that allows the glue to penetrate and create a strong bond. However, it may not be suitable for non-porous metals such as stainless steel or chrome, where the surface area for bonding is limited.
Surface Preparation:
Before applying Gorilla Glue on metal, it is crucial to ensure the surface is clean and free from any dirt, grease, or rust. Use a degreaser or sandpaper to remove contaminants and create a rougher surface that enhances adhesive adhesion.
Application Techniques:
When using Gorilla Glue on metal, less is more. Apply a thin layer of glue onto one of the surfaces that need to be bonded together. Excessive glue can lead to messy results and may not improve the bond strength. Press the two metal pieces together firmly and hold them in place for at least 1-2 hours. For added security, use clamps or other tools to secure the bond while the glue cures.
Bond Strength Verification:
After the recommended curing time, check the bond by gently applying pressure or attempting to separate the pieces. If the bond holds strong without any signs of detachment, congratulations. Gorilla Glue has successfully worked its magic on your metal project.
Limitations:
While Gorilla Glue can be effective on certain types of metal, it is essential to consider the specific requirements of your project. High-stress applications, extreme temperatures, or heavy loads may require specialized adhesives designed explicitly for metal bonding.
Advantages of Using Gorilla Glue on Leather and Metal
When it comes to bonding leather and metal, Gorilla Glue is truly a force to be reckoned with. This popular adhesive offers a multitude of advantages that make it the go-to choice for DIY enthusiasts and professionals alike.
First and foremost, let’s talk about strength. Gorilla Glue is like the Hulk of adhesives, designed to create super strong bonds that can handle heavy loads and endure extreme conditions. When you use Gorilla Glue on leather and metal, you can rest easy knowing that your bond will withstand the test of time.
But that’s not all – Gorilla Glue is also incredibly versatile. It can work its magic on all types of leather – genuine leather, faux leather, suede – you name it. And it doesn’t stop there. Gorilla Glue is also compatible with various metals like steel, aluminum, brass, and copper. So no matter what your project involves, Gorilla Glue has got your back.
Durability is another major advantage of using Gorilla Glue on leather and metal. Once cured, it forms a waterproof seal that can handle moisture without weakening or deteriorating. So whether you’re working on something that might get wet or exposed to the elements, Gorilla Glue is your go-to adhesive.
But wait, there’s more. Gorilla Glue expands as it cures, filling gaps and creating a tight seal between leather and metal surfaces. This not only enhances the bond strength but also prevents any weak points or gaps that could ruin your project. Talk about attention to detail.
Convenience is also a key advantage of using Gorilla Glue. It comes in different forms – liquid glue, gel glue, and even glue sticks – to suit your specific needs. Whether you’re working on a large surface area or need precision in those hard-to-reach spots, Gorilla Glue has got you covered. And the best part? It’s easy to apply and requires minimal preparation. No complicated steps or messy cleanups here.
Last but not least, let’s talk appearance. Gorilla Glue dries clear, which is a game-changer when working with leather. Say goodbye to visible residue or discoloration on your beautiful leather items. Gorilla Glue ensures a seamless finish that doesn’t detract from the overall look of your project.
Disadvantages of Using Gorilla Glue on Leather and Metal
The Disadvantages of Using Gorilla Glue on Leather and Metal
Introduction:
Gorilla Glue is renowned for its strength and versatility, making it a go-to adhesive for many DIY projects. However, when it comes to using this adhesive on leather and metal, there are several disadvantages that should be considered. While Gorilla Glue may seem like a tempting choice, it is essential to understand the potential drawbacks before proceeding. This article will explore the disadvantages of using Gorilla Glue on leather and metal in detail.
Disadvantages of Using Gorilla Glue on Leather:
Potential Damage:
Gorilla Glue’s strong adhesive properties can seep into the delicate fibers of leather, causing unsightly stains or discoloration that are difficult to remove without further damage. The glue can penetrate the surface of the leather, leading to irreversible damage that can ruin the appearance of the material.
Altered Texture:
Leather is known for its natural softness and flexibility, which adds to its appeal. However, when Gorilla Glue is applied to leather, it can compromise these qualities, resulting in a stiff and uncomfortable material. The altered texture not only diminishes the overall aesthetic but also reduces the comfort and functionality of leather items such as shoes or bags.
Disadvantages of Using Gorilla Glue on Metal:
Weak Bonds:
Certain metal surfaces require specialized adhesives designed specifically for bonding with metal. Gorilla Glue may not provide the same level of durability and longevity when used on metal. The bond created by Gorilla Glue may be weaker compared to adhesives formulated specifically for metal, compromising the structural integrity of metal objects.
Residue Marks:
When Gorilla Glue is used on metal surfaces, it can leave behind stubborn residue or marks that are challenging to remove without damaging the metal surface. These residue marks can detract from the appearance of valuable or decorative metal pieces, leaving them permanently blemished.
Susceptibility to Environmental Conditions:
Metal surfaces are often exposed to extreme temperatures or moisture. Unfortunately, Gorilla Glue may not hold up well under these circumstances, leading to weakened bonds or even complete failure. This can be especially problematic when relying on the glue to secure important or heavy metal objects, as compromised adhesion can result in safety hazards.
How to Prepare Metal for Applying Gorilla Glue
To ensure the best results when applying this powerful adhesive to metal surfaces, proper preparation is key. In this guide, we will walk you through the steps needed to clean, roughen, and ready your metal for a strong bond with Gorilla Glue. Let’s dive in.
Step 1: Cleanse Your Metal Surface
Before you begin your bonding journey, thoroughly clean the metal surface. Dirt, grease, and rust can hinder glue adhesion. Use warm water and a mild detergent or soap to scrub away any dirt or debris. Rinse the surface with clean water and ensure it is completely dry before moving forward.
Step 2: Say Goodbye to Grease and Oil
Banish traces of grease or oil from the metal surface. Utilize a degreaser or solvent recommended by the manufacturer to remove them. Follow the instructions provided, allowing the degreaser to work its magic, then wipe away any excess with a clean cloth. This step ensures a secure grip between the glue and the metal.
Step 3: Conquer Rust
Rust can be a pesky enemy when it comes to bonding metal surfaces. Fear not. Defeat rust by gently scrubbing it away with sandpaper or a wire brush. Continue until all loose particles are removed, leaving a smooth surface prepared for bonding.
Step 4: Roughen Up for Enhanced Adhesion
To improve adhesion, slightly roughen the metal surface. Employ sandpaper or a sanding block to create a textured surface. Apply gentle pressure, ensuring not to damage the metal while creating the necessary roughness.
Step 5: The Dance of Glue Application
Now that your metal surface is clean and roughened, it’s time to apply Gorilla Glue. Begin by applying a thin layer of glue to one of the surfaces you wish to bond together. Utilize a brush or applicator to spread the glue evenly. Remember, less is more – avoid excess glue oozing out.
Step 6: Bonding Time.
Join the two metal surfaces together and apply pressure to ensure proper contact. Clamps or other holding devices can be used to secure them in place while the glue sets. Allow the glue sufficient time to cure according to the manufacturer’s instructions, exercising patience for a durable bond.
Tips for Applying Gorilla Glue on Leather and Metal Surfaces
Look no further than Gorilla Glue. Gorilla Glue is a versatile adhesive that can be used on a wide range of materials, including leather and metal. However, it’s crucial to follow some important tips to ensure a successful application. In this blog post, we’ll share valuable tips to help you achieve a strong and long-lasting bond between leather and metal surfaces using Gorilla Glue.
Proper Surface Preparation:
To ensure a reliable bond, it’s essential to prepare the surfaces properly before applying Gorilla Glue. For leather, use a mild detergent or leather cleaner to remove any dirt, dust, or oils. Allow the surface to dry completely before applying the glue. For metal surfaces, remove any rust, paint, or coatings that may interfere with the bonding process. Lightly sand the surface to create a rough texture that promotes better adhesion.
Thin and Even Application:
When applying Gorilla Glue on leather, remember to apply a thin and even layer of glue on both surfaces being bonded. Use a brush or an applicator to spread the glue evenly. Avoid using excessive glue as it may overflow from the edges, creating a messy appearance. Since Gorilla Glue expands as it cures, leaving some room for expansion is crucial.
Imagine you’re repairing a torn leather jacket. Applying too much Gorilla Glue could result in glue seeping out from the edges of the tear and leaving visible residue. By applying a thin layer of glue and ensuring even distribution, you can achieve a seamless repair.
Consider a Primer:
For smooth metal surfaces like stainless steel or aluminum, consider using a primer specifically designed for metal bonding before applying Gorilla Glue. The primer enhances bonding strength and ensures a stronger and more durable bond. It creates a surface that is more receptive to the adhesive, improving the overall effectiveness of the bond.
For example, if you’re bonding metal pieces to create a sculpture, using a metal primer before applying Gorilla Glue can enhance the bond’s strength and longevity, ensuring your artwork withstands the test of time.
Secure the Bond:
Once you have applied the glue on both surfaces, carefully align and press them together firmly. Hold them in place for the recommended curing time, usually 24 hours, for maximum bond strength. You can use clamps or weighted objects to secure the bond if necessary. Avoid any unnecessary movement or stress during the curing process to ensure a strong and durable bond.
Imagine you’re repairing a metal chair with a broken leg. After applying Gorilla Glue and aligning the pieces, use clamps to hold them together for the curing period. This ensures that the bond sets properly and withstands the weight and stress when someone sits on the chair.
Alternatives to Using Gorilla Glue on Leather and Metal Surfaces
Gorilla Glue is renowned for its strength and durability. However, there are instances where it may not be the optimal choice for bonding leather and metal surfaces. In this comprehensive guide, we will delve into alternative options that can deliver equally robust and long-lasting bonds. Let’s embark on this journey to discover the perfect alternatives.
Specialized Leather Glue:
When dealing with leather surfaces, specialized leather glue becomes a game-changer. These glues are uniquely formulated to seep into the leather’s pores, guaranteeing a secure and flexible bond. Prominent choices in this category include Barge All-Purpose Cement, Fiebing’s Leathercraft Cement, and Tandy Leather Eco-Flo Leather Weld.
Epoxy Adhesives:
For metal surfaces, epoxy adhesives often emerge as the go-to choice. They offer exceptional strength and resistance to extreme temperatures, making them ideal for various metal bonding applications. Epoxy adhesives consist of a resin and a hardener that must be mixed together before use. Trusted brands such as JB Weld, Loctite Epoxy, and Devcon are known for their reliability.
Welding or Soldering:
In heavy-duty metal bonding scenarios, welding or soldering methods serve as excellent alternatives to Gorilla Glue. Welding entails melting the metal surfaces together using heat, while soldering involves melting a filler metal between the surfaces to create a bond. While these methods require specific equipment and expertise, they deliver incredibly strong bonds that can withstand considerable stress.
Double-Sided Adhesive Tapes:
For temporary or non-permanent bonds on leather and metal surfaces, double-sided adhesive tapes offer a convenient solution. These tapes eliminate the need for glue or other adhesives and come in various strengths and sizes to suit your specific needs. They provide a quick and hassle-free way to attach two surfaces together.
Mechanical Fasteners:
In certain situations, mechanical fasteners like rivets, screws, or bolts may prove superior to glue for joining leather and metal surfaces. These fasteners offer a secure and removable method of connecting materials, making them ideal for applications where disassembly or repair might be necessary.
dOS05PbEduM” >
Also Read: Best Glue for Leather to Metal – Tips and Product Guide
Conclusion
In conclusion, Gorilla Glue proves to be a reliable adhesive for both leather and metal.
Its exceptional bonding power ensures that your materials stay firmly in place, providing long-lasting durability. Whether you’re repairing a torn leather jacket or fixing a broken metal hinge, Gorilla Glue is the go-to solution.
With its strong hold and versatility, it effortlessly bonds even the toughest surfaces together.

