Do you have a favorite pair of leather shoes that are on their last leg? Or maybe a leather bag with a frayed strap? Repairing leather goods can be daunting, but fear not. Today, we’ll focus on one glue in particular: Gorilla Glue.
Gorilla Glue has become a household name in recent years. Its exceptional holding power and water-resistant formula make it a go-to for many DIYers and professionals alike. But does it work on leather? That’s the million dollar question.
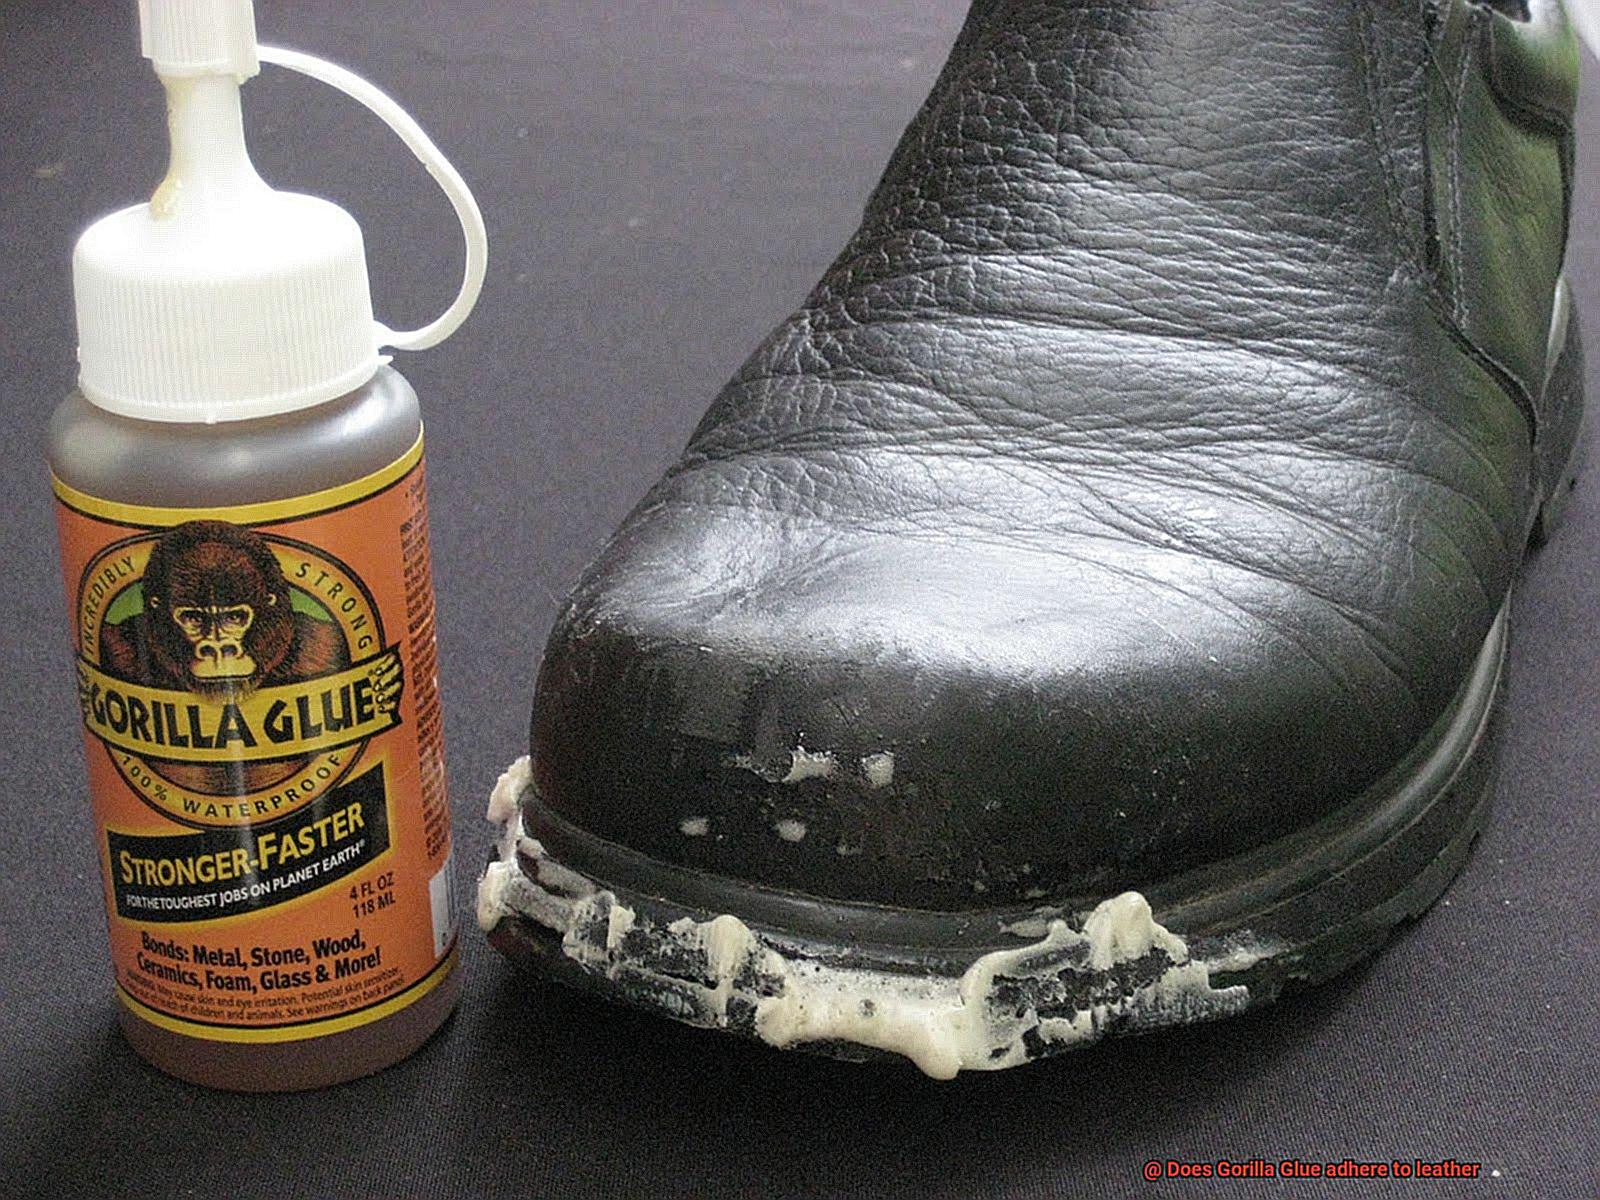
The short answer is yes. Gorilla Glue is an excellent option for repairing leather. However, not all leather types are created equal. The way in which the glue adheres to the leather can depend on factors such as the type of leather, how well it has been cleaned, and the amount of pressure applied during the repair process.
In this post, we’ll dive deeper into the world of Gorilla Glue and explore best practices when using it to repair your beloved leather goods. So sit back, grab a cup of coffee, and let’s get started.
What is Gorilla Glue?
Contents
- 1 What is Gorilla Glue?
- 2 Does Gorilla Glue Adhere to Leather?
- 3 How to Prepare the Leather Surface for Gorilla Glue
- 4 Types of Gorilla Glue for Leather
- 5 Benefits of Using Gorilla Glue on Leather
- 6 Precautions When Using Gorilla Glue on Leather
- 7 Tips for Best Results When Using Gorilla Glue on Leather
- 8 Alternatives to Gorilla Glue for Bonding Leather
- 9 Conclusion
Gorilla Glue is a household name when it comes to polyurethane adhesives. Introduced in 1994 by the Gorilla Glue Company, it has since become a go-to for DIY enthusiasts and repair professionals alike. The glue comes in different forms, including original, clear, white, and super glue.
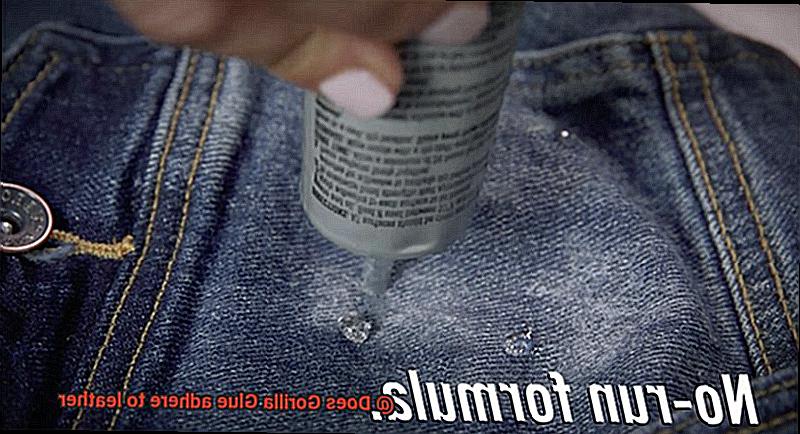
What sets Gorilla Glue apart is its impressive bonding capabilities. The original formula is a brown-colored liquid that dries to a tan color. It’s activated by moisture, which makes it ideal for application on damp surfaces. As it dries, the glue expands to create a foam-like substance that fills gaps and creates an unbreakable bond. Once dry, it can be sanded and painted over.
Gorilla Glue has a reputation for its versatility. It can bond to almost any surface, from wood and metal to ceramic and glass. Its ability to fill gaps makes it perfect for repairing broken objects or creating new ones.
One of the standout features of Gorilla Glue is its resistance to water. Once dry, the glue can withstand exposure to water without losing its strength. This makes it an excellent choice for outdoor applications or projects that may come into contact with moisture.
While Gorilla Glue can bond to almost any surface, there are specific considerations when using it on leather. Proper preparation of the surface is essential, including cleaning the leather with a damp cloth and allowing it to dry completely. Applying the glue sparingly and evenly while using a small amount of pressure will ensure proper bonding. Using a specific type of Gorilla Glue designed for porous materials like wood can also result in a stronger bond.
Does Gorilla Glue Adhere to Leather?
Firstly, let’s understand what Gorilla Glue is – a polyurethane-based adhesive that expands as it dries. This expansion can cause problems when trying to bond leather, resulting in distortion or an unsightly finish. However, with the right preparation and application technique, it can work wonders.
To bond leather with Gorilla Glue, follow these simple steps:
- Prepare the surface: Clean the surfaces of leather that need to be joined and make sure they are dry. Roughen up the surfaces with sandpaper to ensure better adhesion. This step is crucial as any dirt or dust particles on the surface can prevent the glue from adhering properly.
- Apply the glue: Apply a small amount of Gorilla Glue evenly over both surfaces that need to be joined. Avoid using too much glue as it can result in a poor finish. Ensure that the glue is evenly distributed over the surfaces.
- Clamp it together: Once the glue is applied, clamp the surfaces together for at least one hour. This will allow the glue to dry and form a strong bond. It’s important to clamp them together firmly but not too tight as it can deform or damage the leather.
- Check for suitability: It’s important to note that Gorilla Glue works best on smooth leather surfaces and may not be suitable for rough or textured leather. Test the adhesive on a small area before committing to a larger project. If you’re unsure about using Gorilla Glue on your leather project, consider using an alternative adhesive.
By following these steps, you can achieve a secure bond between leather surfaces with Gorilla Glue. However, it’s essential to remember that using too much glue or not evenly distributing it over the surface can result in a messy finish. Take your time and exercise caution throughout the process.
How to Prepare the Leather Surface for Gorilla Glue
If you want to use Gorilla Glue on your leather items, it’s important to prepare the surface properly. A little bit of preparation can go a long way in ensuring a strong and lasting bond. Follow these five sub-sections to prepare the leather surface for Gorilla Glue.
Clean the surface
The first step is to remove any dirt, dust, or grime from the leather surface. You can use a damp cloth to wipe off any loose dirt and debris, followed by a mild soap solution and a soft-bristled brush to remove stubborn stains. Rinse with clean water and let it dry completely before moving on to the next step.
Remove any oil or grease
Leather items are often exposed to oils and greases that can hinder the adhesive’s effectiveness. To remove any oil or grease from the surface, use rubbing alcohol or acetone on a clean cloth. However, be sure to test a small, inconspicuous area first to avoid discoloration or damage to the leather.
Sand the surface
Sanding the leather surface slightly creates small grooves that allow the glue to penetrate and bond better with the material. However, be careful not to over-sand as it can damage the leather’s texture and appearance. Use fine-grit sandpaper or a rough sponge to gently sand the surface.
Apply the glue
Apply a small amount of Gorilla Glue on one surface only. It’s recommended to use Gorilla Wood Glue specifically designed for porous materials for best results. Remember that the glue will expand as it dries, so apply only a thin layer. Press the surfaces together firmly and hold them in place for at least 20-30 seconds.
Let it dry
Once you’ve applied the glue, it’s essential to let it dry completely before using or handling the item. This may take up to 24 hours depending on the temperature and humidity levels. Avoid moving or manipulating the item during this time as it can affect the glue’s bonding strength.
Types of Gorilla Glue for Leather
Gorilla Glue offers a variety of adhesives that can be used on leather, each with its own unique properties and benefits. Let’s dive in and explore the different types of Gorilla Glue that are ideal for leather.
Original Gorilla Glue
This versatile and popular glue can bond to almost any surface, including leather. However, it’s important to note that it expands as it dries, which may cause issues with leather. To avoid this, use a small amount and apply it evenly.
Gorilla Super Glue
If you’re looking for a fast-drying adhesive for a small leather repair or project, Gorilla Super Glue is an excellent option. It forms a strong bond between two surfaces quickly and is water-resistant, making it ideal for items that may be exposed to moisture.
Gorilla Clear Grip
For projects where appearance matters, Gorilla Clear Grip is a non-foaming, transparent adhesive that won’t leave any residue or marks on the surface. It can be used on a variety of surfaces, including leather.
Gorilla Epoxy
If you’re bonding different materials together, including leather, Gorilla Epoxy creates an incredibly strong and durable bond that can withstand heavy use and wear. It’s also waterproof and heat-resistant, making it suitable for extreme conditions.
Gorilla Wood Glue
Designed for porous materials like leather, Gorilla Wood Glue has a slower drying time that allows it to penetrate the pores of the leather surface resulting in a stronger bond.
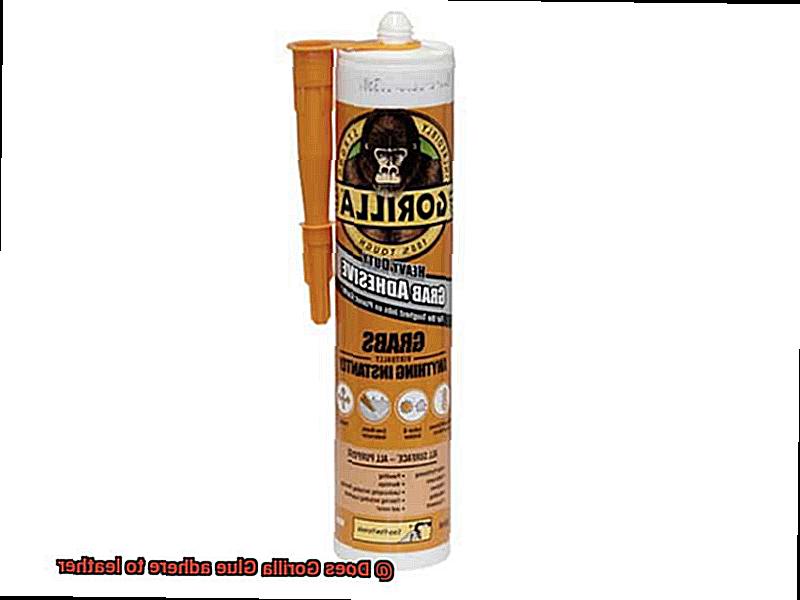
Gorilla Construction Adhesive
For larger leather projects such as furniture or car seats, Gorilla Construction Adhesive is the best choice. This heavy-duty adhesive is designed to bond a variety of materials, including leather, metal, wood, and plastic. It dries clear and remains flexible after curing, which allows it to move with the leather without cracking or breaking.
When selecting the right type of Gorilla Glue for your leather project, consider its size, appearance requirements, and drying time. Always follow the manufacturer’s instructions carefully and test the glue on a small area of the leather before applying it to the entire project.
Benefits of Using Gorilla Glue on Leather
Look no further than Gorilla Glue. As an expert in the field, I can tell you that using Gorilla Glue on leather has many benefits.
Firstly, Gorilla Glue creates a strong and durable bond between two surfaces. Its chemical reaction fills any gaps and expands, ensuring a tight and long-lasting bond. You won’t have to worry about your repaired item falling apart anytime soon.
Secondly, Gorilla Glue is water-resistant. It can withstand exposure to moisture without losing its adhesive properties. This makes it perfect for repairing items exposed to water or humidity like rain boots or even leather car seats.
Thirdly, Gorilla Glue is versatile. It can be used on various types of leather, including suede, patent leather, and even faux leather. You can also use it to bond leather to other materials such as plastic, metal, or fabric. The possibilities are endless.
Fourthly, Gorilla Glue is easy to use. Its user-friendly bottle comes with a precision tip that allows for easy and precise application. Plus, it has a relatively fast drying time of 10-20 minutes depending on the humidity level and temperature.
Lastly, Gorilla Glue is cost-effective compared to other specialized leather adhesives in the market. You won’t have to break the bank to repair or bond your favorite leather items.
Precautions When Using Gorilla Glue on Leather
While the glue creates an unbreakable bond, it can cause more harm than good if not used correctly. To ensure a strong and lasting bond without damaging your valuable leather items, follow these simple precautions:
- Test the glue on a small area first: This is crucial. Before applying the glue to your entire leather item, test it on a small, inconspicuous area first. This will help you determine whether or not the glue is compatible with your particular type of leather. Wait at least 24 hours to see if there are any adverse reactions.
- Use a small amount of glue: Less is more in this case. Avoid using too much glue, as excess glue can seep into the pores of the leather and cause discoloration or damage. Instead, use a toothpick or similar tool to spread a thin, even layer of glue on the surface.
- Clean the surface before applying glue: Make sure that the leather surface is clean and free from any oils, dirt, or other contaminants that may interfere with the bonding process. Use a mild soap and water solution and dry thoroughly before applying the glue.
- Allow sufficient time for drying: Once the glue has been applied, give it enough time to dry completely before handling or using the item. Depending on the temperature and humidity levels in your environment, this may take several hours or even overnight.
Tips for Best Results When Using Gorilla Glue on Leather
Leather is a popular material for crafting and DIY projects, but bonding it can be challenging. Fortunately, Gorilla Glue offers a strong adhesive solution that can be used on leather. To achieve the best results, follow these tips:
- Prep the leather surface: Before applying Gorilla Glue, clean the leather thoroughly with a damp cloth to remove any dirt, dust, or oils. Allow it to dry completely before proceeding. This will ensure that the glue bonds properly and creates a strong hold.
- Use a small amount of glue: Gorilla Glue is known for its strength and resilience, so you only need a small amount to create a secure bond. Apply a thin, even layer of glue to one surface only. Avoid using too much glue as it can expand and create unsightly bulges on the surface of the leather.
- Clamp or hold the surfaces together: While the glue dries, it’s essential to keep the two surfaces pressed together to create a strong bond. Use clamps or your hands to hold them in place for several minutes. This will prevent any shifting or movement that could compromise the hold.
- Allow ample drying time: Gorilla Glue requires moisture to activate and cure, so make sure to give it enough time to dry completely. Depending on temperature and humidity levels, this may take up to 24 hours. Do not disturb the glued area until it is fully cured.
- Sand or trim excess glue: After the glue has dried, you may notice some excess around the edges of the bonded surfaces. Use fine-grit sandpaper to gently sand these areas or trim them with scissors or a sharp knife. This will create a smooth and neat finish.
Alternatives to Gorilla Glue for Bonding Leather
As an expert in this field, I’m here to present some of the best alternatives to Gorilla Glue that are perfect for bonding leather.
First up, we have E6000 glue. This versatile adhesive is quick-drying, waterproof, and heat resistant, making it an ideal choice for leather projects that will be exposed to moisture or high temperatures. Additionally, it won’t cause any discoloration or harm to your leather surface. E6000 glue is a great all-around option that should work for most projects.
If you’re looking for something specifically designed for leather, Aleene’s Original Tacky Glue or Barge All-Purpose Cement may be more up your alley. These adhesives are specially formulated to prevent discoloration or damage to the surface of the leather and provide a strong bond. They’re perfect for those who want a more specialized solution.
Finally, we have contact cement – a tried and true option commonly used in the shoe-making industry. It creates an incredibly strong bond that is perfect for leather projects. Simply apply it to both surfaces that need to be bonded, allow it to dry, and then press them together. It’s easy to find at most hardware stores, making it a great option if you’re in a pinch.
ycLnwJ2Tfec” >
Conclusion
In conclusion, Gorilla Glue is a top-notch option for repairing leather goods. Its unparalleled holding power and water-resistant formula have made it a staple in the DIY and professional communities alike. However, not all leather types are created equal, and the way in which the glue adheres to the leather can depend on various factors such as cleaning, pressure, and type of leather.
To ensure optimal results when using Gorilla Glue on leather, proper surface preparation is key. Thoroughly cleaning the surface with a damp cloth and allowing it to dry completely is essential. Applying a small amount of glue evenly while exerting gentle pressure will ensure proper bonding. Additionally, selecting a specific type of Gorilla Glue designed for porous materials like wood can result in an even stronger bond.
Gorilla Glue offers an array of adhesives that can be used on leather, each with its own unique properties and benefits. However, if you’re hesitant about using Gorilla Glue on your prized leather project, consider opting for an alternative adhesive such as E6000 glue or contact cement.
By following these tips and precautions when using Gorilla Glue on your leather projects, you can achieve a secure bond without sacrificing the integrity of your valuable items.