Welcome to our blog. Today, we’re diving into an exciting topic that craft enthusiasts will love: using PVA glue with gilding flakes. If you’re a creative soul who loves experimenting with different art mediums, you’ve probably wondered which adhesive is best for working with gilding flakes. Well, worry no more because we’ve got you covered.
Gilding flakes are these super thin metal flakes that add a touch of elegance and opulence to any project. Whether you want to spruce up your home decor or give your handmade cards a luxurious finish, gilding flakes are the way to go. But here’s the catch – finding the right adhesive can be a bit tricky.
Enter PVA glue, the versatile adhesive that’s used in all sorts of crafts. Now, PVA glue might not be your first choice when it comes to gilding flakes, but guess what? It can actually work pretty well in certain situations.
In this blog post, we’ll explore the compatibility of PVA glue with gilding flakes and share some useful tips to help you achieve stunning results. So grab your art supplies and let’s embark on this creative journey together.
What is PVA Glue?
Contents
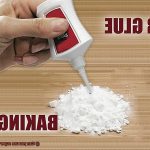
PVA glue, also known as polyvinyl acetate glue, is a water-based adhesive that has become a staple in the world of crafting and DIY projects. This versatile glue is widely used in schools, art studios, and households due to its ease of use and reliable bonding capabilities.
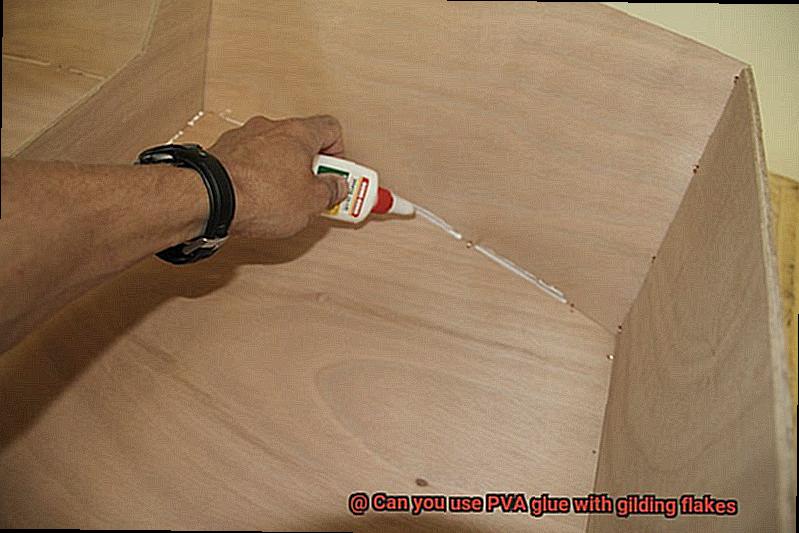
One of the defining characteristics of PVA glue is its ability to bond porous surfaces together with exceptional strength. It works effectively on materials such as paper, cardboard, fabric, wood, and certain plastics. As the glue is applied, it seeps into the pores of these materials and forms a powerful bond as it dries. This makes PVA glue an ideal choice for a wide range of craft and construction applications.
One of the standout features of PVA glue is its non-toxic and safe nature, making it suitable for use by both adults and children. The glue is water-soluble, which means that any excess glue can be easily washed away with water before it dries. This allows for seamless cleanup if any spills or mistakes occur during the crafting process, ensuring a stress-free experience.
In addition to its excellent bonding properties, PVA glue offers several other advantageous features. It has a relatively fast drying time compared to other types of glues, typically taking anywhere from 15 minutes to an hour to fully dry depending on the thickness of the application. This quick turnaround time is highly convenient for projects that require prompt completion.
Furthermore, PVA glue retains its flexibility even after drying, allowing for some degree of movement without compromising the bond. This flexibility proves particularly beneficial when working with materials that may expand or contract due to changes in temperature or humidity. The glue’s ability to adapt to these environmental factors ensures the longevity and durability of the bonded materials.
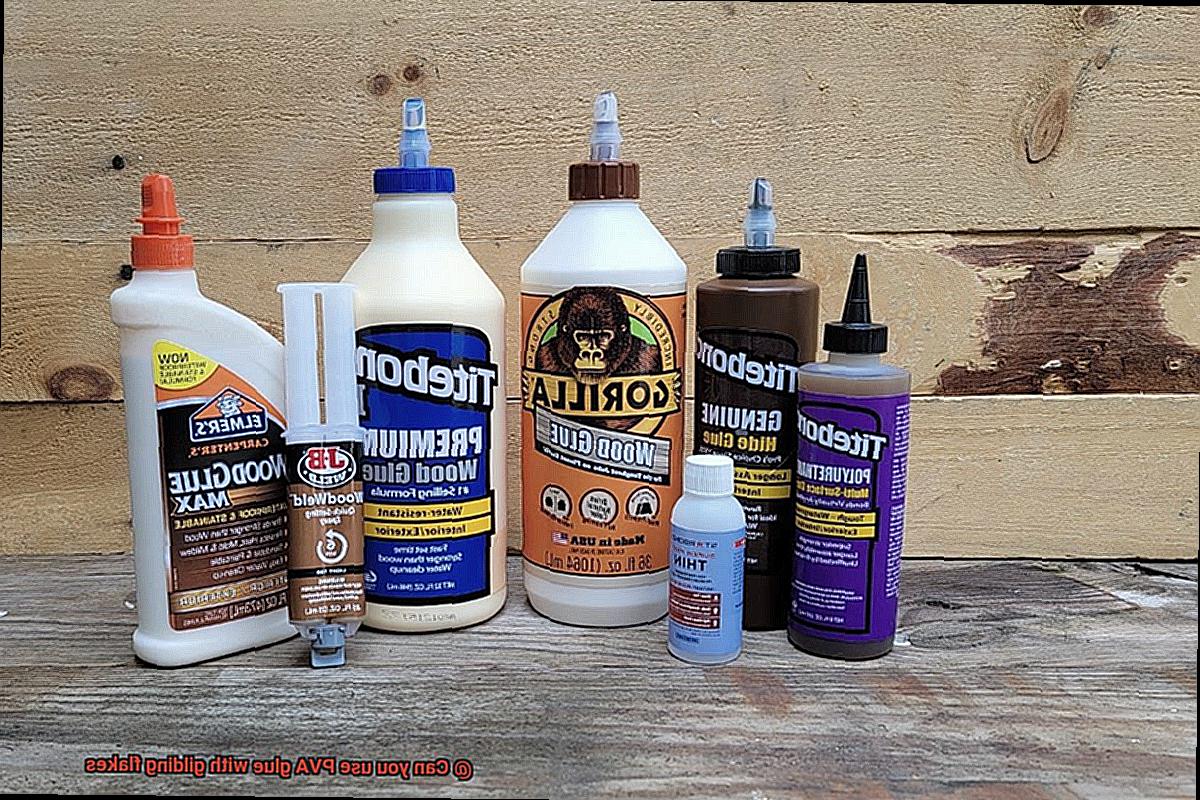
It’s important to note that there are different variations of PVA glue available on the market, each formulated for specific applications. Some types are tailored for woodworking or bookbinding, while others are general-purpose glues suitable for a wide range of projects. When selecting PVA glue, it is advisable to consider the intended materials and purpose of the project to ensure the most appropriate type is chosen.
What are Gilding Flakes?
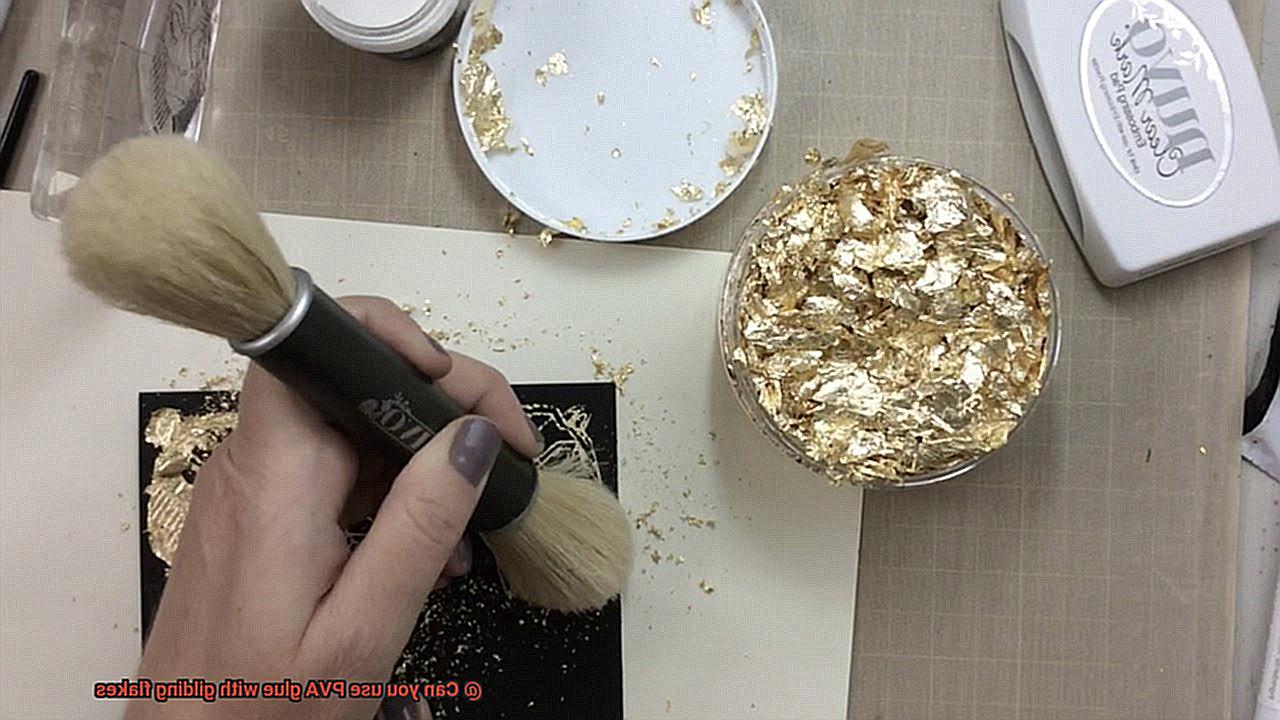
Gilding flakes, also known as gold flakes, are a dazzling crafting material that elevates art and craft projects to new levels of opulence. These thin sheets of metal are meticulously crafted by hammering metal, usually gold, into incredibly delicate sheets which are then cut or crumbled into small, ethereal pieces.
Gilding flakes have gained immense popularity in the art of gilding, the process of applying a thin layer of metal to a surface. Unlike traditional gold leaf, gilding flakes possess a distinctive texture that adds depth and dimension to any project. They have a weightless quality, akin to confetti or glitter, that creates an enchanting effect.
The versatility of gilding flakes lies in their ability to be arranged in various ways to achieve different visual effects. Whether spread out uniformly for a smooth and polished appearance or clustered together for a textured and organic feel, gilding flakes offer endless possibilities for artistic experimentation. Crafters can delight in the wide range of colors available, including classic gold and silver, warm copper and bronze, as well as vibrant shades like regal reds, blues, and greens. This diverse palette allows for the creation of personalized and captivating pieces.
Gilding flakes can be applied to numerous surfaces with ease and finesse. From paper and cardstock to wood, metal, glass, ceramics, and even fabric, these flakes lend their iridescent charm to any material. To secure the flakes onto the desired surface, crafters turn to adhesives specifically designed for gilding purposes. One popular choice is PVA glue.
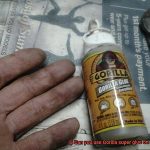
PVA glue, known for its strong bond and versatility in various crafting endeavors, serves as an excellent adhesive for gilding flakes. However, it is crucial to select a slow-drying and clear-drying PVA glue specifically formulated for gilding purposes. This ensures a robust and long-lasting bond while allowing ample time for precise placement of the delicate flakes.
Can PVA Glue be Used with Gilding Flakes?
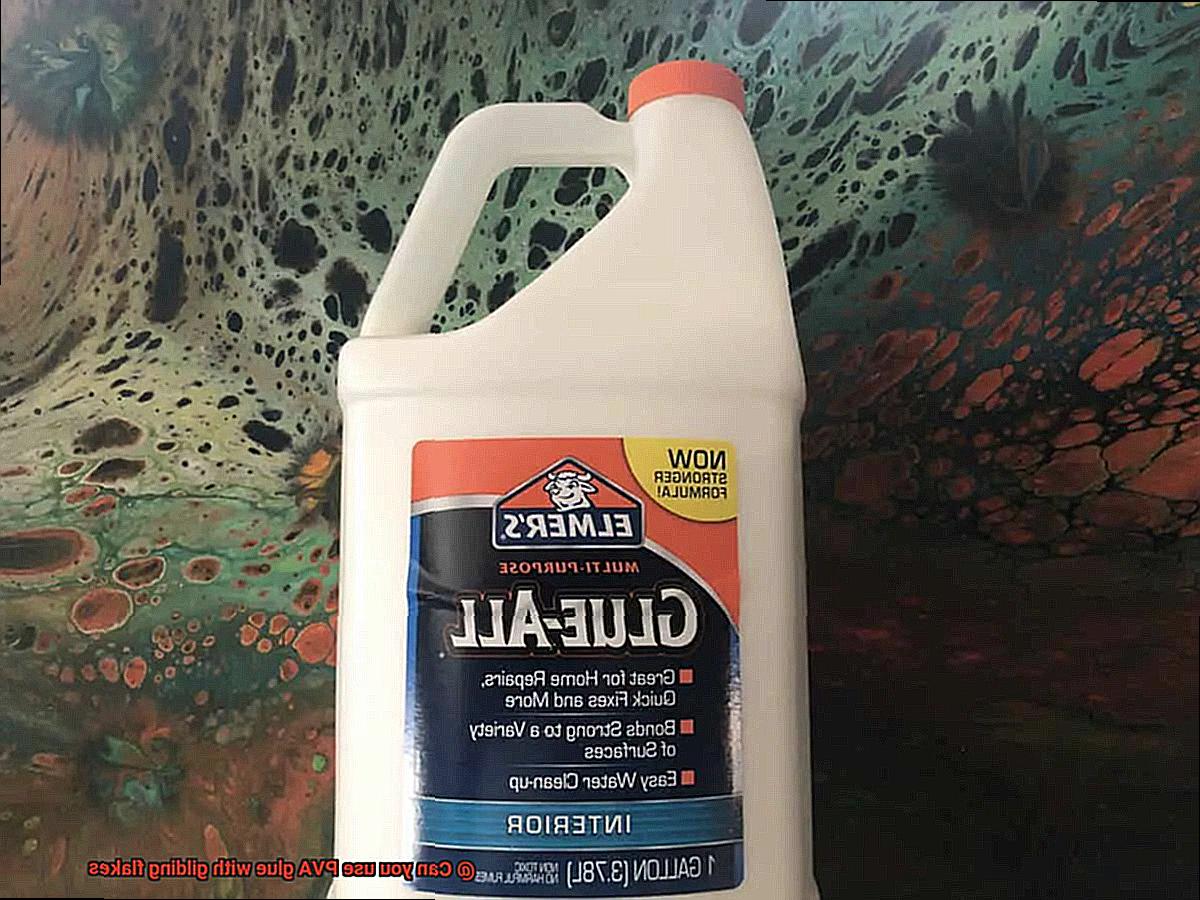
PVA glue, also known as white glue or school glue, is a versatile adhesive that can be used for a wide range of crafting projects. It is readily available, cost-effective, and easily accessible, making it a popular choice for many crafters. When it comes to using PVA glue with gilding flakes, there are some pros and cons to consider.
One of the main advantages of using PVA glue with gilding flakes is its versatility. PVA glue can be used for various crafting projects, including gilding flakes. It is a convenient option as it is readily available and can be found in most craft stores or even at home. This means that crafters can experiment with gilding flakes without needing to purchase additional adhesives.
Another benefit of using PVA glue is its affordability. Compared to specialized adhesives formulated specifically for gilding flakes, PVA glue is generally more cost-effective. This makes it a budget-friendly choice for crafters who want to create unique and eye-catching artwork without breaking the bank.
However, there are also some drawbacks to using PVA glue with gilding flakes. One of the main concerns is its slow drying time. PVA glue tends to dry slowly, which can be challenging when applying gilding flakes. Gilding flakes require precise placement and a smooth application, which can be difficult to achieve with a slow-drying adhesive. Crafters may need to wait for the glue to dry partially before adding the gilding flakes or mix the glue with a small amount of water to create a thinner consistency that aids in achieving a smoother application.
Additionally, PVA glue can be quite thick, which may not be ideal for achieving an even and thin layer necessary for gilding flakes. However, this issue can be mitigated by mixing the glue with water to create a thinner consistency.
Furthermore, while PVA glue generally provides adequate adhesion, some crafters have reported that specialized adhesives formulated specifically for gilding flakes offer better results, especially for intricate or delicate designs. These specialized adhesives often have a quicker drying time and provide better adhesion for detailed designs.
Choosing the Right Type of PVA Glue
Choosing the right type of PVA glue is crucial when working with gilding flakes. These delicate and lightweight flakes require specific qualities in a glue to achieve the desired results. Here are some key factors to consider:
- Drying Time: Gilding flakes need ample time to adhere properly without being disturbed. Look for a PVA glue with a slower drying time to ensure the flakes have enough time to set and create a seamless finish.
- Consistency: Gilding flakes are fragile, and using a thick or heavy glue can overpower them, affecting their appearance. Opt for a PVA glue with a thinner consistency to ensure even distribution and maintain the delicate nature of the flakes.
- Clear Drying: Gilding flakes are often used to add a metallic shine to projects, so it’s crucial to choose a PVA glue that dries clear. This will ensure that there is no visible residue that can diminish the overall effect of the gilding.
- Adhesive Strength: Gilding flakes are typically applied in thin layers, so using a PVA glue with a strong adhesive can result in an uneven or clumpy application. A PVA glue with medium adhesive strength is recommended for precise control and even coverage.
- Additives: Some PVA glues contain additives such as fillers or extenders, which can affect the performance of the glue when used with gilding flakes. Choose a PVA glue specifically formulated for crafts and free from any additional additives that may interfere with the adhesive properties.
Preparing the Surface for Gilding
Preparing the surface for gilding is a meticulous process that requires attention to detail and careful execution. By following a series of steps, you can create a smooth and even surface that is ready to receive the gilding flakes.
First and foremost, cleanliness is key. Begin by thoroughly cleaning the surface with a mild soap and water solution. This will remove any dirt, grease, or grime that may hinder the adhesion of the gilding flakes. Rinse the surface with clean water and allow it to dry completely before proceeding.
After ensuring the surface is clean, it’s time to assess and repair any imperfections. Inspect the surface for cracks, holes, or other blemishes. If necessary, use a suitable filler or putty to fill in these areas. Once the repairs are complete, lightly sand the surface to create a smooth finish.
Smoothness is crucial for a successful gilding application. Use fine-grit sandpaper to gently sand the entire surface until it feels smooth to the touch. This step helps create a uniform base for the gilding flakes and ensures an even distribution.
Before applying the gilding flakes, it is important to prime the surface. Choose a primer specifically designed for gilding or metal leaf applications. Follow the manufacturer’s instructions for proper application and allow the primer to dry completely before proceeding.
Now it’s time to select the right adhesive. Look for a PVA glue that is suitable for gilding flakes or metal leaf applications. It should have a slower drying time, thinner consistency, clear drying properties, and medium adhesive strength. Avoid glues with additives that can interfere with the adhesive properties of the flakes.
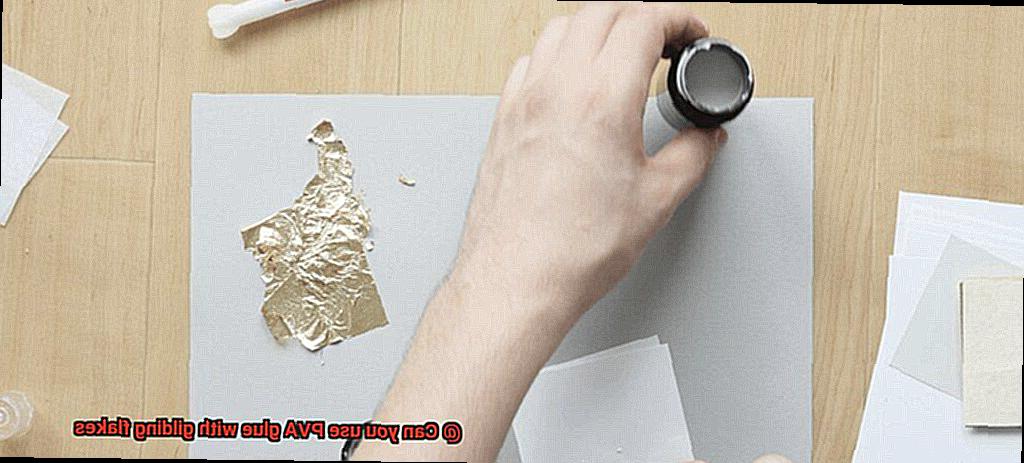
Apply a thin layer of the adhesive using a brush or sponge, ensuring even coverage over the entire surface. Be mindful not to apply too much glue, as this can cause clumping or sliding of the flakes. Allow the glue to become tacky before moving on to the next step.
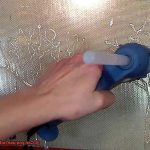
With the adhesive ready, it’s time to apply the gilding flakes. Gently press the flakes onto the adhesive, ensuring even coverage and a secure bond. Use a soft brush or your fingertips to press down on the flakes, allowing them to adhere properly. Brush away any excess flakes that did not adhere.
After applying the gilding flakes, it is important to allow them to dry and set according to the manufacturer’s instructions. Once dry, gently brush off any loose flakes and consider applying a protective topcoat for added durability and longevity.
Applying the Gilding Flakes with PVA Glue
Applying gilding flakes with PVA glue is a mesmerizing process that can transform any surface into a shimmering work of art. To achieve this stunning effect, follow these simple steps:
- First, prepare the surface by ensuring it is clean and free of any dust or debris. This meticulous step ensures a flawless application.
- Next, choose the right PVA glue for your project. Opt for a high-quality, clear-drying PVA glue specifically designed for crafts. Look for one that boasts exceptional adhesive properties to ensure a long-lasting bond.
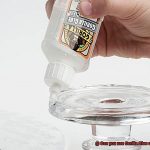
- Now it’s time to apply a thin layer of PVA glue using a brush or sponge. Spread it evenly across the desired surface, making sure to cover every inch where you want the gilding flakes to adhere.
- Allow the glue to become tacky. This stage is crucial as it provides the perfect sticky surface for the gilding flakes to cling to. Wait patiently while the glue achieves its desired tackiness, which typically takes a few minutes.
- With anticipation building, take a small amount of gilding flakes and gently press them onto the glued surface. Use your fingers or a soft brush for this delicate task, ensuring complete coverage of all areas where you applied the glue.
- To secure the flakes in place, press them down gently with your fingers or a soft brush. This extra step guarantees their adherence and prevents unwanted flake fallout later on.
- Now it’s time to let your creation dry. Allow the gilding flakes to set on the glued surface for a few minutes, giving them ample time to become firmly affixed.
- Once dry, gently brush off any excess flakes using a soft brush or cloth. This final touch removes any loose particles and reveals the true brilliance of your gilded masterpiece.
- To safeguard and preserve your artwork, seal and protect the gilded surface with a thin layer of varnish or sealant. This added layer shields the gilding flakes from damage, ensuring their longevity and luster.
Remember, the success of using PVA glue with gilding flakes lies in the quality of the glue and your technique. Test the adhesive properties of your chosen PVA glue before committing to your project, as not all brands provide a secure enough bond for the gilding flakes. Handle the delicate flakes with care, storing them in a safe place to prevent crumbling or damage.
Removing Excess Flakes
Removing excess flakes is a crucial step in achieving a flawless and professional finish for your project. Loose flakes can be distracting and diminish the beauty of your design. Fortunately, there are multiple effective methods to remove these excess flakes without causing any damage.
One simple technique involves using a soft brush or a clean, dry cloth. With gentle strokes, brush or wipe away the flakes, taking care not to press too hard or rub vigorously. This method is particularly effective for larger areas and helps to dislodge any loose flakes that haven’t adhered properly.
For smaller and delicate projects, a tacky roller or lint roller can be incredibly useful. By rolling the sticky surface over the area with excess flakes, you can easily pick up and collect the loose flakes. This technique is especially handy when dealing with intricate designs or hard-to-reach areas.
If there are still some stubborn flakes remaining, try using a small piece of masking tape or adhesive putty. Press it against the area with the excess flakes and then lift it off. The sticky surface will effortlessly pick up any lingering loose flakes, leaving your project looking clean and polished.
It’s vital to note that when working with PVA glue and gilding flakes, allow the glue to dry completely before attempting to remove any excess flakes. Trying to remove the flakes while the glue is still wet can result in smudging or spreading them around, potentially ruining your design.
Once you have successfully removed all the excess flakes, consider applying a sealant or varnish over the gilding flakes to protect them from getting dislodged or damaged over time. This additional step will help preserve the beauty of your project for years to come.
Always follow the manufacturer’s instructions when working with gilding flakes and any adhesive products. Different brands may have specific recommendations for application and removal techniques, so familiarize yourself with these guidelines to achieve optimal results.
Considerations for Long-Term Durability
When it comes to using PVA glue with gilding flakes, there are several important considerations for long-term durability that should not be overlooked. Let’s explore these considerations in more detail:
- Compatibility of PVA glue with gilding flakes: PVA glue is indeed a versatile adhesive, but it may not be the best choice for long-term durability when used with delicate gilding flakes. These beautiful flakes are prone to tarnishing or flaking off over time. Therefore, it is crucial to consider whether PVA glue will provide the necessary level of adhesion and protection required to ensure the longevity of the gilding flakes.
- Adhesive options for gilding flakes: To achieve long-term durability, it is highly recommended to use adhesives specifically designed for gilding applications. These adhesives are typically clear drying and water-based, offering a strong bond while allowing the beauty of the gilding flakes to shine through.
- Sealants and topcoats: Applying a sealant or topcoat is essential for protecting the gilding flakes from external factors that can degrade their appearance over time. Clear varnishes, lacquers, or epoxy resin coatings can be used depending on the desired finish and level of protection. It is vital to choose a sealant or topcoat that is compatible with the adhesive used and follow the manufacturer’s instructions for proper application.
- Surface preparation: Proper surface preparation plays a crucial role in achieving long-term durability with PVA glue and gilding flakes. The surface should be clean, dry, and free from any dust or debris that may hinder the adhesion process. Lightly sanding the surface and removing any existing finishes or coatings will ensure a smooth and even surface for optimal adhesion of the gilding flakes.
- Handling and care: Even with proper adhesive selection and surface preparation, it is important to handle and care for gilded surfaces appropriately to maintain their long-term durability. Excessive touching or rubbing of the gilding flakes should be avoided, as it can cause them to flake off or become damaged. Additionally, direct sunlight or extreme humidity can accelerate tarnishing or discoloration, so it is best to keep gilded surfaces protected from these conditions. Regular cleaning using a soft, lint-free cloth can help remove any accumulated dust or dirt without causing damage.
xerAJM4kZyE” >
Conclusion
Yes, you can definitely use PVA glue with gilding flakes. The combination of these two materials can create stunning and eye-catching effects in your craft projects. PVA glue is a versatile adhesive that is commonly used in various art and craft applications. It dries clear and provides a strong bond, making it suitable for working with gilding flakes.
To use PVA glue with gilding flakes, simply apply a thin layer of the glue onto the desired surface using a brush or sponge. Then, sprinkle the gilding flakes over the glued area while it is still wet. Gently press down on the flakes to ensure they adhere well to the glue.
Once the glue has completely dried, you can gently brush off any excess flakes using a soft brush or cloth. This will reveal the beautiful metallic finish created by the gilding flakes.
It’s important to note that different brands and types of PVA glue may have varying drying times and adhesion properties. Therefore, it’s always recommended to read and follow the instructions provided by the manufacturer of both the PVA glue and gilding flakes.
In conclusion, using PVA glue with gilding flakes opens up a world of creative possibilities for adding shimmer and shine to your craft projects.