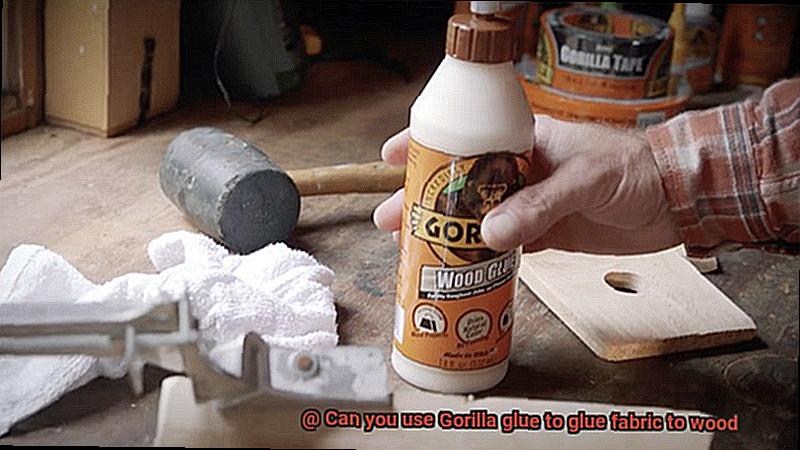
Hey there, crafters and DIY enthusiasts. Imagine this – you’ve got a genius idea brewing in that creative mind of yours, envisioning the perfect marriage of wood and fabric. Maybe it’s a jaw-dropping upholstered furniture piece, an intricately designed tapestry on a wooden frame, or even a stunning fabric panel accentuating a wooden accent wall. The possibilities are endless, but there’s one nagging question keeping you up at night: Can Gorilla Glue really stick fabric to wood?
It’s a puzzle that has stumped many artists and hobbyists alike. But fret not. In this blog post, we’re going to unravel the mystery and explore the potential of Gorilla Glue as the magical adhesive that can bring fabric and wood together.
First things first – let’s address the elephant in the room. What exactly is Gorilla Glue? Renowned for its incredible strength, versatility, and durability, Gorilla Glue has become the go-to companion for countless projects. But when it comes to bonding fabric and wood, can it handle the everyday wear and tear?
Throughout this post, we’ll dive deep into the characteristics of both fabric and wood. We’ll examine how compatible they are with Gorilla Glue. We’ll spill all the secrets on proper techniques and steps to ensure a successful bond. And if Gorilla Glue falls short? Don’t worry; we’ve got alternatives up our sleeves too.
So, whether you’re just starting out or you’re an experienced crafter extraordinaire, buckle up for this adhesive adventure. Get ready to unlock the secrets of fabric-wood fusion and find out if Gorilla Glue is your glue soulmate.
Advantages of Using Gorilla Glue to Bond Fabric to Wood
Contents
- 1 Advantages of Using Gorilla Glue to Bond Fabric to Wood
- 2 Challenges of Using Gorilla Glue with Fabric
- 3 Preparing the Fabric and Wood Before Applying Gorilla Glue
- 4 Applying Gorilla Glue to the Fabric and Wood
- 5 Ensuring Even Contact When Pressing the Fabric onto the Wood Surface
- 5.1 Step 1: Prepare the Wood Surface—Cleanliness is Key
- 5.2 Step 2: Smooth It Out (but not too much.)—The Art of Gentle Sanding
- 5.3 Step 3: Apply Gorilla Glue with Finesse—The Stroke of Genius
- 5.4 Step 4: Position and Press—The Moment of Truth
- 5.5 Step 5: Roll or Press Like a Pro—The Maestro’s Technique
- 6 Special Considerations for Water-Resistant Fabrics
- 7 Allowing Sufficient Time for the Gorilla Glue to Cure
- 8 Tips and Tricks for a Successful Bond between Fabric and Wood
- 9 Conclusion
When it comes to bonding fabric to wood, the choice of adhesive can make all the difference. Gorilla Glue, renowned for its strength and versatility, offers a multitude of advantages when it comes to bonding fabric to wood. In this article, we will delve into the exceptional benefits offered by Gorilla Glue and provide expert tips for achieving a successful and long-lasting bond.
Unyielding Strength and Durability:
Gorilla Glue excels in creating an unbreakable bond between fabric and wood. Its exceptional strength ensures that the two materials remain firmly attached, even under the most demanding circumstances. Whether you’re working on upholstery projects or woodworking endeavors, Gorilla Glue provides a secure and long-lasting bond that stands the test of time.
Versatility at its Finest:
One of the standout advantages of Gorilla Glue is its remarkable versatility. This adhesive can be used on an array of surfaces, including fabric and wood. This versatility makes it an ideal choice for a wide range of projects involving the bonding of fabric to wood.
Whether you’re attaching fabric to a wooden frame, accentuating wooden furniture with decorative accents, or repairing wooden structures with fabric components, Gorilla Glue offers an adaptable solution that meets your needs.
Defying Moisture Challenges:
The water-resistant properties of Gorilla Glue significantly enhance its benefits for bonding fabric to wood. Moisture-related issues such as warping, weakening, or mold growth can compromise the integrity of the bond. However, Gorilla Glue’s water-resistant nature ensures that the fabric remains securely attached to the wood, even in humid or wet environments.
This makes it ideal for both indoor and outdoor applications, providing a reliable bond that withstands environmental challenges.
Effortless Application:
Gorilla Glue’s user-friendly application process adds convenience to your bonding endeavors. The liquid form of the glue allows for easy spreading on fabric and wood surfaces using a brush or applicator. As the glue cures, it expands to fill any gaps or irregularities between the two materials, resulting in a seamless bond. Additionally, Gorilla Glue requires minimal preparation before application, saving you valuable time and effort during the bonding process.
Challenges of Using Gorilla Glue with Fabric
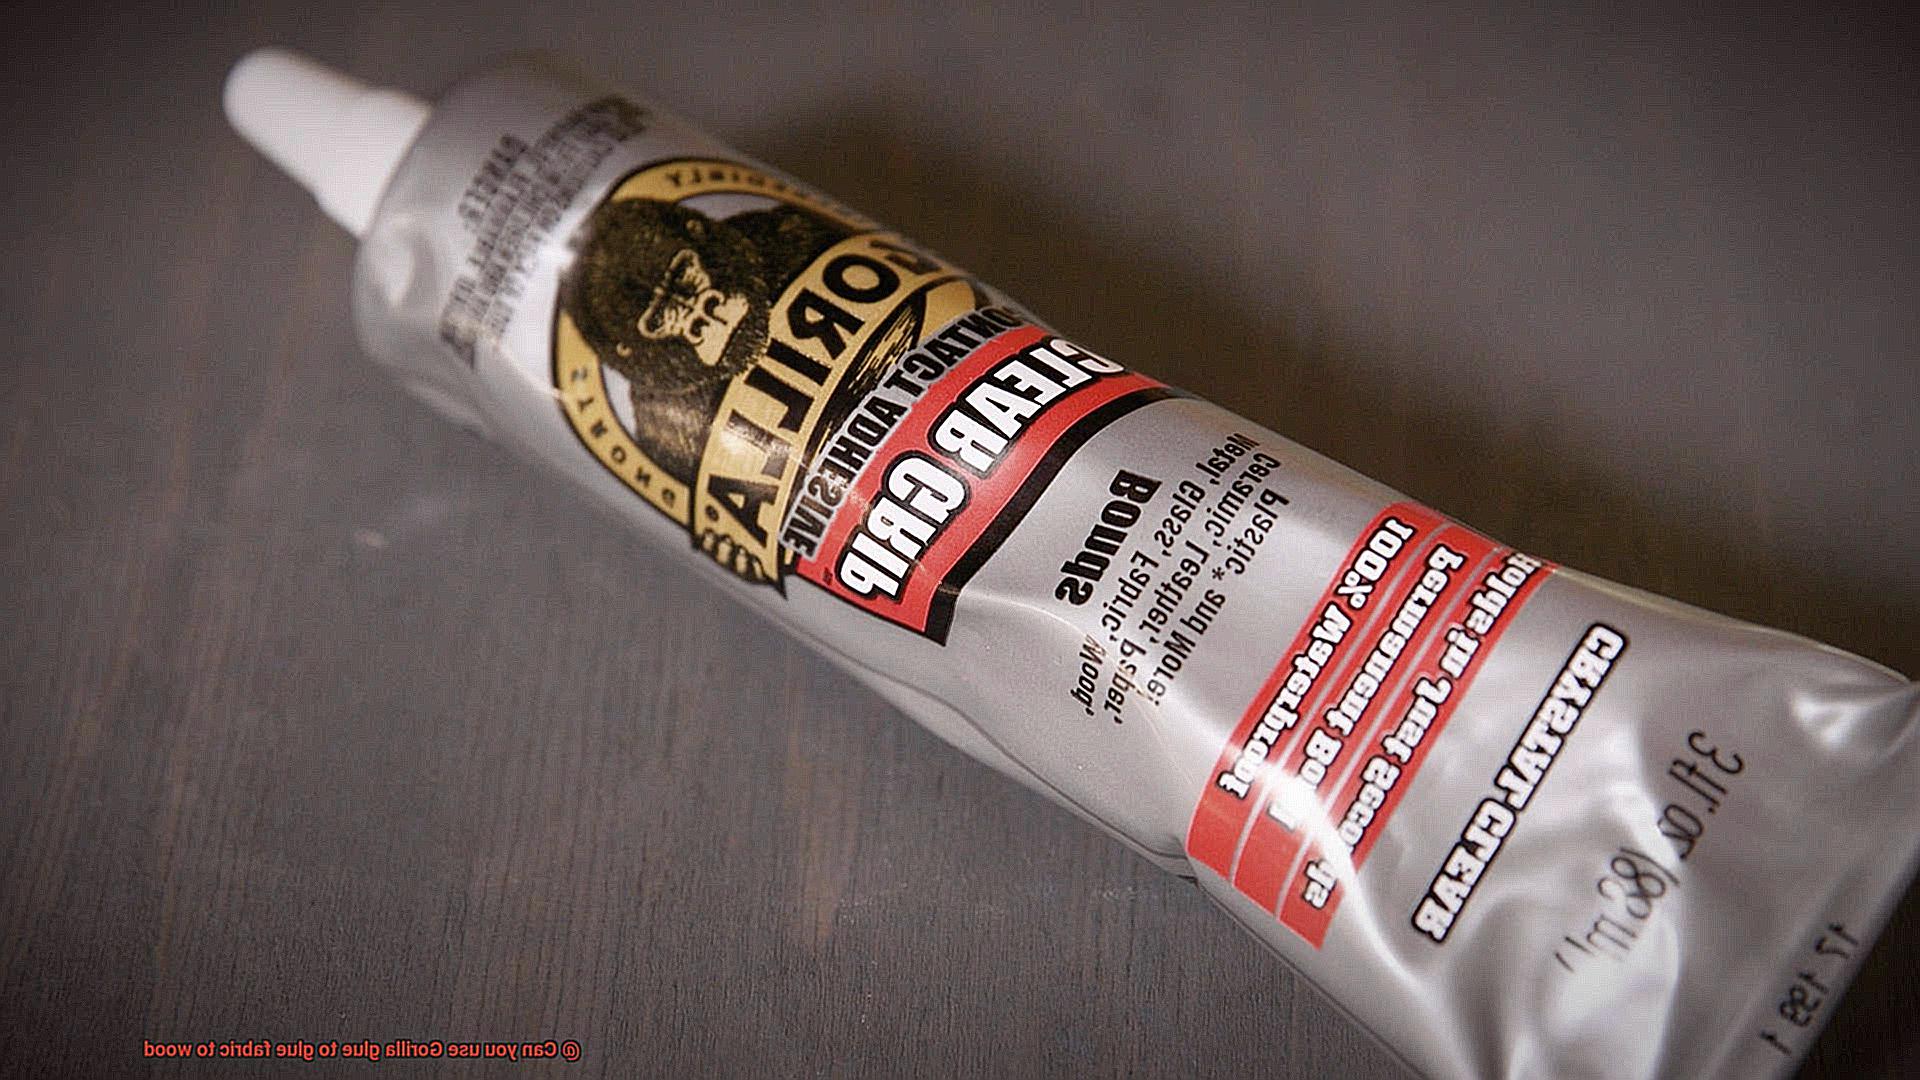
Gorilla Glue is a powerhouse adhesive renowned for its strength and versatility, making it a popular choice across various materials. However, when it comes to bonding fabric to wood, crafters and DIY enthusiasts must navigate unique obstacles. In this article, we will delve into the challenges of using Gorilla Glue with fabric, providing insights and strategies to conquer these hurdles.
The Foaming Fiasco:
Fabric and Gorilla Glue’s foaming property can be a recipe for disaster. While this expanding feature is advantageous for non-porous materials, it becomes a headache with fabric. The glue tends to seep through fabric fibers, resulting in messy and uneven bonds. Unsightly stains and discoloration mar the fabric’s appearance, compromising the overall finish.
Time is of the Essence:
Gorilla Glue requires moisture to activate and cure effectively. Fabrics have a knack for absorbing moisture swiftly, leaving the glue with limited time to penetrate and bond before drying out. This time constraint compromises the strength of the bond, leading to potential failures or weak points in the adhesive.
Coatings and Complications:
Certain fabrics boast coatings or finishes that prove troublesome during the adhesion process. Water-resistant or stain-resistant coatings act as formidable barriers, preventing a strong bond between the fabric and glue. Even if the initial bond appears robust, it may succumb to normal wear and tear over time.
Heat Hazards:
Heat poses another challenge when using Gorilla Glue with fabric. The glue lacks heat resistance, rendering it susceptible to softening or melting under high temperatures. This vulnerability weakens or breaks the bond when exposed to heat sources like sunlight, ironing, or hot water. It is crucial to consider the intended use and environment of your fabric-wood project before opting for Gorilla Glue as the adhesive of choice.
Beware of Distortion:
Gorilla Glue’s expansive nature during the curing process can wreak havoc on fabric. As the glue cures, it expands significantly, potentially distorting the fabric’s dimensions and shape. Without proper securing during the curing process, the fabric may warp, buckle, or lose its original form. Meticulous planning and execution are paramount to achieving a successful outcome.
Preparing the Fabric and Wood Before Applying Gorilla Glue
Today, we embark on a journey to unlock the secrets of flawless fabric-to-wood bonding with the help of Gorilla Glue. As an adhesive aficionado, I’m thrilled to share expert insights and invaluable tips that will elevate your projects to new heights. So, let’s roll up our sleeves and dive into the captivating world of fabric and wood preparation.
Step 1: Purify the Fabric:
Before immersing ourselves in adhesive wonders, it is paramount to cleanse the fabric thoroughly. Why, you ask? Well, dirt, dust, and oils can be formidable adversaries to a strong bond. Take charge by hand-washing your fabric with a gentle detergent and warm water or follow the manufacturer’s care instructions. And remember, patience is key – allow the fabric to dry completely before proceeding.
Step 2: Priming for Supreme Adhesion:
To unlock the true potential of your fabric and Gorilla Glue union, consider introducing a fabric adhesive primer. This remarkable step can revolutionize your bonding experience. Apply the primer evenly across the fabric according to the manufacturer’s instructions, and let it bask in its glory as it dries completely. This primer acts as a cupid, ensuring an eternal love story between fabric and Gorilla Glue.
Step 3: Crafting a Flawless Wood Surface:
Now let us turn our attention to the majestic wood surface. Like any great romance, cleanliness is non-negotiable. Banish debris and dirt with a graceful sweep of a damp cloth or sponge. Should you encounter unruly rough spots or splinters, delicately smooth them down using sandpaper until your wood boasts a velvety surface. Smoothness guarantees harmonious bonding.
Step 4: Unleashing Wood Conditioning Magic:
Elevate your wood’s allure and bonding prowess by embracing the transformative powers of a wood conditioner or pre-stain treatment. These enchanting products seal the wood’s fate, creating an irresistible surface for Gorilla Glue to cling to. Surrender to the manufacturer’s instructions like a loyal disciple, and witness the wood’s transformation into a magnet for adhesive perfection.
Applying Gorilla Glue to the Fabric and Wood
Prepare to unlock the secrets of flawless adhesion and take your projects to new heights. With Gorilla Glue as our powerful ally, we will embark on an enchanting journey together. So don your aprons and let’s dive into the fascinating process of applying Gorilla Glue to fabric and wood.
Cleanliness is Key:
The first step towards a successful bond is cleanliness itself. Ensure that both the fabric and wood surfaces are squeaky clean, free from any dirt, dust, or debris. Remember, cleanliness is the key to a strong and lasting bond between these two materials.
Dampen for Adhesion Activation:
To awaken the adhesive powers of Gorilla Glue, lightly dampen the fabric with water before applying it to the wood. This simple yet effective technique activates the glue, enhancing its adhesion to both surfaces and ensuring a tighter bond.
A Thin Layer Does the Trick:
In the world of Gorilla Glue, less is more. Apply a thin and even layer of glue onto the fabric surface. Resist the temptation to go overboard, as excess glue can mar the appearance and hinder proper drying.
Press Firmly for a Lasting Connection:
Now comes the moment of truth – firmly press the fabric onto the wood surface once the glue is applied. To secure everything in place during the magical bonding process, employ clamps or heavy objects. This step guarantees a connection that will withstand the test of time.
Patience is a Virtue – Drying Time Matters:
Remember, greatness requires patience. The drying time for Gorilla Glue varies depending on factors such as temperature and humidity. To achieve optimal results, faithfully follow the manufacturer’s instructions. Trust in patience, for it shall reward you with a perfect bond.
The Tug Test – Ensuring Strength:
After the glue has fully dried, put your bond to the test. Gently tug on the fabric to ensure it holds firmly, without any signs of detachment. Congratulations. Your mission is accomplished when the bond stands strong and resolute.
Ensuring Even Contact When Pressing the Fabric onto the Wood Surface
Today, we embark on a thrilling journey into the realm of fabric-wood bonding with the formidable Gorilla Glue. Get ready to unlock the secrets to achieving a seamless union between fabric and wood, as we delve into our treasure trove of research notes. So, strap on your creative hats and prepare for an adventure like no other.
Step 1: Prepare the Wood Surface—Cleanliness is Key
When it comes to creating an unbreakable bond, cleanliness reigns supreme. Begin by giving that wood surface a thorough scrubbing to banish any lurking dust, dirt, or debris that could hinder our mission. Remember, a pristine surface sets the stage for success.
Step 2: Smooth It Out (but not too much.)—The Art of Gentle Sanding
A touch of sanding can work wonders in enhancing fabric-wood adhesion. Gently sand the wood to create a subtly rough texture, amplifying the bond potential. But tread carefully, my friends—too much sanding can weaken the wood or mar its beauty with unsightly damage.
Step 3: Apply Gorilla Glue with Finesse—The Stroke of Genius
Now, let us shine the spotlight on our star performer—the illustrious Gorilla Glue. Armed with a small brush or trusty toothpick, apply a thin, even layer of glue onto the fabric. Remember, moderation is key in this delicate dance; an excess of glue may lead to unsightly stains or unwanted seepage through the fabric fibers.
Step 4: Position and Press—The Moment of Truth
Ah, the magic moment has arrived—time to place that fabric onto the waiting wood surface. Take a deep breath and position it with precision before exerting a firm downward pressure. We must ensure that every inch of the fabric experiences even pressure, leaving no room for pesky air bubbles or unwelcome gaps.
Step 5: Roll or Press Like a Pro—The Maestro’s Technique
To achieve the pinnacle of perfect contact, consider employing a trusty roller or the firm embrace of a wooden block or cherished book. Commence at one end and gradually traverse the fabric, exerting steadfast pressure throughout. This masterful technique ensures an even distribution of glue, minimizing any potential for uneven bonding mishaps.
Special Considerations for Water-Resistant Fabrics
Today, we embark on an exhilarating journey into the realm of water-resistant fabrics and the secrets to achieving a flawless bond using the mighty Gorilla Glue. As an expert in this field, I am thrilled to unveil a treasure trove of special considerations that will empower you to conquer any project involving these remarkable fabrics.
So, prepare to be amazed as we delve into the fascinating world of water-resistant fabrics and Gorilla Glue.
Compatibility Testing: Unveiling the Perfect Match
Like two soulmates destined to be together, the compatibility between Gorilla Glue and your chosen water-resistant fabric is of paramount importance. Some water-resistant fabrics, particularly those treated with a durable water repellent (DWR) coating, may not easily adhere to certain adhesives, including our beloved Gorilla Glue. To ensure an unbreakable bond, execute a small compatibility test in a discreet area of the fabric before applying the glue. This simple precautionary measure can save you from heartache and disappointment down the road.
Exploring Alternative Adhesive Options: When Love Isn’t Meant to Be
In rare instances when your water-resistant fabric refuses to dance harmoniously with Gorilla Glue, fret not. There exists a captivating realm of alternative adhesive options specifically designed for water-resistant fabrics. Wander through this enchanted land in search of the perfect match for your project. With determination and a touch of creativity, you will uncover an adhesive that shares a deep connection with your chosen fabric.
Preserving Water Resistance: Guarding Against Intruders
One of the greatest concerns when working with Gorilla Glue and water-resistant fabrics is the potential compromise of the fabric’s watertight nature. The application of adhesive may create minuscule passages or gaps in the fabric’s protective coating, allowing water to sneak in. To combat this peril, apply Gorilla Glue with a restrained hand, avoiding excessive spreading or saturation of the fabric.
Additionally, consider sealing any areas where glue has been applied with a specialized waterproofing product tailored specifically for fabrics. This additional layer of protection will safeguard and restore the fabric’s water resistance after gluing.
Allowing Sufficient Time for the Gorilla Glue to Cure
Today, we embark on a captivating journey into the world of Gorilla Glue and its curing process. As an expert in this field, I cannot emphasize enough the importance of giving your Gorilla Glue the time it needs to work its magic. So, grab a cup of tea and join me as we explore the significance of patience in achieving a bond that will endure the test of time.
The Science Behind Gorilla Glue’s Indomitable Strength:
Prepare to be astounded by the exceptional bond strength of Gorilla Glue, a polyurethane adhesive. But how does it achieve such magnificence? Ladies and gentlemen, behold the power of the curing process. As Gorilla Glue cures between fabric and wood, it undergoes a remarkable transformation, expanding and forming a foamy texture. This expansion fills any gaps or irregularities in the materials, creating a rock-solid and enduring bond.
Factors That Influence Curing Time:
Keep an open mind as you embark on your Gorilla Glue journey, for its curing time can be influenced by various factors. Temperature, humidity, and the amount of glue applied all play pivotal roles in determining how long it takes for the adhesive to cure. It is imperative to consider these factors when planning your project to ensure optimal results.
The Golden Rule: 24 Hours:
In the realm of Gorilla Glue, one rule reigns supreme: grant your adhesive at least 24 hours to cure before subjecting it to stress or pressure. Ah, patience is indeed a virtue. Though waiting may test your eagerness to see your project come to fruition, trust me when I say that this patience will reward you with unparalleled strength and longevity.
Tips and Tricks for a Successful Bond between Fabric and Wood
Creating a successful bond between fabric and wood requires careful attention to detail and the right techniques. In this blog post, we will explore tips and tricks for using Gorilla Glue to achieve a strong and durable bond. By following these steps, you can ensure that your fabric and wood projects will withstand the test of time.
Prepare the Surfaces:
Proper surface preparation is crucial for a successful bond. Before applying Gorilla Glue, make sure that both the fabric and wood surfaces are clean and free from any dirt, dust, or grease. Use a mild detergent or rubbing alcohol to thoroughly clean the surfaces. Allow them to dry completely before proceeding to the next step. A clean surface ensures maximum adhesion and prevents any contaminants from interfering with the bonding process.
Test Compatibility:
Before applying Gorilla Glue extensively, it’s wise to test its compatibility with your specific fabric and wood combination. Apply a small amount of glue to a scrap piece of fabric and wood, following the manufacturer’s instructions for curing time. After curing, check if the bond is strong and if any discoloration or damage has occurred. This step will help you determine if Gorilla Glue is suitable for your project and ensure that it won’t compromise the fabric’s integrity.
Apply the Right Amount of Glue:
Using the correct amount of Gorilla Glue is essential for an effective bond. Applying too little glue may result in a weak bond, while excessive application can lead to messy results. Follow the manufacturer’s instructions for the recommended application method and amount of glue to be used. Applying the glue evenly ensures that it covers the entire surface without creating lumps or gaps that could weaken the bond.
Spread the Glue Evenly:
To achieve an even distribution of adhesive, use a small brush or spatula to spread Gorilla Glue evenly on both the fabric and wood surfaces. This technique helps create a uniform bond without any gaps or air pockets that could compromise the strength of the bond. Take your time to ensure that the glue is spread evenly, as this will contribute to a strong and durable bond between the two materials.
Apply Pressure for a Secure Bond:
Once you have applied Gorilla Glue to the fabric and wood surfaces, it’s essential to apply pressure to encourage a strong bond. Depending on the size and shape of your project, you can use clamps, heavy objects, or even your hands to press the surfaces together firmly. This pressure ensures maximum contact between the glue and the materials, promoting a secure and lasting bond. Be sure to follow the manufacturer’s instructions for recommended drying time before removing the pressure.
4yoLcLuH9ro” >
Conclusion
Yes, you can definitely use Gorilla Glue to adhere fabric to wood. Gorilla Glue is a versatile adhesive that bonds various materials together, including fabric and wood. Its strong adhesive properties make it an excellent choice for this type of project.
When using Gorilla Glue, it’s important to follow the instructions carefully. First, ensure that both the fabric and wood surfaces are clean and free from any dust or debris. Apply a thin layer of the glue onto one surface, either the fabric or the wood.
Next, press the two surfaces together firmly and hold them in place for a few minutes to allow the glue to bond properly. It’s recommended to use clamps or weights to keep the fabric in place while the glue dries.
Once dry, Gorilla Glue forms a strong bond that is resistant to moisture and temperature changes. This means that your fabric will stay securely attached to the wood even in humid conditions or extreme temperatures.
However, keep in mind that Gorilla Glue expands as it cures, so be cautious not to apply too much glue as it may seep out from between the fabric and wood. Additionally, excess glue can leave behind unsightly residue on your fabric.
In conclusion, using Gorilla Glue to attach fabric to wood is an effective method that provides a durable and long-lasting bond. Just remember to follow the instructions carefully and exercise caution during application.

