Thinking about adding granite countertops to your kitchen or bathroom?
Wondering how to seamlessly connect multiple pieces of this luxurious material? Well, here’s the scoop: granite countertops can absolutely be glued together.
And let me tell you, it’s a game-changer for homeowners like you. Not only does gluing granite countertops save you some serious cash on installation, but it also guarantees a flawless and long-lasting finish.
So, sit back, relax, and get ready to make an informed decision that’ll have your space looking oh-so-fabulous.
Can Granite Countertops Be Glued Together?
Contents
- 1 Can Granite Countertops Be Glued Together?
- 2 Adhesives Used for Gluing Granite Countertops
- 3 Preparing the Surfaces Before Gluing
- 4 Applying the Adhesive and Aligning the Countertop Pieces
- 5 Curing and Finishing the Joints
- 6 Pros and Cons of Glued Granite Countertops
- 7 Professional Installation Considerations
- 8 Tips for Successful Gluing of Granite Countertops
- 9 Conclusion
A Guide to Seamless Bonding
Introduction:
Granite countertops are renowned for their durability, timeless beauty, and ability to elevate any kitchen or bathroom. However, there may be instances where joining two separate pieces of granite becomes necessary. In these cases, gluing the countertops together can provide a seamless and cohesive look. But how exactly is this done? Let’s explore the process of gluing granite countertops together.
Preparation:
Before gluing the countertops together, it is crucial to prepare the surfaces properly. Begin by thoroughly cleaning the surfaces, removing any dirt, dust, or residue. Next, roughen the surfaces using sandpaper or a diamond pad to create a better bonding surface. This step ensures maximum adhesion between the two pieces.
Choosing the Right Adhesive:
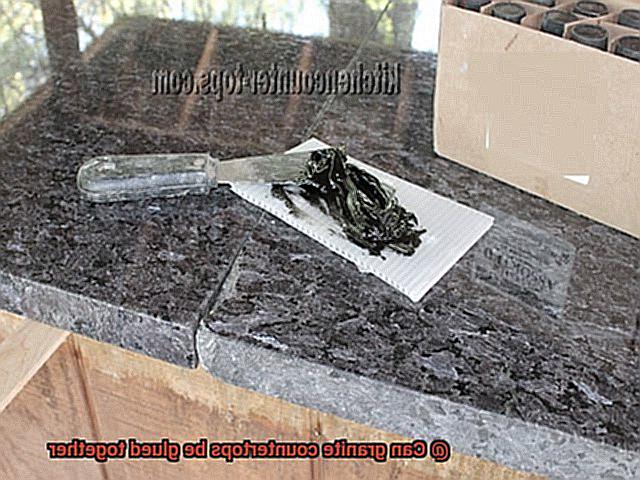
When it comes to bonding granite countertops, epoxy resin adhesives are commonly used due to their excellent bonding properties and ability to withstand heavy loads and high temperatures. These adhesives provide a strong and durable bond that can withstand the daily demands of a busy kitchen.
Application Process:
Once the surfaces are prepared, evenly spread the epoxy adhesive over both surfaces using a trowel or putty knife. It is vital to follow the manufacturer’s instructions carefully regarding the mixing ratio and application process. The adhesive should be applied in a consistent layer without any gaps or unevenness between the surfaces to achieve a flawless bond.
Alignment and Curing:
After applying the adhesive, carefully align the two countertop pieces and press them firmly together. Clamps or other tools can be used to hold them in place while the adhesive cures. The curing time for epoxy adhesives varies but typically ranges from a few hours to a day. It is essential to allow sufficient curing time before applying any stress or load on the joined countertops.
Finishing Touches:
Once the adhesive has fully cured, remove any excess adhesive that may have squeezed out during bonding using a razor blade or scraper. To achieve a seamless appearance, polish or finish the joints to match the rest of the countertop surface.
Considerations and Additional Support:
While glued granite countertops provide a strong bond, it is important to take certain considerations into account. Avoid placing heavy objects directly on the joined areas and take precautions to prevent excessive force or movement. Depending on the size and weight of the countertops, additional support may be required, such as using support brackets or other reinforcement methods.
Adhesives Used for Gluing Granite Countertops
Gluing granite countertops requires the perfect adhesive to achieve a strong and long-lasting bond. With numerous options available, selecting the right adhesive may seem daunting. But fear not. In this comprehensive guide, we will explore the different types of adhesives suitable for granite countertops, important factors to consider during selection, and expert tips for proper installation.
Types of Adhesives:
Epoxy Resin:
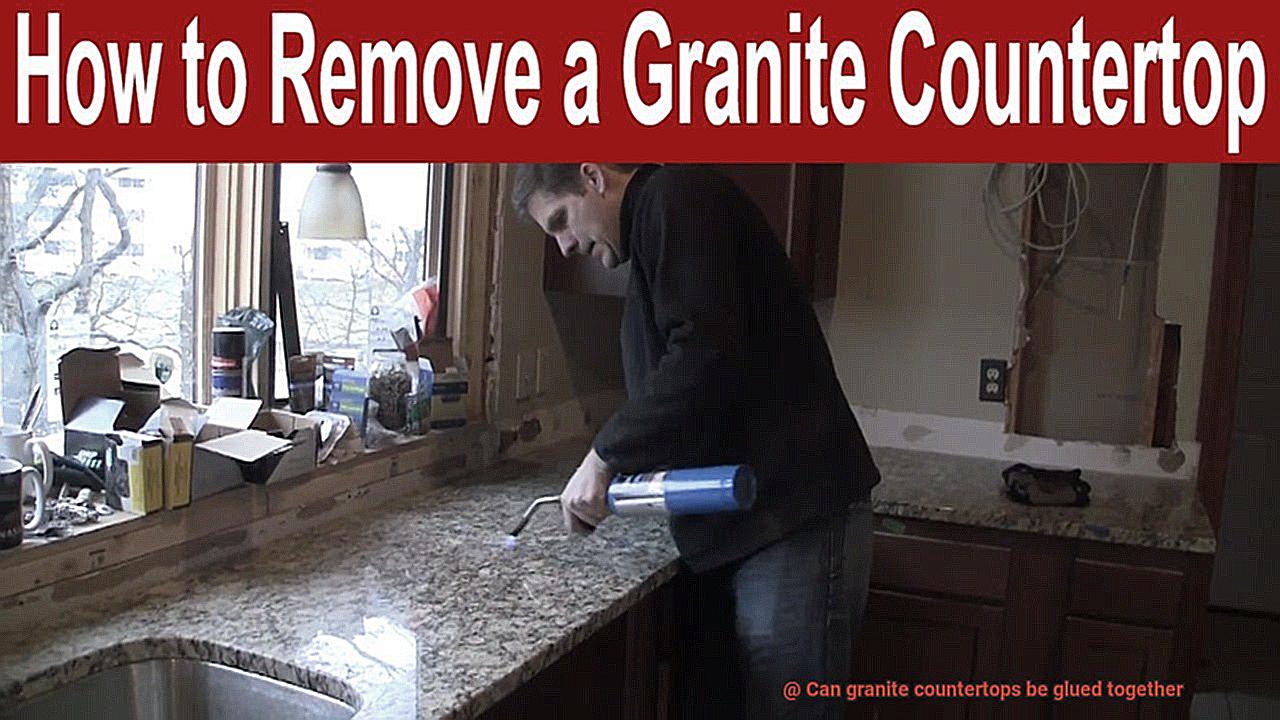
This two-part adhesive, consisting of a resin and a hardener, offers exceptional strength and durability. Its ability to withstand moisture, heat, and chemicals makes it ideal for joining granite pieces together, ensuring a bond that stands the test of time.
Polyester Resin:
Although not as strong as epoxy resin, polyester resin provides good bonding strength and flexibility. It is commonly used for repairing small cracks or chips in granite countertops rather than for large-scale bonding.
Polyurethane Adhesive:
With its versatility, polyurethane adhesive offers a strong bond and excellent resistance to water and moisture. Its flexibility allows for slight movement in the granite without compromising the bond strength. However, it may not be as robust as epoxy or polyester resin.
Specialized Granite Adhesives:
These adhesives are specifically designed for gluing granite countertops. They offer maximum strength and durability while seamlessly blending with the color of the granite, resulting in an invisible bond.
Factors to Consider:
- Size and weight of the granite pieces: Larger or heavier pieces require stronger adhesives like epoxy resin.
- Location of the countertop: If the countertop is exposed to outdoor elements or high moisture levels, choose adhesives with excellent moisture resistance.
- Heat exposure: Kitchens can get hot. Select an adhesive that can withstand high temperatures.
Installation Tips:
- Consult professionals experienced in granite countertop installation for guidance on the best adhesive for your project.
- Ensure surfaces are clean, dry, and free from dirt, dust, or grease. Roughen the surfaces with sandpaper or an abrasive pad to improve adhesion.
- Follow the manufacturer’s instructions for curing time and temperature to ensure a secure bond.
Preparing the Surfaces Before Gluing
Get ready to embark on an adhesive adventure that will transform your kitchen into a masterpiece. However, before you dive into the world of glues and adhesives, it’s crucial to ensure that your surfaces are properly prepared. In this comprehensive guide, we’ll walk you through the steps to achieve a bond that shines as bright as a diamond. Let’s unleash your inner DIY guru and create a kitchen masterpiece.
Step 1: Cleanliness is Next to Bond-iness
To start, give your granite surfaces a thorough cleaning. Banish dirt, dust, grease, and other contaminants using a mild detergent or a stone-specific cleaner. Remember, a clean surface is essential for a strong bond that will stand the test of time.
Step 2: Smooth Operator
Smooth out any rough edges or imperfections on your countertops. Embrace your inner artisan by using fine-grit sandpaper or a diamond sanding pad to gently sand the areas that will be glued together. This step ensures a flawlessly smooth and even bonding surface.

Step 3: Bye-bye Grease
Bid farewell to oils, waxes, and other substances that can interfere with adhesion. Like a pro, use a suitable stone cleaner or solvent to degrease those surfaces. Wipe away all traces of grease or oil for optimal bonding that won’t let you down.
Step 4: Roughen Up.
To achieve maximum bonding strength, consider giving the surface a slight roughening up. Embrace the power of mechanical methods like sandblasting or opt for a chemical etching solution specifically designed for granite. These techniques create microscopic indentations that provide more contact points for the adhesive to grip onto tightly.
Step 5: Patience is Key
After completing the surface preparation steps, exercise patience and let your countertops dry completely. Moisture or dampness can compromise the effectiveness of the adhesive, so give them time to air out. Follow the drying time recommended by the adhesive manufacturer to ensure a bond that’s as solid as a rock.
Applying the Adhesive and Aligning the Countertop Pieces
When it comes to gluing granite countertops together, the process of applying adhesive and aligning the countertop pieces is crucial. By following these steps carefully, you can achieve a seamless and durable bond that will enhance the beauty of your kitchen.
- Choose the right adhesive: Epoxy resin adhesives are the preferred choice for gluing granite countertops due to their exceptional bonding strength and durability. Make sure to select an adhesive specifically designed for stone surfaces.
- Prepare the surfaces: Before applying the adhesive, it’s essential to clean the countertop pieces thoroughly. Use a mild detergent or stone cleaner to remove any dust or debris. Once cleaned, ensure that the surfaces are completely dry before proceeding.
- Apply the adhesive: Mix the resin and hardener according to the manufacturer’s instructions. Take a small putty knife or trowel and spread a thin layer of adhesive onto one of the countertop pieces. Be meticulous in covering the entire surface evenly, leaving no corners untouched.
- Align the countertop pieces: Carefully line up the second piece with the first one, paying close attention to the edges and corners. Precision is key here to achieve a seamless joint. Apply even pressure as you align the pieces together.
- Create a strong bond: Gently press the countertop pieces together to create a strong bond. You can use clamps or heavy objects to hold them in place while the adhesive cures. Just make sure they won’t budge.
- Allow for curing time: The curing process is crucial for a successful bond. Follow the manufacturer’s recommended curing time, which typically ranges from 24 to 48 hours. During this time, keep the area undisturbed and free from any traffic or activity.
- Remove excess adhesive: Once the adhesive has fully cured, scrape away any excess adhesive that may have oozed out during the bonding process. Use a razor blade or scraper, being careful not to scratch the granite surface.
Curing and Finishing the Joints
This crucial step in the installation process ensures that your countertops not only have secure connections but also boast seamless and inconspicuous joints. Think of it as the final flourish that elevates your kitchen’s aesthetic appeal. So, let’s dive into the process and unveil the secrets behind achieving flawless connections.
Choosing the Right Adhesive:
To create a sturdy bond between your granite countertop pieces, epoxy resin takes center stage. Renowned for its strength and durability, this adhesive is specially formulated to effectively bond stone materials. Additionally, epoxy resin comes in a range of colors to match your granite’s hue, allowing for a more visually pleasing finish.
Preparation is Key:
Before applying the epoxy resin, proper joint preparation is essential. Meticulously clean the surfaces to remove any dust, dirt, or debris that could hinder adhesion. Additionally, remove any existing adhesive or sealant entirely to ensure a clean and solid bond. Thoroughly dry the joints to prevent moisture interference during curing.
The Dance of Gluing:
Now that your stage is set, it’s time for the grand performance. Begin by mixing a two-part epoxy resin according to the manufacturer’s instructions. This careful concoction of resin and hardener creates a homogeneous mixture, laying the foundation for a secure joint. Remember, following the instructions diligently is key to achieving optimal results.
With your adhesive mixture ready, gracefully apply it to the joint using a putty knife or similar tool. The goal is to spread the adhesive evenly across both surfaces, leaving no gaps or voids. Any excess adhesive should be promptly removed before it has a chance to cure.
The Supporting Cast:
To maintain perfect alignment during curing and prevent any movement that could compromise the joint’s integrity, use clamps or support brackets to hold the countertop pieces together. This support system ensures a tight and secure connection while the adhesive cures. Remember, different epoxy resins have varying curing times, so refer to the manufacturer’s instructions for guidance.
The Finishing Flourish:
Once the epoxy resin has fully cured and hardened, it’s time to give your joints the final touch. This involves grinding and polishing the joint area to create a seamless and smooth surface. Specialized tools, such as diamond grinding pads, perform this delicate task with finesse. The grinding process removes any excess adhesive and seamlessly blends the joint with the surrounding granite.
After achieving a harmonious blend, it’s time to polish the joint. Using progressively finer grit polishing pads, you’ll gradually enhance the smoothness and shine of the joint until it seamlessly matches the rest of the countertop. This final step elevates the overall appearance of your countertop, making the joint virtually invisible to the naked eye.
Pros and Cons of Glued Granite Countertops
Glued granite countertops, an option worth considering when upgrading your kitchen or bathroom, have their fair share of advantages and disadvantages. Let’s delve into the pros and cons of these countertops to help you make an informed decision.
On the bright side, glued granite countertops offer a visually appealing aesthetic. With seamless joints, these countertops exude elegance and uniformity. Plus, there are no unsightly gaps or seams to collect dirt and debris, making cleaning a breeze.
Hygiene is another advantage of glued granite countertops. The absence of crevices means no hiding spots for bacteria or mold to thrive, making them an excellent choice for kitchens where food preparation takes place.
Durability is yet another perk. The epoxy glue used in the gluing process forms a robust bond between the granite sections, making them less prone to cracking or breaking under pressure. This is especially beneficial for heavy-duty usage in busy kitchens or bathrooms.
Cost-effectiveness is also worth noting. By using smaller sections and gluing them together, less expensive solid stone is required for installation. This accessibility ensures that even homeowners on a budget can enjoy the beauty and durability of granite countertops.
However, it’s important to acknowledge the downsides as well. One concern is the potential weakening of the glued joints over time. While epoxy glue is strong, it may not match the durability of the natural stone itself.
Furthermore, glued granite countertops may be more susceptible to damage during transportation and installation. Mishandling or excessive force can crack these fragile joints. To avoid such mishaps, it’s crucial to enlist experienced professionals who specialize in handling and installing glued countertops.
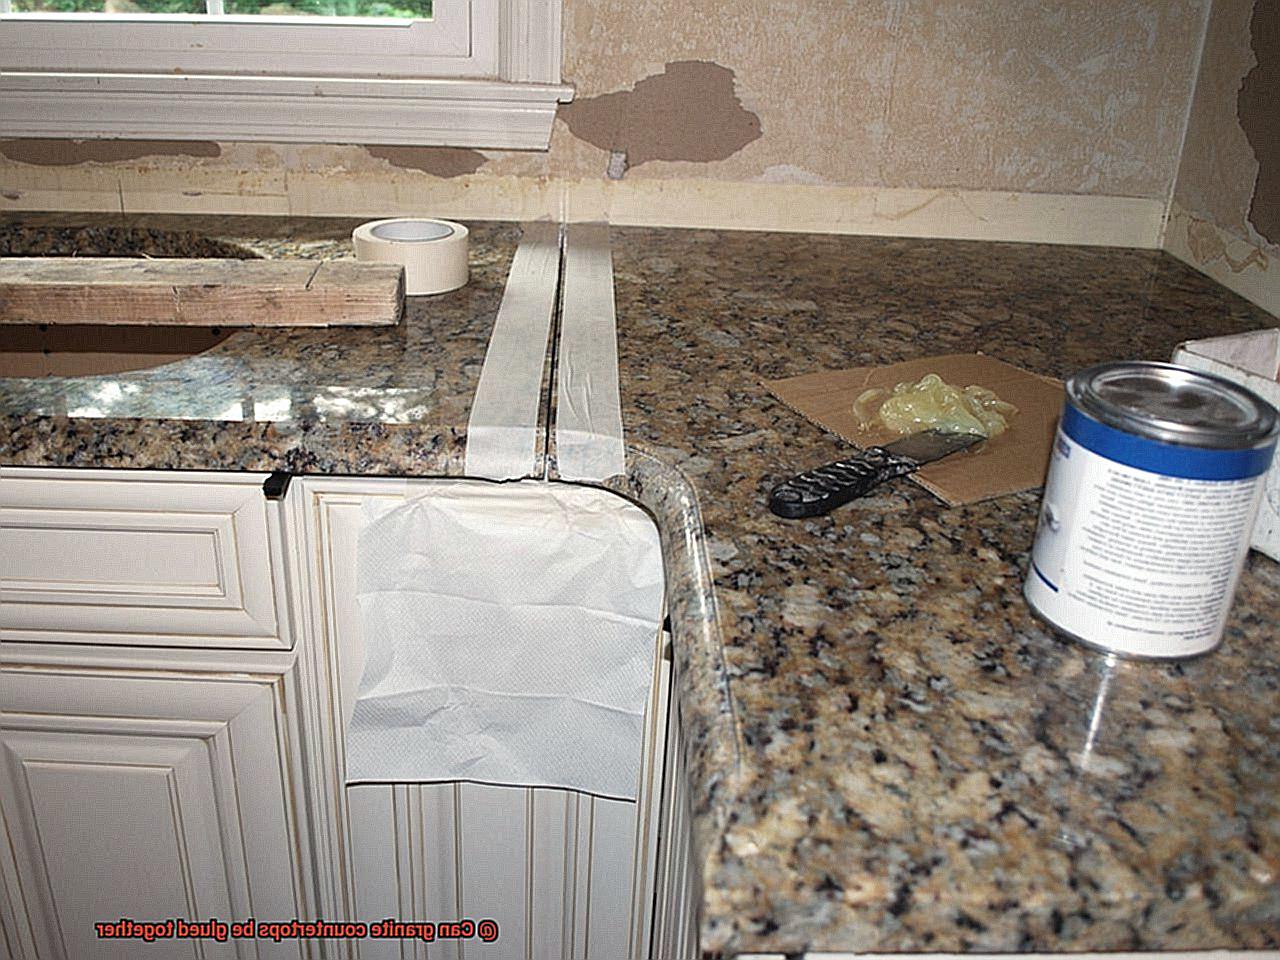
In the event of damage, repairing glued joints seamlessly can be challenging. While repairs can be made, they may not seamlessly blend with the rest of the countertop, resulting in a noticeable flaw.
Lastly, some homeowners may find the appearance of glued granite countertops less desirable. The presence of visible seams and joints compromises the natural look and feel of a solid slab of granite.
Professional Installation Considerations
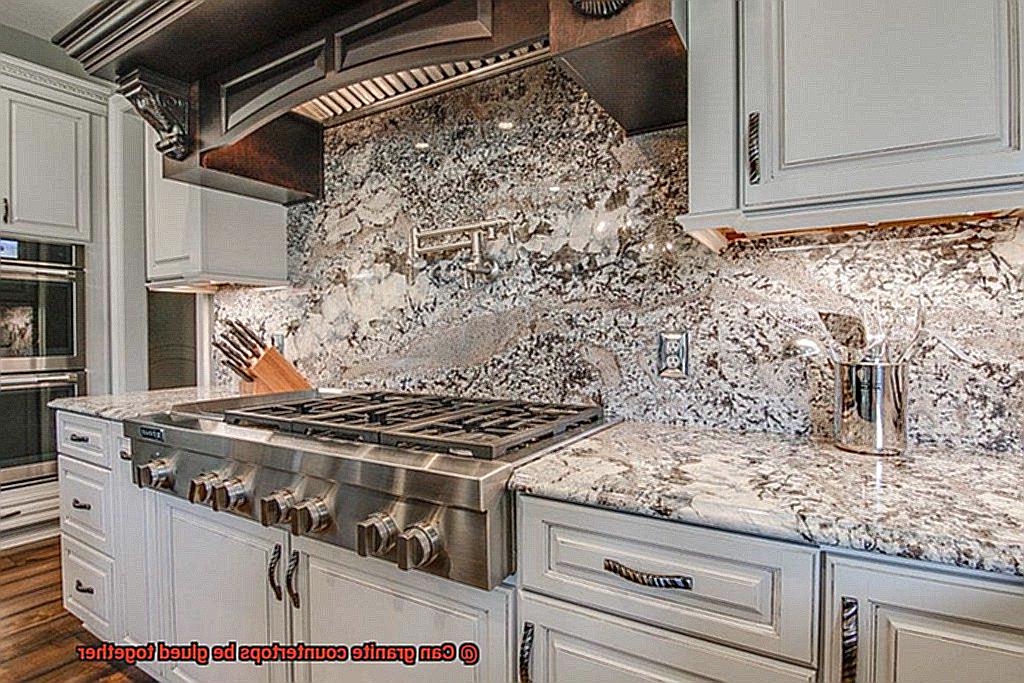
While DIY is an option, professional installation is highly recommended for a bond that stands the test of time. In this article, we’ll explore the crucial considerations that professionals take into account when gluing granite countertops together.
Choosing the Right Adhesive:
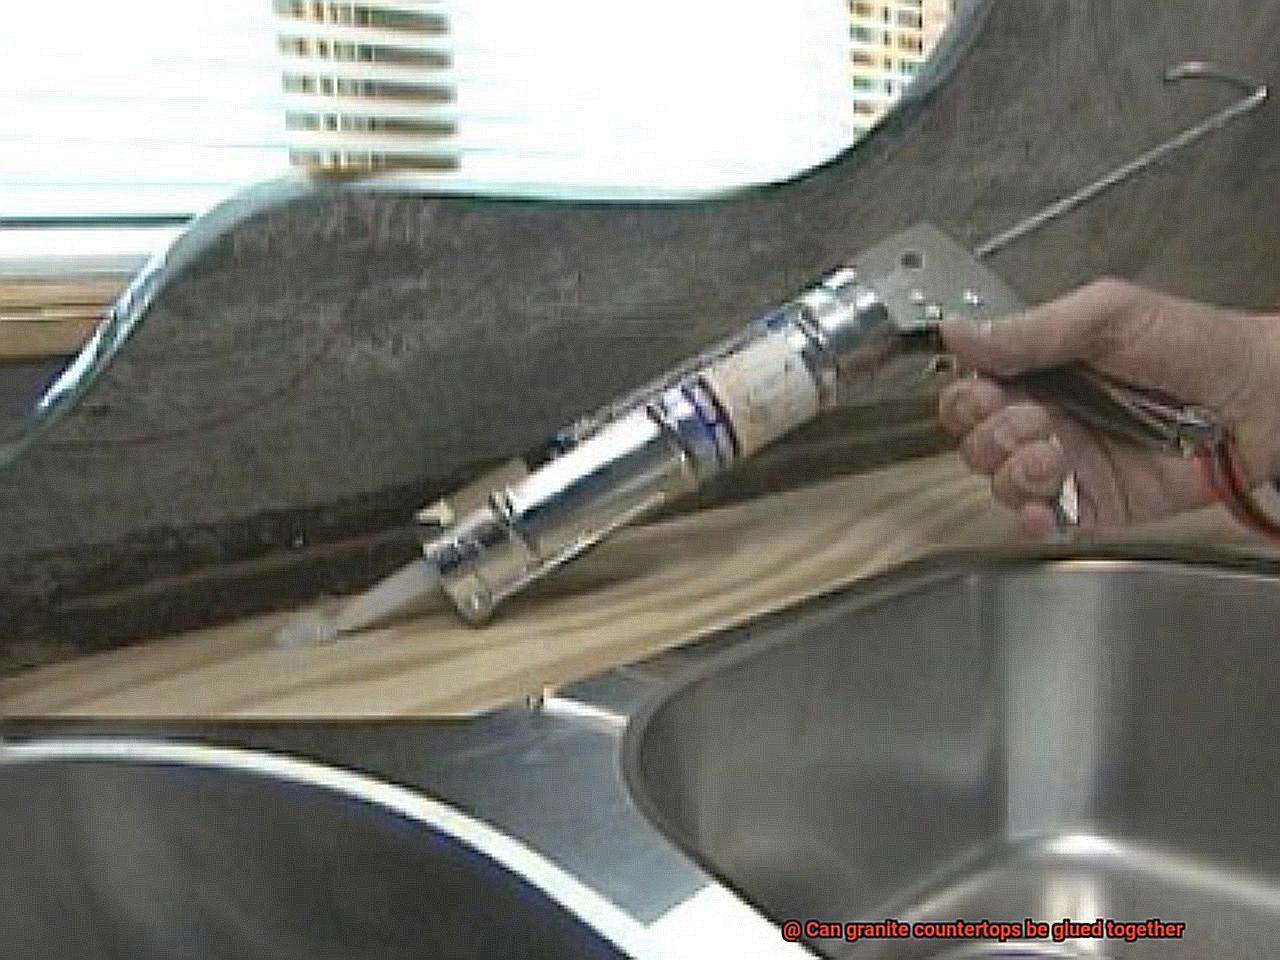
Professionals know that the type of adhesive used is paramount for a strong and long-lasting bond. Epoxy adhesives reign supreme due to their high strength and durability. They have specific epoxy adhesives in their arsenal, ensuring maximum stability and reliability for your granite countertops.
Meticulous Surface Preparation:
Attention to detail is key when it comes to surface preparation. Professionals meticulously clean and degrease the countertop edges and adhesive application areas. Any dust, debris, or residue can compromise the bond, so they leave no stone unturned in this step.
Accurate Alignment:
To achieve a seamless appearance, professional installers pay close attention to accurate alignment. They carefully plan and measure to guarantee a perfect fit without any unsightly gaps or irregularities in the joint.
Temperature and Humidity Considerations:
Professionals understand the impact of temperature and humidity on the gluing process. They work within recommended temperature ranges specified by adhesive manufacturers, preventing future issues caused by extreme temperatures or high humidity levels.
Clamping for Stability:
During gluing, professionals use clamps or supports to hold the countertops in place while the adhesive cures. This ensures a secure and stable joint, free from any movement or shifting that could compromise the bond. With access to various clamping methods, professionals leave no room for instability.
Flawless Finishing Touches:
Once the adhesive has cured, professionals go the extra mile for a flawless finish. They polish or buff the joint area to seamlessly blend it with the rest of the countertop surface. Attention to detail is crucial for a professional-looking result that will leave you in awe.
Benefits of Hiring Professionals:
By opting for professional installation, you ensure a high-quality bond and gain peace of mind. Professionals possess the expertise, experience, and tools needed to handle the job efficiently and effectively. They can also provide valuable advice on maintenance and care to extend the lifespan of your countertops.
Tips for Successful Gluing of Granite Countertops
Granite countertops are renowned for their beauty and durability. However, if you need to glue them together or repair a broken piece, it’s important to follow the right steps for a successful bond. In this article, we will discuss some essential tips to help you achieve a strong and long-lasting bond when gluing granite countertops.
Clean and Prepare the Surfaces:
To ensure a strong bond, start by cleaning the surfaces thoroughly. Remove any dirt, dust, or grease using a mild detergent and warm water. Dry the surfaces completely to eliminate any moisture that could compromise the adhesive’s effectiveness.
Choose the Right Adhesive:
Selecting the proper adhesive is crucial for successfully gluing granite countertops. Epoxy adhesives are widely recommended due to their superior bonding properties. Opt for a high-quality epoxy adhesive specifically designed for bonding stone materials.
Roughen the Surfaces:
To enhance the bond between the surfaces, lightly roughen them using sandpaper or a diamond grinding wheel. This process creates more surface area for the adhesive to adhere to, resulting in a stronger bond.
Apply the Adhesive Evenly:
Follow the manufacturer’s instructions precisely when mixing and applying the adhesive. Use a notched trowel or putty knife to spread an even layer of adhesive on both surfaces. Avoid applying excessive pressure as it can cause excess glue to seep out.
Align and Clamp the Countertops:
Ensure precise alignment of the countertop edges before joining them together. Use clamps or heavy objects to hold them firmly in place while the adhesive cures. This ensures a seamless joint and prevents any movement that could compromise the bond.
i3RejLpS9nw” >
Also Read: Best Glue For Granite
Conclusion
Yes, granite countertops can be glued together.
The process involves using a special adhesive that is specifically designed for bonding stone surfaces. This adhesive creates a strong and durable bond between the two pieces of granite, ensuring that they stay securely attached.
Gluing granite countertops together is a common practice in the construction and remodeling industry, as it allows for seamless installations and repairs. So, if you have a cracked or broken granite countertop, don’t worry.
It can be fixed by gluing the pieces back together with the right adhesive.

