Want to jazz up your foam projects in a totally rad way? Look no further, my friends, because we’re about to dive headfirst into the wild world of Cricut vinyl on foam.
This magical combo opens up a universe of possibilities for creating crafts that are truly out of this world. Whether you’re itching to personalize a foam costume, whip up some custom foam signs, or add intricate details to your foam decorations, Cricut vinyl is about to become your new best friend.
Get ready to level up your crafting game like never before.
What is Cricut Vinyl?
Contents
- 1 What is Cricut Vinyl?
- 2 Can Cricut Vinyl Stick to Foam?
- 3 Preparing the Foam Surface for Adhesion
- 4 Selecting the Right Adhesive for Bonding Vinyl to Foam
- 5 Applying Even Pressure Across the Entire Design
- 6 Allowing the Adhesive to Cure or Set
- 7 Variations in Adhesion Depending on Type of Foam
- 8 Conclusion
Are you a crafting enthusiast looking to add a touch of personalization and creativity to your projects? Look no further than Cricut vinyl. This versatile adhesive material is a game-changer for crafters, allowing you to create stunning designs and transform ordinary items into extraordinary works of art. In this ultimate guide, we will explore everything you need to know about Cricut vinyl, from its features and applications to tips and tricks for success.
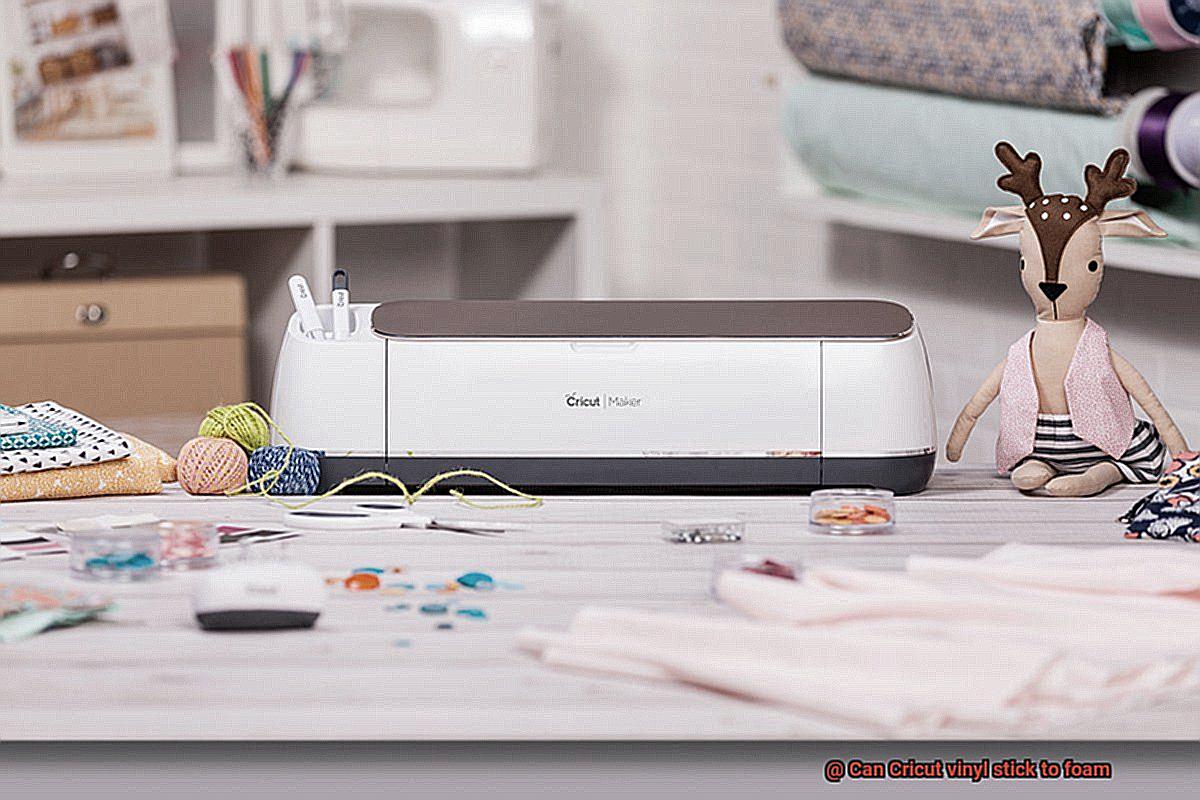
Cricut vinyl is a thin, flexible adhesive material specially designed for use with Cricut cutting machines. It comes in sheets or rolls and can be easily cut into various shapes and designs. With its strong adhesive backing, Cricut vinyl can stick to a wide range of surfaces, including paper, wood, glass, plastic, fabric, and even foam.
Features and Varieties:
Cricut vinyl offers a plethora of options to suit every creative vision. It comes in an array of colors and finishes like matte, glossy, metallic, and holographic. The possibilities are endless for adding flair to your home decor, personalizing gifts, creating party decorations, and more.
Easy-to-Use Process:
Using Cricut vinyl is a breeze. Simply load the vinyl into your Cricut cutting machine and let it work its magic. With the help of computer software or a mobile app, you can create intricate designs and patterns effortlessly. Once your design is cut, the weeding process allows you to remove the excess vinyl, leaving behind only the desired design. Apply the design onto your chosen surface by gently pressing it down and smoothing out any air bubbles or wrinkles.
Tips for Success:
To ensure optimal adhesion of Cricut vinyl, proper surface preparation is key. Clean your surface thoroughly to remove any dust, dirt, or oils that may hinder adhesion. If you’re working with foam, consider using a specialized foam adhesive for added durability. Apply even pressure across the entire design and allow the adhesive to cure for maximum bond strength.
Can Cricut Vinyl Stick to Foam?
Craft foam, also known as EVA foam or foam sheets, is a versatile material that many crafters love to work with. It has a smooth surface and comes in various colors and thicknesses, making it an ideal canvas for creative projects. But can Cricut vinyl stick to foam? The answer is yes, with a few considerations and preparation techniques.
When it comes to foam, the type you’re using is crucial. Expanded polystyrene (EPS) foam, commonly known as Styrofoam, has a porous and uneven surface. This makes it challenging for the vinyl to adhere properly, as the adhesive may seep into the foam and not hold the vinyl securely. On the other hand, polyurethane foam has a smoother and denser surface, making it more suitable for Cricut vinyl. However, always ensure the foam is clean and free from any dust or debris before applying the vinyl.
To improve adhesion, consider cleaning the foam surface with mild soap and water or rubbing alcohol to remove any oils or particles that might hinder the adhesive properties of the vinyl. Let the foam dry completely before applying the vinyl. Using a strong adhesive or glue specifically designed for bonding vinyl to foam can also enhance stickiness. Options like spray adhesives, double-sided adhesive sheets, or foam-safe glue provide a secure bond between the vinyl and foam.
Applying heat to the vinyl after adhering it to the foam can activate its adhesive properties and ensure a stronger bond with the foam surface. A heat gun or hairdryer on low heat can do the trick, but be cautious not to overheat or melt the foam during this process.
It’s important to note that while proper preparation and application techniques can improve adhesion, Cricut vinyl may not adhere permanently to some types of foam. Testing on a small area or scrap piece of foam before starting your project is always a good idea.
Preparing the Foam Surface for Adhesion
With a little preparation and expert tips, you’ll be able to achieve picture-perfect adhesion and create stunning designs. Let’s dive into the secrets of preparing the foam surface for optimal vinyl adhesion.
Step 1: Cleanse and Purify
To ensure a solid bond, start by thoroughly cleaning the foam surface. Remove any dirt, dust, or debris that may hinder adhesion. Use a mild soap and water solution or simply wipe it down with a damp cloth. This will provide a clean canvas for the vinyl to adhere to.
Step 2: Dry it Out
Moisture is the enemy of adhesion. After cleaning, allow the foam surface to air dry completely. Be patient and give it ample time to dry naturally. If you’re in a rush, use a hairdryer on a low setting to speed up the process. Remember, a dry surface is key to ensuring a strong bond.
Step 3: Rubbing Alcohol Magic
For an extra boost in adhesion power, consider using rubbing alcohol. Lightly wipe down the foam surface with rubbing alcohol to remove any oils or residue that may interfere with the vinyl sticking properly. This step ensures maximum bonding strength.
Step 4: Smooth Operator
To achieve an even and smooth application of Cricut vinyl, it’s crucial to eliminate any rough edges or uneven areas on the foam surface. Gently sand the surface with fine-grit sandpaper, creating an optimal texture for adhesion. This step will enhance the vinyl’s ability to adhere seamlessly.
Step 5: Primer Time
For an extra layer of adhesive power, applying a primer or adhesive promoter is highly recommended. This step is optional but can significantly improve the bond between the foam surface and Cricut vinyl. Apply the primer evenly across the entire foam surface and allow it to dry according to the manufacturer’s instructions. This will provide an enhanced bonding surface for the vinyl.
Step 6: Handle with Care
Once you’ve prepared your foam surface, treat it like a delicate masterpiece. Excessive touching or rubbing can transfer oils from your hands, which may affect the adhesion of the vinyl. Handle the surface with care to maintain its pristine condition and ensure long-lasting adhesion.
Selecting the Right Adhesive for Bonding Vinyl to Foam
If you’re embarking on a project that involves bonding vinyl to foam, you know that selecting the right adhesive is paramount. To help you make an informed decision, this comprehensive guide will take you through the importance of choosing the correct adhesive and provide expert tips for achieving a strong and durable bond. Whether you’re a crafting enthusiast or a professional, this article is filled with valuable insights to ensure your project’s success.
Why is selecting the right adhesive important?
- Compatibility is key: Adhesives specifically designed for vinyl and foam surfaces guarantee optimal adhesion, preventing damage or failure.
- Bond strength matters: The right adhesive will create a durable bond capable of withstanding movement, stretching, and environmental conditions.
- Ease of application: Different adhesives offer various application methods such as spray, liquid, or epoxy, allowing you to choose one that suits your project’s requirements.
Types of adhesives for vinyl to foam bonding:
- Spray adhesive: With its quick and even coverage, spray adhesive offers flexibility and a robust bond. It’s perfect for projects involving movement or stretching.
- Solvent-based adhesive: These liquid adhesives, applied using a brush or roller, are known for their high-strength bonding and resistance to heat and humidity. They are recommended for permanent bonds.
- Epoxy adhesive: Ideal for projects requiring an incredibly strong and long-lasting bond, epoxy adhesives offer resistance to moisture, chemicals, and temperature fluctuations.
Tips for successful bonding:
- Surface preparation: Thoroughly clean the surfaces to remove dirt, dust, or oils that could hinder adhesion. Lightly sanding the foam surface can also enhance the bond.
- Compatibility testing: Before applying the adhesive to the entire surface, test it on a small area of both the vinyl and foam. This ensures compatibility and allows you to assess bond strength.
- Application technique: Follow the manufacturer’s instructions carefully. Apply an even layer of adhesive to both surfaces, then press them firmly together. Use a roller or apply even pressure for proper adhesion.
- Curing time: Allow the adhesive to cure fully according to the manufacturer’s instructions before handling or manipulating the bonded vinyl and foam. This ensures maximum bond strength.
Applying Even Pressure Across the Entire Design
When it comes to applying Cricut vinyl to foam, one of the most crucial steps is applying even pressure across the entire design. This ensures that the vinyl sticks securely to the foam and remains in place for a long time. Let’s explore some techniques and tips to achieve this.
- Use a brayer or rolling pin: These tools are perfect for distributing pressure evenly. Gently roll the brayer or rolling pin over your vinyl design, making sure to cover every inch of it. This will help press the vinyl firmly onto the foam, preventing any peeling or lifting.
- Apply heat with a heat press or iron: Heat makes the vinyl more pliable and easier to adhere. Set your heat press or iron to the recommended temperature for Cricut vinyl and carefully apply even heat and pressure across the entire design. This ensures a strong bond between the vinyl and foam.
- Choose the right foam: Different foams have different densities and flexibility levels, which can affect adhesion. Select a foam that is compatible with Cricut vinyl and provides a smooth surface for better adhesion.
- Avoid stretching or distorting the vinyl: Stretching can cause the vinyl to lose its shape and result in uneven adhesion. Handle the vinyl with care and avoid pulling or tugging on it while applying pressure.
- Allow time for proper bonding: After applying the vinyl, give it time to set and bond properly. Press down on the design firmly once again, ensuring all edges are well adhered. Use a scraper tool or your fingers to smooth out any air bubbles or wrinkles.
Allowing the Adhesive to Cure or Set
The key to ensuring a long-lasting bond between the vinyl and foam lies in allowing the adhesive to cure or set. In this blog post, we’ll explore why this step is so important and share some tips to help you achieve a project that sticks together like best friends forever.
Understanding the Curing Process:
Curing or setting refers to giving the adhesive enough time to fully bond with the foam. This step is crucial in creating a strong and durable bond that can withstand stress and movement. By allowing the adhesive to cure, you’re giving it the necessary time to create a reliable connection.
Recommended Curing Time:
To achieve optimal results, it is advisable to allow the adhesive to cure for at least 24 hours before subjecting it to any stress or movement. However, keep in mind that this timeframe may vary based on factors such as the type of adhesive used and ambient conditions like temperature and humidity. Always refer to the manufacturer’s instructions for specific guidance on curing times.
Factors Affecting Curing Time:
- Temperature and Humidity: Colder temperatures and higher humidity levels can prolong the curing process. If you’re working in these conditions, consider extending the curing time accordingly.
- Foam Thickness and Layering: Thicker foam or multiple layers of vinyl may require additional curing time to ensure proper bonding.
Creating an Optimal Environment:
To facilitate proper curing, ensure your workspace is clean and free from dust or debris that could interfere with the bonding process. Additionally, make sure the foam surface is clean and free from oils or contaminants that could hinder adhesion. Store your project in a controlled environment with moderate temperature and humidity levels to avoid extreme heat or excessive moisture, which can compromise the bond.
Benefits of Allowing Adequate Curing Time:
By allowing the adhesive to fully cure, you’re ensuring a strong and long-lasting bond. This means your vinyl design won’t peel or lift easily, giving your project the durability it needs. Patience is key here – remember, good things come to those who wait.
Variations in Adhesion Depending on Type of Foam
Today, we’re going to dive into the variations in adhesion when using Cricut vinyl on different types of foam. So grab your glue guns and prepare to be amazed.
Let’s start with the soft and flexible polyurethane foam. This versatile foam is commonly found in upholstery, cushions, and mattresses. To ensure a strong bond between Cricut vinyl and polyurethane foam, begin by thoroughly cleaning the surface to remove any dust or debris.
A gentle wipe with a damp cloth or mild cleaner should do the trick. Once the surface is squeaky clean, apply the vinyl by gently pressing it onto the foam. To activate the adhesive backing, use a heat gun or hairdryer. The heat will create a secure bond that can withstand even the comfiest of naps.
Next up is polystyrene foam, also known as Styrofoam. This lightweight and rigid foam can be a bit challenging when it comes to adhesion. Enhance bond strength by lightly sanding the surface with fine-grit sandpaper to create texture for the vinyl to grip onto.
Another option is to use a primer or adhesive specifically designed for bonding vinyl and polystyrene foam. These products provide a stronger connection and are readily available at your local craft store or online.
Now, let’s talk about EVA foam, the superhero of crafting materials. This lightweight and easy-to-shape foam is perfect for all your DIY needs. However, its slightly porous surface can affect adhesion. For a robust bond, clean the surface with a damp cloth and allow it to dry completely before applying the vinyl. And don’t forget to activate the adhesive backing using a heat source like a heat gun or iron set on low heat.
QlKYDV1Ug88″ >
Conclusion
In conclusion, the answer is a resounding yes – Cricut vinyl can absolutely stick to foam. With the right preparation and techniques, foam surfaces like polyurethane foam and EVA foam become a versatile canvas for all your creative projects. But don’t forget, it’s crucial to consider the type of foam you’re working with and take the necessary steps to ensure optimal adhesion.
First things first – cleanliness is key. Before applying the vinyl, make sure to thoroughly clean the foam surface, removing any pesky dust or debris that could hinder adhesion. For an extra boost, try using rubbing alcohol or a mild soap and water solution to eliminate any oils or residue that might get in the way.
To really amp up adhesion power, lightly sanding the foam surface creates texture for the vinyl to grip onto. And if you want to take it up another notch, consider applying a primer or adhesive promoter specifically designed for bonding vinyl to foam – these little wonders work wonders.
When it comes time to apply the vinyl, remember that even pressure is everything. Grab yourself a trusty brayer or rolling pin to help distribute that pressure evenly across your design. And if you really want to kick things into high gear, apply some heat with a heat press or iron – this activates the adhesive properties of the vinyl and guarantees a bond that won’t quit.
Now here’s where patience pays off – allow adequate curing time. Give your project at least 24 hours before subjecting it to any stress or movement. This will ensure a long-lasting bond between your Cricut vinyl and beloved foam creation.
So, go ahead and let your creativity run wild on those foam projects – because with these tips and techniques in your arsenal, stunning results are just around the corner.