Let’s dive into a topic that keeps us all up at night – finding the perfect glue for our cherished leather goods. We’ve all had that heart-stopping moment when our favorite leather item starts to unravel, sending us into a panic.
Enter Gorilla Glue – the superhero of adhesives. But can this powerful glue really save our beloved leather possessions? Today, we’ll uncover the truth and explore the consequences of using Gorilla Glue on leather.
Get ready, leather enthusiasts, because we’re about to embark on a journey that uncovers the secrets of glue and leather. We’ll walk the fine line between salvation and disaster. So put on your trusty leather aprons and let’s discover the dos and don’ts of using Gorilla Glue on leather.
What is Gorilla Glue?
Contents
- 1 What is Gorilla Glue?
- 2 Why is Gorilla Glue Not Recommended for Leather?
- 3 What are the Alternatives to Gorilla Glue for Leather Projects?
- 4 Preparing the Leather Surface Before Applying Adhesive
- 5 Follow Manufacturer Instructions for Optimal Results
- 6 The Benefits of Using a Leather-Specific Adhesive
- 7 Common Mistakes to Avoid When Working with Leather and Glue
- 8 Conclusion
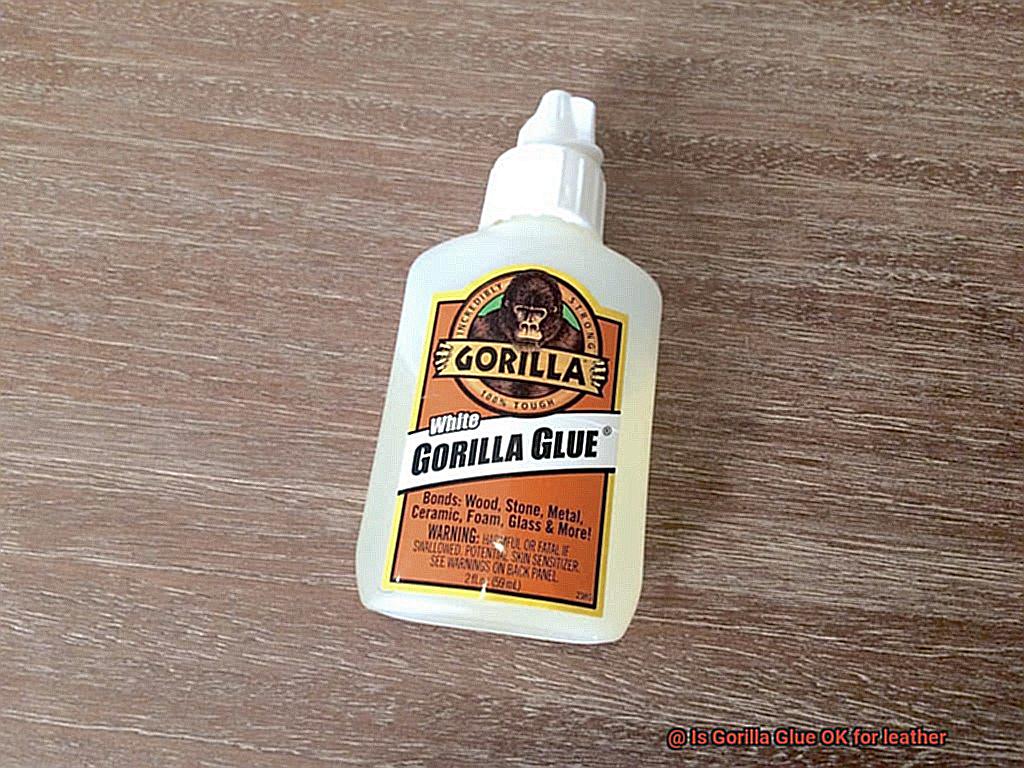
When it comes to choosing the right adhesive for your projects, Gorilla Glue stands out as a reliable option. Renowned for its incredible bonding strength and versatility, Gorilla Glue is a polyurethane-based adhesive that can bond various materials together.
Whether you’re repairing broken objects or creating something entirely new, Gorilla Glue provides a strong and durable bond that can withstand heavy loads and extreme conditions.
Features and Forms of Gorilla Glue:
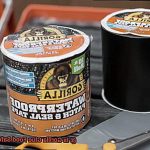
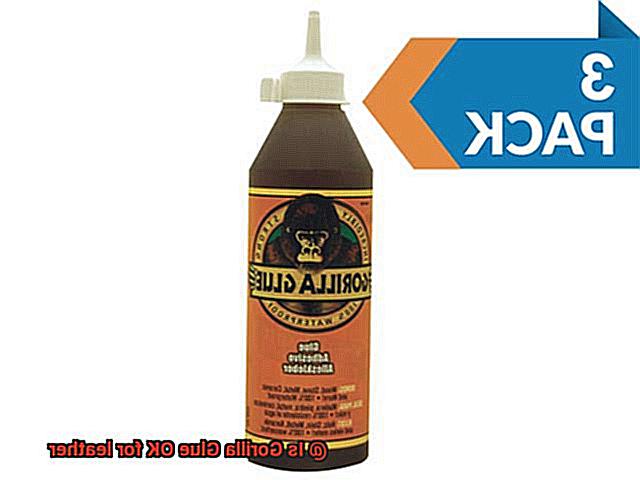
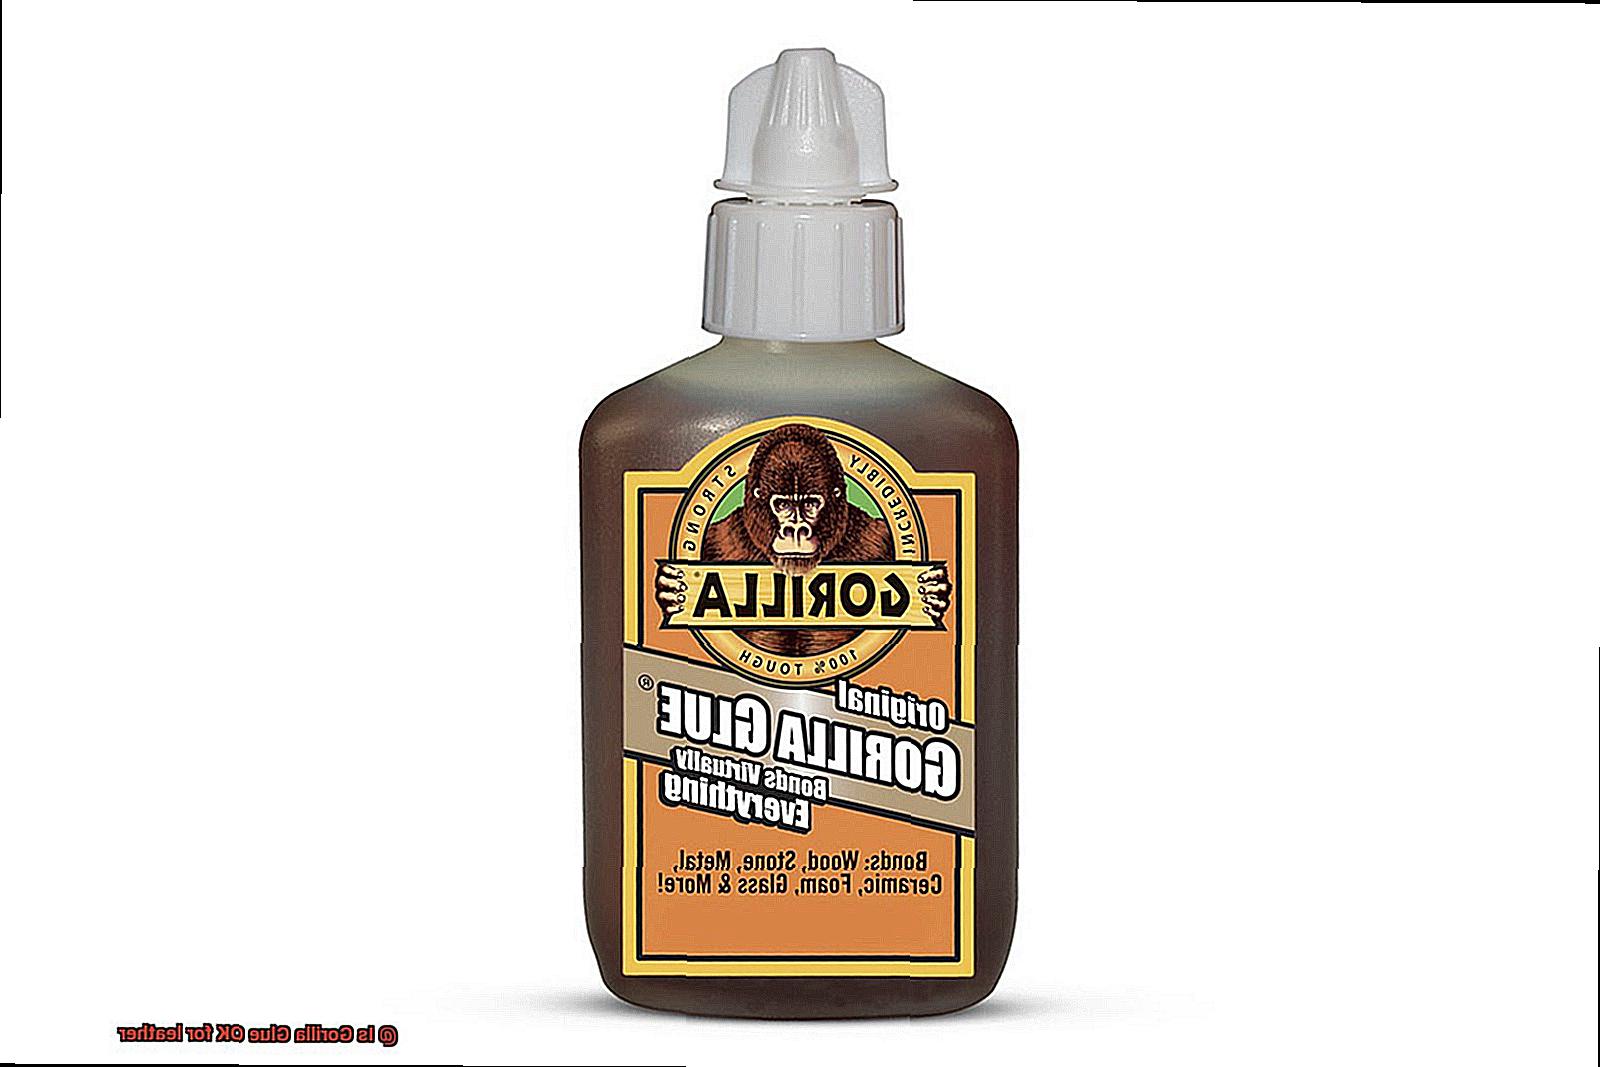
Gorilla Glue comes in different forms, including liquid, gel, and tape, each tailored to specific applications. The liquid form is the most versatile and can be used on a wide range of surfaces, including leather. Its waterproof nature makes it suitable for both indoor and outdoor use, ensuring that your bonds remain intact even in challenging environments.
Tips for Using Gorilla Glue:
To achieve optimal results with Gorilla Glue, follow these essential tips:
- Proper Application: Apply Gorilla Glue in a thin, even layer to ensure an effective bond. Allow it to dry completely before subjecting it to any pressure or stress.
- Pre-testing: Before using Gorilla Glue on leather or any other material, perform a patch test on a small, inconspicuous area to ensure compatibility and avoid any potential damage or discoloration.
- Manufacturer’s Recommendations: Always read and follow the instructions provided by the glue manufacturer. Different forms of Gorilla Glue may have specific application methods and drying times.
Why is Gorilla Glue Not Recommended for Leather?
Before we unravel the mystery, let’s take a moment to appreciate the adhesive superhero that is Gorilla Glue. With its exceptional bonding strength and versatility, Gorilla Glue has rightfully earned its reputation as an all-around champion in the adhesive world. Whether you need to fix broken ceramics or create stunning crafts, Gorilla Glue has got your back.
However, when it comes to leather, Gorilla Glue takes a step back. The primary reason why Gorilla Glue isn’t recommended for leather lies in its expanding nature. As this adhesive cures, it expands, which can cause leather to warp or distort. Imagine an unsightly bulge on your beloved leather jacket – not exactly the look you were aiming for, right?
But that’s not all. Another issue stems from Gorilla Glue’s high moisture content. This adhesive requires moisture to activate its bonding properties. Unfortunately, leather is a natural material that readily absorbs water. Excessive moisture can spell disaster for your cherished leather items, leading to discoloration, rotting, or weakening of the leather fibers. A dreaded fate indeed.
However, there’s more to this adhesive saga. Gorilla Glue is a polyurethane-based adhesive containing chemicals that may clash with the tannins found in leather. Tannins are those magical natural compounds that give leather its strength and durability. When exposed to Gorilla Glue’s chemicals, these tannins can break down over time, leaving your leather brittle and weak.
But fear not, dear glue aficionados. Amidst this adhesive turmoil lies a gleaming silver lining. Specialized adhesives have been crafted explicitly for bonding leather. These adhesives are like knights in shining armor for your leather projects. They are flexible, waterproof, and safe to use on leather materials. They provide a robust bond without compromising the integrity of the leather.
So, my fellow glue enthusiasts, when embarking on leather and adhesive adventures, it’s best to steer clear of Gorilla Glue. Instead, opt for those trustworthy specialized leather adhesives that will preserve the beauty and strength of your leather treasures.
What are the Alternatives to Gorilla Glue for Leather Projects?
While Gorilla Glue is a versatile adhesive, it may not be the best choice for leather due to its expanding nature and potential damage to the tannins in leather. However, there are several alternatives specifically designed for leather projects that you can explore.
- Contact Cement: One popular alternative is contact cement, which forms a strong bond when two surfaces are pressed together. It comes in water-based and solvent-based formulas, each with its own advantages. Water-based contact cement is easier to work with and has less odor, while solvent-based contact cement dries faster and provides a stronger bond. Follow the manufacturer’s instructions for best results.
- Leather Glue: Specifically formulated for bonding leather materials, leather glue is flexible and durable, making it ideal for repairing shoes, handbags, or belts. It often comes in a gel-like consistency for easy application without excessive dripping or running. Choose a high-quality brand made specifically for leather materials.
- Epoxy Adhesive: If you need to fill gaps or repair damaged areas of leather, epoxy adhesive might be the way to go. It consists of two components – resin and hardener – that must be mixed before application. Once mixed, epoxy adhesive forms a strong and permanent bond. However, it can be more challenging to work with due to precise mixing ratios and longer curing times.
- Specialized Leather Adhesives: There are also specialized leather adhesives available on the market. Leather cement, commonly used in shoemaking, provides excellent bonding strength. Leather tape is a self-adhesive tape suitable for temporary or quick repairs.
Preparing the Leather Surface Before Applying Adhesive
Well, you’re in luck. Preparing the leather surface before applying adhesive is crucial for a strong and long-lasting bond. Let’s dive into the process step by step.
First, give your leather a thorough cleaning. Use a soft cloth or sponge and a mild soap or leather cleaner designed for leather surfaces. Wipe the entire surface, paying attention to creases, seams, and hard-to-reach areas. Rinse off any soap residue with a damp cloth and let the leather air dry completely.
Next, check for old adhesive residue. If you find any, use a solution of equal parts water and rubbing alcohol to remove it. Gently rub affected areas in circular motions until the adhesive loosens and comes off. Be careful not to damage the leather.
Smooth out any rough edges or surfaces that could hinder the bond. Use fine-grit sandpaper or an emery board to gently sand these areas. We want a smooth and even surface.
Before applying adhesive to the entire leather surface, do a small test on an inconspicuous area. This will determine if the adhesive is compatible with your specific type of leather and its finish. Apply a small amount of adhesive and let it dry according to the manufacturer’s instructions. Check for discoloration or damage. If all looks good, proceed with applying adhesive to the rest of the leather surface.
Finally, carefully read and follow the instructions provided by the adhesive manufacturer. Different adhesives have specific application techniques, drying times, and curing processes. Following these instructions ensures optimal bonding results and prevents potential damage to your precious leather.
Follow Manufacturer Instructions for Optimal Results
Gorilla Glue is renowned for its strength and versatility, making it a popular choice for various bonding projects. However, when it comes to using Gorilla Glue on leather, following the manufacturer’s instructions is crucial for optimal results. In this article, we will explore the importance of adhering to these instructions and discuss key steps to achieve a successful bond between Gorilla Glue and leather.
Safety and Compatibility:
- Determine if Gorilla Glue is safe for your specific leather material by following the manufacturer’s instructions.
- Ensure compatibility and take necessary precautions for a successful bond.
Proper Surface Preparation:
- Thoroughly clean the leather with a damp cloth, removing any dirt or debris that can interfere with bonding capabilities.
- Allow the leather to dry completely before applying Gorilla Glue.

Applying the Right Amount of Glue:
- Avoid overflow or messiness by using a thin, even layer of Gorilla Glue.
- Prevent any damage to the leather by not using excessive amounts of glue.
Testing Compatibility:
- Test Gorilla Glue on a small, inconspicuous area of the leather to check for adverse reactions or discoloration.
- Save yourself from potential mishaps by ensuring compatibility before applying it to the entire surface.
Allowing Sufficient Drying Time:
- Follow the manufacturer’s instructions for recommended drying time to achieve a strong bond.
- Rushing this process can lead to a weaker connection between the glue and leather.
Cleaning Up Excess Glue:
- Immediately wipe off accidental spills or excess glue with a damp cloth before it dries.
- Removing cured glue can potentially damage the leather, so quick action is vital.
The Benefits of Using a Leather-Specific Adhesive
When it comes to working with leather, using the right adhesive is essential for creating a secure, long-lasting bond while preserving the material’s integrity. In this article, we will explore the numerous benefits of using a leather-specific adhesive and why it is crucial for any leather project.
Secure Bond Without Damaging Leather:
Leather-specific adhesives are formulated to effectively bond leather materials without causing any harm. Unlike regular adhesives that may contain chemicals harmful to leather, these specialized adhesives are safe and gentle on the material, ensuring its appearance and quality remain intact.
Excellent Flexibility:
Leather products often require flexibility to withstand bending and stretching. Leather-specific adhesives offer exceptional flexibility, allowing them to move with the leather without cracking or weakening the bond. This ensures that the adhesive remains strong and durable even with repeated use or exposure to different conditions.
Resistance to Heat and Moisture:
Leather items may encounter varying temperatures and humidity levels. Leather-specific adhesives are specifically formulated to be heat-resistant and water-resistant, ensuring they maintain their bonding capabilities regardless of environmental conditions. This resistance plays a vital role in preserving the strength and integrity of the adhesive over time.
Additional Benefits:
Some leather-specific adhesives go beyond their bonding properties by incorporating conditioning agents. These additives help nourish and protect the leather, keeping it soft, supple, and resistant to cracking or drying out. By extending the lifespan of your leather products, these adhesives contribute to their overall longevity.
Compatibility with Other Leather Care Products:
Using a leather-specific adhesive ensures compatibility with other leather care products you may be using. Some adhesives may not work well with certain types of treatments or finishes, potentially causing damage or ineffective bonding. Leather-specific adhesives are specifically designed to work harmoniously with other leather care products, allowing you to maintain the quality and appearance of your leather items.
Common Mistakes to Avoid When Working with Leather and Glue
Mastering the art of leatherwork requires more than just skill and precision – it also demands a keen eye for detail and a thorough understanding of the dos and don’ts when it comes to working with leather and glue. Whether you’re a novice or an experienced leatherworker, avoiding common mistakes can make all the difference in the final outcome of your project. So, let’s dive in and explore the pitfalls to avoid when working with leather and glue.
First and foremost, selecting the right adhesive is crucial. Using the wrong type of glue can spell disaster for your leather project. Stay away from polyurethane-based adhesives like Gorilla Glue, as they expand during drying, creating unsightly and uneven bond lines on leather surfaces. Instead, opt for adhesives that are specifically formulated for leather. These adhesives offer the flexibility and durability necessary for a flawless bond.
Once you have the right adhesive in hand, it’s time to prepare your leather correctly. Failure to do so can result in subpar bonding. Before applying any glue, ensure that the leather surface is clean and free from dirt or oils that may hinder the adhesive’s effectiveness. A mild soap solution is ideal for cleaning leather. Be sure to allow the leather to dry completely before proceeding.
When it comes to applying glue on leather, less is more. Applying excessive amounts of glue can saturate the surface, leading to stiffness and loss of flexibility. To avoid this, use a small amount of adhesive and spread it evenly across the surface. This will prevent excess glue from spoiling your work and ensure a seamless finish.
Patience is key when working with glue and leather. Rushing the drying time can compromise the strength of the bond. Follow the manufacturer’s instructions regarding drying time and resist the temptation to hurry things along. Allow the glue sufficient time to dry and cure properly. Your patience will be rewarded with a strong and durable bond that will stand the test of time.
Last but certainly not least, prioritize safety precautions when working with glues. Some adhesives emit harmful fumes that can be detrimental to your health if inhaled over time. Always work in a well-ventilated area or, if necessary, wear a respirator mask to protect yourself. Remember, your health and safety should never be compromised.
Also Read: Gorilla Glue – Glue Things
Conclusion
In conclusion, Gorilla Glue may be a superhero in the adhesive world, but it’s not the right choice for leather. The expanding nature of Gorilla Glue as it cures can wreak havoc on leather, causing warping and distortion that ruins the appearance of your prized leather items. And let’s not forget about its high moisture content, which can lead to discoloration, rotting, and weakened fibers in your beloved leather.
To ensure your leather projects stand the test of time, opt for specialized adhesives designed specifically for bonding leather. These adhesives offer flexibility, durability, and resistance to heat and moisture. They’re safe to use on leather materials and won’t break down those precious tannins found in leather.
There are plenty of alternative options for bonding leather that won’t let you down. Whether it’s contact cement, leather glue, epoxy adhesive, or specialized products like leather cement or leather tape – each has its own unique advantages that cater to different project needs.
But remember: preparation is key when working with any adhesive on leather. Clean the surface thoroughly, get rid of any remnants from old adhesives, and make sure you have a smooth and even surface before applying the glue. And don’t forget to follow the manufacturer’s instructions carefully regarding application techniques, drying times, and curing processes.
By using the right adhesive and following proper techniques when working with glue and leather, you’ll create secure bonds that preserve both the beauty and strength of your cherished leather items.

