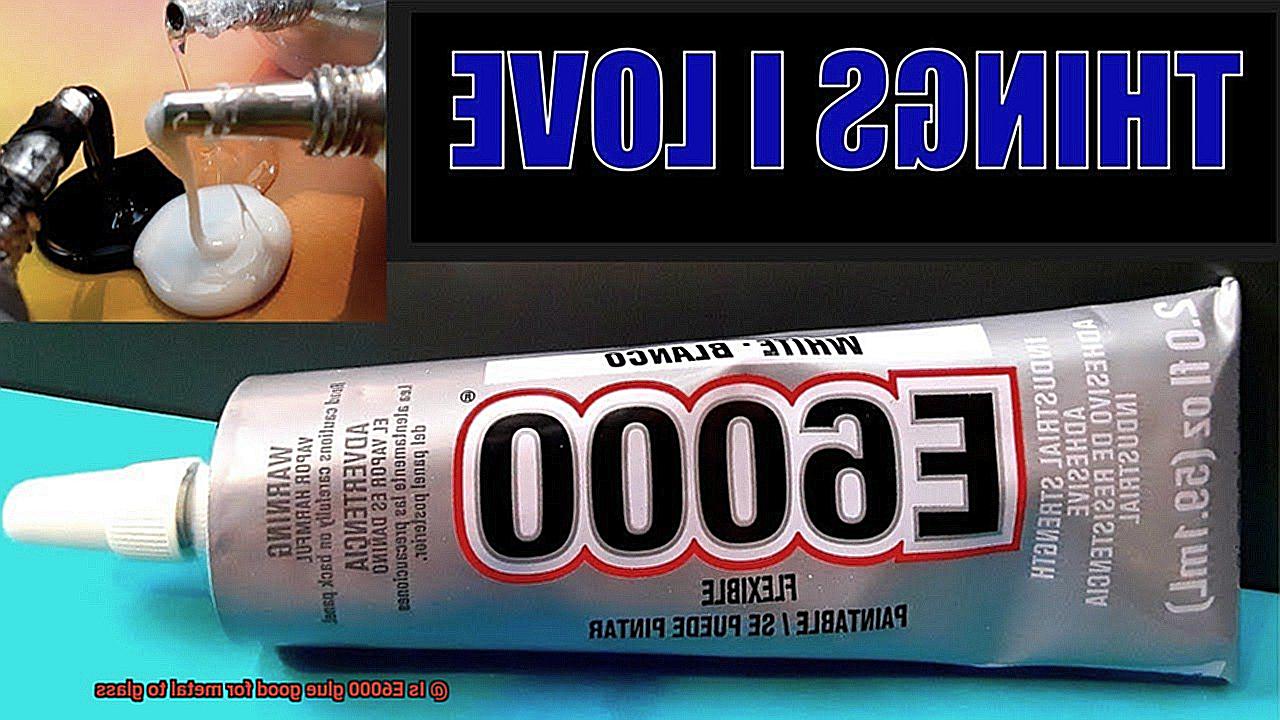
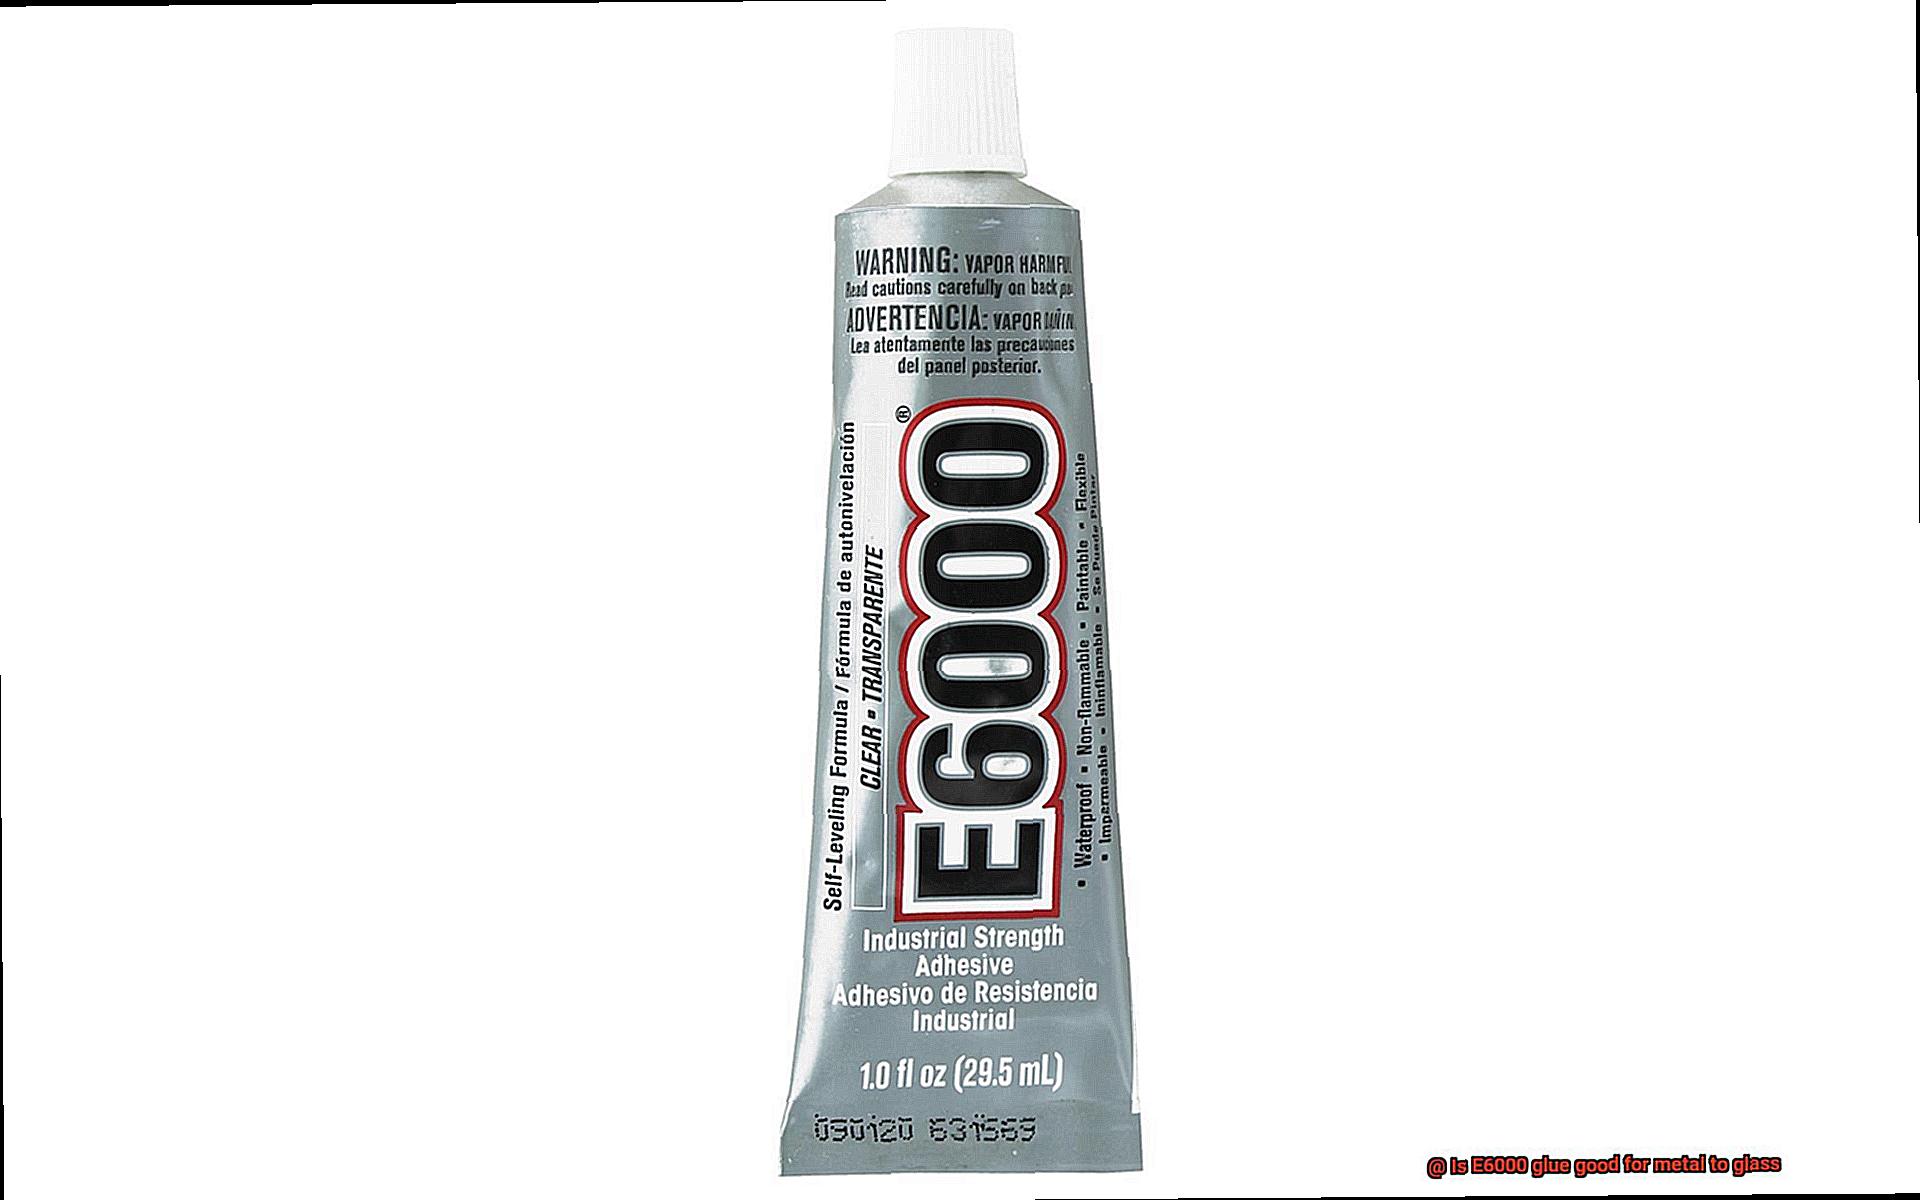
Embarking on a mission to fuse metal and glass together can be quite the challenge. With countless adhesive options at your disposal, it’s easy to get lost in a sea of choices. However, one name that frequently emerges from the chaos is E6000 glue. This versatile adhesive has garnered a devoted following within crafting and DIY communities alike. But before you dive headfirst into your next project, it’s essential to understand whether E6000 glue truly lives up to its reputation when it comes to bonding metal to glass.
Let’s start with the positives. E6000 glue boasts an unrivaled bonding strength that can securely unite even the most stubborn metal and glass surfaces. Its versatility knows no bounds, extending its adhesive prowess to materials such as plastics, ceramics, and even fabric. This makes it an adhesive of choice for endeavors ranging from elegant jewelry creations to delicate glassware repairs.
However, like any superhero, E6000 glue does have its kryptonite. The smooth surface of glass presents a formidable challenge due to its slipperiness, potentially hindering proper adhesion. Additionally, while E6000 glue is known for its resilience against environmental factors like moisture, heat, and chemicals, prolonged exposure to extreme conditions may eventually weaken its mighty grip.
Despite these limitations, E6000 glue remains a stalwart companion for most metal-to-glass attachments thanks to its impressive bonding strength and wide-ranging compatibility. Its durability and adaptability make it an exceptional option for countless crafting projects and small-scale fixes. In the sections ahead, we’ll delve deeper into the meticulous process of fusing metal and glass using E6000 glue—uncovering invaluable tips and exploring alternative adhesives that could rival this superhero of glues.
So whether you’re an avid crafter or a DIY enthusiast in search of an adhesive that can conquer the challenge of metal-to-glass bonding, join us as we embark on a quest to uncover the true effectiveness of E6000 glue. Discover the tricks of the trade and unlock the secrets to achieving a bond that will withstand the test of time, ensuring your projects endure for years to come.
Cleaning and Preparing the Metal and Glass Surfaces
Contents
- 1 Cleaning and Preparing the Metal and Glass Surfaces
- 1.1 Step 1: Thoroughly clean the metal surface
- 1.2 Step 2: Clean the glass surface
- 1.3 Step 3: Ensure surfaces are completely dry No moisture should be present before applying the glue. Use low heat setting hairdryer to speed up drying if needed. Step 4: Lightly sand both surfaces
- 1.4 Step 5: Degrease if needed
- 2 Applying the Glue to the Metal and Glass
- 3 Creating a Strong Bond Using E6000 Glue
- 4 Curing Time for E6000 Glue
- 5 Advantages of Using E6000 Glue for Metal to Glass Bonding
- 6 Disadvantages of Using E6000 Glue for Metal to Glass Bonding
- 7 Tips for Successful Bonding with E6000 Glue
- 7.1 Cleanliness is Key:
- 7.2 Roughen Up for Better Bonding:
- 7.3 Apply with Precision:
- 7.4 Precision is key when it comes to applying E6000 glue for bonding metal and glass surfaces. Make sure to work in a well-ventilated area due to the adhesive’s strong odor, and wear gloves to protect your hands from potential skin irritation. Apply a thin and even layer of E6000 glue onto both the metal and glass surfaces. This can be done using a toothpick or a small brush, ensuring complete coverage of the bonding area. Take care not to apply too much glue, as excess adhesive can result in oozing and potentially compromise the bond.
- 7.5 Align and Secure:
- 7.6 Once the glue has been applied, carefully align the metal and glass parts together. Apply gentle pressure to promote contact between the surfaces and remove any air bubbles. It is crucial not to move or disturb the bonded parts until the glue has fully cured.
- 8 Conclusion
When bonding metal to glass, a strong and reliable bond is crucial. The highly regarded adhesive, E6000 glue, can achieve this. However, proper cleaning and preparation of the metal and glass surfaces are essential for optimal results. In this blog post, we will guide you through the necessary steps to achieve a durable bond using E6000 glue.
Step 1: Thoroughly clean the metal surface
- Use mild detergent or soap and water solution.
- Gently scrub with a soft brush or sponge to remove dirt and grime.
- Rinse thoroughly and pat dry with a clean cloth or allow air drying.
Step 2: Clean the glass surface
- Use glass cleaner or vinegar-water mixture.
- Wipe away fingerprints, smudges, and residues.
- Ensure a streak-free finish with a lint-free cloth or paper towel.
Step 3: Ensure surfaces are completely dry
- No moisture should be present before applying the glue.
- Use low heat setting hairdryer to speed up drying if needed.
Step 4: Lightly sand both surfaces

- Enhance adhesion by creating a rough texture.
- Use fine-grit sandpaper.
- Wipe away dust or debris with a clean cloth.
Step 5: Degrease if needed
- Remove oily or greasy residues.
- Apply appropriate solvent like isopropyl alcohol or acetone.
- Wipe surfaces thoroughly and allow solvent to evaporate completely.
Applying the Glue to the Metal and Glass
Get ready to dive into the secrets of this magical adhesive technique that will have you creating stunning masterpieces in no time. So grab your apron, and let’s embark on this adhesive adventure.
Step 1: The Path to Stickiness Starts with Cleanliness
Before you even think about reaching for that tube of E6000 glue, cleanliness is key. Ensuring that your surfaces are squeaky clean is crucial for a strong bond. Dirt, dust, and grease can seriously mess with your adhesive game. Give the metal a gentle scrub with a mild detergent or alcohol-based cleaner, while glass can be wiped down with a glass cleaner or rubbing alcohol.
Step 2: Spreading the Love (aka Glue)
Now that your surfaces are pristine, it’s time to unleash the magic of E6000 glue. Don’t go overboard – a little goes a long way. Squeeze out a small amount onto either the metal or glass surface. Remember, a thin layer is all you need for a rock-solid bond.
Step 3: Unleash Your Inner Picasso
Spread that glue evenly using your choice of tools – a toothpick, small brush, or even your finger if you’re feeling adventurous. Make sure every nook and cranny that will come into contact with the other surface is covered. Precision is the key to success.
Step 4: It’s All About That Bond, ‘Bout That Bond
Carefully align your metal and glass pieces together, applying gentle pressure to ensure a tight connection. If you want some extra security, use clamps or tape to hold everything in place while the glue works its magic. A strong bond is worth every effort.
Step 5: Patience, the Virtue of the Glue Guru
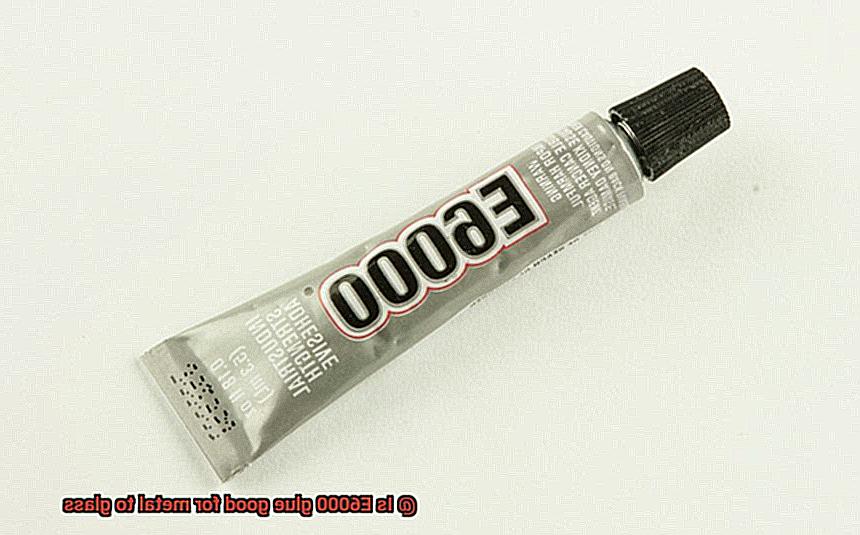
Now comes the hard part – resist the urge to touch or move your glued masterpiece for at least 24 to 72 hours. E6000 glue takes its sweet time to fully cure. So sit back, relax, and let the bond solidify into something unbreakable. Patience will be rewarded.
Creating a Strong Bond Using E6000 Glue
Creating a strong bond between metal and glass may seem like a challenging task, but with the help of E6000 glue, it becomes a breeze. Known for its incredible bonding capabilities, E6000 glue is the go-to choice for crafters and DIY enthusiasts working on various projects.
To achieve a strong bond when attaching metal to glass using E6000 glue, proper surface preparation is crucial. Begin by thoroughly cleaning both the metal and glass surfaces to remove any dirt, grease, or residue that could hinder the adhesive’s effectiveness. A mild detergent or rubbing alcohol can be used for cleaning, followed by ensuring the surfaces are completely dry before proceeding.
To enhance adhesion, lightly roughen the surfaces of both the metal and glass using fine-grit sandpaper. This step creates a slightly textured surface that allows the adhesive to grip more effectively. However, be cautious not to scratch or damage the materials in the process.
Once the surfaces are properly prepared, it’s time to apply the E6000 glue. Begin by applying a thin, even layer of glue to both the metal and glass surfaces. It’s important not to use too much glue as excess squeeze-out can result in messy-looking joints. Remember, a little goes a long way with E6000 glue.
After applying the glue, carefully align the metal and glass pieces together before pressing them firmly. Applying even pressure for a few minutes ensures that the bond is secure. Take your time during this step to ensure proper alignment and a strong connection between the metal and glass.
Now, here comes the hard part – exercising patience. It is crucial to let the bonded pieces cure undisturbed for at least 24 hours. During this time, avoid moving or putting stress on the joint as it may weaken the bond. Although waiting may seem difficult, it is worth it for a bond that can withstand the test of time.
One remarkable feature of E6000 glue is its flexibility once cured. This makes it an excellent choice for bonding materials that may experience slight movement or vibrations, such as metal and glass. The flexibility allows the bond to withstand everyday wear and tear without cracking or breaking.
It is important to note that E6000 glue has a strong odor, so it’s advisable to use it in a well-ventilated area or wear a mask if necessary. Additionally, always follow the safety instructions provided by the manufacturer, including proper storage and handling.
While E6000 glue is known for its strong bonding capabilities, it’s always a good idea to test the bond on a small, inconspicuous area before proceeding with the full project. This will help ensure compatibility and desired results.
Curing Time for E6000 Glue
Embarking on a craft or DIY project often involves the use of E6000 glue, a renowned adhesive with exceptional bonding capabilities. But achieving the perfect bond requires more than just skillful application. Dive into the captivating world of E6000 glue and unravel the mysteries of its curing time and the factors that influence it.
The Curing Process:
E6000 glue, like a fine wine, needs time to mature and reach its full potential. While an initial bond may form within 10 to 20 minutes, patience is vital during the curing process. Typically, this remarkable adhesive takes around 24 to 72 hours to fully cure. During this transformation, it evolves from a slightly flexible state to a rock-solid bond capable of withstanding everyday wear and tear.
Factors Affecting Curing Time:
The environment holds the key to accelerating or prolonging the curing time of E6000 glue. Temperature and humidity levels directly impact how quickly the adhesive hardens. Higher temperatures and lower humidity create an environment that fast-tracks the curing process, while cooler temperatures and higher humidity demand more time. Thus, considering these factors becomes crucial when planning your project timeline.
Size and Weight Considerations:
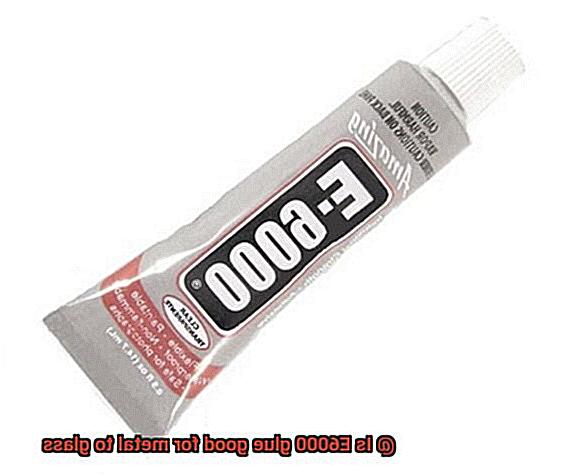
The magnitude of your project also plays a role in the curing time. The size and weight of the materials being bonded together influence how long it takes for the glue to cure fully and achieve maximum strength. When working on substantial pieces, allocating additional curing time ensures a bond that can withstand the test of time.
Optimizing Bond Strength:
To unleash the true strength of E6000 glue, consider applying pressure or using clamps during the curing process. This technique enhances contact between the surfaces being bonded, resulting in improved adhesion. However, be mindful not to overdo it; excessive pressure can cause the glue to ooze out or create an uneven bond.
Manufacturer’s Instructions:
Always consult the manufacturer’s instructions for specific guidelines on curing time and application techniques. Each project may have unique requirements, and the manufacturer’s expertise will guide you towards optimal results. Trust in their knowledge to unlock the full potential of your E6000 glue.
Advantages of Using E6000 Glue for Metal to Glass Bonding
When it comes to bonding metal to glass, the choice of adhesive is crucial for ensuring a strong and durable bond. E6000 glue has gained widespread acclaim for its remarkable bonding capabilities in this application. In this blog post, we will delve into the advantages of using E6000 glue for metal to glass bonding, exploring its durability, versatility, ease of use, and other notable features.
Advantage 1: Exceptional Durability
E6000 glue is designed to create a bond that can withstand various environmental conditions. Whether your project is exposed to temperature fluctuations, moisture, or vibrations, this adhesive holds steadfastly. With E6000 glue, you can rest assured that your metal and glass surfaces will remain securely fastened for years to come.
Advantage 2: Versatility at Its Finest
E6000 glue offers exceptional versatility in application. It is compatible with an array of metals, including stainless steel, aluminum, and brass. Moreover, it effortlessly adheres to different types of glass, such as tempered glass, stained glass, and mirrors. From jewelry making to window repairs and decorative glass crafts, E6000 glue proves its versatility time and time again.
Advantage 3: Transparent Bonding
One of the unique features of E6000 glue is its ability to dry clear and transparent. This invisible bond ensures that the natural beauty of both the metal and glass materials takes center stage without any unsightly residue or marks. Whether you’re crafting exquisite jewelry or creating stunning glass artworks, E6000 glue lets your creativity shine through.
Advantage 4: Excellent Adhesive Properties
E6000 glue boasts excellent adhesive properties that set it apart from the competition. Its thick consistency allows it to fill gaps and adhere to uneven surfaces with ease. This attribute proves invaluable when bonding metal to glass surfaces that may not be perfectly flat or smooth. Additionally, E6000 glue offers a relatively long open time, allowing for adjustments and repositioning before the adhesive sets.
Advantage 5: Resistance to Various Conditions
The resilience of E6000 glue is truly remarkable. It is resistant to water, making it ideal for areas prone to moisture or humidity. Furthermore, this adhesive can withstand temperature changes, ensuring a reliable bond even in extreme heat or cold. With its resistance to UV radiation, E6000 glue guarantees that your metal to glass bond remains intact even when exposed to sunlight.
Advantage 6: Ease of Use
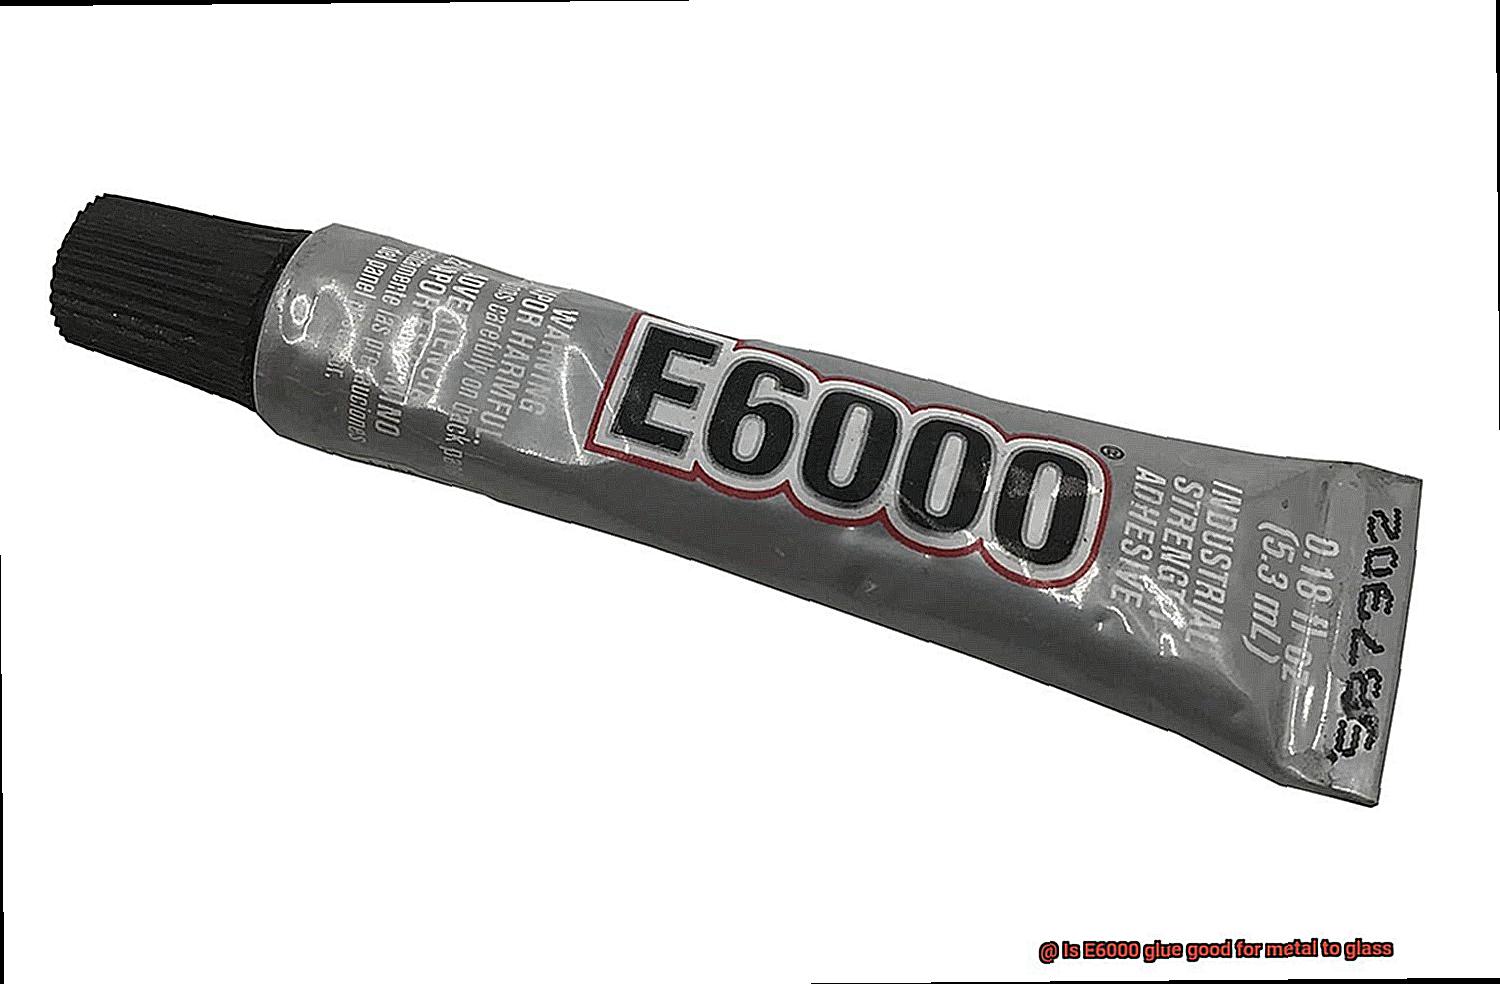
Despite its formidable adhesive properties, E6000 glue remains remarkably user-friendly. Available in convenient squeeze tubes or small applicator bottles, it allows for precise application without any messy mishaps. Simply apply the adhesive to the metal and glass surfaces, press them firmly together, and watch the bond take shape. With reasonable curing times, E6000 glue lets you get back to your project without unnecessary delays.
Disadvantages of Using E6000 Glue for Metal to Glass Bonding
However, despite its advantages, there are several significant disadvantages to consider when using E6000 glue for metal to glass bonding.
Firstly, one of the primary drawbacks of E6000 glue is that it is not specifically designed for bonding metal to glass. This means that it may not provide the best adhesion in this particular application. To ensure a strong and reliable bond, it is always recommended to use a glue that is specifically formulated for bonding metal and glass together.
Another disadvantage of using E6000 glue is its messy consistency. The glue has a thick texture, making it difficult to work with. If not applied carefully, it can easily ooze out of the bond area, leading to a messy and less precise bond. This can be particularly frustrating when working on delicate projects that require a clean and seamless finish.
Furthermore, E6000 glue takes a long time to dry and fully cure. This can be inconvenient, especially when working on projects that require quick and secure bonding. Waiting for the glue to dry can delay the progress of your project and may require extra caution to avoid disturbing the bond before it fully cures.
In addition to its consistency and drying time, E6000 glue also has a strong odor. This strong smell can be unpleasant to work with and may require working in a well-ventilated area or using a respirator mask to avoid inhaling the fumes.
Over time, E6000 glue may become brittle and lose its adhesive strength. This poses a potential risk of failure for the bond between the metal and glass. If your project requires long-term durability, it is advisable to choose a glue that is specifically designed for metal-to-glass bonding and offers better resistance against brittleness.
Another disadvantage of using E6000 glue is that it is not waterproof. If the bonded metal-to-glass item is exposed to water or moisture, there is a risk of the bond weakening or breaking. This limits the potential applications where E6000 glue can be used effectively, especially in outdoor or wet environments.
Furthermore, E6000 glue may leave visible residue or marks on the glass surface. Removing these marks can be challenging and may affect the aesthetics of the finished project. If you are looking for a clean and seamless bond, it is advisable to choose a glue that does not leave visible marks.
Additionally, E6000 glue is not UV resistant. This means that if exposed to sunlight or UV radiation, it can degrade and lose its adhesive properties over time. If your project will be exposed to sunlight or outdoor conditions, it is recommended to choose a UV-resistant adhesive specifically formulated for metal-to-glass bonding.
Moreover, E6000 glue may not provide a strong enough bond for heavy or load-bearing applications. It is primarily designed for general-purpose bonding rather than high-stress applications. If your project requires a strong and durable bond, it is advisable to choose a glue specifically formulated for heavy-duty applications.
Lastly, it is worth noting that some users have reported allergic reactions or skin irritations when coming into contact with E6000 glue. To ensure personal safety, it is important to take proper precautions when using this product, such as wearing gloves and working in a well-ventilated area.
Tips for Successful Bonding with E6000 Glue
Look no further than E6000 glue. This versatile adhesive is well-known for its strong bonding capabilities, making it a popular choice for various crafting and DIY projects. To ensure a successful bond between metal and glass surfaces, there are a few key tips and considerations to keep in mind. In this article, we will explore these tips in detail, guiding you towards achieving a strong and durable bond with E6000 glue.
Cleanliness is Key:
Before you begin the bonding process, it is crucial to ensure that both the metal and glass surfaces are clean and free from any dirt, oil, or residue. Wipe the surfaces with rubbing alcohol or a mild detergent solution to ensure a clean and smooth surface for optimal adhesion.
To achieve a successful bond with E6000 glue, cleanliness is of utmost importance. Any dirt, oil, or residue on the metal or glass surfaces can hinder the adhesive’s ability to bond effectively. Start by cleaning both surfaces thoroughly with rubbing alcohol or a mild detergent solution. This will remove any contaminants and provide a clean and smooth surface for the glue to adhere to.
Roughen Up for Better Bonding:
To enhance the adhesion of E6000 glue, it is recommended to roughen the metal surface using sandpaper or a file. This creates tiny grooves in the metal, providing more surface area for the glue to adhere to. Similarly, lightly sanding the glass surface if it is smooth and glossy will create a rougher texture, improving the bond between the glass and the glue.
In order to achieve maximum adhesion between metal and glass surfaces with E6000 glue, it is advisable to roughen up both surfaces slightly. This can be done by using fine-grit sandpaper or a file to create small grooves on the metal surface. These grooves provide more surface area for the glue to bond to, increasing the strength and durability of the bond. If the glass surface is smooth and glossy, lightly sanding it will create a rougher texture, improving the adhesion between the glass and the glue.
Apply with Precision:
When applying E6000 glue, use it in a well-ventilated area due to its strong odor. It is also advisable to wear gloves to protect your hands from any potential skin irritation. Apply a thin and even layer of E6000 glue onto both the metal and glass surfaces using a toothpick or a small brush. Ensure complete coverage of the bonding area.
Precision is key when it comes to applying E6000 glue for bonding metal and glass surfaces. Make sure to work in a well-ventilated area due to the adhesive’s strong odor, and wear gloves to protect your hands from potential skin irritation. Apply a thin and even layer of E6000 glue onto both the metal and glass surfaces. This can be done using a toothpick or a small brush, ensuring complete coverage of the bonding area. Take care not to apply too much glue, as excess adhesive can result in oozing and potentially compromise the bond.
Align and Secure:
Once the glue has been applied, carefully align the metal and glass parts together. Apply gentle pressure to promote contact between the surfaces and remove any air bubbles. It is crucial not to move or disturb the bonded parts until the glue has fully cured.
After applying the glue, it is important to align the metal and glass parts accurately. Carefully position them together, making sure they are properly aligned before applying pressure. Applying gentle pressure allows for better contact between the surfaces and helps remove any air bubbles that may be trapped between them. Once aligned, avoid moving or disturbing the bonded parts until the glue has fully cured.
Rwrf2ISUtVQ” >
Also Read: Best Glue for Warhammer
Conclusion
Yes, E6000 glue is indeed a reliable adhesive for bonding metal to glass. Its strong and durable formula ensures a secure and long-lasting bond between these two materials. Whether you’re working on a DIY project or repairing a precious piece of jewelry, E6000 glue provides the perfect solution for your metal-to-glass bonding needs.
With its professional-grade quality, E6000 glue offers exceptional adhesion that can withstand various conditions and stresses. It creates a tight seal that prevents any moisture or debris from seeping through, ensuring the integrity of your metal-to-glass bond remains intact over time.
One of the standout features of E6000 glue is its versatility. It adheres to different types of metals, including aluminum, stainless steel, brass, and more. Likewise, it bonds effortlessly with various glass surfaces such as mirrors, windows, vases, and decorative glassware.
When using E6000 glue for metal-to-glass applications, it’s crucial to follow proper application techniques. Ensure both surfaces are clean and dry before applying the adhesive. Apply a thin layer evenly onto one surface and press the metal firmly against the glass. Allow sufficient curing time for the glue to set properly—typically 24 to 72 hours—before subjecting it to any stress or movement.
Additionally, it’s worth noting that E6000 glue is not only suitable for bonding metal to glass but also works well with other materials like wood, fabric, ceramics, and plastics. This versatility makes it an excellent choice for various crafting projects or repairs around the house.
In conclusion, if you’re looking for a reliable adhesive to bond metal to glass securely and effectively, look no further than E6000 glue. Its strong formulation ensures durability while its versatility allows you to use it on multiple surfaces.

