Copper, with its amazing conductivity, resistance to corrosion, and stunning beauty, has become a prized material in various industries. Whether you’re a passionate craftsman, an aspiring DIY enthusiast, or a professional tradesperson, there may come a time when you need to stick two pieces of copper together.
Don’t worry if you’re feeling overwhelmed by the task at hand. In this guide, we’ll unravel the secrets of joining copper and provide you with valuable insights and techniques to achieve professional results.
We’ll explore a range of approaches that suit different project requirements and skill levels. From traditional soldering methods to contemporary bonding agents, we’ve got options for everyone. By the end of this journey, you’ll be equipped with the knowledge required to select the most suitable method for your specific needs.
Throughout our exploration, we’ll dive into the nitty-gritty details of copper surface preparation, identify key tools and materials you’ll need, and examine step-by-step procedures for creating durable connections. Whether it’s fixing a plumbing issue or creating intricate copper jewelry or sculptures, we’ve got you covered.
So join us as we unveil the secrets to seamlessly bonding two pieces of copper together. Let’s dive in and embark on an enriching copper joining adventure.
Soldering as a Method for Sticking Two Pieces of Copper Together
Contents
- 1 Soldering as a Method for Sticking Two Pieces of Copper Together
- 2 Brazing as an Alternative Method for Joining Copper Pieces
- 3 Adhesive Options for Sticking Two Pieces of Copper Together
- 4 Preparing the Copper Surfaces Before Bonding
- 5 Using Flux to Facilitate the Bonding Process
- 6 Using Flux Effectively: Key Steps for Success
- 7 Applying Adhesives to the Copper Surfaces
- 8 Factors to Consider When Choosing a Method of Joining Copper Pieces
- 9 Conclusion
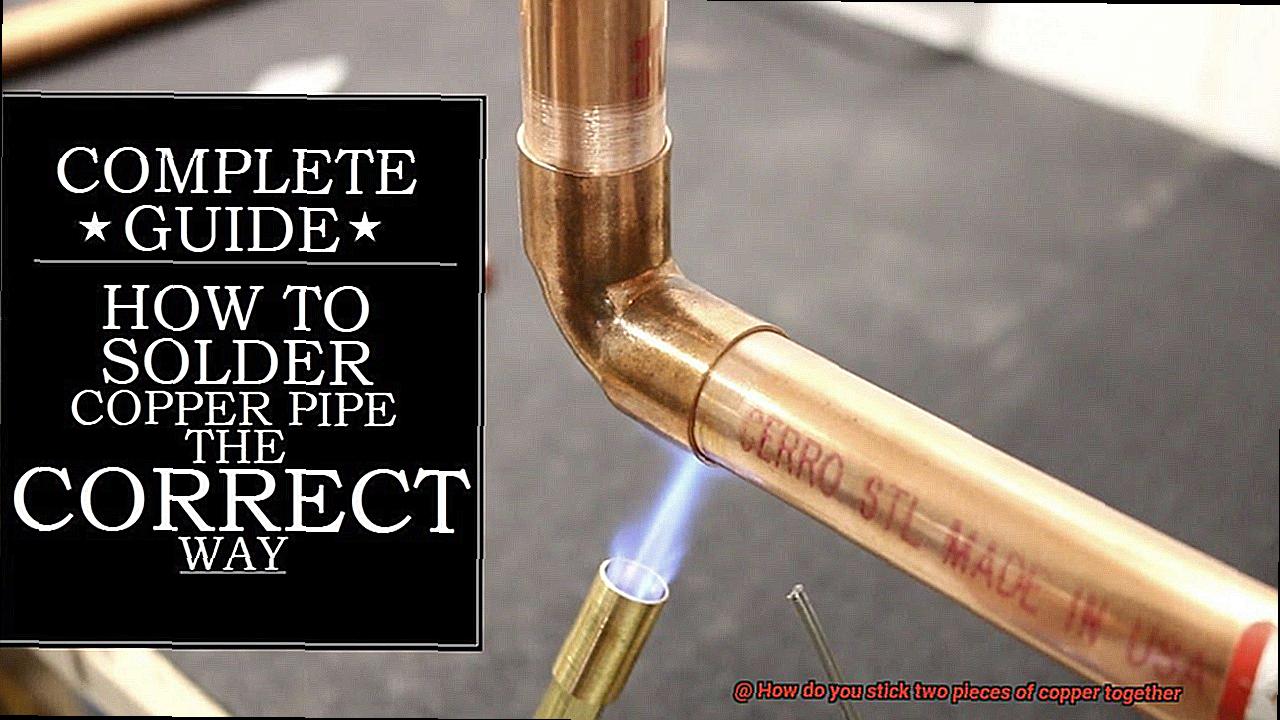
Soldering is a versatile and widely used technique for joining two pieces of copper together. Whether you’re a DIY enthusiast or a professional in fields like electronics or plumbing, mastering the art of soldering can open up a world of possibilities. In this article, we will explore the step-by-step process of soldering copper, from surface preparation to achieving a strong and durable bond.
Step 1: Clean the Copper Surfaces
The first step in creating a successful solder joint is to start with clean copper surfaces. Using sandpaper or a wire brush, carefully remove any dirt, oxidation, or coatings that may hinder proper adhesion. This crucial step ensures optimal solder flow and a strong bond.

Step 2: Apply Flux
Next, apply flux to both surfaces that will be joined together. Flux is a magical compound that not only cleans the copper surfaces but also promotes good solder flow. By removing any oxides or contaminants on the copper, flux ensures a clean and reliable joint.
Step 3: Heat the Joint
Now it’s time to bring in the heat. Using a soldering iron or torch, evenly heat the joint area. The temperature should be sufficient to melt the solder but not excessively hot to damage the copper. Remember, temperature control is key to achieving the perfect solder joint.
Step 4: Apply Solder
Once the joint is heated, gently touch the solder to the joint area and witness its transformation as it melts and flows onto the copper surfaces. The solder should cover the joint completely, creating a strong bond between the two pieces. It’s important to note that different types of solder are available, such as lead-based and lead-free solders. Consider using lead-free solders for safer and more environmentally friendly results.
Step 5: Allow it to Cool
After applying the solder, allow it to cool and solidify naturally. This critical step ensures that the joint becomes strong and durable. Avoid moving or disturbing the joint during this cooling period to maintain its integrity.
Safety Precautions:
Soldering involves working with high temperatures and potentially hazardous materials. To ensure your safety, always wear protective goggles and gloves. Additionally, work in a well-ventilated area or use a fume extractor to avoid inhaling harmful fumes.
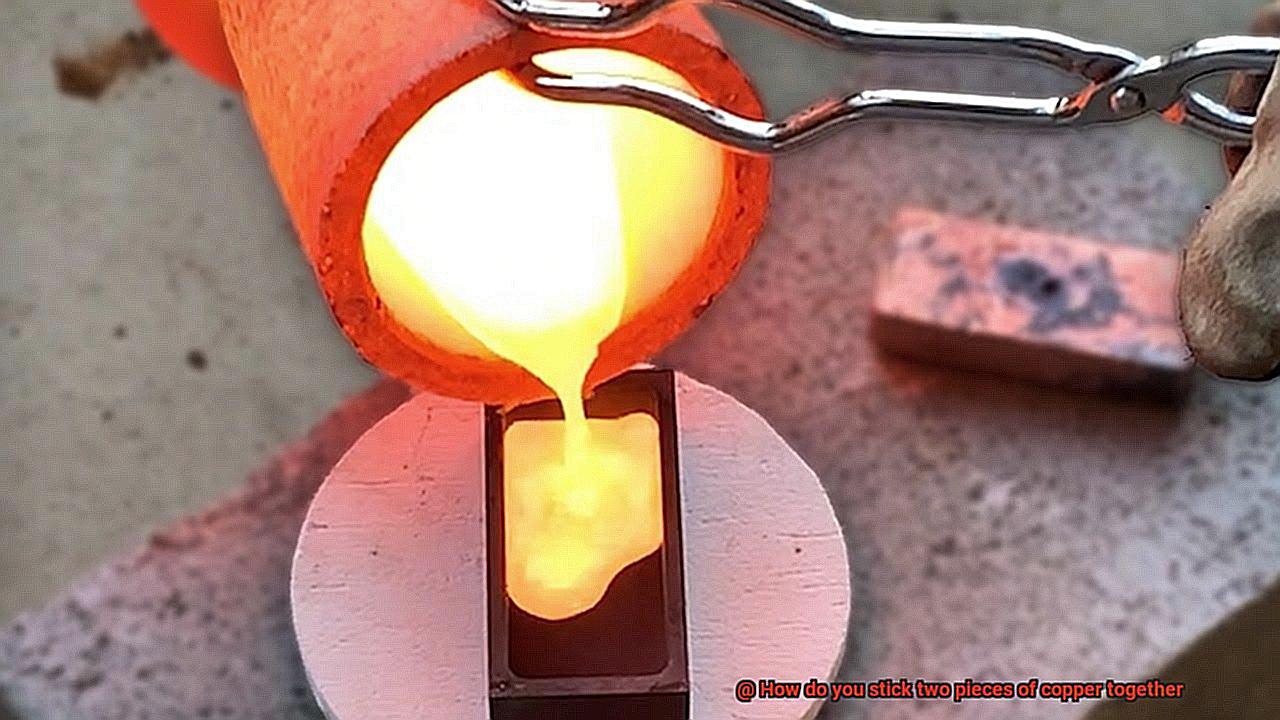
Brazing as an Alternative Method for Joining Copper Pieces
Look no further, because brazing might just be the answer you’ve been seeking. Let’s explore the advantages of this magical joining technique.
Brazing is perfect when you need a strong and durable bond. By utilizing a filler metal with a lower melting point than copper, such as a brazing rod or wire, you can create a bond that will withstand the test of time. It’s like giving your copper pieces a superpower.
But wait, there’s more. Brazing also offers resistance to corrosion and high temperatures. So whether you’re working on a plumbing project or creating something for a scorching hot environment, brazing has got your back.
Not only that, but brazing allows you to join copper pieces of different thicknesses or compositions. It’s like the ultimate matchmaker for copper parts. As long as they’re compatible with the chosen filler metal, you can bring them together in perfect harmony.
Now, let’s talk tools. To perform brazing, you’ll need a heat source – think torch or furnace – along with flux to remove pesky oxides and promote wetting. And don’t forget your safety gear – gloves and goggles are an absolute must. Remember, safety first, my friends.
So there you have it – the wonders of brazing as an alternative method for joining copper pieces. It’s strong, resistant, versatile, and downright impressive. Say goodbye to traditional methods and embrace the magic of brazing.
Adhesive Options for Sticking Two Pieces of Copper Together
When it comes to bonding two pieces of copper together, choosing the right adhesive is crucial. Luckily, there are several adhesive options available that can bring your copper pieces together seamlessly. Let’s dive into the world of adhesives and explore the options that will make your copper bond unbreakable.
First up, we have epoxy adhesives. These powerhouses are known for their incredible strength and resistance to chemicals and temperature. With a two-part system consisting of a resin and a hardener, epoxy adhesives create a bond that can withstand even the harshest conditions. However, keep in mind that they require some curing time and may need clamping or support during this period.
Next on our list is cyanoacrylate, better known as super glue. This fast-setting adhesive forms a quick bond, but it may not provide the same strength as epoxy adhesives. When using super glue for copper, make sure you choose a formula specifically formulated for bonding metals like copper. And remember, precise application is key – too much glue can leave residue on the surface and compromise the bond.
If flexibility is what you’re after, consider polyurethane adhesives. These versatile adhesives offer good flexibility, impact resistance, and resistance to water and chemicals. Just keep in mind that they may take longer to cure compared to other options.
Looking for something with a faster curing time? Acrylic adhesives might be the way to go. These adhesives provide good strength and resistance to temperature and chemicals. Plus, they come in various forms like tapes, liquids, or films, giving you options when it comes to application methods.
But what if your copper bonding needs are electrical in nature? That’s where conductive adhesives come into play. These special adhesives contain metallic particles that allow for electrical conductivity, making them ideal for electronics, PCB assembly, and electromagnetic shielding applications. Just keep in mind that they may have lower overall strength compared to other options.
Before applying any adhesive to your copper pieces, make sure to properly prepare the surfaces. Clean them thoroughly to remove any contaminants or oils that could affect the bond strength. And for added strength and stability, consider using mechanical fasteners in conjunction with adhesives.
Preparing the Copper Surfaces Before Bonding
The key to achieving a strong and enduring bond between copper surfaces lies in the art of preparation. By following a few simple yet critical steps, you can ensure that your copper pieces join forces seamlessly. In this comprehensive guide, we will delve into the essential techniques and tips for preparing copper surfaces before bonding.
The Art of Thorough Cleaning:
Before embarking on the bonding journey, it is paramount to cleanse the copper surfaces meticulously. This crucial step eradicates any dirt, grease, or oxidation that could undermine the bonding process and compromise the strength of the connection. Here’s how to master this vital task:
- Gently scrub the surfaces with a soft brush or sponge using a mild detergent or soap and warm water.
- Rinse the surfaces thoroughly with pristine water and allow them to dry completely before proceeding.
Banishing Oxidation:
In instances where the copper surfaces exhibit heavy oxidation, additional cleaning methods come into play. Here are two highly effective techniques:
- Harness the power of a vinegar and salt mixture: Apply this dynamic duo to the oxidized areas and delicately scrub with a soft brush. Rinse the surfaces and dry them afterward.
- Employ a commercial copper cleaner or polish: Adhere closely to the manufacturer’s instructions when deploying these products to battle oxidation.
Embracing Textured Terrain:
To amplify an adhesive’s ability to bond with copper, it is advisable to create a gently roughened surface. Here’s how you can master this art:
- Employ fine-grit sandpaper or a sanding block to lightly sand the surfaces in a circular motion.
- Exercise caution and avoid exerting excessive pressure that could harm the delicate copper.
- Your aim is to achieve a slightly textured surface without eliminating substantial material.
Dust and Residue Exorcism:
After the sanding ritual, it is vital to banish any lingering dust or residue. Follow these steps for a pristine surface:
- Wipe the copper surfaces with a clean cloth or employ compressed air to blow away any loose debris.
- Ensure that the surfaces are entirely free from any remnants of cleaning agents or residue.
Priming and Adhesion Promotion:
In certain cases, it becomes necessary to introduce a primer or adhesion promoter to the copper surfaces before bonding. This step holds particular significance when employing specific types of adhesives or joining dissimilar materials. Always adhere to the manufacturer’s instructions for optimal results.
Using Flux to Facilitate the Bonding Process
If you’re looking to create a strong and durable bond between copper surfaces, forget about glue – flux is your new best friend. In this article, we’ll explore the fascinating world of using flux to facilitate the bonding process. Get ready to unleash the power of flux and achieve copper connections that will stand the test of time.
Choosing the Right Flux: Rosin, Water-Soluble, or No-Clean?
Before diving into the bonding process, it’s crucial to select the right type of flux for your specific application. Consider these three main types:
Rosin Flux:
Ideal for plumbing applications, rosin flux contains natural resins and solvents that work together to remove oxidation and enhance solder flow. Be aware that it leaves behind a residue that needs post-solder cleaning.
Water-Soluble Flux:
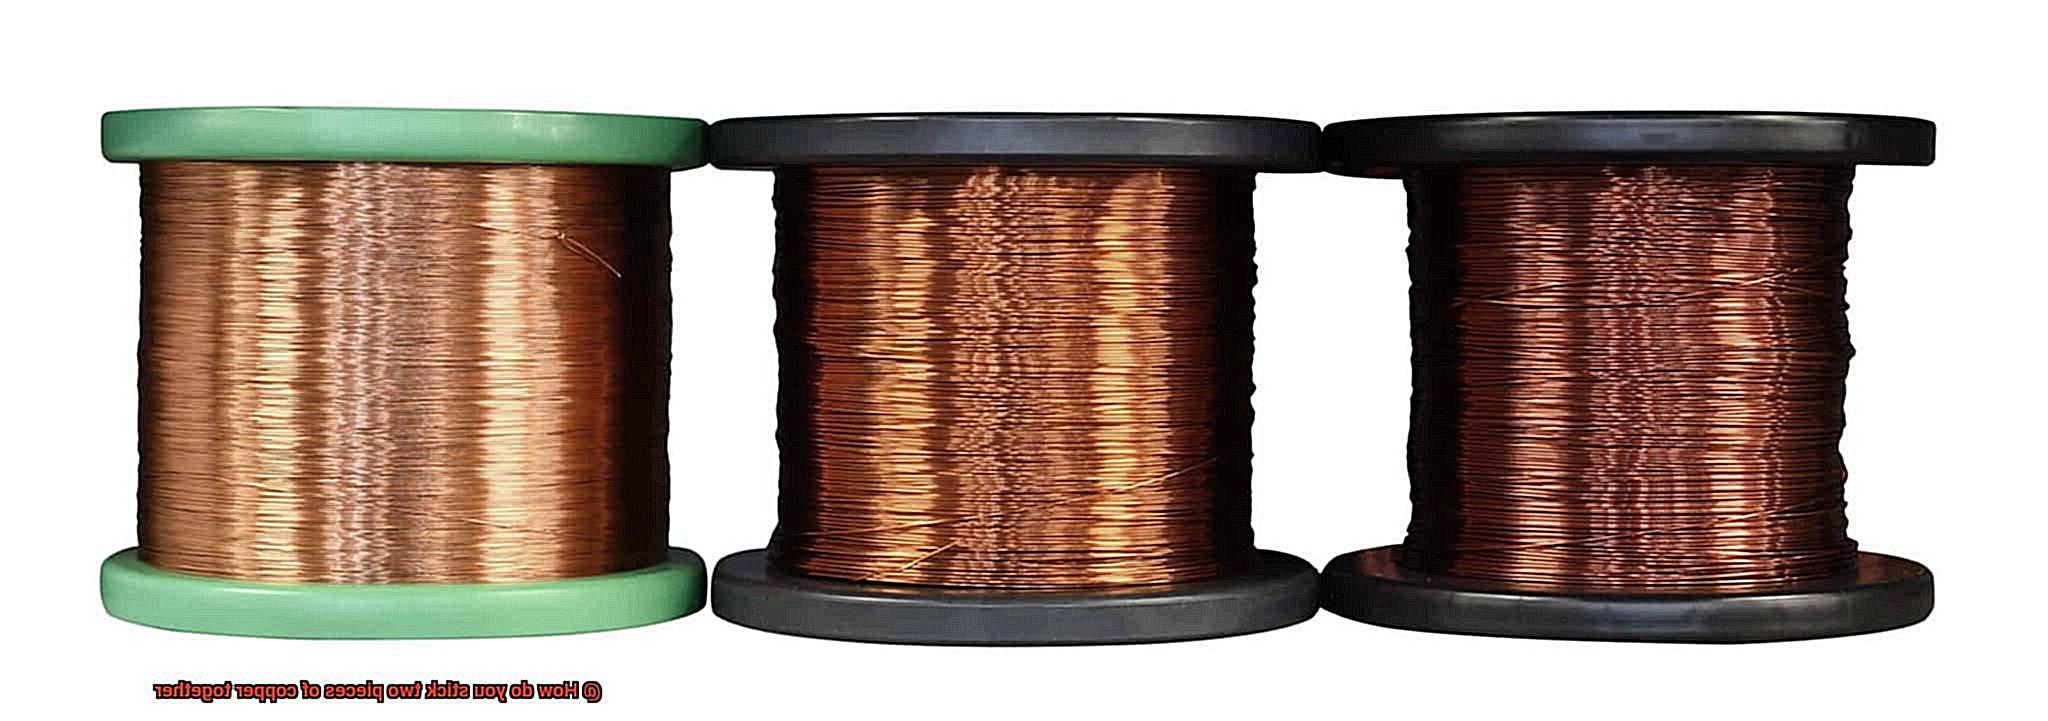
Perfect for electronics and electrical work, water-soluble flux can be easily cleaned with water once soldering is complete. It’s commonly used when soldering copper wires or circuit boards.
No-Clean Flux:
For those seeking convenience, no-clean flux is the way to go. It leaves behind minimal residue, making it suitable for applications where cleaning might be challenging or time-consuming.
Using Flux Effectively: Key Steps for Success
Clean Copper Surfaces:
Before applying flux, thoroughly clean the copper surfaces using a specialized solvent or cleaner designed for copper. Remove any dirt, oils, or contaminants to ensure a pristine bonding surface.
Apply Flux Sparingly:
Apply a small amount of flux to both pieces of copper, ensuring adequate coverage without excessive drip or spread. Too much flux can result in weak bonds and hinder solder flow.
Align and Solder:
Bring the copper pieces together in proper alignment and ensure close contact between the surfaces. Heat your soldering iron and initiate the soldering process. The flux will work its magic, removing oxidation and contaminants, allowing the solder to flow smoothly.
Choose the Right Solder:
Consider factors like melting point, safety, and environmental concerns when selecting solder. Lead-based solders generally have lower melting points but prioritize safety above all else.
Applying Adhesives to the Copper Surfaces
Look no further. In this ultimate guide, we will explore the process of applying adhesives to copper surfaces for a strong and long-lasting bond. Whether you’re a DIY enthusiast or a professional, these tips and tricks will help you achieve the results you desire.
Step 1: Clean the Copper Surfaces

To ensure optimal bonding, start by thoroughly cleaning the copper surfaces. Remove dirt, grease, or oxidation using a mild detergent or solvent along with a clean cloth or brush. Leave no nook or cranny untouched to prepare the surfaces for a strong connection.
Step 2: Rinse and Dry
After cleaning, rinse the copper surfaces with water and let them dry completely. This crucial step removes any residual cleaning agents and ensures proper adhesion.
Step 3: Apply the Adhesive
Now comes the exciting part – applying the adhesive. Choose an adhesive specifically formulated for bonding metals that matches your project requirements. With a brush, roller, or syringe for precision, apply a thin layer of adhesive evenly onto one of the copper surfaces.
Step 4: Align and Press Firmly
Carefully align the two copper pieces in the desired position. Once aligned, press them together firmly, applying even pressure. This step is crucial for achieving a strong bond between the surfaces.
Step 5: Allow Sufficient Curing Time
Different adhesives have varying curing times. Follow the manufacturer’s instructions regarding curing time and avoid subjecting the bonded copper pieces to stress or load until fully cured. Patience is key to obtaining a durable connection.
Step 6: Additional Measures (if required)
Some adhesives may require additional measures during the curing process, such as clamping or supporting the copper pieces. Always refer to the manufacturer’s instructions for specific guidance on ensuring a successful bond.
Step 7: Consider Environmental Factors
When choosing an adhesive, take into account environmental factors that may affect its performance. Consider temperature and chemical resistance, as well as exposure to moisture, heat, or other conditions. Selecting the right adhesive for your project will ensure its longevity.
Step 8: Test Before Committing
To guarantee compatibility and evaluate bond strength and durability, test the adhesive on a small sample or inconspicuous area before applying it to the main copper surfaces. This step allows you to make any necessary adjustments before committing to the adhesive.
Factors to Consider When Choosing a Method of Joining Copper Pieces
Selecting the right method to join copper pieces is crucial for a strong and durable bond. Several factors come into play, such as strength and durability, temperature resistance, chemical compatibility, ease of application, aesthetics, cost, and accessibility. Let’s delve into these factors in detail to help you make an informed decision.
Strength and Durability:
Copper is commonly used in high-stress applications like plumbing and electrical systems. For joints that can withstand pressure and movement, soldering and brazing are popular choices. These techniques involve melting a filler metal into the joint, creating a solid connection capable of supporting heavy loads.
Temperature Resistance:
If you’re working with copper in high-temperature environments like HVAC systems or hot water pipes, consider methods that can handle the heat. Silver soldering or brazing excel at withstanding high temperatures without compromising the joint’s integrity.
Chemical Compatibility:
Certain adhesives or soldering materials can react with copper, causing corrosion or weakening over time. To avoid such issues, choose materials specifically designed for use with copper. Look for adhesives or solders labeled as copper-compatible or consult professionals for recommendations.
Ease of Application:
Consider your skill level and available tools when selecting a joining method. Soldering requires expertise and equipment like a soldering iron and flux, while adhesive bonding can be simpler, only requiring applying adhesive and clamping the pieces together. Choose a method that aligns with your abilities and resources.
Aesthetics:
For visible joints or artistic pieces, aesthetics matter. Soldering creates clean and seamless connections when done correctly, making it an excellent choice. However, adhesive bonding can also provide visually appealing finishes with the right adhesive.
Cost:
Budget is always a consideration. Soldering may require investing in equipment, while adhesives vary in price based on quality and brand. Assess your budget and the overall cost-effectiveness of each method.
Accessibility:
Consider the availability of joining methods and required resources. Some methods may be easier to find or more practical due to time constraints or limited access to specialized tools or materials. Choose a method that is readily available and suits your project’s timeline.
NQmWLr1qBsM” >
Conclusion
In conclusion, the process of sticking two pieces of copper together demands careful consideration. You must select a joining method that suits your project’s specific needs. One versatile technique is soldering, which involves meticulously cleaning the copper surfaces, applying flux, heating the joint, and applying solder to create a robust bond. Soldering finds common use in plumbing and electronics applications.
Alternatively, brazing offers a durable bond that withstands corrosion and high temperatures. By utilizing a filler metal with a lower melting point than copper, brazing can successfully join copper pieces of varying thicknesses or compositions.
For flexibility in bonding copper surfaces, adhesive options come into play. Epoxy adhesives provide incredible strength and resistance to chemicals and temperature fluctuations. On the other hand, cyanoacrylate or super glue allows for quick bonds but may not match the strength of epoxy adhesives. Polyurethane adhesives offer flexibility, while acrylic adhesives cure rapidly. Conductive adhesives prove ideal for electrical applications.
Before embarking on the bonding process, it is crucial to prepare the copper surfaces meticulously. Thoroughly clean them, remove any oxidation present, create texture if necessary, and eliminate dust and residue.
Flux plays an essential role in facilitating the bonding process by removing oxidation and contaminants. The choice of flux type (rosin, water-soluble, or no-clean) depends entirely on your application’s requirements.
When applying adhesives to copper surfaces, ensure proper surface cleaning before proceeding. Apply adhesive evenly across the surface and align the pieces firmly together. Allow sufficient time for curing while considering environmental factors at play. It is also prudent to conduct tests before committing fully.
Several factors should guide your choice of joining method: strength and durability requirements; temperature resistance; chemical compatibility with copper; ease of application based on skill level and available tools/resources; aesthetics for visible joints or artistic projects; cost-effectiveness based on budget constraints; and accessibility of methods and resources.
By understanding these techniques and considering the relevant factors when joining two pieces of copper together, you will possess valuable knowledge to achieve professional results in various projects.