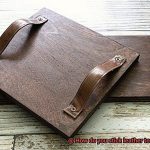
Leather – the epitome of elegance and endurance. We all have those beloved leather pieces that have been there through thick and thin, but what happens when they start to show signs of their age?
I’m here to let you in on a little secret: super glue is the unsung hero of leather repair. In this blog post, we’re going to dive headfirst into the world of restoring leather with the magical powers of super glue.
Whether it’s your favorite pair of shoes or a cherished handbag, we’ll cover everything from casual fixes to professional techniques, leaving you armed with all the knowledge you need to become a leather repair maestro.
So, grab your super glue and get ready to resurrect your treasured items in style – because it’s time for your leather goods to reclaim their former glory.
What You Will Need
Contents
Leather is a durable and stylish material, but it is not immune to wear and tear. When your favorite leather item gets damaged, it can be disheartening. However, with the right tools and techniques, you can repair leather effectively using super glue. In this guide, we will explore the essential items you need and the step-by-step process to achieve a strong and long-lasting fix.
What You Will Need:
To repair leather with super glue, gather these essential items:
- High-quality super glue: Choose a flexible and strong super glue specifically formulated for bonding leather. Look for one that can withstand stress and movement.
- Leather cleaner: Clean the damaged area thoroughly before applying the glue. Use a mild leather cleaner or a solution of mild soap and water to remove dirt, oils, and debris. Ensure that the leather is completely dry before proceeding.
- Sandpaper: Roughen the surface of the leather slightly for better adhesion, if needed. Use fine-grit sandpaper to gently sand the area you intend to repair, being careful not to damage the leather.
- Clamps or heavy objects: Apply pressure on the repaired area while the glue dries using clamps or heavy objects. This ensures a secure bond without gaps or bubbles.
- Leather patch or filler (optional): For extensive damage like large tears or holes, consider using a leather patch or filler to reinforce and fill in the damaged area before applying the glue.
- Leather conditioner: After completing the repair, use a leather conditioner or moisturizer to restore suppleness and shine, preventing further damage.
Step-by-Step Repair Process:
Follow these steps for a successful leather repair:
- Clean the damaged area using a mild leather cleaner or soapy water. Ensure it is dry before proceeding.
- Prepare the super glue according to the instructions on the packaging.
- Apply a small amount of super glue directly onto the damaged area, spreading it evenly using a toothpick or small brush. Avoid using excess glue.
- Press the torn edges of the leather together firmly for a few minutes to allow the glue to bond properly. Consider using clamps or heavy objects if necessary.
- Allow the repair to dry completely, preferably overnight, before using or putting any pressure on the repaired area.
- Assess if any gaps or unevenness remain and use a leather filler or putty to fill them in if needed. Allow the filler to dry completely.
- Gently sand down any excess filler or rough edges using fine-grit sandpaper.
- Color or dye the repaired area to match the rest of the leather, following the instructions on a leather dye or colorant. Allow it to dry completely before handling.
Cleaning the Area
Cleaning an area is often seen as a mundane task, but its benefits go far beyond just tidying up. In this article, we will explore the numerous advantages of cleaning an area and how it can positively impact our daily lives. From improved physical health to enhanced productivity, the act of cleaning holds transformative power.
Enhanced Physical Health:
- Reduced Allergens: Cleaning an area removes dust, pollen, and other allergens that can trigger respiratory issues and allergies. A clean space promotes better air quality and helps prevent health problems associated with poor indoor air.
- Decreased Risk of Illness: Regular cleaning practices, such as disinfecting surfaces and washing hands, eliminate harmful bacteria and viruses. By reducing germs in the environment, cleaning minimizes the risk of illnesses spreading and keeps you and your loved ones healthy.
Improved Mental Well-being:
- Reduced Stress: A cluttered and dirty space can contribute to feelings of overwhelm and stress. Cleaning helps create a calm and organized environment, allowing for clearer thinking and improved mental well-being.
- Increased Focus and Productivity: A clean area provides a clear space for concentration, leading to increased focus and productivity. Clutter-free surroundings minimize distractions and allow your mind to stay fully engaged in tasks at hand.
Enhanced Quality of Life:
- Improved Aesthetics: A clean area is visually appealing, creating a sense of pride and satisfaction in your living or working space. It cultivates a positive ambiance that can boost mood and overall happiness.
- Longer-lasting Possessions: Regular cleaning and maintenance prevent the accumulation of dirt, dust, and grime that can cause premature wear and tear on belongings. By keeping your possessions clean, you extend their lifespan and save money in the long run.
Preparing the Super Glue
Super glue is a remarkable tool for repairing leather, but proper preparation is vital to achieve optimal results. In this comprehensive guide, we will delve into the important considerations and step-by-step process of preparing super glue for repairing leather.
- Select the appropriate super glue: Not all super glues are created equal when it comes to leather repair. Look for a glue specifically formulated for bonding leather or one that is labeled suitable for use on leather materials. This ensures that the adhesive properties of the glue are compatible with the unique characteristics of leather.
- Thoroughly clean the area: Before applying super glue, it is imperative to clean the leather surface meticulously. Using a mild soap or leather cleaner, remove any dirt, grime, or oils that may compromise the bond. Gently scrub the area with a soft cloth or sponge, ensuring every nook and cranny is free from debris. Allow the surface to dry completely before proceeding.
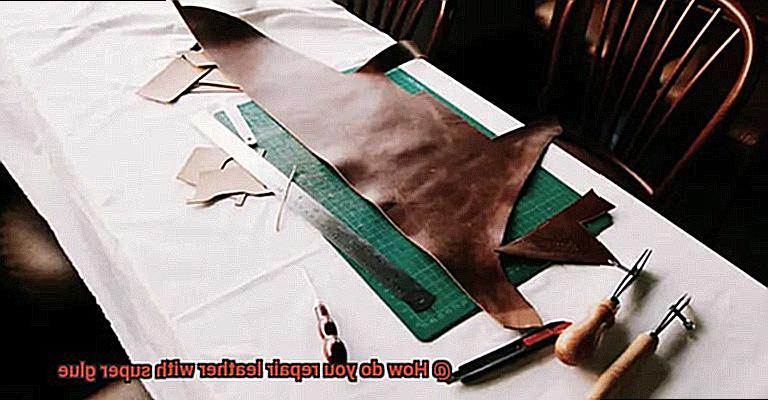
- Assess and prepare the leather: Carefully evaluate the condition of the leather and prepare it accordingly. Trim any loose threads or edges with precision using sharp scissors, creating a clean surface for the super glue application. Additionally, if there are any rough spots or uneven surfaces, gently sand them down using fine-grit sandpaper. Exercise caution to avoid over-sanding or damaging the leather further.
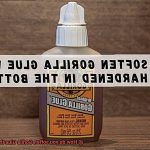
- Apply the super glue: Prior to opening the tube of super glue, gently shake it to ensure thorough mixing of the adhesive. Carefully open the tube and apply a small amount of glue to one of the surfaces you intend to bond. It is crucial not to apply an excessive amount of glue, as this can result in messy oversaturation of the leather.
- Press surfaces together: After applying the glue, promptly but carefully press the two surfaces together. Hold them firmly in place for a few seconds, allowing sufficient time for the glue to bond effectively. Ensure proper alignment of the surfaces to avoid any misalignment or uneven bonding.
- Remove excess glue: If any excess glue seeps out from the bond, swiftly wipe it away using a clean cloth or tissue. It is vital to remove excess glue while it is still wet to prevent it from drying and hardening on the leather surface, which can be arduous to remove later.
- Allow the glue to dry and cure: Once the leather surfaces are bonded, exercise patience and allow the glue to dry and cure for at least 24 hours. This duration ensures a strong and durable bond. During this time, refrain from subjecting the repaired area to stress or strain, allowing the glue to set properly.
Applying the Glue
Today, we embark on a thrilling journey into the realm of super glue, where we’ll discover its hidden potential to resurrect your cherished leather goods from the clutches of wear and tear. So, grab your favorite beverage, don your DIY hat, and let’s dive in.
Clean, clean, clean.
Before even considering the super glue, take a moment to pamper your leather. Give it a thorough cleansing using a mild soap or leather cleaner, banishing every speck of dirt and grime that dares to mar its beauty. Remember, patience is key here—let the leather dry completely before moving on.
Less is more.
Now that your leather is pristine, it’s time to unleash the magic of super glue. But remember, my friends, restraint is essential. Apply just a small amount of glue and spread it evenly on one of the surfaces you wish to unite. Avoid the temptation to go overboard; thin layers are your allies in achieving a bond that’s both secure and devoid of unsightly glue oozing.
Press and hold for enchantment.
Once the glue has adorned your surfaces with its adhesive embrace, press them together with conviction. Feel the magic surge through your fingertips as you create maximum contact. Hold them in this position for a few minutes, granting the glue time to weave its spell. For added potency, consider employing clamps or weighty objects to ensure that nothing disrupts this sacred union until the glue has fully cured.
Beware the excess.
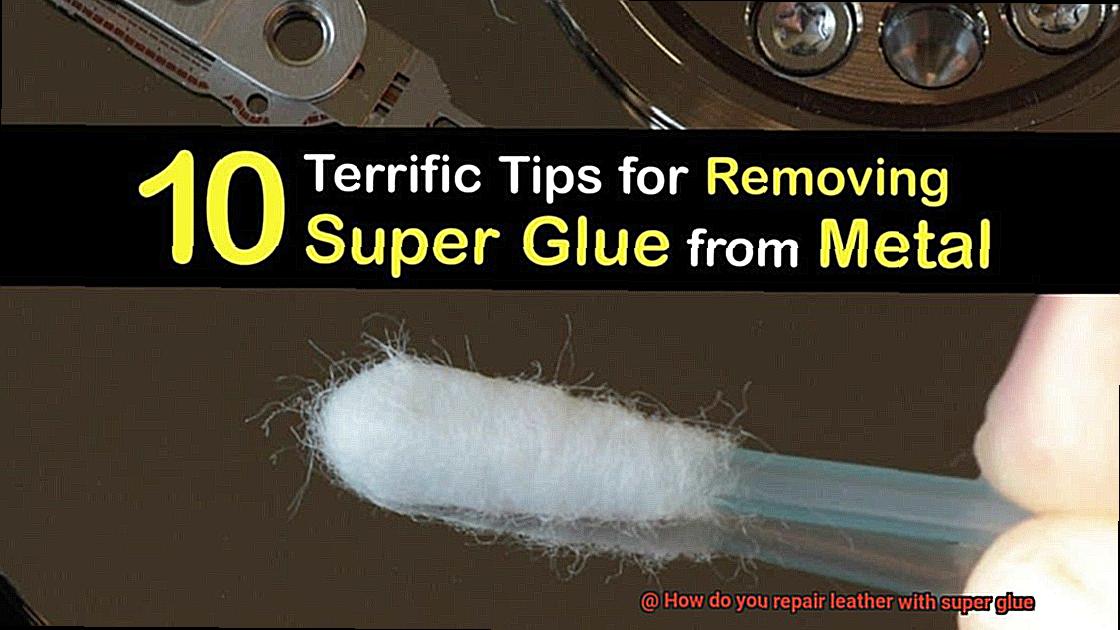
Ah, my friends, super glue possesses an affinity for swift bonding. Thus, work swiftly and with care to prevent any unwanted glue mishaps. Should you find an unwelcome smudge of excess glue where it doesn’t belong (we’ve all been there), fear not. Gently remove it using acetone or nail polish remover. Just be vigilant, as these solvents can wreak havoc on the leather if not handled with finesse.
Reinforce and fortify.
Once the glue has dried and melded your surfaces into one, it’s time to fortify your repair. Seek out a trusty needle and thread, and stitch around the edges of the glued area. This added layer of strength, resilience, and tranquility ensures that your repair stands tall against the test of time.
Patience, dear friends.
Congratulations on a triumphantly restored leather item. Yet now, my dear comrades, we face the ultimate challenge—patience. Allow ample time for the glue’s curing process before subjecting your leather to any strain or stress. While a typical cure time spans 24 hours, heed the manufacturer’s instructions for specific guidance.
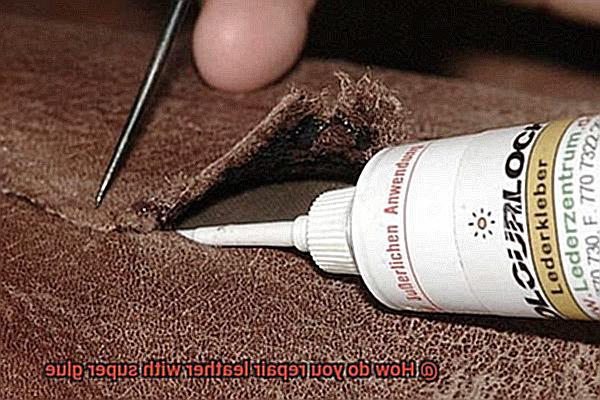
Pressing the Edges Together
When it comes to repairing leather, one of the most crucial steps is pressing the edges together. This step ensures a seamless repair and prevents any unsightly gaps from forming. So, let’s dive into the world of leather repair and discover how to bring your damaged leather goods back to life using everyone’s favorite adhesive – super glue.
Before we embark on this magical repair journey, let’s gather all the necessary materials. You’ll need a clean cloth, mild soap or leather cleaner, a soft brush or sponge, super glue specifically designed for leather repairs (remember, not all glues are created equal), and some clamps or heavy objects to hold everything in place.
Now that we’ve got our tools ready, let’s get started. The first order of business is giving your damaged leather a thorough cleaning. Use a mild soap or leather cleaner and gently scrub away any dirt or grime. Be sure to dry the area completely before moving on to the next step.
With your leather squeaky clean, it’s time to align those pesky edges. Carefully bring the torn edges together, ensuring they fit snugly. If there are any loose threads or frayed bits hanging around, grab a pair of sharp scissors and trim them off. We want straight and clean edges for a seamless repair.
Alright, now comes the fun part – applying the super glue. Take a small amount of glue and spread it evenly along one edge of the tear. You can use a toothpick or cotton swab for this delicate operation. Just remember, a little goes a long way. Too much glue can create a hot mess.
With the glue in place, it’s time to bring those edges together. Press them firmly and hold them in place for a few seconds to let the adhesive work its magic. If you want some extra security, you can use clamps or heavy objects to keep everything in place while it dries.
But wait, safety first. Super glue can be a bit finicky, so make sure you’re wearing protective gloves and working in a well-ventilated area. We don’t want any glue mishaps ruining your repair project.
Once the glue has dried and the edges are secure, take a moment to admire your handiwork. But don’t get too complacent – inspect the repair closely. If you spot any gaps or areas that didn’t quite bond, you might have to repeat the process or consider using a different adhesive specifically designed for leather repairs.
And there you have it, folks. You’ve successfully pressed those edges together and started your leather repair journey with super glue. Just remember, super glue is a handy tool, but it’s not a one-size-fits-all solution. For larger tears or more complex issues, it’s always best to seek professional help or consult a leather repair specialist.
Allowing it to Dry Completely
Super glue is here to save the day. However, before you jump into the repair process, there’s one crucial step that you absolutely cannot skip – allowing it to dry completely. But why is drying time such a big deal? Can’t you just speed things up with a little heat? Let me break it down for you.
First and foremost, it’s essential to choose the right type of super glue for leather repair. Opt for a gel-based adhesive specifically designed for leather repairs. These gels provide better control and prevent excess glue from seeping through the leather, avoiding any unsightly mess.
Now, when it comes to drying, natural is best. Resist the urge to whip out your trusty hairdryer or crank up the heater. While it may seem tempting to speed up the process, using external heat sources can cause the glue to dry unevenly or create a weak bond. Instead, allow nature to work its magic and let the glue dry naturally.
Once you’ve applied the super glue and pressed the leather pieces together, it’s crucial to keep them in a stable position. This prevents any premature movement or shifting that could disrupt the bonding process. Consider using clamps or heavy objects to hold everything in place while the glue dries.
Now, I know waiting can be agonizing, but trust me, it’s worth it. Give the super glue at least 24 hours to dry completely before subjecting your repaired leather item to any stress or tension. This ensures a strong and durable bond that will stand the test of time.
And here’s a pro tip – once the drying time is up, give your repair job a gentle tug or press to make sure it’s holding firm. If there are any signs of loosening or separation, it may be necessary to reapply the super glue and repeat the drying process.
Filling Any Gaps if Necessary
To achieve a flawless leather repair using super glue, it is essential to fill any gaps or holes in the leather before applying the adhesive. This step not only creates a smooth surface for the glue to adhere to but also reinforces the strength and durability of the repair. Let’s explore the process of filling gaps in leather and ensure a successful restoration.
One of the most popular methods for filling gaps in leather is using a specialized leather filler or putty. These magical substances are designed to fill small holes, cracks, or gaps in the leather surface, and they come in various colors to match your specific leather shade. This ensures that your repair remains invisible, seamlessly blending with the surrounding leather.
Before diving into the filling process, it is crucial to thoroughly clean the damaged area. Grab a mild leather cleaner or soap and gently wipe away any dirt or debris from the surface. This will ensure a pristine canvas for your repair. Once cleaned, allow the leather to dry completely before moving on.
Now it’s time to apply the filler. Take a small amount of filler and spread it evenly over the damaged area. You can use a putty knife or even your fingers (just make sure they’re clean.). Press the filler firmly into the gap, ensuring that it fills every nook and cranny. Smooth out any excess filler and blend it seamlessly with the surrounding leather.
Now comes the hard part – waiting. Allow the filler to dry according to the manufacturer’s instructions, which usually takes around 24 hours. Patience is key here, as rushing the drying process may compromise your repair.
Once the filler is dry, grab some fine-grit sandpaper and lightly sand down any rough edges or bumps. This will give you a smooth and even surface for the next step: applying super glue.
However, it’s important to note that not all leather repairs require filling gaps. If you’re dealing with smaller tears or scratches that won’t compromise the integrity of your leather, you can skip the filling step. But for larger gaps or holes, filling becomes essential for a successful and long-lasting repair.
Sanding Down Excess Filler
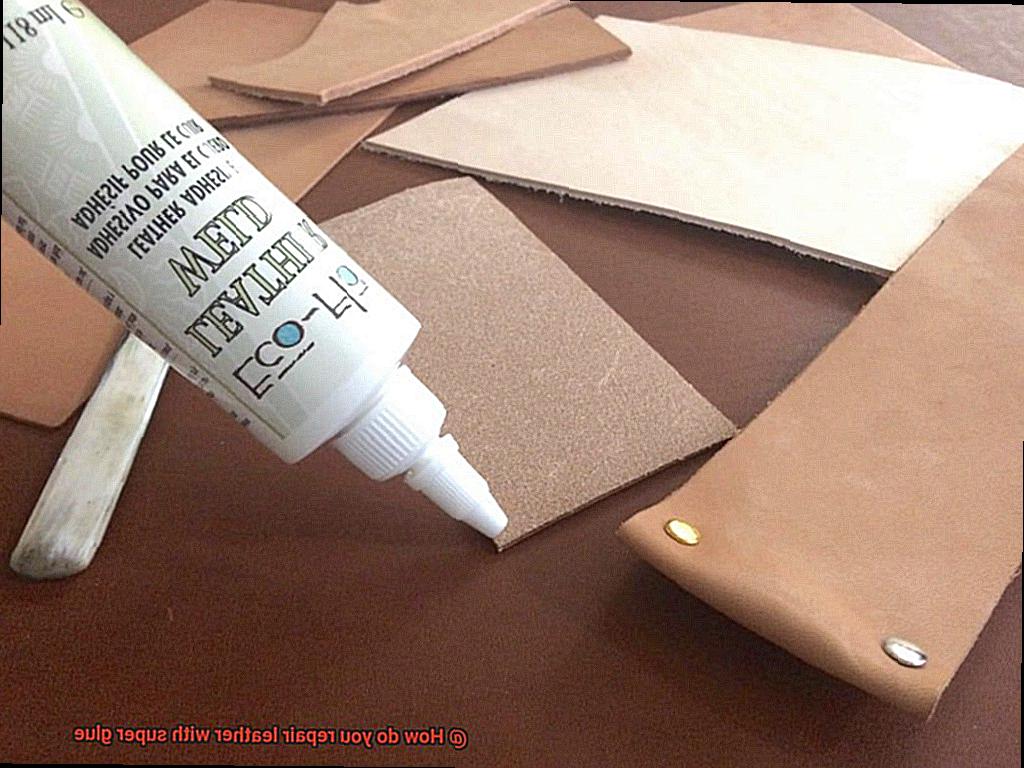
Sanding down excess filler is a crucial step in the leather repair process. It ensures that your repaired leather item has a smooth and professional finish. To achieve the best results, follow these step-by-step instructions:
- Allow the filler to fully dry: Patience is key here. Give the filler several hours or even overnight to dry completely. Rushing this step can result in damage to the leather when sanding.
- Gather your sandpaper: The grit you choose depends on the type of filler used and the level of roughness you need to smooth out. Start with a medium-grit sandpaper (around 120-180 grit) and then switch to a finer-grit sandpaper (around 220-320 grit) for a smoother finish.
- Protect the surrounding area: Use masking tape or a sanding block to cover the area around the filled spot. This will prevent accidental damage to the leather while you’re sanding.
- Begin sanding in a circular motion: Apply light pressure and be gentle. Avoid pressing too hard, as this can scratch or damage the leather. Take your time and work your way around the filled area, ensuring an even removal of excess filler.
- Periodically check your progress: Wipe away dust and debris with a clean cloth to get a clear view of how much more filler needs to be sanded down. This helps you achieve a smooth and even surface.
- Switch to a finer-grit sandpaper if needed: For a final pass, use a finer-grit sandpaper to achieve an even smoother finish. Remember, gentle and controlled sanding is key – don’t overdo it and risk removing too much filler or damaging the leather.
- Wipe away remaining dust or debris: Once you’re satisfied with the smoothness of the filled area, clean it thoroughly with a clean cloth.
Now, you’re ready to proceed with further steps, such as coloring or sealing the repaired area, according to the specific instructions for your chosen repair method.

Remember, sanding down excess filler requires caution and precision. If you’re unsure or concerned about damaging the leather, it’s always best to seek professional advice or assistance.
Coloring or Dyeing the Repaired Area
Now, it’s time to take the next step – coloring or dyeing the repaired area. By following these steps and using the right techniques, you can achieve a flawless and professional-looking result. Let’s delve into the process of coloring or dyeing the repaired area of your leather item.
Step 1: Choose the Right Coloring or Dye Product
To begin, ensure that you have a coloring or dye product specifically formulated for leather. These products are available in a wide range of colors and can be found at craft stores or specialty leather shops. Opt for a shade that closely matches the original color of your leather item.
Step 2: Prepare the Repaired Area
Thoroughly clean the repaired area using a mild soap and water solution or a specialized leather cleaner. This step is crucial as it removes any dirt, oils, or residue that may hinder the adhesion of the coloring or dye.
Step 3: Test and Assess
Before applying the coloring or dye to the repaired area, perform a patch test on an inconspicuous area of your leather item. This ensures compatibility and adhesion with the colorant. It also helps determine how many coats are required to achieve your desired result.
Step 4: Apply the Coloring or Dye
Using smooth and even strokes, apply thin coats of coloring or dye to the repaired area. Depending on personal preference and the size of the area, you can use a brush, sponge, or soft cloth. Remember, multiple thin coats provide better coverage than one thick coat.
Step 5: Allow for Adequate Drying Time
After each coat has been applied, allow it to dry completely before applying another. This prevents smudging or smearing, ensuring a professional finish. Follow the instructions provided with the coloring or dye product for recommended drying times.
Step 6: Protect and Preserve
Once you’ve achieved the desired color, protect the repaired area by applying a leather conditioner or protector. This seals in the color and provides additional protection against future damage. Gently buff the conditioner or protector into the leather surface using a clean, soft cloth.
sJCGK1BN-Ms” >
Also Read: Is Gorilla Super Glue Waterproof?
Conclusion
Repairing leather with super glue is a practical and cost-effective solution.
With just a few simple steps, you can mend tears, cracks, or loose edges on your leather items. First, clean the damaged area thoroughly to ensure proper adhesion.
Next, apply a small amount of super glue directly to the damaged area using a toothpick or cotton swab. Press the edges together firmly and hold for a few seconds to allow the glue to bond.
Finally, let it dry completely before using or wearing the item again. Remember to exercise caution when using super glue and work in a well-ventilated area.
By following these steps, you can restore your leather items to their former glory and extend their lifespan.