We all adore the way these little gadgets add flair and functionality to our devices. But hey, sometimes we crave a change or want to experiment with a new design.
So, if you’re itching to remove your PopSocket PopGrip and give your phone a fresh look, you’ve hit the jackpot. In this blog post, we’ll guide you through every step of the process, ensuring that your phone and case remain unscathed.
So let’s jump right in and liberate that PopGrip with ease.
Different Types of PopSocket PopGrips
Contents
- 1 Different Types of PopSocket PopGrips
- 2 Removing PopSocket PopGrips with Flat Disc Base
- 3 Removing PopSocket PopGrips with Dome-Shaped Base
- 4 Using Heat to Loosen Adhesive on Sticky Popsockets
- 5 Cutting Through Adhesive with Dental Floss or Fishing Line
- 6 Reapplying the Popsocket After Removal
- 7 Tips for a Successful Removal Process
- 8 Conclusion
PopSocket PopGrips have taken the world by storm, offering a delightful and functional way to enhance your phone or device. With a plethora of types and designs available, there’s a PopSocket PopGrip out there for everyone. Let’s dive into the various types of PopGrips and explore their unique features.
The Standard PopGrip:
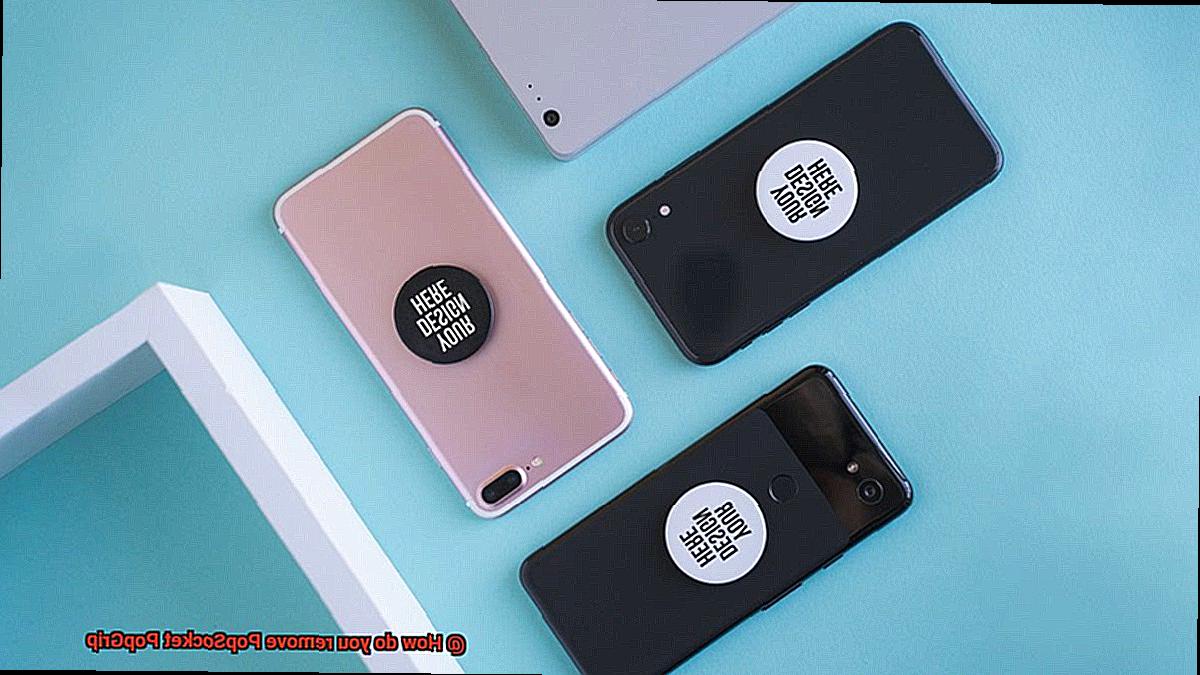
The Standard PopGrip is the classic choice that started it all. It boasts a round shape that can be extended or collapsed, providing a secure grip on your device. With its strong adhesive, it effortlessly attaches to the back of your phone or phone case, making it perfect for one-handed texting or watching videos.
The Swappable PopGrip:
For those who crave customization, the Swappable PopGrip is the ideal choice. This type allows you to easily swap out the top disc with different designs, offering you endless style options. By simply removing the top disc and replacing it with another one, you can match your mood or outfit effortlessly.
The PopWallet+ PopGrip:
Combining practicality with style, the PopWallet+ PopGrip is perfect for those on the go. It features a built-in wallet compartment on the back where you can conveniently store your cards or cash. Say goodbye to carrying around a bulky wallet and enjoy the convenience of having everything you need in one place.
The PopThirst Slim and Tall PopGrips:
If you prefer a sleek and minimalist design, the PopThirst Slim and Tall PopGrips are tailor-made for you. These slim-profiled PopGrips provide a secure grip on your device without adding any unnecessary bulk. Slip them into your pocket or bag effortlessly without any hassle.
The PopMirror PopGrip:
For those who like to stay selfie-ready at all times, the PopMirror PopGrip is an absolute must-have accessory. It features a built-in mirror, making it incredibly easy to touch up your makeup or check your appearance on the go. Bid farewell to carrying around a separate compact mirror and embrace the convenience and style of the PopMirror PopGrip.
Specialty PopGrips:
In addition to the standard options, there are also specialty PopGrips available for those seeking extra functionality. One notable collaboration is the PopSockets x Otterbox, which combines the renowned durability of an Otterbox case with the functionality of a PopGrip. These specialty PopGrips offer enhanced protection for your device while still providing a secure grip.
Conclusion:
With such a wide array of different types of PopSocket PopGrips available, there’s something to suit every taste and preference. Whether you crave a classic design, enjoy customizing your accessories, or require added functionality like a wallet or mirror, there’s a PopGrip out there that will perfectly complement your needs.
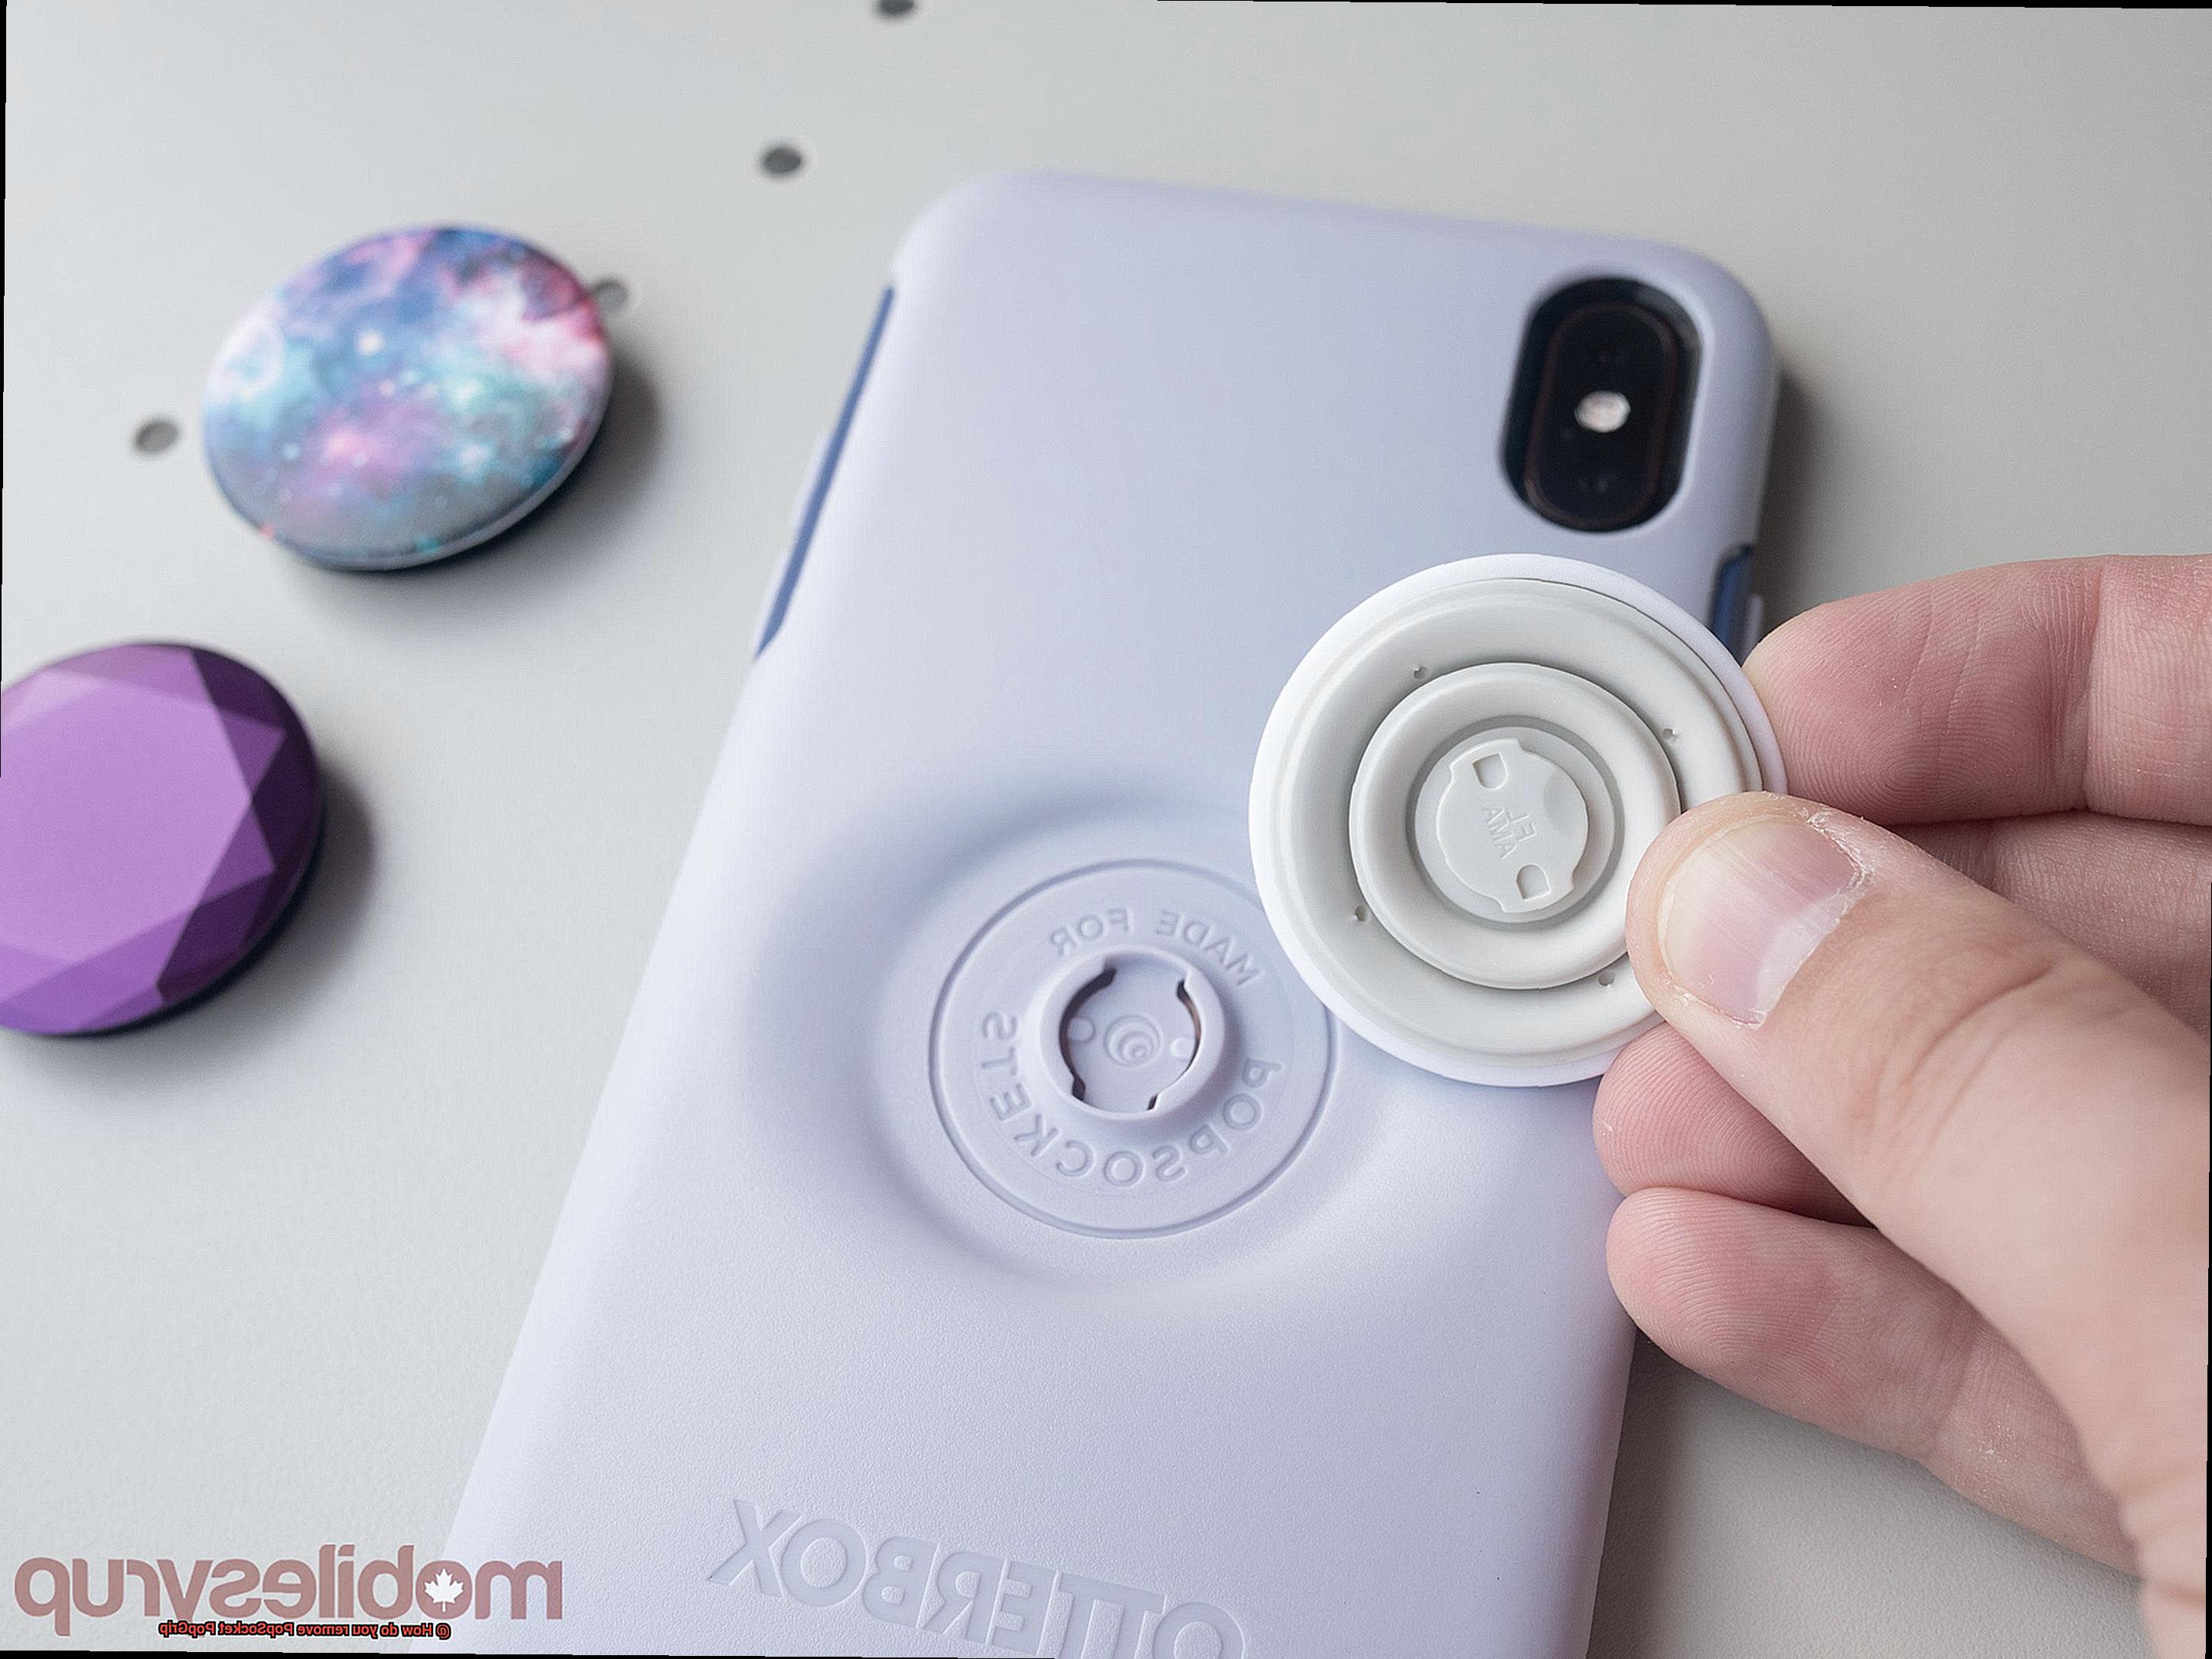
Removing PopSocket PopGrips with Flat Disc Base
Are you ready for a change? Perhaps you’re tired of the same old PopSocket PopGrip design, or maybe you just want to give your phone a good cleaning. Whatever the reason, it’s time to remove that trusty PopGrip with a flat disc base. But how do you do it without damaging your beloved device? No worries, I’ve got you covered with some expert tips and tricks.
- Find the perfect starting point: Take a close look at your PopGrip and locate an edge or corner where you can start peeling it off. This is crucial to avoid damaging the adhesive or leaving any residue behind.
- Gather your tools: You can use your fingernail if it’s long enough, or grab a small, flat tool like a credit card or guitar pick. Gently slide your tool under the edge of the PopGrip and begin lifting it up. Remember, steady and gentle is the name of the game here.
- Peel it off slowly and evenly: As you lift the edge of the PopGrip, continue peeling it off slowly and evenly. Take your time with this process and be patient. Avoid pulling too hard or jerking it off, as this could damage the adhesive or leave residue on your phone.
- Overcoming resistance: If you encounter resistance, don’t panic. There might be additional adhesive holding the PopGrip in place or it may be applied more securely. In these cases, grab your hairdryer and set it to low heat. Gently heat up the adhesive for a few seconds to loosen it, and then continue peeling off the PopGrip.
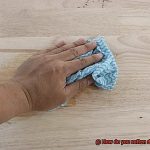
Congratulations. You’ve successfully removed your PopSocket PopGrip with a flat disc base. But wait, there’s one more step. You might notice some adhesive residue left on your phone or phone case. No worries, though. Grab a mild adhesive remover or some rubbing alcohol and apply a small amount to a clean cloth or cotton swab. Gently rub the residue until it lifts off.
Now that your phone is free from any adhesive residue, it’s time to give it a little TLC. Clean your device with a mild soap and water solution or a disinfectant wipe to remove any remaining dirt or grime. This will ensure that your phone is squeaky clean and ready for a new PopSocket PopGrip or any other accessories you have in mind.
Removing PopSocket PopGrips with Dome-Shaped Base
If you’re a fan of PopSocket PopGrips with a dome-shaped base, you know they can add both flair and functionality to your device. But when it’s time for a change or replacement, how do you safely remove these PopGrips? With this step-by-step guide, you’ll be able to remove your PopSocket PopGrips with ease.
First, gather your tools: dental floss or thin string, a hairdryer, rubbing alcohol, and a clean cloth. These items will help you loosen the adhesive and ensure a smooth removal process.
Now let’s get started. Begin by heating the dome-shaped base of the PopGrip with a hairdryer on low heat for about 15-20 seconds. This gentle heat will soften the adhesive, making it easier to detach. Just remember not to overheat your device.
Once the base is warmed up, take the dental floss or thin string and slide it between the PopGrip and your device. Move it back and forth in a sawing motion to loosen the adhesive. Take your time during this step to avoid any damage.
Continue sliding the dental floss or string around the entire circumference of the PopGrip until it feels loose enough to remove. If you encounter resistance, apply more heat with the hairdryer and keep sliding until it becomes easier to detach.
Now comes the exciting part – removing the PopGrip. Hold onto it firmly but gently and pull it away from your device. If you feel any resistance, stop pulling and heat the area again with the hairdryer for a few more seconds. This extra heat should further soften the adhesive and make removal easier.
After successfully removing the PopGrip, you may notice some adhesive residue left on your device. Don’t panic. Grab some rubbing alcohol and a clean cloth. Apply a small amount of rubbing alcohol to the cloth and gently rub the residue in circular motions until it comes off. Be careful not to use too much force or alcohol, as it could damage your device.
And there you have it – a clean, adhesive-free surface ready for a new PopGrip or a fresh start. If you choose to attach a new PopGrip, follow the installation instructions provided by PopSocket for a secure fit.
Using Heat to Loosen Adhesive on Sticky Popsockets
I’m here to share with you the ultimate expert tips on using heat to loosen that sticky situation and free your PopSocket from its grip.
So why is heat your secret weapon in this battle against adhesive? The adhesive used on PopSockets is intentionally strong and durable, designed to securely attach your grip to your phone or case. While this strength is great for keeping your PopGrip in place, it can be quite the challenge when it comes to removal. That’s where heat comes in. Applying heat to the adhesive softens it, making it easier to peel off without causing any damage.
Now, let’s dive into the different methods you can use to apply that much-needed heat:
Hairdryer Method:
- Set your hairdryer to a low heat setting.
- Hold the hairdryer about 6 inches away from the PopSocket.
- Slowly warm up the adhesive by moving the dryer in a circular motion.
- This gentle heat will gradually soften the glue, allowing you to remove the PopGrip with ease.
Heat Gun Method:
- Use a heat gun for more precise control over the amount of heat applied.
- Be cautious as these devices can produce high temperatures that may damage your phone or case if not used properly.
- Always follow the manufacturer’s instructions and use with care.
Remember to continuously check the adhesive’s softness as you apply heat. Once it becomes pliable, grab a flat and thin object such as a credit card or plastic spatula. Gently pry off the PopGrip, and it should come off smoothly without leaving any residue behind.
If you don’t have access to a hairdryer or heat gun, don’t worry. There’s another option for you:
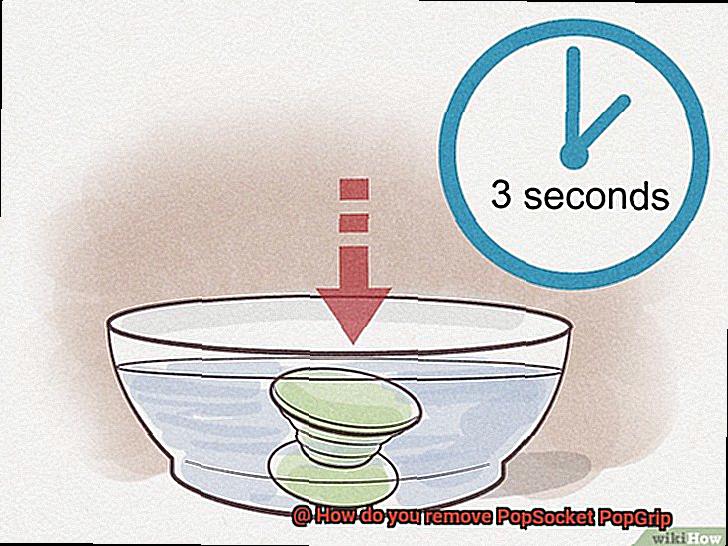
Hot Water Method:
- Submerge your phone or case in hot water for a few minutes.
- Ensure no water gets inside your device.
- The heat from the water will help loosen the adhesive, making it easier to remove the PopGrip.
After successfully removing the PopGrip, you may notice some residue left on your phone or case. But fret not. We have a solution for that too:
Rubbing Alcohol or Adhesive Remover:
- Apply a small amount of rubbing alcohol or adhesive remover onto a cloth or cotton swab.
- Gently rub the residue until it comes off, leaving your phone or case looking clean and adhesive-free.
It is crucial to note that applying too much heat or excessive force can potentially damage your phone or case. So take your time, proceed with caution, and if you’re unsure about tackling the PopGrip removal yourself, don’t hesitate to seek assistance from a professional or contact the manufacturer for guidance. They may provide specific instructions or offer a warranty that covers PopSocket removal.
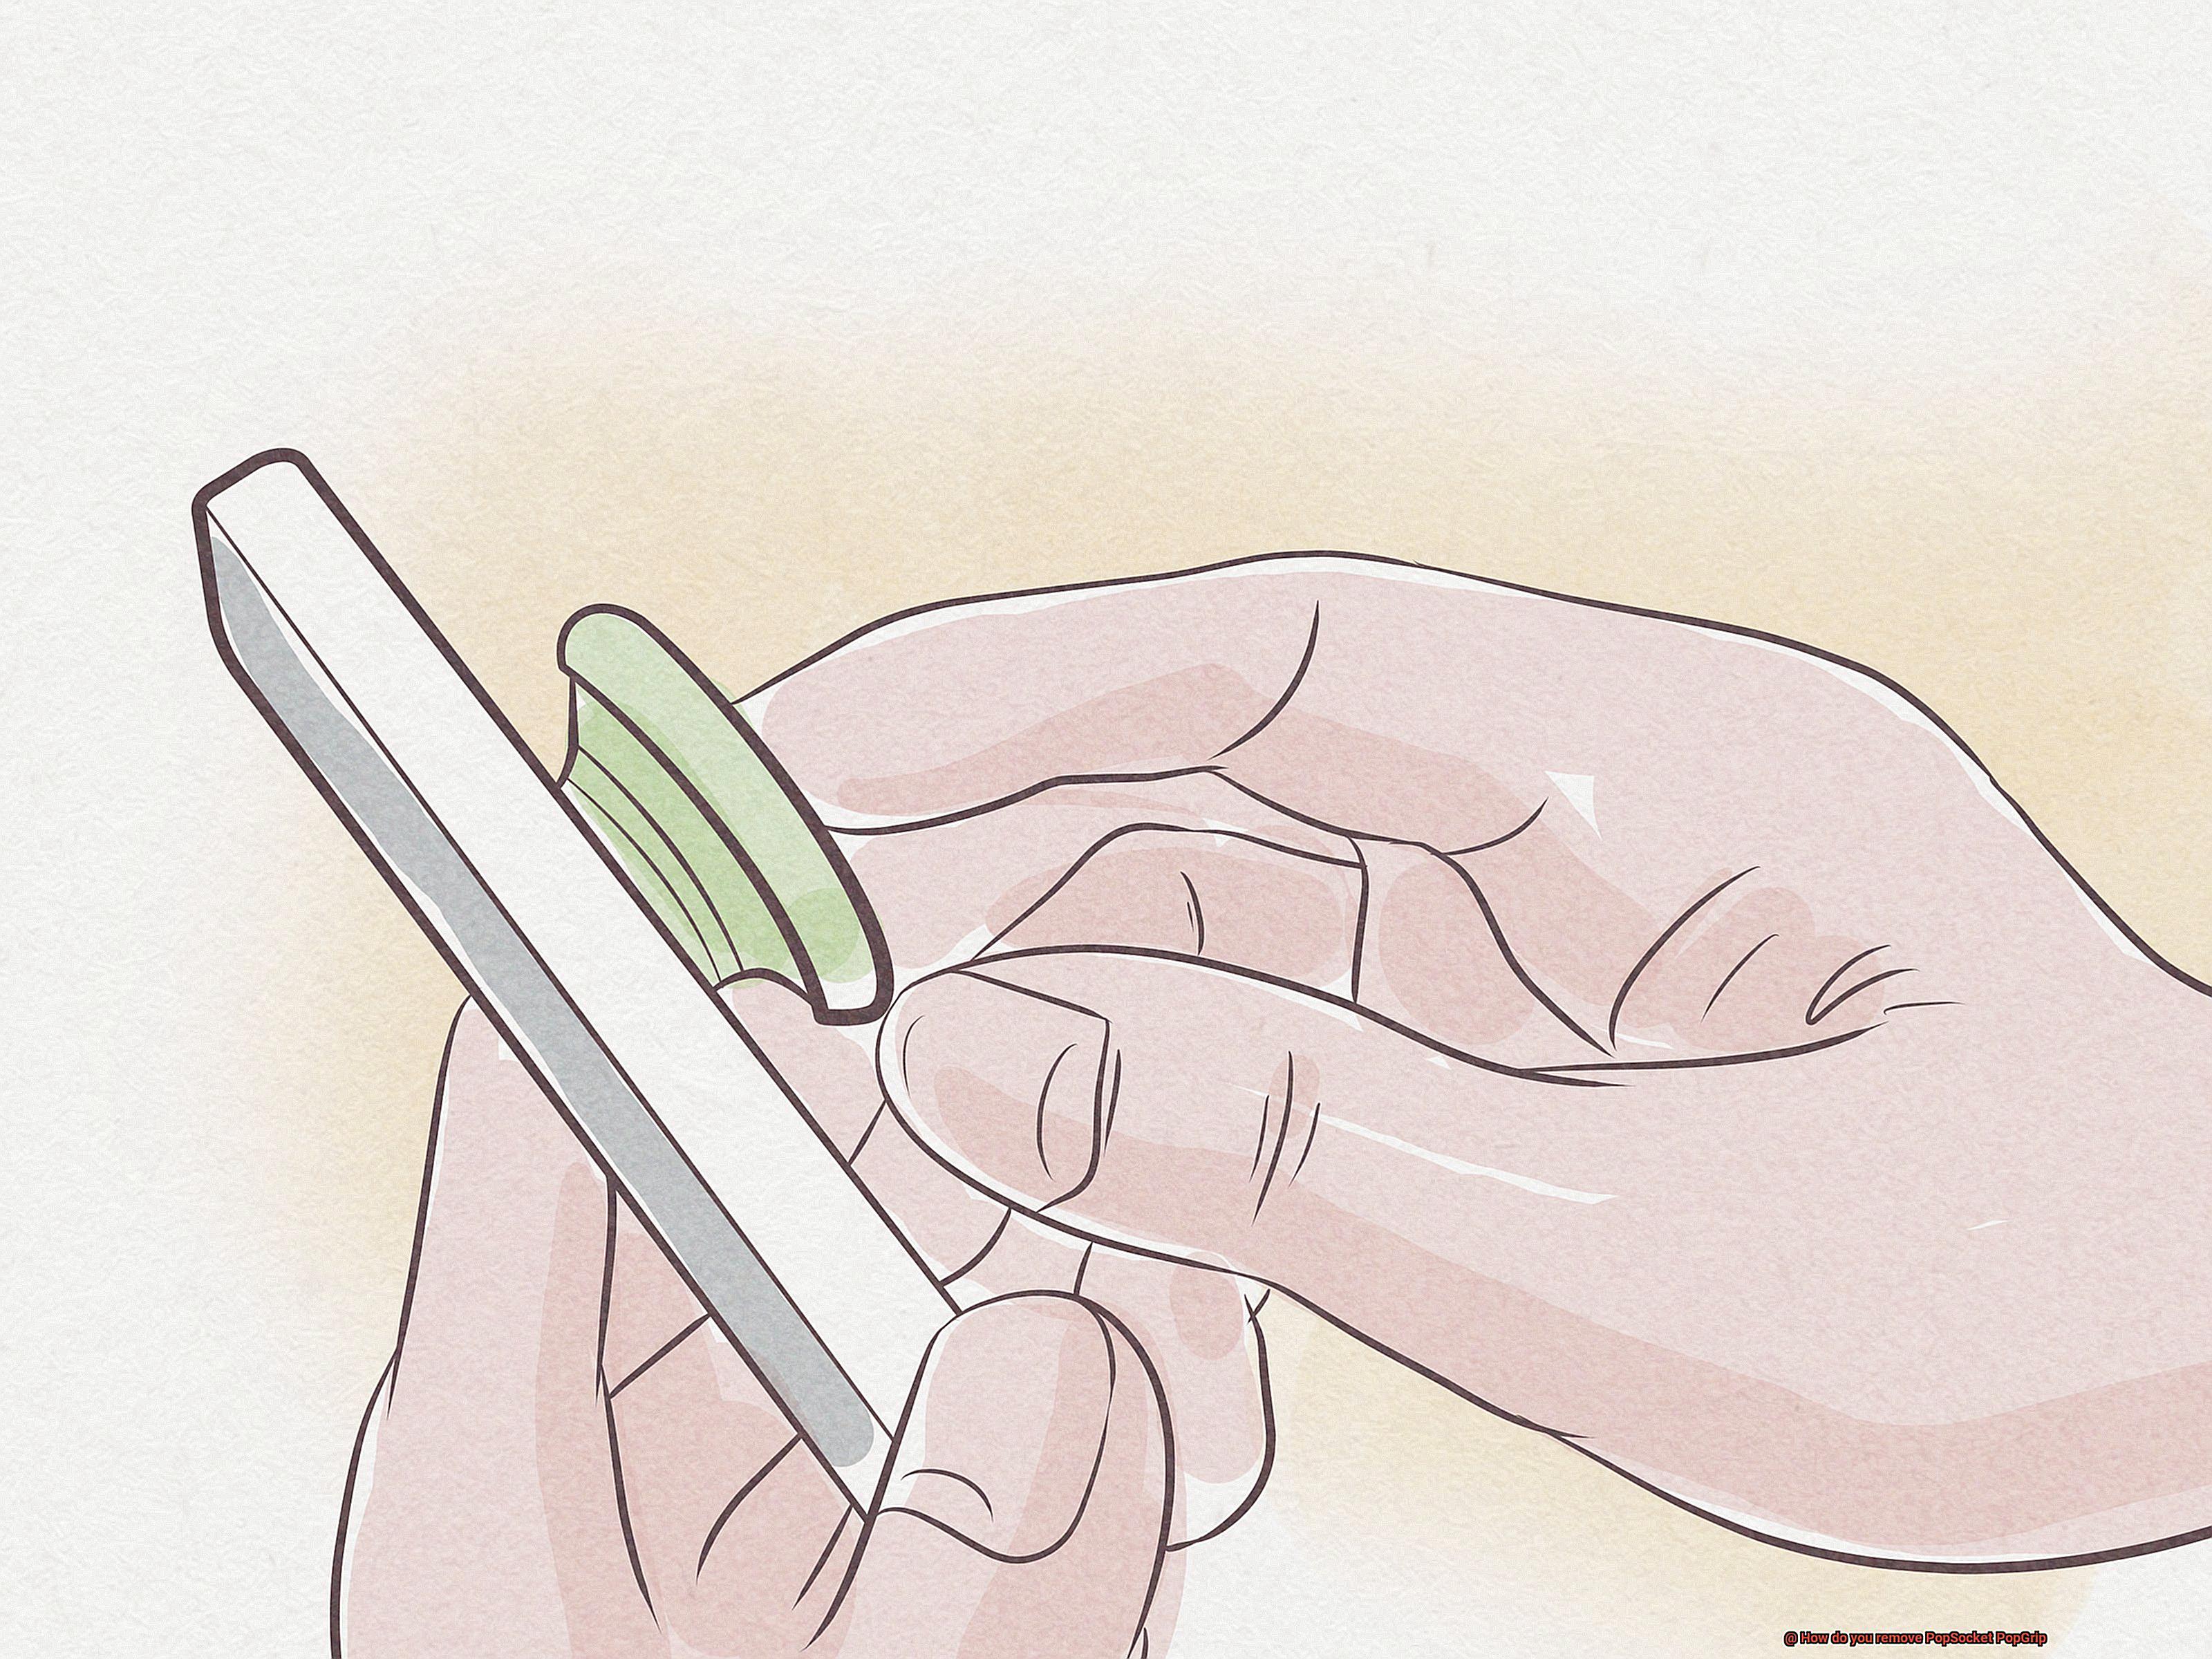
Cutting Through Adhesive with Dental Floss or Fishing Line
There’s a simple and effective method you can try at home. In this blog post, we’ll explore the art of cutting through adhesive with dental floss or fishing line, giving you the power to remove that stubborn PopGrip like a pro.
Step-by-Step Guide:
Gather the necessary tools:
- Dental floss or fishing line (long enough to wrap around the base of the PopGrip).
- Hairdryer (optional).
Position the floss or line:
Sawing motion:
- Start sawing back and forth with a gentle but firm motion.
- Continue sawing around the entire circumference of the PopGrip, maintaining steady pressure.
Apply heat if necessary:
- If cutting through the adhesive becomes difficult, gently apply heat using a hairdryer on a low setting.
- The heat softens the glue, making it easier to cut through with dental floss or fishing line.
Exercise caution:
- Be patient and take your time to avoid any damage to your device or surrounding area.
Lift and remove:
Clean up:
- Use rubbing alcohol or adhesive remover to clean off any remaining traces of adhesive residue.
Reapplying the Popsocket After Removal
We will walk you through the process of reapplying a PopSocket after removal, ensuring that your beloved grip finds a new home on your device or any other gadget you desire.
Step 1: Cleanliness is Key
Before attempting to reattach your PopSocket, it is crucial to ensure that the adhesive is clean and free from any debris or residue. Gently wipe the adhesive with a damp cloth or use a mild adhesive remover if needed. Aim for a squeaky clean surface to optimize stickiness.
Step 2: Location, Location, Location
Choosing the right spot for your PopSocket’s new home is paramount. While reapplying it to the same spot may not yield the same level of adhesion, selecting a new location that is clean, smooth, and preferably flat will enhance its sticking power. Get creative and find the perfect spot.
Step 3: Press and Hold
Now comes the moment of truth. Peel off the protective film on the adhesive side of your PopSocket and firmly press it onto the desired location. Apply steady pressure for about 10-15 seconds to ensure a strong bond between the PopSocket and the surface. Don’t be shy with those fingers.
Step 4: Patience is a Virtue
Resist the temptation to immediately test out your newly attached PopSocket. Let the adhesive set for at least an hour before putting any strain on it. This will allow the adhesive to fully bond with the surface and ensure that your PopSocket stays securely in place.
Tips for Enhanced Adhesion:
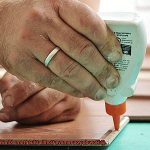
- Consider using stronger adhesives like double-sided tape or phone accessory glue if you’re not satisfied with the initial stickiness. However, exercise caution to avoid damaging your device or leaving residue.
- Regularly clean the back of your device and the adhesive surface of the PopSocket to remove dirt, oils, or debris that may interfere with the adhesive’s effectiveness.
- Keep in mind that adhesive wears out over time, especially if you frequently reposition your PopSocket. If it no longer sticks securely or the adhesive becomes damaged, it’s time for a fresh PopSocket.
Tips for a Successful Removal Process
When it comes to removing a PopSocket PopGrip, following proper removal procedures and using the right tools is crucial. Improper removal can not only damage the PopSocket itself but also the surface it is attached to. In this article, we will explore the importance of following these tips for a successful removal process.
By taking your time, gathering the necessary tools, heating the adhesive, using dental floss or fishing line, and cleaning any residue, you can ensure a smooth and damage-free removal experience.
Be Patient and Take Your Time:
Removing a PopGrip requires patience and careful handling. Rushing or using excessive force can result in unwanted consequences such as damaging the grip or the device it’s attached to. Take your time and proceed slowly and steadily throughout the removal process.
Gather the Necessary Tools:
Before starting the removal process, gather the necessary tools to make the task easier and more efficient. These tools may include a hairdryer, dental floss, rubbing alcohol, or adhesive remover.
The hairdryer will be used to heat the adhesive, while dental floss or fishing line will help separate the grip from the surface. Rubbing alcohol or adhesive remover will come in handy for cleaning any residue left behind after removal.
Heat the Adhesive:
To make the adhesive more pliable and easier to detach, use a hairdryer on a low heat setting to gently warm up the adhesive of the PopSocket PopGrip. Be cautious not to overheat or damage your device during this process.
Use Dental Floss or Fishing Line:
To separate the PopSocket PopGrip from the surface, slide dental floss or fishing line between the grip and the surface. Move it back and forth in a sawing motion until you feel the adhesive loosening. Avoid using sharp objects like knives or blades, as they may cause damage to the surface or result in injury.
Clean Any Residue:
After successfully removing the PopSocket PopGrip, there may be sticky residue left behind. To clean this residue, use rubbing alcohol or adhesive remover. Apply a small amount to a cloth or cotton swab and gently rub the residue until it dissolves. This will leave your device clean and ready for a new PopGrip if desired.
osk3UyTnvrw” >
Conclusion
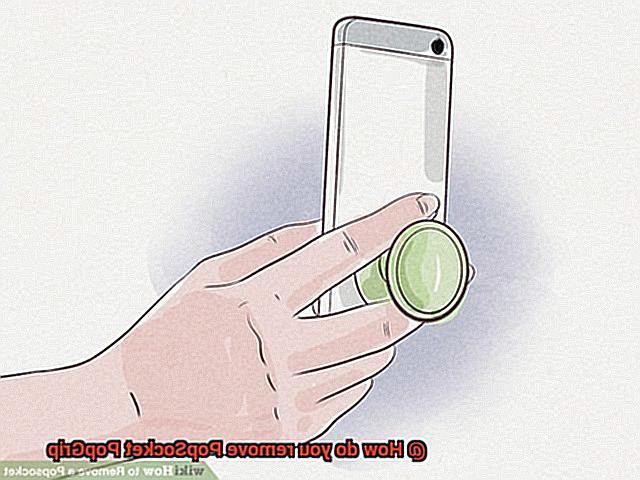
Removing a PopSocket PopGrip is a breeze.
With just a few simple steps, you’ll have your PopGrip off in no time. First, locate the base of the PopGrip and firmly press down on it.
Apply some gentle pressure and twist the grip counterclockwise. You’ll feel it loosen up as you turn.
Once it’s loose enough, simply pull the grip away from the base.
It’s as easy as pie.