Are you a DIY fanatic or a seasoned woodworking pro? If so, you know that the world of woodworking is an irresistible realm of creativity and craftsmanship. And when it comes to materials, plywood reigns supreme with its affordability, durability, and ease of use. But here’s the catch: securely joining two pieces of plywood together can be a real head-scratcher. A weak bond can mean disaster for your projects – collapsing bookshelves or wobbly workbenches are nobody’s idea of fun.
But fear not. In this blog post, we’re going to unlock the secrets behind securing two pieces of plywood together with unyielding strength. We’ll make sure your creations stand tall against the test of time.
So grab your goggles, dust off that toolbox, and prepare to dive into the captivating world of plywood bonding. We’ll explore tried-and-true techniques alongside cutting-edge innovations – everything you need to defy gravity and surpass expectations in your ambitious endeavors.
Throughout this article, we’ll equip you with essential tools, enlighten you on foolproof techniques, and introduce adhesive options that will leave no room for doubt or structural shortcomings. Whether you’re a fan of screws and nails for their simplicity, wood glues for their unwavering strength, or pocket-hole joinery for its unmatched versatility – we’ve got you covered.
Join us on this exhilarating journey as we unveil how to secure two pieces of plywood together. Get ready to elevate your woodworking game like never before.
Securing Plywood with Screws
Contents
- 1 Securing Plywood with Screws
- 2 Securing Plywood with Nails
- 3 Securing Plywood with Dowels
- 4 Securing Plywood with Biscuits
- 5 Securing Plywood with Glue
- 6 Advantages of Using Screws for Joining Plywood
- 7 Advantages of Using Nails for Joining Plywood
- 8 Advantages of Using Dowels for Joining Plywood
- 9 Advantages of Using Biscuits and Glue for Joining Plywood
- 10 Conclusion
Securing plywood is an art form, and screws are the artist’s tool of choice. With their unrivaled strength and reliability, screws create a bond that ensures plywood stays securely fastened. In this captivating guide, we will delve into the intricate details of securing plywood with screws, providing you with invaluable tips and techniques to master this essential skill.
The Perfect Screw Selection:
To achieve a rock-solid connection, selecting the right screws is paramount. Explore screws specifically designed for woodworking or plywood applications. Seek out those with sharp points and coarse threads, which offer superior grip and minimize the risk of splitting. Remember to consider the screw length based on plywood thickness and desired penetration depth.
Pilot Holes: The Foundation of Success:
Prevent disastrous splits or damage by embracing the art of pre-drilling pilot holes. These holes pave the way for smooth screw entry, sparing the wood fibers from undue stress. Match the pilot hole size to the screw shaft diameter for seamless threading.
Countersinking: A Finishing Touch of Elegance:
Elevate your plywood project’s aesthetics by embracing the wonders of countersinking. This technique involves creating recessed holes on the plywood surface, allowing screw heads to sit flush or slightly below. Not only does this provide a flawless finish, but it also safeguards against interference with other materials or potential injuries.
Spacing and Pattern: The Blueprint for Strength:
The spacing and pattern of your screws wield immense power over joint strength and stability. Strategically space screws along the plywood edges, paying extra attention to closer spacing near corners and joints for added reinforcement. Optimize your results by staggering screws in a mesmerizing zigzag or offset pattern, ensuring even load distribution and thwarting any attempts at splitting.
Unconventional Screw Placement Techniques:
Think outside the box when it comes to screw placement techniques. When joining plywood at right angles, embrace the captivating art of diagonal or toe-nailing. Drive screws through both pieces at an angle, creating a connection that defies the laws of gravity and fortifies stability.
Securing Plywood with Nails
Securing plywood with nails may seem like a straightforward task, but there are a few key techniques that can make all the difference in creating a strong and lasting bond. In this comprehensive guide, we will explore the nuances of nailing plywood together, from choosing the right nails to positioning them for maximum strength. So, grab your hammer and let’s dive into the world of securing plywood with nails.
Choosing the Right Nails:
When it comes to securing plywood, selecting the appropriate nails is crucial for a successful outcome. The type and size of nails depend on the thickness of your plywood and the specific application you have in mind. For thinner plywood, such as 1/4 inch or 1/2 inch, shorter nails around 1 inch in length are generally sufficient. On the other hand, thicker plywood, like 3/4 inch or 1 inch, may require longer nails ranging from 1.5 to 2 inches for enhanced grip and stability.

Using Woodworking Nails:
To achieve a professional finish and prevent any unsightly nail heads from protruding, it is essential to use nails specifically designed for woodworking. Finishing nails or brads are ideal choices as they boast small heads that can be easily countersunk into the surface of the plywood. This meticulous approach ensures a smooth and flush finish that adds to the overall visual appeal.
Pre-drilling Pilot Holes:
Ensuring the integrity of your plywood is paramount, which is why pre-drilling pilot holes before nailing becomes a critical step. These pilot holes should be slightly smaller than the diameter of the nails, allowing for a tight fit that minimizes the risk of splitting. By taking this precautionary measure, you can confidently proceed with securing your plywood without fear of damaging its structural integrity.
Enhancing Bonding with Wood Glue:
For those seeking an extra-strong joint, incorporating wood glue into the equation is highly recommended. Applying wood glue on the mating surfaces before nailing provides additional bonding strength between the plywood sheets. This reinforcement not only fortifies the nail connection but also creates a solid bond that withstands the test of time. Remember to remove any excess glue that may squeeze out during the nailing process for a clean and seamless result.
Securing Plywood with Dowels
Today, we embark on a journey to discover the captivating technique of securing plywood with dowels. If you yearn for a flawless and refined finish in your woodworking projects, dowels are the secret ingredient. So, let your creativity soar as we delve into the world of dowel-based connections.
Unleashing the Power of Dowels:
Imagine a world where visible fasteners vanish, replaced by an invisible bond that exudes elegance and strength. This is the magic of dowels – those exquisite cylindrical wooden rods that offer an alternative to traditional screws or nails. Not only do they create a sturdier connection, but they also lend an air of sophistication to your creations.
Essential Tools and Materials:
Before we dive into the intricacies of securing plywood with dowels, let’s ensure you have the necessary tools at your disposal. Arm yourself with dowel pins, a drill, a perfectly sized drill bit, wood glue, and clamps. With these trusty companions by your side, you’ll be ready to forge an unbreakable union.
Step-by-Step Guide:
Mark Your Territory:
Begin by marking the precise locations on both pieces of plywood where you intend to insert the dowels. Take a moment to guarantee that these marks align flawlessly – precision is paramount in achieving a seamless connection.
Drill with Finesse:
Equip yourself with a drill bit that matches the diameter of your chosen dowel pins. With steady hands and unwavering determination, create holes at the marked locations on both pieces of plywood. Remember, perpendicularity is the key to unlocking accurate results.
Embrace the Glue:
Prepare yourself for a sticky affair. Generously apply wood glue to the freshly drilled holes, ensuring its even distribution around the inner walls. This adhesive embrace will not only reinforce the connection but also solidify your craftsmanship.
Dowel Placement:
It’s time to welcome the dowel pins into the equation. Begin with one piece of plywood, gently inserting the dowel pins into their designated holes. With a vigilant eye for perfection, ensure they snugly nestle within their wooden abode. Repeat this process on the other piece of plywood.
Securing Plywood with Biscuits
In our previous section, we delved into the captivating world of securing plywood with dowels. But today, we’re going to explore another equally enchanting method – securing plywood with biscuits. Get ready to witness the magic unfold as we uncover the secrets of this elegant and sturdy joining technique.
Tools and Materials
To embark on this biscuit-filled journey, you’ll need a few key tools and materials. First up is a biscuit joiner, also known as a plate joiner. This nifty power tool is specifically designed to cut slots for biscuits. Alongside that, you’ll need biscuits themselves – small, oval-shaped wooden pieces that will play a vital role in creating a rock-solid connection. And of course, don’t forget your trusty woodworking glue.
Marking and Cutting – Precision at Its Finest
Now that you’re equipped with the necessary tools, let’s dive into the process itself. With meticulous precision, mark the location of the biscuits on the edges of your plywood pieces. Measure and mark evenly spaced intervals along the edges where you want to join the two pieces together. This step ensures not only strength but also an aesthetically pleasing connection.
With your biscuit joiner set up according to the manufacturer’s instructions, adjust the cutting depth to match the size of your chosen biscuits. Positioned at one of your marked locations, activate the tool and plunge it into the plywood, gracefully cutting a slot for the biscuit. Repeat this graceful dance for all your marked locations on both pieces of plywood.
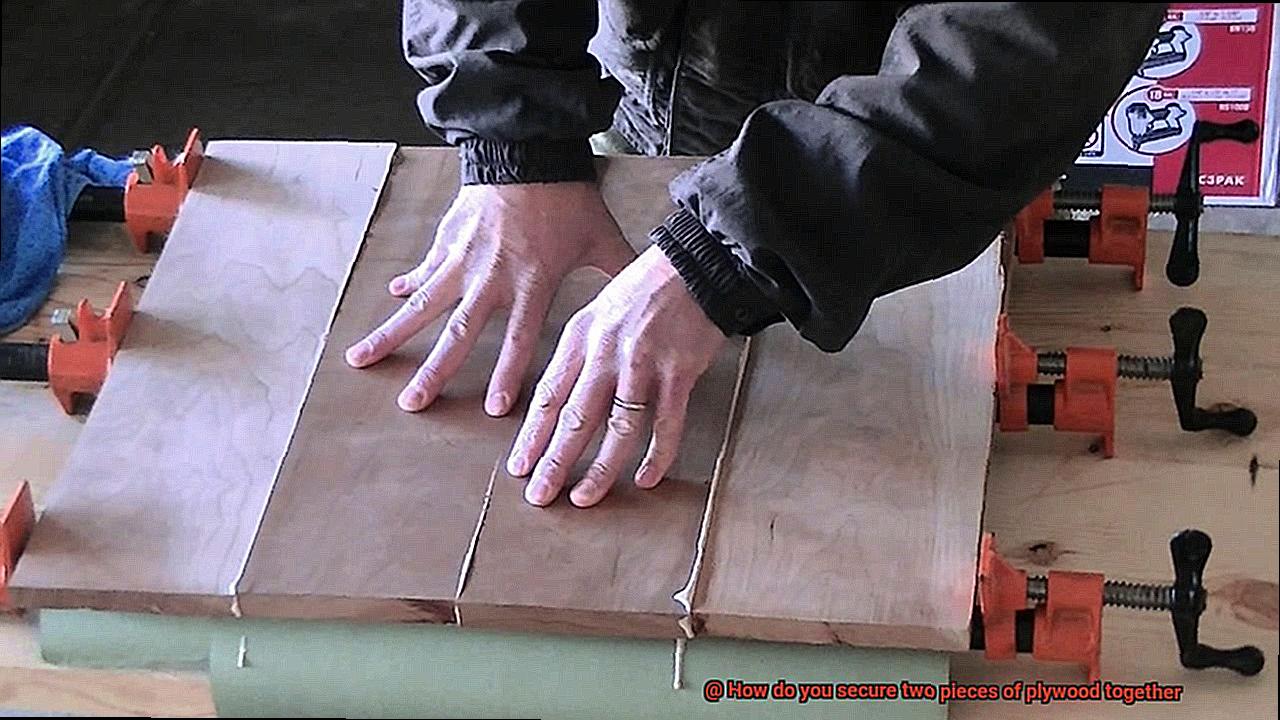
Gluing and Assembly – The Moment of Bonding
With slots cut into your plywood edges, it’s time to bring out the glue. Apply a generous amount of woodworking glue to both sides of each biscuit slot, ensuring an even and consistent coverage within each slot. Now, with the precision of a master craftsman, insert the biscuits into each slot on one piece of plywood, delicately seating them with care.
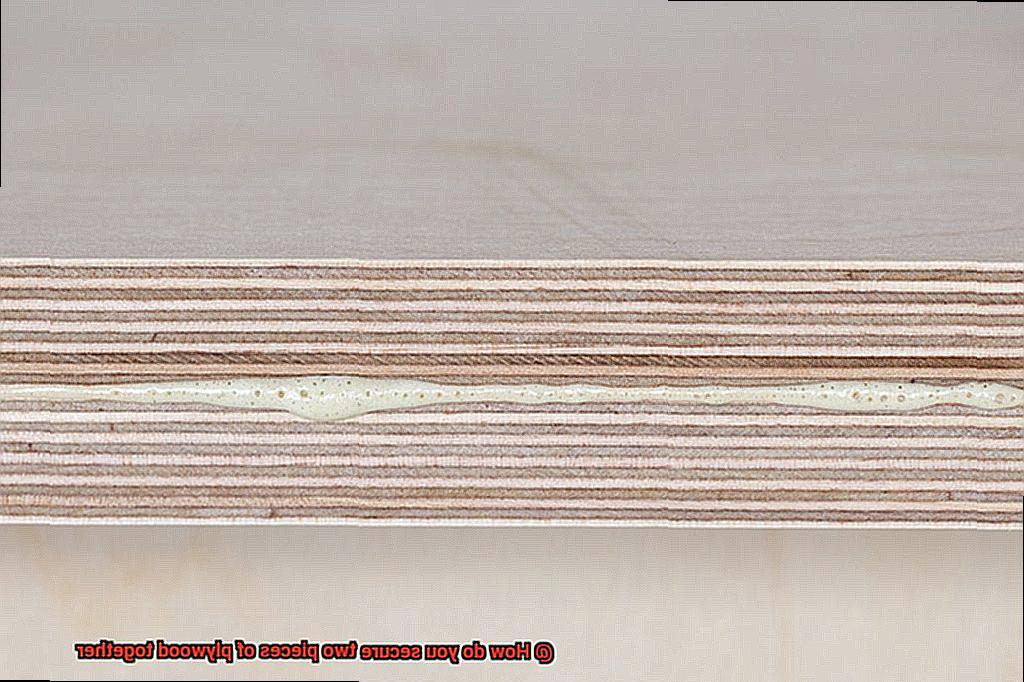
Securing Plywood with Glue
Today, we embark on a thrilling adventure into the world of securing plywood with glue. While it may not possess the same glamour as our previous magical biscuit joining technique, rest assured, it’s equally captivating. So, grab your favorite woodworking glue and let’s dive into the art of creating a strong and unbreakable bond.
Step 1: Cleanliness – The Foundation of Success
Before we unveil the secrets of our magical bond, we must first ensure our plywood surfaces are pristine. With a flick of a clean cloth or the touch of a mild detergent solution, we rid our surfaces of any hindering dust or debris. A clean canvas sets the stage for a flawless adhesion.
Step 2: Choosing the Right Glue – A Crucial Decision
Ah, the glue – the unsung hero in our quest for a steadfast bond. Wood glue emerges as our trusted companion for this mission. Designed specifically to bind wood surfaces together, including our beloved plywood, it holds the key to success. While various forms of wood glue exist, yellow glue reigns supreme in the realm of woodworking projects. Like selecting the perfect wand for a wizard, this choice is paramount.
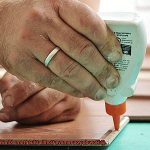
Step 3: The Artful Application – A Symphony in Motion
With clean surfaces and our trusty wood glue in hand, it’s time to create magic. Using a brush or roller, we delicately sweep an even layer of glue onto one plywood surface. Precision is key here; we want full coverage without drowning in an excessive sea of stickiness. Remember, a small amount can go a long way.
Step 4: Perfect Alignment – Where Precision Meets Perfection
As our brushstrokes dry, we bring our two plywood pieces together in perfect harmony. With meticulous precision, we align them flawlessly, ensuring that the bonded surfaces meet with absolute accuracy. This step is akin to a master conductor guiding their orchestra, striving for nothing short of perfection.
Advantages of Using Screws for Joining Plywood
Today, we embark on an exciting journey through the world of plywood joinery, uncovering the captivating advantages of using screws. Grab your tools and prepare to be amazed as we delve into the remarkable benefits that screws bring to the table.
Advantage #1: Unyielding Strength and Unwavering Durability
When it comes to securing plywood pieces, screws reign supreme. With their iron grip on the wood, screws ensure a steadfast connection that withstands heavy weights and unrelenting pressure without loosening or breaking. Say goodbye to wobbly structures and hello to unshakable stability.
Advantage #2: Effortless Installation with Pinpoint Precision
Imagine the satisfaction of effortlessly driving screws into plywood with a simple twist of a screwdriver or power drill. Unlike other joining methods, such as gluing or nailing, screws offer unparalleled control and precision during installation. This ease of use allows for quick disassembly and reassembly, making it a breeze to make adjustments or modifications in the future.
Advantage #3: Versatility at Your Fingertips
Screws are the ultimate chameleons of the woodworking world. Whether you’re working with thin or thick plywood, there’s a screw perfectly suited for your needs. These versatile fasteners come in various sizes, types, and materials, allowing you to choose the ideal screw for each specific application. Additionally, with different head types like flathead, roundhead, or Phillips head, you can cater to your project’s requirements with precision.
Advantage #4: Seamless Aesthetics and Flawless Finishes
No more unsightly holes ruining the pristine surface of your plywood masterpieces. Unlike nails or staples that leave visible marks, screws can be countersunk or concealed with wood filler, creating a seamless finish that exudes professionalism. From furniture construction to cabinetry, using screws ensures not only structural integrity but also a visually pleasing end result.
Advantages of Using Nails for Joining Plywood
In the world of woodworking, where every joint is a work of art, nails often play second fiddle to screws. But let’s not underestimate the power and versatility of these humble fasteners when it comes to joining plywood.
In this article, we’ll explore the compelling advantages of using nails for plywood projects. So grab your hammer and let’s embark on a journey that will transform your plywood creations from ordinary to extraordinary.
Indestructible Strength:
When it comes to holding things together, nails are the undisputed champions. Pound for pound, they provide unmatched strength and durability, capable of withstanding the heaviest loads and relentless pressure. Properly driven nails create an unbreakable bond that stands the test of time, ensuring your plywood masterpiece stays intact for generations to come.
Lightning-Fast Installation:
Time is of the essence, especially when you’re knee-deep in a woodworking project. Nails come to the rescue with their lightning-fast installation process. With a swift swing of your hammer, these trusty fasteners secure your plywood pieces in place, saving precious minutes and sparing you from tedious drilling or threading. Efficiency is the name of the game, and nails are your winning strategy.
Wallet-Friendly Wonder:
Woodworking can be an expensive affair, but nails offer a cost-effective solution that won’t break the bank. These budget-friendly fasteners are readily available at affordable prices, making them a practical choice for any plywood project. And here’s the icing on the cake – nails can be reused if needed, adding even more value to your investment. Say goodbye to wasted materials and hello to savings.
Flexibility at Your Fingertips:
Life is unpredictable, and so are woodworking projects. Nails offer a level of flexibility that allows for easy adjustments or repairs without causing significant damage to the plywood or surrounding materials. Need to modify your design on the fly? No problem. With nails, you can make those changes without breaking a sweat. Adaptability is the key to success, and nails provide the freedom you need.
Advantages of Using Dowels for Joining Plywood
Prepare to unlock the secrets of the mighty dowel and take your plywood projects to extraordinary heights. The humble cylindrical rod has quietly revolutionized the art of joining plywood, offering unrivaled strength, versatility, and a flawless finish. Join me as we delve into the top advantages of using dowels for joining plywood, and get ready to be blown away.
Strength that Defies Gravity:
When it comes to holding two pieces of plywood together, dowels reign supreme in the strength department. These cylindrical powerhouses provide a secure and unwavering connection, ensuring your project stands the test of time. Unlike screws or nails that risk splitting or cracking the plywood, dowels evenly distribute weight across the joint, preserving its structural integrity.
Aesthetics that Mesmerize:
Prepare to captivate onlookers with the sheer elegance of dowel joinery. By inserting dowels into pre-drilled holes, you bid farewell to unsightly screws or nails on the surface. The result? A seamless and professional finish that will leave jaws dropping. With dowels, your projects not only excel in functionality but also boast an eye-catching allure.
Effortless Assembly and Disassembly:
Say goodbye to struggles when it comes to disassembling and reassembling your plywood creations. Unlike glue or other adhesives, dowels can be easily removed without causing damage. This invaluable feature allows for convenient repairs or modifications down the line, offering you flexibility and peace of mind.
Precision Alignment and Positioning:
No more settling for mediocre alignments. Dowels grant you the power of precision when joining multiple pieces of plywood. By drilling holes at predetermined locations, you effortlessly ensure accurate alignment every time. This precise craftsmanship guarantees flawless results, making dowels an indispensable tool in your woodworking arsenal.
Versatility Unleashed:
Dowels are the ultimate chameleons in the realm of joining plywood. Whether you’re crafting furniture, cabinets, or even larger structures like sheds or playhouses, dowels provide a reliable and enduring solution. Their versatility knows no bounds, making them an indispensable choice for woodworking projects of all shapes and sizes.
Advantages of Using Biscuits and Glue for Joining Plywood
In our quest to discover the best joinery methods for plywood, we’ve explored the wonders of dowels. Now, get ready to unlock the power of biscuits and glue – a dynamic duo that will elevate your plywood projects to extraordinary heights. Let’s dive into the advantages of this unbeatable combination.
Advantage 1: Unbreakable Strength
When it comes to joining plywood, strength is paramount. Biscuits and glue deliver an incredibly sturdy bond that can withstand heavy loads and stress. These small, oval-shaped wooden pieces work hand-in-hand with the glue to create a bond that refuses to break. Say goodbye to weak joints – biscuits and glue have got you covered.
Advantage 2: Rock-Solid Stability
No more wobbly or misaligned joints. Biscuits play a crucial role in ensuring a tight and flush fit between your plywood pieces. Acting as alignment aids, they guide the surfaces into perfect harmony. The result? Unmatched stability that stands the test of time. With biscuits and glue, your plywood projects will have rock-solid foundations.
Advantage 3: Effortless Precision
Don’t let complex joinery methods intimidate you. Biscuits and glue offer an easy and straightforward assembly process. With a biscuit joiner or router, cutting slots into the edges of your plywood pieces becomes a breeze. Apply glue, insert the biscuits, and clamp the pieces together until the glue dries – it’s like magic. This method guarantees impeccable joints with precise alignment every time.
Advantage 4: Versatility at its Finest
Woodworking projects come in all shapes and sizes, but fear not – biscuits are here to save the day. These versatile joinery aids can be used to join plywood pieces of various thicknesses. Moreover, they can be combined with other methods, such as screws or dowels, to further enhance the strength and stability of your joints. With biscuits in your toolbox, you’ll always have a solution for any plywood joining challenge.
-8ADHjEGh54″ >
Conclusion
To securely join two pieces of plywood together, there are several effective methods you can employ.
One popular option is to use screws or nails, which provide a strong and reliable connection. Another technique is to utilize wood glue, applying it generously between the surfaces and clamping them tightly until the adhesive sets.
For added reinforcement, you can also incorporate dowels or biscuits into the joint, creating a sturdy and seamless bond. Additionally, using pocket hole joinery or tongue-and-groove joints can deliver exceptional stability and prevent any movement between the plywood pieces.
Whichever method you choose, be sure to carefully align the edges and apply consistent pressure during the assembly process.