Tired of being stuck in a sticky situation with hair extensions glue? Dreaming of bidding farewell to those pesky extensions without breaking the bank or booking a salon appointment? Look no further. We’ve got the inside scoop on how to liberate yourself and reclaim your natural locks right from the comfort of home.
Imagine a world where tangled tresses and sticky residue are a thing of the past. In this blog post, we’ll dive deep into the art of removing hair extensions glue without damaging your precious strands. From tried-and-tested methods to expert advice, we’ve curated the ultimate guide to seamless glue removal.
Whether you’re craving a new look or it’s time for a fresh chapter, we’ve got you covered. Our step-by-step process will help you dissolve those bonds that have kept you entranced for far too long. Get ready to raid your bathroom cabinet for secret weapons that make extension removal a breeze.
From oils to solvents, we’ll explore easy-to-use and budget-friendly alternatives that promise to make your glue-induced woes disappear. Say goodbye to frustration and hello to freedom as we share tips and tricks for maintaining healthy, vibrant natural hair.
So grab a cup of tea, kick up your feet, and let us be your guide on this fascinating journey of hair extensions glue removal. Armed with newfound knowledge, you’ll take control of your hair destiny and experience the liberation you’ve been longing for.
What is Hair Extension Glue?
Contents
- 1 What is Hair Extension Glue?
- 2 Popular Methods for Removing Hair Extension Glue At Home
- 3 Using Coconut Oil to Remove Hair Extension Glue
- 4 Using a Specialized Glue Remover to Remove Hair Extension Glue
- 5 Using Heat to Remove Hair Extension Glue
- 6 Tips For Removing Hair Extension Glue At Home
- 7 Aftercare For the Hair and Scalp After Removing Hair Extensions
- 8 Conclusion
Hair extensions have revolutionized the world of hairstyling, offering a quick and effective way to transform our look. At the heart of this transformative process lies hair extension glue, a magical adhesive that creates a seamless bond between our natural hair and extensions. In this guide, we will delve into the captivating realm of hair extension glue, exploring its various forms, application techniques, and safe removal methods for a truly enchanting hair extension experience.
The Enigma of Hair Extension Glue:
Hair extension glue is a masterful adhesive concoction meticulously crafted to provide an unbreakable and long-lasting bond between extensions and natural hair. Its versatile nature presents us with a plethora of options, including liquid, tape, and keratin-based formulations, each possessing its own unique charm.
Unraveling the Mystery: Types of Hair Extension Glue:
- Liquid Hair Extension Glue: This ubiquitous form of glue comes packaged in a dainty bottle, equipped with a brush applicator that effortlessly glides onto your tresses. It boasts swift drying capabilities and forms an unwavering bond capable of enduring weeks.
- Tape Hair Extension Glue: An alluring alternative that beckons with user-friendly charm. Comprising double-sided adhesive tapes, it delicately adheres to extension wefts before gracefully embracing your natural locks. Easy application and damage-free removal make it a darling choice.
- Keratin-Based Hair Extension Glue: This captivating creation manifests as small capsules or pellets awaiting their transformation within the fiery embrace of a fusion iron. As the molten keratin cascades onto your hair and extensions, it weaves an unbreakable bond that can span months.
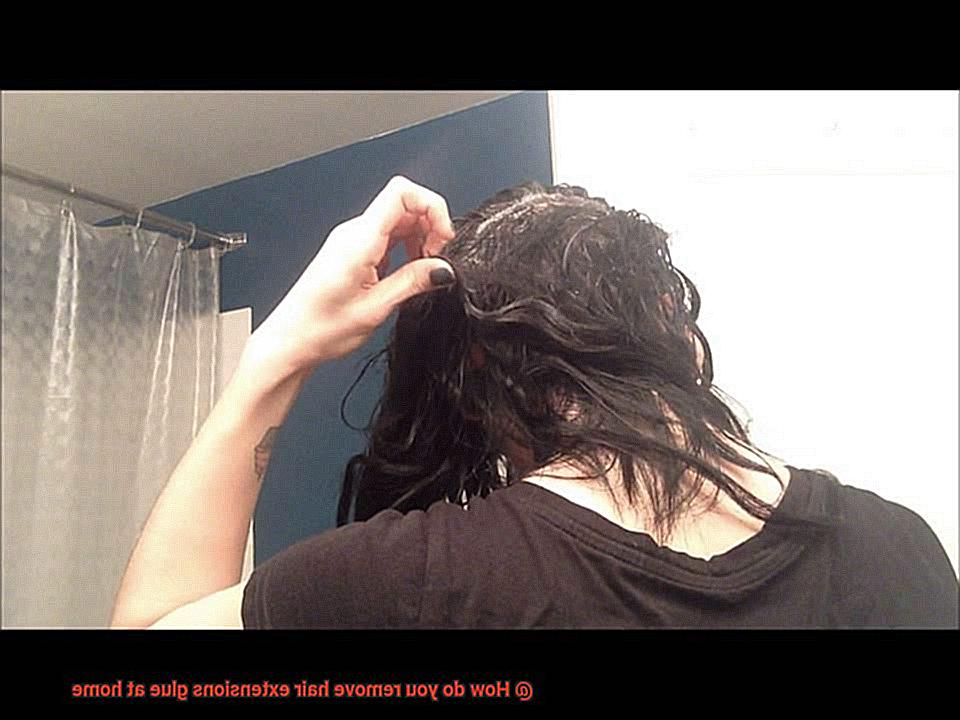
Popular Methods for Removing Hair Extension Glue At Home
Enhancing your hair with extensions is like adding a touch of magic to your look. But when it’s time to bid farewell to those extensions, removing the glue can feel like breaking a spell. Fear not, my fellow hair aficionados. As an expert in the realm of hair care, I am here to reveal the most popular methods for removing hair extension glue at home. So gather your arsenal of oil, heat, and adhesive removers, and let’s embark on this enchanting journey.
Method 1: The Power of Oil
Unlock the secret to effortless removal with oil-based products such as coconut oil, olive oil, or baby oil. These elixirs possess the ability to loosen even the most stubborn glue. Begin by applying the oil to the glued area and gently massaging it in. Allow a few minutes for the magic to work, then carefully comb through your hair to release any loosened extensions. Repeat this enchanting ritual until all extensions have been set free.
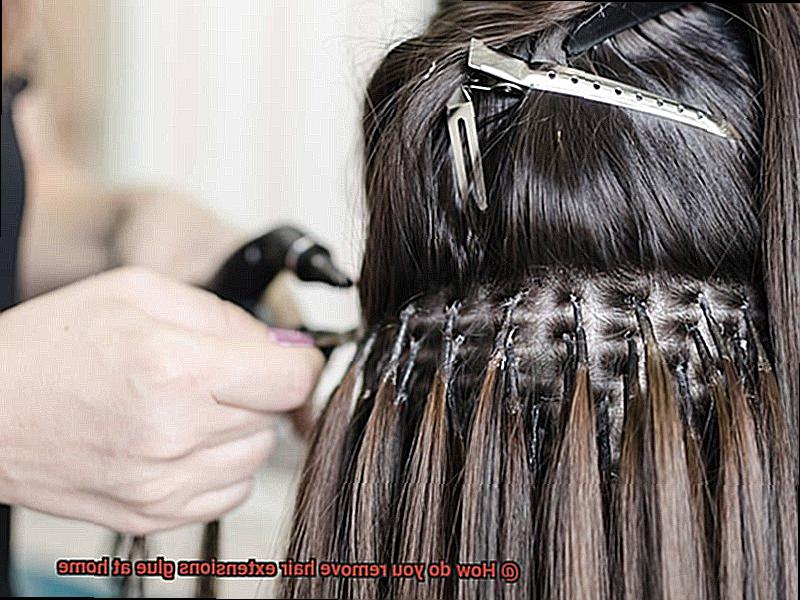
Method 2: Harnessing the Power of Heat
Unleash the power of heat upon the glue, but wield it with caution. Utilize a blow dryer on a low heat setting or drape a warm towel over the glued area. This sorcery will melt the glue, making it pliable and easier to remove. However, remember to tread carefully to prevent burns or harm to your natural tresses. We aim for lustrous locks worthy of admiration, not a fiery catastrophe.
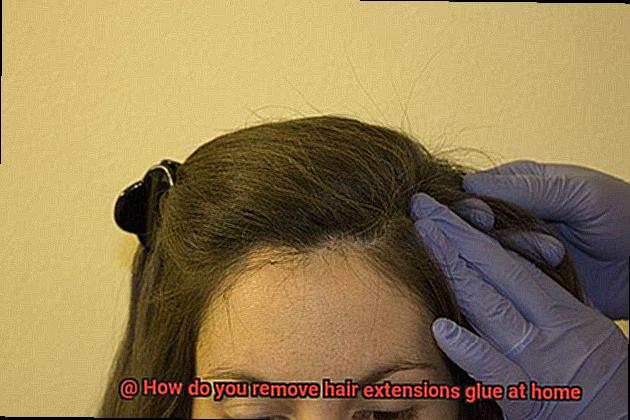
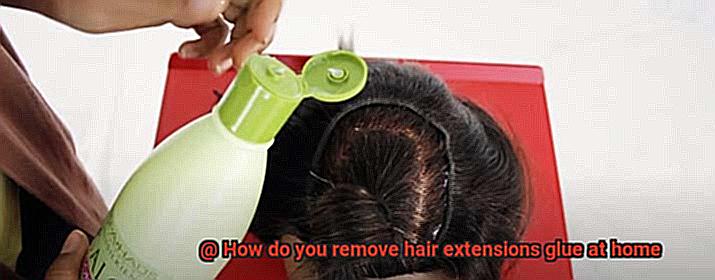
Method 3: The Potion of Adhesive Removers
For those seeking a specialized approach, seek out adhesive removers designed specifically for hair extensions. These enchanted potions dissolve the glue without causing harm to your natural strands. Follow the instructions diligently, applying the elixir to the glued area. Allow it to work its magic for a few minutes before gently combing through your hair to banish those extensions like a true sorcerer.
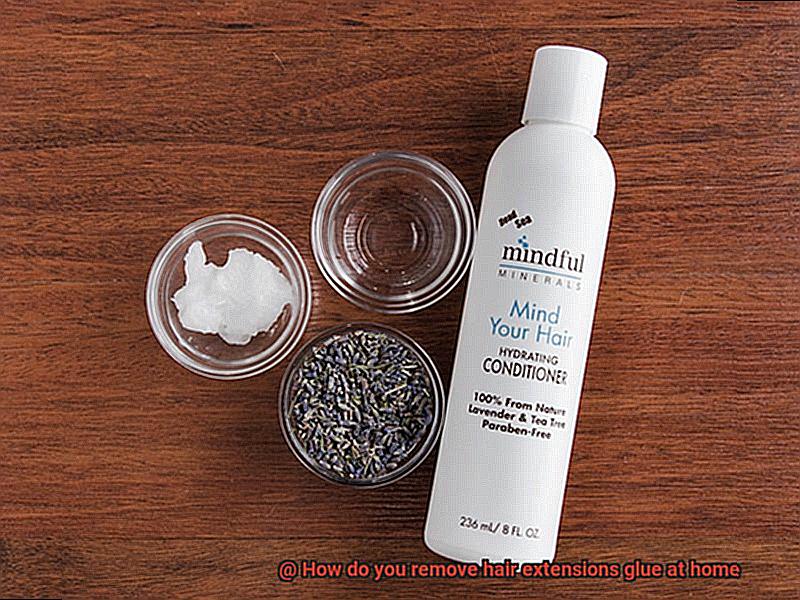
Using Coconut Oil to Remove Hair Extension Glue
Prepare to be enchanted as we delve into the captivating world of using coconut oil to effortlessly banish that stubborn adhesive. As a hair care expert, I am thrilled to share this magical method with you. So, gather your materials and embark on this enchanting journey to reveal your natural tresses once again.
Step 1: Assemble Your Magical Arsenal:
Step 2: Enter the Realm of Preparation:
Before we unveil the coconut oil’s powers, it is essential to prepare your hair extensions. With the wide-tooth comb as your wand, gently detangle and separate the hair. This preliminary step ensures an even application of the coconut oil, maximizing its effectiveness.
Step 3: Invoke the Power of Coconut Oil:
Now, prepare to unleash the magic. Apply a generous amount of coconut oil onto the hair extension glue, ensuring complete saturation. Through its extraordinary properties, the coconut oil dismantles the adhesive nature of the glue, gradually releasing its hold on your hair.
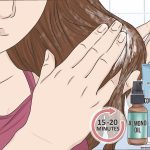
Step 4: Unleash the Magic Touch:
With steady hands and gentle circular motions, massage the coconut oil into the glue. This bewitching act allows the oil to penetrate deep into the adhesive, gradually weakening its grasp. Wrap your hair extensions with a towel and allow them to rest for at least 30 minutes. During this time, allow the coconut oil to weave its spell and dismantle the glue effectively.
Step 5: The Dance of Liberation:
As time unfurls its magic, remove the towel and delicately comb through your hair extensions with the wide-tooth comb. Witness the gleeful liberation as the softened glue effortlessly disengages from your strands. This mesmerizing sight will leave you spellbound.
Using a Specialized Glue Remover to Remove Hair Extension Glue
Bid farewell to the remnants and embrace your natural locks once more with the aid of a specialized glue remover. In this article, we’ll take you on a mesmerizing journey through the steps of using this enchanting elixir, guaranteeing a safe and effective hair transformation right from the comfort of your own home. Sit back, relax, and let’s dive into the magical world of glue removal.
Step 1: Assemble Your Arsenal
Before embarking on this extraordinary quest, gather all the necessary tools. Arm yourself with a specialized glue remover (easily acquired from beauty supply stores or online), a trusty comb or brush, a soft towel or cloth, and an ever-reliable hairdryer. Prepare to unleash your inner hair artist.
Step 2: Untangle and Prepare for Glory
Prepare for greatness by untangling any knots or snags in your extensions before delving into glue removal. With gentle strokes, comb or brush through your locks, ensuring a smooth canvas for this transformative process. Embrace the power of preparation.
Step 3: Apply the Potion of Liberation
Get ready to work your magic – it’s time to apply the specialized glue remover. With care and precision, dispense a generous amount of the remover directly onto the glued areas of your extensions. Remember, avoid contact with your natural hair to prevent any unwanted damage. Let the liberation begin.
Step 4: Let Time Unveil its Wonders
Allow time to weave its spell as you let the potion work its wonders. Consult the instructions provided with your glue remover to determine the recommended waiting time. Whether it’s just a few fleeting minutes or an indulgent half-hour, savor the anticipation as the remover dissolves the adhesive’s grip.
Step 5: Erase the Ghosts of Glue Past
Bid farewell to the dissolved glue as you wipe away its remnants. Reach for your trusty towel or cloth and gently remove any traces of the adhesive from your extensions. Don’t fret if you need to repeat this step – sometimes, stubborn glue requires an extra touch of persistence. Embrace the power of determination.
Using Heat to Remove Hair Extension Glue
In our previous escapade, we unraveled the mysteries of adhesive ghosts and mystical potions. Today, we embark on a quest to uncover the power of heat, a formidable weapon in our arsenal. So gather your trusty hairdryers and flat irons, for we shall discover the secrets of using heat to liberate your natural locks from the clutches of hair extension glue.
The Spellbinding Power of Heat:
Heat, a tried-and-true method, possesses the sorcery to soften hair extension glue, allowing for its gentle removal without harm to your precious strands. Like a warm embrace, it loosens the adhesive’s grip, allowing you to reclaim your natural beauty.
Hairdryer: Your Loyal Companion:
Your faithful hairdryer shall be your companion on this magical sojourn. Set it to the lowest heat setting and aim its breath at the bonded area. Keep it a few inches away from your hair and dance it around gracefully to evenly distribute the warmth. Behold. The glue begins to melt before your very eyes.
Fingers and Combs: Gentle Touches:
With the glue yielding under the spell of heat, it is time for your nimble fingers or a fine-tooth comb to work their magic. Gently attempt to separate the bonded area, but do take heed not to pull or tug too forcefully. We wish no casualties in this enchanting tale.
Amplifying the Heat:
Should the glue prove stubborn in its adherence, fear not. You can slightly increase the heat or elevate your hairdryer’s setting. But beware, dear reader, excessive heat can bring harm upon both your extensions and natural locks. Wield this power judiciously and with caution.
The Flat Iron’s Enchantment:
For those yearning for an alternate tool of enchantment, the flat iron awaits to grant your desires. Set it to a low temperature and delicately clamp it down on the bonded area for a few fleeting seconds. The glue shall melt under its touch, making removal effortless. Yet, be wary of lingering too long or unleashing excessive heat upon your tresses.
Tips For Removing Hair Extension Glue At Home
Safely removing hair extension glue is paramount to protect your natural hair from damage. Different types of glue, including keratin glue, tape-in glue, and bonding glue, require specific removal methods. In this article, we will delve into the significance of proper removal techniques and provide comprehensive step-by-step instructions for removing various types of hair extension glue at home.
Keratin Glue Removal: A Delicate Process
Removing keratin glue, commonly used for fusion extensions, necessitates a specialized keratin glue remover solution. Begin by applying the solution to the bonds, allowing it time to penetrate the glue. With gentle pressure, slide the bonds off the hair strands. Patience is key to minimize any risk of breakage.
Tape-In Glue Removal: Gentle and Precise
For tape-in extensions, an adhesive remover formulated for this specific glue type is essential. Apply the remover to the tape bonds and give it a few minutes to work its magic. Then, delicately peel off the extensions, ensuring not to exert excessive force or tug harshly as this may lead to hair breakage.
Bonding Glue Removal: Dissolving with Care
Bonding glue is predominantly used for strand-by-strand or fusion extensions. To remove this formidable adhesive, an acetone-based solvent or a specialized bonding glue remover is recommended. Apply the solvent directly to the glued area and patiently comb out the extensions as the glue loosens its grip.
Additional Tips for Ease of Glue Removal:
Harnessing Heat: Prioritize Softening
Harnessing heat can be advantageous in softening the glue before removal. Using a hairdryer set on low heat, gently warm up the glued area to loosen the adhesive.<
Soak and Loosen Residue: Warm Water Method
Soaking the extensions in warm water aids in loosening any remaining residue. This step facilitates a smoother removal process.
Combing Through and Clearing: Fine-Tooth Comb or Extension Brush
To ensure thorough removal of any residual glue, use a fine-tooth comb or a specialized extension brush to carefully comb through the hair. This technique helps eliminate any lingering adhesive residue.
Patience and Gentleness: Preserve Hair Health
Throughout the removal process, exercising patience and avoiding forceful pulling or tugging is vital. Such actions can inflict damage upon your natural hair. Proceed gradually, allowing the removal products to effectively break down the glue.
Seek Professional Help if Required:
If uncertainty arises during the removal process or if complications occur, it is advisable to seek professional help. A hairstylist or salon technician experienced in hair extension removal can ensure a safe and proper removal, prioritizing the health of your natural hair.
Aftercare For the Hair and Scalp After Removing Hair Extensions
Now it’s time to give your hair and scalp some well-deserved TLC. In this comprehensive guide, we will walk you through the crucial steps for effective aftercare that will restore your hair’s natural health and prevent any damage or irritation to your scalp. So, let’s dive in and discover the secrets to maintaining gorgeous, healthy hair post-extension removal.
Step 1: Gentle Cleansing
The first step is to gently cleanse your hair using a mild shampoo and lukewarm water. Avoid hot water as it can strip away natural oils and further dry out your strands. Be sure to give your scalp and hair a soothing massage to remove any residue left behind by the glue or adhesive used for the extensions. Rinse thoroughly to ensure a clean slate.
Step 2: Conditioning Treatment
After cleansing, indulge your hair with a luxurious deep conditioning treatment or hair mask. Opt for products specially formulated for damaged or chemically treated hair, as they will work wonders in repairing any potential damage caused during the removal process. Leave the treatment on for the recommended time, allowing it to deeply nourish and replenish your locks. Rinse thoroughly for luscious, revitalized hair.
Step 3: Scalp Massage
Pamper yourself with a blissful scalp massage. Using the tips of your fingers, gently stimulate your scalp in circular motions for a few minutes every day. This delightful practice not only enhances blood circulation, promoting healthy hair growth, but also ensures that natural oils are evenly distributed throughout your scalp, keeping it moisturized and nourished.
Step 4: Avoid Heat Styling
Give your hair a well-deserved break from heat styling tools such as flat irons, curling irons, and blow dryers for a few days after removing your extensions. Your hair may be more delicate and susceptible to damage during this time, so embrace your natural texture and allow your strands to air dry. If you simply can’t resist the allure of heat styling, remember to shield your tresses by applying a heat protectant spray prior to styling.
JTI-fhMFXbY” >
Conclusion
In conclusion, don’t let the thought of removing hair extensions glue at home intimidate you. Armed with the right knowledge and techniques, you can bid farewell to those stubborn extensions and reclaim your natural locks without breaking the bank or scheduling a salon appointment.
Throughout this article, we’ve explored a range of methods for tackling hair extension glue, from the power of oil to the magic of heat and specialized glue removers. Whether you choose to harness the effortless adhesive-banishing abilities of coconut oil or opt for a safe and effective removal process with a specialized glue remover, there’s an option to suit your preferences.
Patience and gentleness are key when it comes to removing glue without causing damage to your natural hair. By taking proper care during the removal process, you’ll ensure that your hair remains healthy and vibrant.
Once your extensions are gone, it’s important to give your hair and scalp some extra TLC. Treat yourself to gentle cleansing with a mild shampoo, indulge in a conditioning treatment or nourishing hair mask, pamper yourself with soothing scalp massages, and give heat styling tools a break for a few days.
Remember, if you’re unsure or encounter any complications during the removal process, it’s always wise to seek professional help from an experienced hairstylist or salon technician who specializes in hair extension removal.
By following these expert tips and techniques, you’ll be well-equipped to remove hair extensions glue at home while maintaining the health and beauty of your natural locks.