Picture this: a jaw-dropping vintage car gliding down the road, its flawless paint job catching everyone’s eye. But hold on, there’s something missing – that touch of sophistication and practicality that only rubber trim can provide. Now, how do you attach rubber to paint without compromising the car’s exquisite appearance? Well, my curious readers, fasten your seatbelts as we embark on an exhilarating journey into the world of adhesive mastery.
Are you a die-hard automotive enthusiast yearning to refurbish or upgrade your beloved vehicle? Or perhaps you’re a passionate DIYer always on the lookout for ingenious ways to elevate your paintwork. No matter what drives you, one thing is certain – we’ve got a solution that will captivate your senses.
In this blog post, we’ll uncover the secrets behind flawlessly bonding rubber to paint, ensuring a seamless and long-lasting finish. We’ll delve into the crucial factors that contribute to achieving an unbreakable bond, exploring adhesive options, surface preparation techniques, and indispensable tips and tricks for achieving professional-grade results.
Discover why selecting the right adhesive is paramount and explore various types that stand the test of time. Plunge into the significance of meticulous surface preparation, including thorough cleaning and priming, to establish a rock-solid foundation for adhesion. Moreover, gain exclusive insights into optimizing the application process for unparalleled outcomes.
So whether you strive for automotive excellence or simply crave a stunning makeover in your surroundings, our comprehensive guide will equip you with all the knowledge necessary to conquer any bonding endeavor. Get ready to effortlessly and expertly stick rubber to paint like never before.
Cleaning the Surfaces
Contents
In the realm of sticking rubber to paint, the secret to a robust and enduring bond lies in meticulous surface cleaning. This article unveils an expert guide, presenting essential steps for thoroughly cleaning both rubber and paint surfaces. Get ready to unlock the key to achieving optimal adhesion.
Step 1: Assemble Your Arsenal of Cleaning Supplies
Before diving into the cleaning process, gather all the necessary materials. Arm yourself with a mild detergent, water, a soft cloth or sponge, and possibly a scrub brush for those stubborn stains. Remember, always opt for non-abrasive cleaners to safeguard the integrity of both the paint and rubber surfaces.
Step 2: Reviving the Painted Surface
Begin by moistening your cloth or sponge with water, then add just a touch of mild detergent. With gentle strokes, scrub away at the painted surface, leaving no corner untouched. Pay special attention to any unsightly dirt or greasy spots that demand extra care and cleansing.
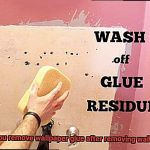
Step 3: Banishing Soap Residue
Rinse your cloth or sponge thoroughly with clean water, ensuring every trace of soap residue is wiped away from the painted surface. A crucial step indeed, as any lingering detergent can disrupt the adhesive properties of the rubber glue.
Step 4: Nurturing the Rubber Surface
Now it’s time to focus on the rubber surface. Keep in mind that different types of rubber may require specific cleaning methods. In most cases, a mild detergent solution will work wonders. However, if you’re dealing with delicate rubber materials, consult the manufacturer’s recommendations for tailored cleaning techniques.
Step 5: Gently Exfoliate with Soapy Solution
Apply your soapy solution onto the rubber using a cloth or sponge, treating it to a pampering exfoliation session. Be sure to rid the rubber of any dirt or grime. Remember, handle with care and avoid abrasive materials that could mar the rubber’s surface.
Step 6: Rinse and Dry with Finesse
Bid farewell to soap residue by thoroughly rinsing the rubber surface with clean water. Once done, either pat it dry with a pristine cloth or let it bask in the gentle caress of air until it is perfectly dry. Only then can you proceed with the adhesive application.
Using Contact Cement
Get ready to dive into the fascinating world of contact cement, where rubber and paint come together in a bond that defies gravity. If you’re seeking an adhesive that sticks like glue, look no further. So, grab your apron and let’s embark on this adhesive adventure.
Prepare for Success:
Before we begin this journey of adhesion, cleanliness is key. Dust, dirt, and grease are foes to our unbreakable bond. Arm yourself with cleaning supplies and scrub those surfaces until they gleam.
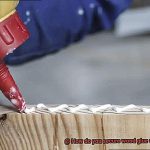
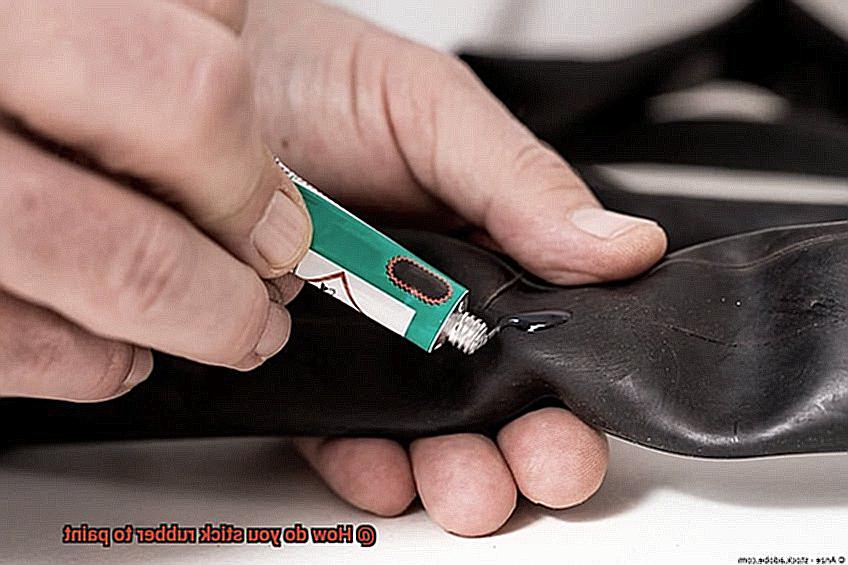
Apply with Precision:
Now comes the exciting part – the application of contact cement. With brush or roller in hand, delicately coat both rubber and painted surface with a thin, even layer of adhesive. It’s a dance of precision, ensuring every inch is covered for optimal bonding potential.
Patience is Key:
As much as we yearn for immediate results, patience is our greatest virtue. Allow the contact cement to dry for the manufacturer’s recommended time. It may feel like an eternity, but trust me – the wait will be worth it.
The Perfect Union:
Now comes the moment we’ve all been waiting for – the bonding ceremony. Align the rubber with the painted surface meticulously, creating a seamless fit that defies logic. Once aligned, press them together firmly, applying even pressure across every inch. Those sneaky edges and corners crave attention too.
Let It Cure:
Our rubber and paint have become one, but we’re not quite finished yet. To ensure a bond that stands the test of time, let the adhesive cure for at least 24 hours. During this period, resist any temptation to stress or strain the newly formed bond. Patience truly pays off.
Using Epoxy Adhesives
Title: Mastering the Art of Using Epoxy Adhesives: Strong Bonds, Unbreakable Connections
Introduction:
Step into the world of adhesive mastery as we embark on a captivating journey through the realm of epoxy adhesives. From bonding rubber to paint surfaces with unwavering strength to ensuring a flawless connection, this guide will equip you with the knowledge and skills needed to conquer every adhesive challenge that comes your way. Are you ready to unleash the power of epoxy adhesives? Let’s dive in.
Step 1: Equipped for Success
Before you begin your adhesive conquest, gather all the necessary tools and materials. Arm yourself with epoxy adhesive, comprising two components – resin and hardener. Additionally, grab a suitable solvent or cleaner, brushes or spatulas for precise application, clamps (if required), and ensure your rubber and paint surfaces are primed and ready for bonding.
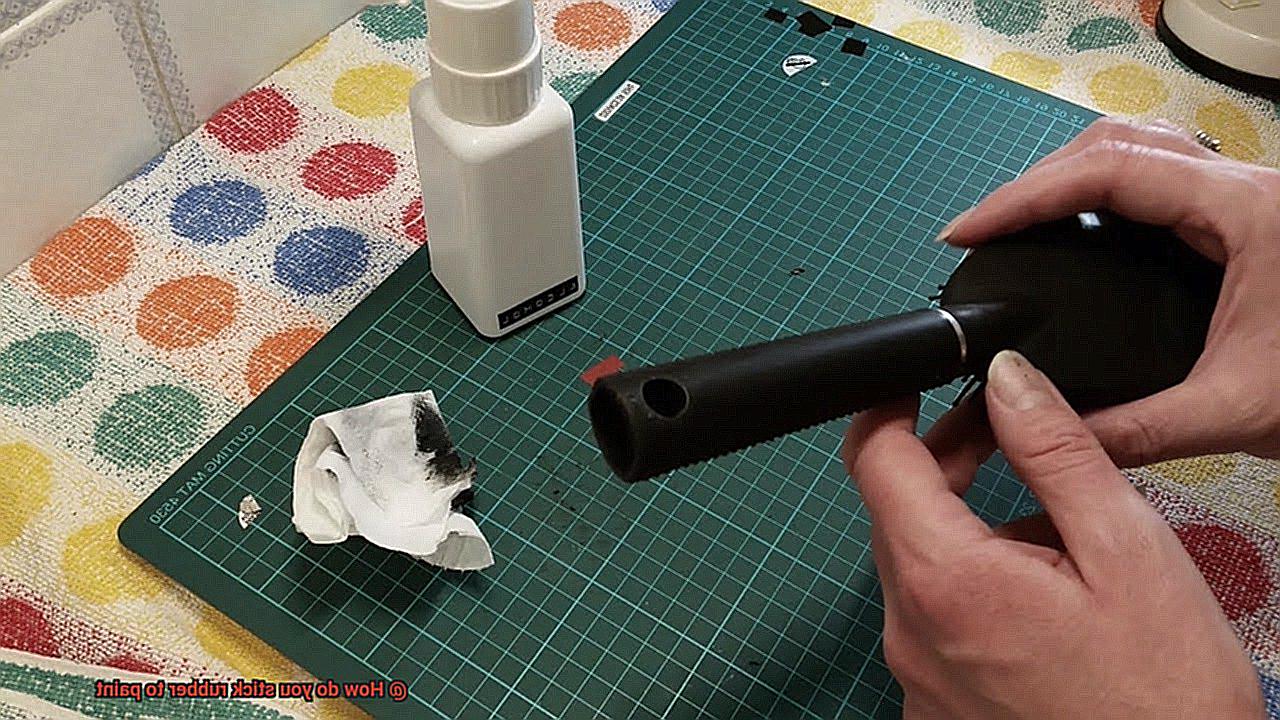
Step 2: The Cleanliness Crusade
A clean canvas sets the stage for a masterpiece bond. Ensure both the rubber and paint surfaces are pristine, devoid of any dirt, grease, or moisture. A quick wipe with a compatible solvent or cleaner will transform them into the perfect foundation for an unbreakable connection.
Step 3: Unleashing the Alchemy
Prepare to witness the magic of epoxy adhesives come to life. Combine equal parts of the resin and hardener components, adhering closely to the manufacturer’s instructions for the correct ratio. This alchemical union is the key to unlocking unparalleled bonding strength.
Step 4: Precision Application
With your mixed epoxy adhesive in hand, it’s time to apply it with finesse onto both the rubber and paint surfaces. Employ brushes, spatulas, or applicators to ensure an even distribution of adhesive, forming an invisible bridge between the materials.
Step 5: The Power of Pressure
Now comes the moment of truth – pressing together the rubber and paint surfaces to forge an unyielding bond. Apply firm pressure, utilizing clamps for added strength or relying on the might of your hands alone. The connection should be unwavering, ensuring a secure and lasting union.
Enhancing the Bond with Sandpaper
Prepare to witness the transformation of your rubber-to-paint bond as we delve into the captivating world of sandpaper. This unassuming tool holds the key to unlocking unbreakable connections. So gear up and let’s embark on a journey that will revolutionize your adhesive game.
Preparing the Battlefield
To ensure victory in our adhesive conquest, gather your supplies: sandpaper with suitable grit size, a clean cloth, and rubbing alcohol or degreaser. Cleanliness is paramount as we eliminate any dirt, dust, or grease that may hinder our bond. Ready yourselves for the ultimate challenge.
Sanding – The Art of Roughening
Now, it’s time to unleash the true power of sandpaper. With gentle circular or back-and-forth motions, create a slightly roughened texture on both rubber and painted surfaces. We’re not looking to remove mountains of material; we want to provide a Velcro-like surface for our adhesive to cling onto.
Choosing the Right Grit
The grit of sandpaper is our critical element in this battle plan. For most applications, a finer grit around 220 will suffice. It creates a smoother texture without sacrificing material. However, in the face of smooth or glossy paint surfaces, a coarser grit around 120 becomes our weapon of choice. Choose wisely, my adhesive warriors.
Even Pressure and Circular Motion
As you sand, apply even pressure and maintain a circular or back-and-forth motion. This ensures an even distribution of abrasion across the surfaces, leaving no weak spots that could threaten our bond. We strive for perfection in every inch of our connection.
The Final Touches
With sandpaper’s work complete, it’s time for the adhesive’s grand entrance. Wipe away debris and dust using a clean cloth. Then, armed with rubbing alcohol or degreaser, prepare both surfaces for the adhesive’s embrace. This step ensures a flawless foundation for our bond.
Considering Compatibility of Materials
In our previous section, we explored the thrilling world of sandpaper and its role in creating unbreakable connections between rubber and paint. Today, we dive deeper into the importance of considering the compatibility of materials when attempting this sticky feat. So gear up and get ready to become masters of material compatibility.
Understanding the Materials:
Before we embark on our bonding adventure, let’s take a moment to understand our key players – rubber and paint. Rubber, the flexible and elastic hero, comes in various compositions like natural, synthetic, or silicone rubber. On the other hand, we have paint, the protective and aesthetic coating crafted from materials such as acrylic, enamel, or latex.
Chemical Composition and Physical Properties:
When it comes to adhesive bonding, chemical composition and physical properties hold the key to success. We need an adhesive that can create a strong bond while preserving the unique qualities of rubber and paint.
Surface Energy: A Harmonious Attraction
Picture this: one material repels the other – not exactly a recipe for success, right? That’s where surface energy swoops in to save the day. For adhesive bonding to work its magic, the surface energy of rubber and paint should be relatively similar. A significant difference can spell disaster, leading to weak bonds or even delamination. So our mission is clear – finding an adhesive that bridges this energy gap.
Flexibility: Staying Strong through Thick and Thin
Flexibility is rubber’s superpower – it can stretch and withstand deformation like a true adhesive warrior. But to face the changing tides of temperature or mechanical stress, we need an adhesive that matches rubber’s impressive flexibility characteristics. Only then can our bond remain unyielding under any circumstance.
Chemical Compatibility: The Perfect Love Triangle
Ah, chemistry. While it may have caused some heartache in high school, it plays a vital role in adhesive compatibility. Some adhesives contain solvents or chemicals that can react with either rubber or paint, leading to degradation or discoloration. To avoid any chemistry-induced disasters, we must choose an adhesive that plays well with both materials – a match made in adhesive heaven.
Testing Adhesive on a Small Area
Before we embark on this sticky quest, let’s not forget the pivotal step that separates the adhesive wizards from the novices – testing the adhesive on a small area. Get ready to don your lab coat and embrace the thrilling process of finding the perfect bond.
The Importance of a Small Area Test:
Rubber Revelations: Unleashing the Types:
Rubber comes in all shapes and forms – natural, synthetic, silicone – each with its unique personality. To unlock that magical bond, you need an adhesive that speaks the language of your rubber companion. Through testing on a small area, you can uncover the adhesive that harmonizes perfectly with your rubber’s individuality.
Paint Parade: A Kaleidoscope of Colors:
Just like a vibrant parade, paint dazzles us with its kaleidoscope of options – acrylics, enamels, latex galore. To achieve adhesion nirvana, selecting an adhesive that syncs seamlessly with your specific paint type is paramount. Testing on a small area allows you to find that elusive union.
The Sanctity of Cleanliness:
In this sacred realm of adhesion, cleanliness reigns supreme. Banishing dirt, grease, and loose paint from the surface paves the way for optimal bonding. Prepare the stage for your adhesive test by eliminating any obstacles that may thwart your success.
The Dance Floor: Choosing the Perfect Spot:
Now that your surface is pristine, it’s time to choose a test area. Seek out a hidden nook or a discreet corner, where any potential damage during testing won’t raise eyebrows. Safety first, my adhesive warriors.
Unleashing the Adhesive:
With your chosen adhesive in hand, unleash its power following the manufacturer’s instructions. Apply a thin, even layer across the selected area, ensuring every inch is coated in adhesive perfection. Let your adhesive prowess shine through.
Alternatives to Glue or Adhesive
Are you ready to embark on a thrilling journey into the world of alternative bonding methods? Picture this: you need to stick rubber to paint, but glue or adhesive is out of the question. Fear not. In this captivating exploration, we will unveil a range of alternatives that will leave your rubber and paint bonded stronger than ever before.
From magical double-sided tape to heat-activated wonders, we’ve got you covered. So buckle up, hold on tight, and get ready for an exhilarating ride into the realm of alternative bonding.
Double-Sided Tape or Adhesive Strips:
Prepare to be amazed by the sheer brilliance of double-sided tape or adhesive strips. These versatile products possess a magical quality – adhesive on both sides. Crafters and DIY enthusiasts swear by them for their strong bond. Simply apply these wonders to both the rubber and painted surface, and ta-da. You’ve achieved an unbreakable connection.
Rubber Cement or Contact Cement:
For those seeking specialized options, look no further than rubber cement or contact cement. These adhesives are tailor-made for bonding rubber materials, creating a bond that is both robust and flexible with paint. But beware: follow instructions diligently, as these adhesives often demand proper ventilation and drying time.
Velcro:
In need of a bond that’s as secure as it is removable? Say hello to Velcro, your ultimate savior. With its ingenious hook and loop components, Velcro enables you to attach the hook side to the rubber and the loop side to the painted surface. This delivers a steadfast bond while offering the convenience of easy detachment, making it perfect for temporary applications.
Heat-Activated Adhesives:
Feel the heat? Well, that’s precisely what you need for this mind-blowing bonding method. Enter the world of heat-activated adhesive tapes or films. Apply them to the rubber and painted surface, then apply heat to activate the adhesive, creating an unbreakable bond. Just remember: precise temperature control is vital, and compatibility with your specific rubber and paint materials must be ensured.
pxbrVXB7XXA” >
Conclusion
When it comes to sticking rubber to paint, there are a few techniques you can try. First and foremost, it’s important to ensure that both the rubber and the painted surface are clean and free from any dirt or debris. This will help create a strong bond between the two materials.
One method you can use is adhesive bonding. There are specialized adhesives available that are designed specifically for bonding rubber to paint. These adhesives often come in a liquid or gel form and can be applied directly to the surfaces you want to stick together.
Before applying the adhesive, make sure to read and follow the manufacturer’s instructions carefully. Apply a thin, even layer of adhesive to both the rubber and painted surface, then press them firmly together. It’s important to apply pressure evenly across the entire area to ensure a secure bond.
Another option is using double-sided tape or adhesive strips. These can be particularly useful for smaller or lighter rubber objects. Simply cut the tape or strip to the desired length, peel off one side of the protective backing, and press it firmly onto the painted surface. Then, remove the remaining backing and carefully place your rubber object onto the exposed adhesive.
If you’re looking for a more temporary solution, such as attaching rubber mats or grips to a painted surface, suction cups can be an effective choice. Wetting the suction cup slightly before pressing it onto the paint can help create a stronger seal.
In conclusion, sticking rubber to paint requires proper preparation and choosing the right method for your specific needs. Whether you opt for adhesive bonding, double-sided tape, or suction cups, following these steps will help ensure a successful bond between these materials.