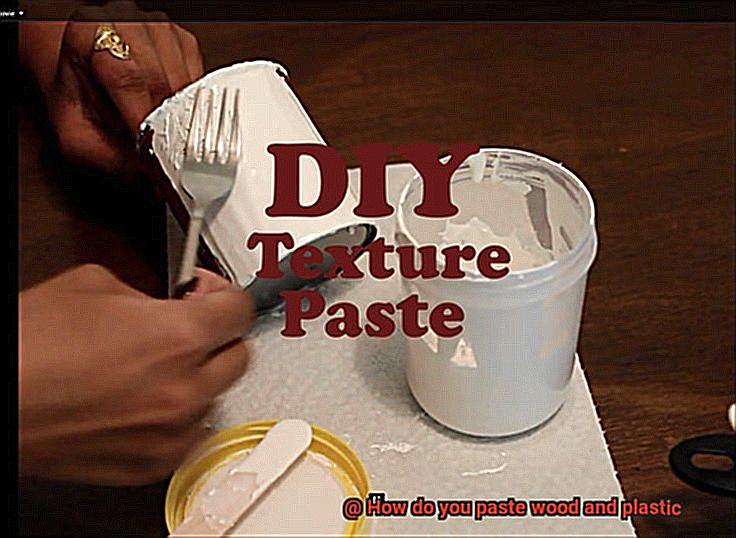
Wood and plastic, two materials that seem worlds apart, can actually come together in perfect harmony. Whether you’re working on a DIY project or fixing something around the house, knowing how to bond wood and plastic is a valuable skill. In this comprehensive guide, we’ll explore the secrets of achieving a seamless fusion between these two materials. From understanding their unique properties to choosing the right adhesive and mastering application techniques, get ready to unlock the art of gluing wood and plastic. Let’s dive in.
Body paragraph suggestions:
Getting to Know Your Materials:
- Embracing Differences: Wood and plastic may have different textures and compositions, but that doesn’t mean they can’t be joined together. Understanding their distinct characteristics is key to successful bonding.
- Identifying the Players: Discover the wide array of wood types, such as hardwood or softwood, and familiarize yourself with different plastics like polyethylene or PVC. Each material has its own bonding quirks.
Selecting the Perfect Adhesive:
- The Epoxy Edge: Explore the versatility of epoxy adhesives when it comes to bonding wood and plastic. Learn about different epoxy types and their strengths and weaknesses for various applications.
- Powerhouse Polyurethane: Unveil the strength of polyurethane adhesives known for their flexibility and durability. Find out which combinations of wood and plastic they work best with.
Prepping for Success:
- Surface Matters: A clean surface is crucial for a strong bond. Discover essential steps like cleaning, sanding, and priming that ensure your wood and plastic are ready for their magical union.
- Glue Application 101: Temperature? Humidity? Clamping pressure? We’ve got you covered. Get insider tips on applying adhesive properly while keeping safety precautions in mind.
Testing Strength and Perfecting the Finish:
- Put It to the Test: Learn how to assess the strength of your wood and plastic bond, ensuring it can withstand the test of time.
- Aesthetic Excellence: Achieving a seamless finish is just as important as a strong bond. Discover techniques like sanding, painting, or staining to make your glued area look flawless.
With the right techniques and a little patience, you can successfully bond wood and plastic together. Armed with this guide, you have all the tools necessary to create stunning projects that seamlessly combine these two materials. So go ahead
What is Wood and Plastic?
Contents
- 1 What is Wood and Plastic?
- 2 Different Adhesives for Joining Wood and Plastic
- 3 Epoxy Resin: Preparation and Application
- 4 Polyurethane Adhesive: Preparation and Application
- 5 Cyanoacrylate (Super Glue): Preparation and Application
- 6 Specialty Adhesives: Preparation and Application
- 7 Choosing the Right Adhesive for Your Project
- 8 Safety Precautions When Working with Adhesives
- 9 Conclusion
Wood and plastic are two materials that are commonly used in various industries and everyday applications. They each have their own unique characteristics, properties, uses, advantages, and disadvantages.
Wood is a natural material derived from trees. It is known for its strength, durability, and aesthetic appeal. Wood can be categorized into hardwood and softwood, each with its own unique properties. Hardwood, such as oak and mahogany, is dense and strong, making it suitable for furniture making and construction. Softwood, such as pine and cedar, is lightweight and easy to work with, making it ideal for crafting and building structures.
Plastic, on the other hand, is a synthetic material made from polymers. It is created through a process called polymerization, where small molecules called monomers are chemically bonded together to form long chains or networks. Plastics are versatile and can be molded into various shapes and forms, making them widely used in packaging, automotive parts, electronics, and many other industries.
Wood offers natural beauty and warmth. It can be easily shaped and carved, allowing for intricate designs. Wood also has good insulation properties, making it suitable for applications where thermal or sound insulation is required. However, wood is susceptible to moisture, insects, and rotting if not properly treated or maintained. It can also warp or crack under extreme temperature changes.
Plastic offers excellent resistance to moisture, chemicals, and impact. It is lightweight, durable, and can be molded into complex shapes with ease. Plastic is also low maintenance and does not require painting or sealing like wood. However, plastics are prone to UV degradation over time and can become brittle or discolored when exposed to harsh environmental conditions.
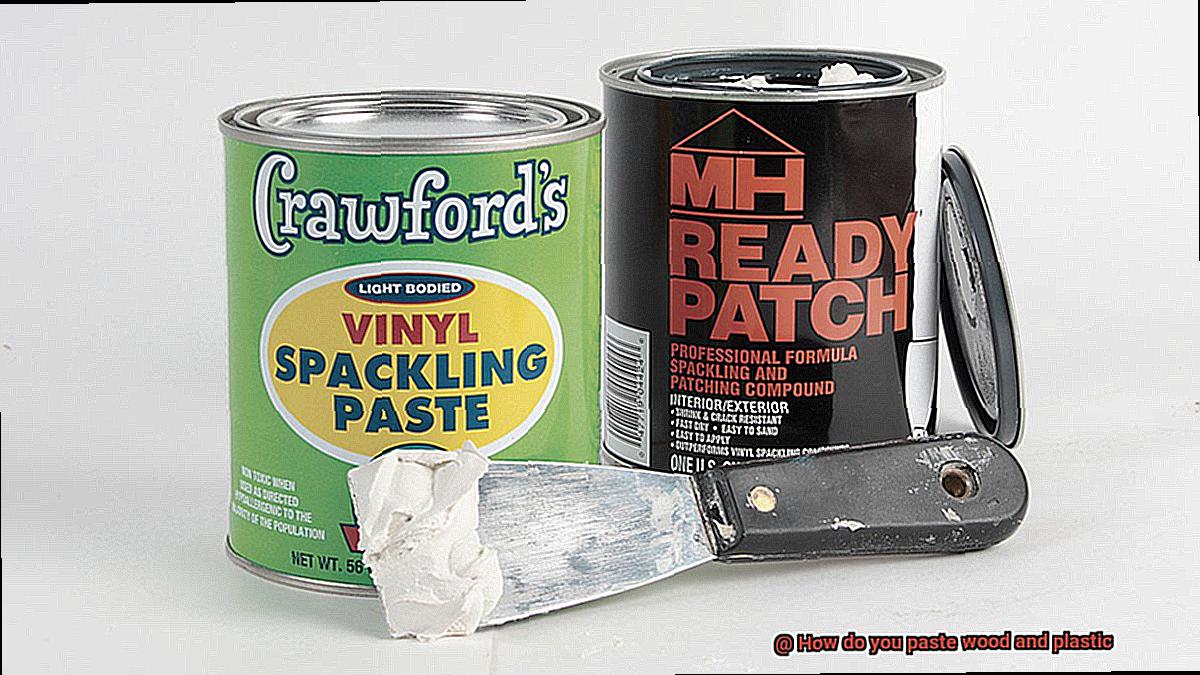
When it comes to bonding wood and plastic together, choosing the right adhesive is crucial for a strong and durable bond. Epoxy resin is a commonly used adhesive that provides a powerful chemical bond between wood and plastic surfaces. It is known for its strength, durability, and resistance to moisture and heat. Other adhesive options include polyurethane adhesives, cyanoacrylate (super glue), and specialty adhesives designed specifically for wood and plastic bonding.
Different Adhesives for Joining Wood and Plastic
The combination of wood and plastic can create stunning and functional projects, but achieving a strong and durable bond between these materials requires the right adhesive. This blog post will delve into the various types of adhesives available for joining wood and plastic, highlighting their advantages and providing guidance on selecting the ideal adhesive for your specific project.
Epoxy Adhesive:
Renowned for its exceptional strength and durability, epoxy is a two-part adhesive composed of resin and hardener. This adhesive forms a robust bond between wood and plastic that withstands heavy loads while also exhibiting resistance to moisture and temperature fluctuations.
Cyanoacrylate Adhesive:
Often referred to as super glue or instant glue, cyanoacrylate adhesives provide quick and secure bonding. While suitable for bonding wood and certain plastics, it is essential to check compatibility before using this adhesive on all types of plastics.
Polyurethane Adhesive:
Polyurethane adhesives offer excellent bonding strength and resistance to moisture and heat. Their versatility allows them to adhere to both porous and non-porous surfaces, making them suitable for various combinations of wood and plastic. Different formulations are available to cater to different application needs.
Acrylic Adhesive:
Acrylic adhesives provide robust bonding strength while also displaying resistance to temperature fluctuations and UV exposure. Their flexibility makes them ideal for applications where a degree of movement or flexibility is required.
Specialized Adhesives:
Certain adhesives are specifically designed for bonding particular types of plastics like PVC or ABS. These specialized adhesives are formulated to maximize bond strength on these specific materials.
Choosing the Right Adhesive:
To select the most suitable adhesive for your project, consider the following factors:
- Compatibility with wood and plastic materials.
- Strength requirements for the application.
- Environmental conditions, such as moisture or temperature.
- Application method and surface preparation requirements.
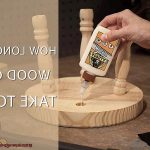
Epoxy Resin: Preparation and Application
Well, get ready to embark on an enchanting journey into the world of epoxy resin. This magical adhesive is sure to cast a spell on your woodworking and plastic crafting adventures.
Let’s dive right into the preparation process, shall we? Here’s how you can prepare and apply epoxy resin for a strong and durable bond:
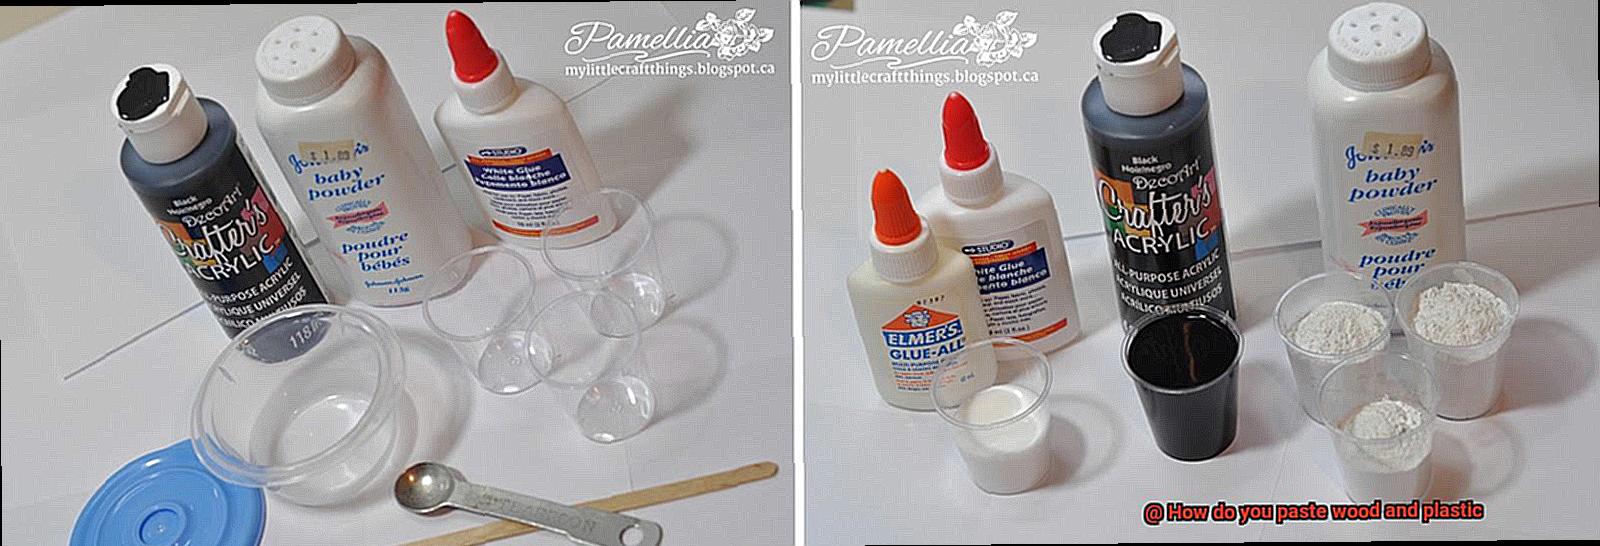
- Gather your materials: Epoxy resin, hardener, mixing cups, stirring sticks, and gloves for protection. Check the manufacturer’s instructions for specific mixing ratios and curing times.
- Cleanliness is next to adhesiveness: Scrub both the wood and plastic surfaces with mild detergent and water. Let them dry completely before proceeding.
- Give it a little grip: Use fine-grit sandpaper to lightly sand both surfaces. This creates a rough texture that improves adhesion.
- Mix it up: Follow the manufacturer’s instructions to mix equal parts of epoxy resin and hardener in a clean mixing cup. Stir vigorously for a few minutes until fully combined.
- Apply the magic potion: Use a brush or spatula to spread an even layer of epoxy onto one surface. Press the wood and plastic together gently, ensuring sufficient coverage of epoxy between them.
Clean up the excess: Wipe away any excess epoxy with a rag or paper towel before it sets.
Polyurethane Adhesive: Preparation and Application
If you’re seeking a remarkable bond between wood and plastic that is both robust and enduring, then this versatile adhesive is here to work its magic. In this comprehensive guide, we will walk you through the process of preparing and applying polyurethane adhesive, ensuring a successful bonding experience that will leave you in awe.
Surface Preparation:
To create a bond that transcends time, proper surface preparation is paramount. Begin by meticulously cleaning both the wood and plastic surfaces, banishing any trace of dirt, dust, grease, or other contaminants. Employ a mild detergent or solvent as your ally in this quest for pristine surfaces. Once purified, seize the power of sandpaper and gently roughen the surfaces. This pivotal step serves to expand the contact area between the adhesive and materials, igniting the potential for an unbreakable bond. And let us not forget to whisk away any loose particles or splinters that dare to disrupt our plans.
Adhesive Application:
The choice of adhesive is a critical juncture in your journey towards optimal bonding strength. Be sure to select a polyurethane adhesive specifically designed for the union of wood and plastic. Engross yourself in the manufacturer’s instructions with utmost attentiveness, for they shall enlighten you on matters such as temperature range, curing time, or mixing ratios.
With great deliberation, apply the adhesive evenly onto both surfaces using a brush, roller, or applicator recommended by the manufacturer. Your goal is to embrace every nook and cranny of the bonding area without succumbing to excessive buildup. And now, brace yourself for the magical moment – press the wood and plastic surfaces together with unwavering determination, aligning them as desired. Channel your inner force and exert pressure evenly across the entire bonded area, forging an intimate connection between the materials and adhesive that defies all odds.
Curing and Drying:
Polyurethane adhesives require a period of rest to fully mature and unlock their true bonding potential. Respect the manufacturer’s recommended curing time, which may fluctuate depending on the whims of temperature and humidity. During this divine interval, it is crucial to shield the bond from disturbance, avoiding any temptation to move or jostle the bonded materials. Patience shall be your greatest ally in this endeavor.
Clean up Excess Adhesive:
Should excess adhesive dare to escape from the bond line, do not despair. Swiftly cleanse it before it seizes its final form, safeguarding the sanctity of your creation. Utilize a solvent harmonious with the adhesive or delicately scrape away the intruder with a sharp tool, taking great care not to mar the materials themselves.
Cyanoacrylate (Super Glue): Preparation and Application
Cyanoacrylate, commonly known as super glue, is a versatile adhesive that can be used to bond various materials, including wood and plastic. Preparation and application are key factors in ensuring a strong and durable bond.
Preparation:
- Clean surfaces: Before applying super glue, make sure the surfaces to be bonded are clean, dry, and free from dust, oil, or grease. Use a mild detergent or rubbing alcohol to thoroughly clean the surfaces.
- Roughen up smooth surfaces: Smooth plastic surfaces can be challenging for super glue to adhere to. To improve adhesion, gently roughen up the surfaces using sandpaper or a file. This creates texture for the glue to grip onto.
Application:
- Apply sparingly: Super glue is incredibly strong, so a little goes a long way. Apply a thin layer of super glue onto one of the materials you want to bond. Avoid applying too much as it can lead to messy residue or prolonged drying time.
- Press firmly: Once the glue is applied, press the two surfaces together firmly, ensuring they are aligned perfectly. Applying pressure for a few seconds helps create a stronger bond.
- Allow curing time: Super glue bonds quickly, but for optimal strength, leave the bonded materials undisturbed for at least 24 hours. This allows the adhesive to fully cure and ensures maximum strength.
Tips for Successful Bonding:
- Choose the right type of super glue for the materials you’re working with. Some glues are specially formulated for plastics and offer better adhesion.
- For porous wood, consider “double gluing” by applying a thin layer of glue to both surfaces before bonding. This helps fill gaps and enhances the bond.
- If dealing with uneven areas or large surfaces, use clamps or other tools to hold everything together while it dries.
- Be aware that super glue may not be suitable for all types of plastics, especially those that are highly flexible or have low surface energy. In such cases, use an adhesive specifically designed for bonding plastics.
Specialty Adhesives: Preparation and Application
In a world bereft of glue, our ability to mend and create would be shattered. Thankfully, specialty adhesives exist, wielding the power to unite different materials with unparalleled strength and durability. Brace yourself for a journey into the realm of specialty adhesives, as we unravel the secrets behind their preparation and application.
Preparing the Surfaces:
Before embarking on the adhesive adventure, surfaces must be primed for bonding brilliance. Wood demands a thorough cleansing, ensuring it is devoid of dirt, moisture, and grease. A gentle caress with sandpaper lends it a rough texture, clutching onto the adhesive with unwavering tenacity. Plastic, too, yearns for cleanliness. Dust, grime, and grease must be vanquished. For certain plastics, sandpaper’s touch or a primer’s embrace bestows an enhanced bond.
Choosing the Right Adhesive:
The key to unlocking the potential of specialty adhesives lies in selecting the perfect match. Epoxy adhesives reign supreme with their versatile strength, while polyurethane adhesives harness moisture to forge unyielding connections. Need speed? Enter cyanoacrylate adhesives—super glue that binds in an instant.
Application Techniques:
For epoxy adhesives, blend resin and hardener before bestowing them upon the surfaces using a brush or spatula. Polyurethane adhesives come in liquid, gel, or foam forms, applied directly with a brush or applicator. Cyanoacrylate adhesives are swift saviors—a thin layer coats both surfaces before they are pressed together resolutely.
Curing Time and Clamping:
Patience is paramount as adhesive alchemy takes place. Each adhesive type boasts its own curing time—heed the manufacturer’s wisdom diligently. To cement a bond of true might, employ clamps or other securing methods, ensuring steadfastness during the adhesive’s transformation.
Special Considerations:
Wood and plastic dance to their own tunes, necessitating adhesives attuned to their unique qualities. Temperature resistance, flexibility, solvent resistance—these are the elements to weigh when choosing an adhesive. The manufacturer’s instructions, a beacon of guidance, hold the key to achieving sublime results.
Storing for Success:
To safeguard the power of specialty adhesives, proper storage is paramount. A cool, dry haven away from sunlight’s caress ensures their enduring efficacy. Take heed of any specific storage instructions provided to maintain their potency.
Choosing the Right Adhesive for Your Project
Choosing the right adhesive for your project can make all the difference when it comes to creating a successful and long-lasting bond between wood and plastic. With a plethora of options available, it can be overwhelming to know which adhesive is the right fit for your specific needs. But fear not. We are here to guide you through the process and help you make an informed decision.
First and foremost, consider the type of wood and plastic you are working with. Different adhesives have different strengths and work better on certain materials. For example, epoxy adhesives are renowned for their exceptional bond strength and are suitable for a wide range of wood and plastic types. On the other hand, cyanoacrylate adhesives provide instant bonding but may not be suitable for all materials due to the potential for discoloration or damage.
Next, think about the application method that suits your comfort level and preferences. Some adhesives come in two parts that need to be mixed together, while others are ready to use straight from the bottle. Choose an adhesive that aligns with your skills and preferences.
Strength is another crucial factor to consider. If you need a strong bond that can withstand heavy loads or stress, opt for adhesives specifically designed for high-strength applications. Epoxy and polyurethane adhesives are often recommended for projects that require extra durability.
Additionally, flexibility is important if your project involves movement or requires flexibility itself. Polyurethane adhesives excel in this aspect, remaining flexible even after curing. They are ideal for projects where movement is a concern.
Before applying any adhesive, it’s vital to properly prepare the surfaces being bonded. Thoroughly clean the surfaces to remove any dirt, dust, or grease that could hinder the bond. In some cases, sanding may be required to create a rougher texture that allows the adhesive to adhere better.
Lastly, always follow the instructions provided by the adhesive manufacturer. This includes applying the adhesive in the recommended temperature and humidity conditions and allowing sufficient curing or drying time before subjecting the bonded materials to stress or load. Following these guidelines will ensure the best results.
Safety Precautions When Working with Adhesives
Working with adhesives can be a thrilling adventure, but let’s not forget about the importance of safety along the way. Just like a superhero preparing for battle, it’s essential to gear up before diving into your adhesive project. Slip on some protective gloves to shield your hands from potential skin irritation or chemical burns. And don’t forget those safety goggles. They will be your trusty sidekick, protecting your eyes from accidental splashes or fumes. Oh, and let’s not overlook the unsung hero of safety gear – the face mask. It may not be glamorous, but it will safeguard your respiratory system from any harmful adhesive fumes.
Now that you’re suited up and ready to go, let’s talk about ventilation. When working indoors, make sure to open windows or use exhaust fans to ensure proper air circulation. This will minimize your exposure to any potentially harmful fumes that may arise during your adhesive adventure.
Before you embark on your adhesive journey, take a moment to read the manufacturer’s instructions. Different adhesives have different safety guidelines and precautions, so it’s important to follow them closely. This will ensure that you’re using the adhesive correctly and reducing any risks associated with it.
Remember, some adhesives are as flammable as a fire-breathing dragon. Keep them far away from open flames or sources of ignition. We don’t want you becoming the next fire-breathing DIYer on YouTube.
Now, let’s talk about spraying adhesives. When using adhesive sprays or aerosols, aim wisely. Avoid spraying directly towards your face or into confined spaces. Inhaling those adhesive particles can cause serious respiratory issues, and we definitely don’t want that.
But accidents happen, right? If you accidentally get adhesive on your skin, wash it off immediately with soap and water. And if it gets into your eyes – ouch. – rinse them thoroughly with water for at least 15 minutes and seek medical attention if necessary. Safety is key, and we want to make sure you’re taking care of yourself.
After you’ve successfully completed your adhesive masterpiece, it’s time to store your adhesives safely. Keep them out of reach of children and pets. Some adhesives can be toxic if ingested, and we definitely don’t want any furry friends mistaking them for a tasty treat.
And finally, let’s talk about proper disposal. When you’re done with your adhesive containers and waste, make sure to dispose of them correctly. Follow your local regulations to ensure you’re being both safe and environmentally friendly.
VlXPOMGFrWI” >
Conclusion
When it comes to joining wood and plastic, there are a few methods you can use. One option is to use adhesive or glue specifically designed for bonding these materials together. These adhesives are often available in hardware stores and come in different forms such as liquid, gel, or tape.
Before applying the adhesive, it’s important to prepare the surfaces properly. Make sure both the wood and plastic are clean and free from any dirt or debris. Sanding the surfaces lightly can also help create a better bond.
Once the surfaces are ready, apply the adhesive evenly on one of the materials. Then, press the two pieces together firmly and hold them in place for a few minutes to allow the adhesive to set. Depending on the type of adhesive used, it may take some time for it to fully cure.
Another method that can be effective is using mechanical fasteners like screws or nails. This method provides additional strength and stability to the joint. However, it’s important to pre-drill holes in both materials before inserting the fasteners to prevent splitting or cracking.
In some cases, heat can also be used to join wood and plastic together. This method involves melting the plastic slightly so that it fuses with the wood upon cooling. Heat guns or soldering irons can be used for this purpose, but caution must be exercised to avoid damaging either material.
In conclusion, pasting wood and plastic requires careful preparation of surfaces and choosing an appropriate bonding method such as adhesives, mechanical fasteners, or heat fusion.